How Underlayment Is Installed
One of the most disheartening things for any homeowner is discovering a roof leak, often long after a storm has passed, wondering how water could possibly get past all those shingles. The truth is, while shingles are your roof's primary shield, there's a crucial, often overlooked layer beneath them that plays a massive role in protecting your home: the underlayment. This guide is here to demystify the process, walking you through exactly how underlayment is installed, ensuring your roof has the robust, secondary defense it truly needs against the elements.
Understanding the Role of Underlayment in Your Roofing System
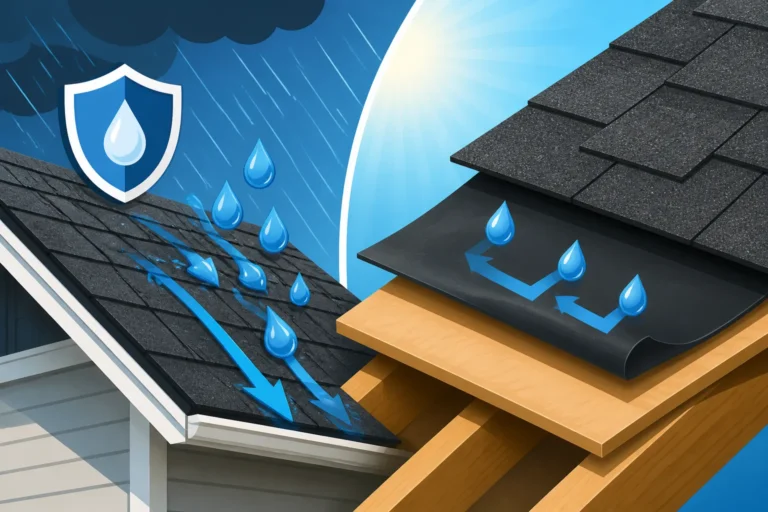
Before we dive into the nitty-gritty of installation, it's vital to grasp why underlayment is such a non-negotiable component of any reliable asphalt roofing system. Many homeowners might assume the shingles alone do all the heavy lifting, keeping water out. While they certainly do the bulk of the work, underlayment acts as a critical backup, a safety net that protects your home if shingles fail or during extreme weather. It’s not just a barrier; it's an integrated part of your roof's defense system.
The Unsung Hero Beneath Your Shingles
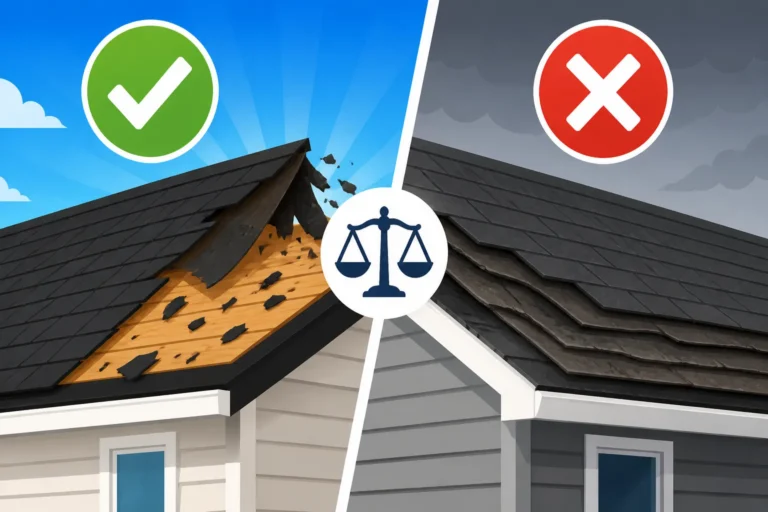
Think of your roof's underlayment as the last line of defense against moisture. Shingles can get damaged by hail, lifted by high winds, or simply wear out over time. When that happens, the underlayment steps in to prevent water from reaching your roof deck and, subsequently, your attic and interior living spaces. Without it, even a tiny breach in your shingles could lead to significant water damage, rot, mold, and costly structural repairs down the line. It's truly the unsung hero, quietly doing its job year after year, protecting your investment.
Why Proper Installation is Non-Negotiable
The effectiveness of underlayment hinges entirely on its proper installation. A poorly installed underlayment can be as bad, if not worse, than having no underlayment at all. Gaps, incorrect overlaps, or insufficient fastening can create pathways for water, trapping moisture instead of shedding it. This is why understanding the installation process, even if you’re hiring a professional, gives you valuable insight into ensuring your contractor is doing the job right. It also helps you appreciate why a thorough roof replacement includes meticulous attention to every layer, not just the visible shingles. If you're curious about the different types, our guide on Underlayment Explained: Synthetic vs Felt offers a great breakdown of options.
Preparing Your Roof Deck for Underlayment
Before a single roll of underlayment can be laid down, the roof deck needs to be perfectly prepared. This is a critical first step that ensures the underlayment adheres properly, lies flat, and functions as intended. Skipping or rushing this stage can compromise the integrity of the entire roofing system.
Clearing and Inspecting the Decking
The first order of business is ensuring a clean slate. This means a complete tear-off of old roofing materials, down to the bare roof deck. Any old nails, staples, debris, or existing underlayment remnants must be thoroughly removed. Once cleared, a meticulous inspection of the roof decking is essential. Are there any soft spots, water damage, or signs of rot? Is the decking securely fastened to the rafters? Any damaged sections of plywood or OSB need to be replaced before the underlayment goes down. Neglecting this could lead to an uneven surface, causing shingles to lay improperly and potentially creating future weak points. You can learn more about this process in our article, What Happens During a Roof Tear-Off.
Ensuring a Smooth, Dry Surface
A smooth, dry surface is paramount for underlayment installation. Any unevenness from old nails, knots in the wood, or debris can create bumps that will show through the finished shingle layer and compromise its watertight seal. Likewise, moisture is the enemy. The roof deck must be completely dry before underlayment is applied. Installing underlayment over a wet deck can trap moisture, leading to mold, mildew, and rot, ultimately shortening the life of your new roof. If there's any chance of rain, many roofers will use temporary tarps to keep the deck dry until they're ready to proceed.
Step-by-Step Installation of Asphalt Underlayment
Now for the main event: installing the underlayment itself. While there are a few variations depending on the type of underlayment (felt vs. synthetic) and local building codes, the general principles remain the same. The goal is to create a continuous, overlapping protective layer that sheds water effectively.
Starting at the Eaves and Working Upward
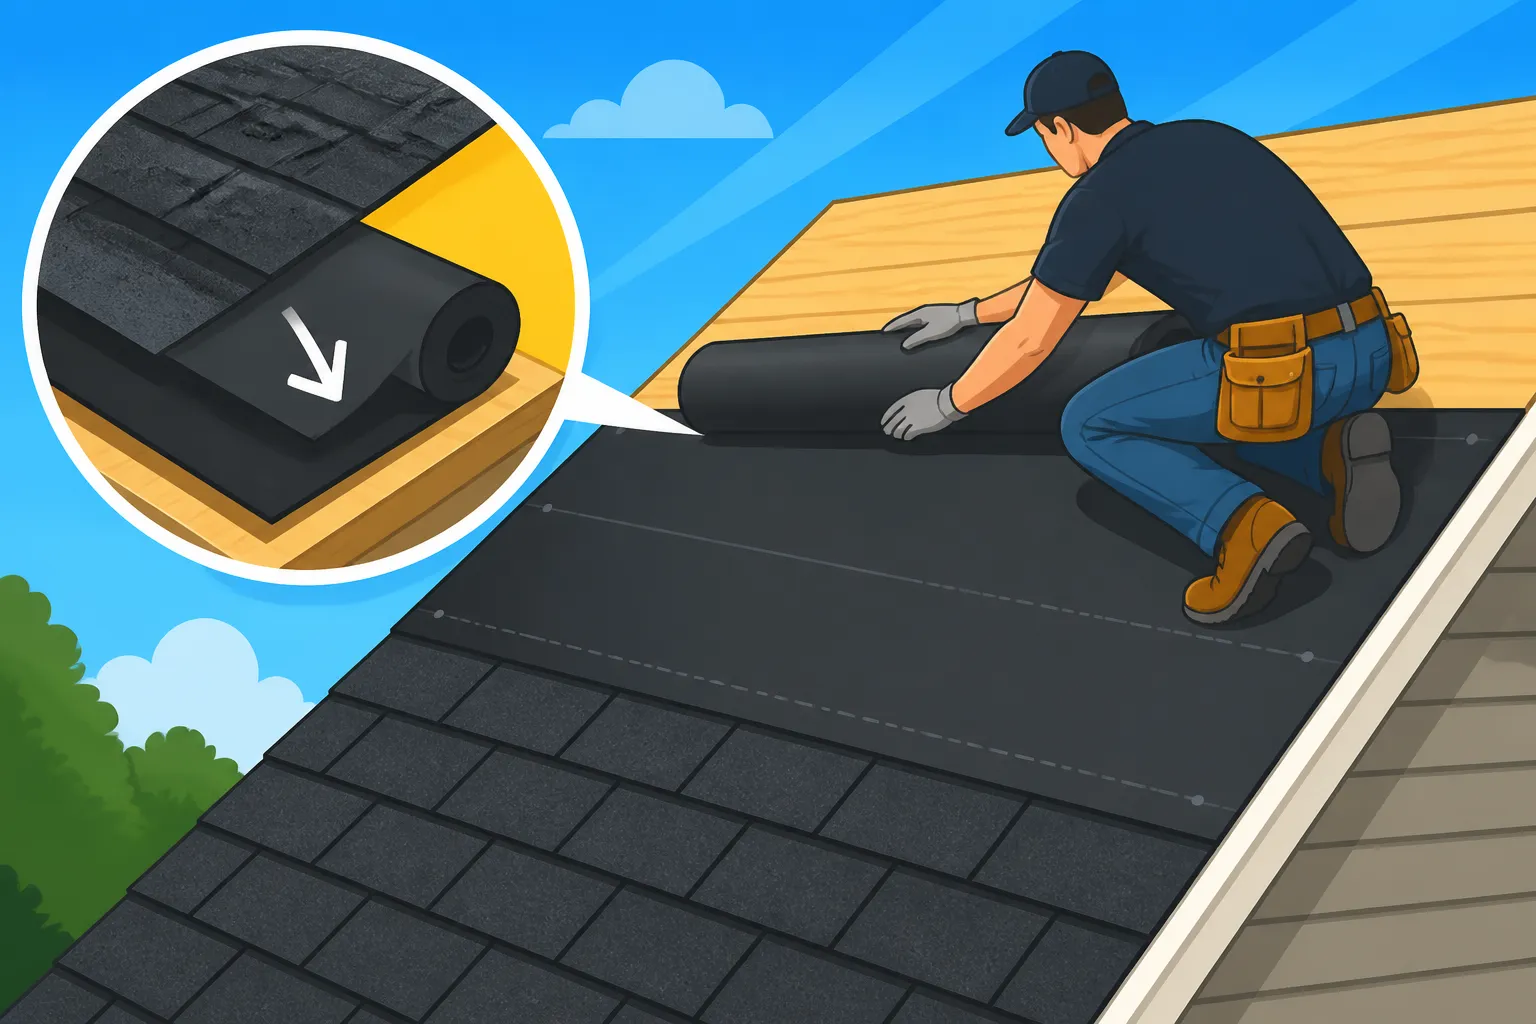
The installation always begins at the lowest point of the roof: the eaves. This is crucial for proper water shedding. The first course of underlayment needs to be laid perfectly straight, parallel to the eave edge. Many manufacturers recommend an overhang of about 1/4 to 3/4 inch at the eave, extending slightly beyond the drip edge. This helps ensure any water running off the underlayment will flow into the gutters, not back onto the fascia board. Getting this first row straight is vital, as it sets the alignment for all subsequent courses. If it's crooked, every row after it will be, too.
Horizontal Overlap and Fastening
Once the first course is down, subsequent courses are rolled out horizontally, overlapping the previous row. This overlap is key to preventing water intrusion. For standard felt or synthetic underlayment, a horizontal overlap of 2 to 4 inches is common, creating a shingle-like effect that directs water downward. The exact overlap amount is usually specified by the manufacturer and local building codes.
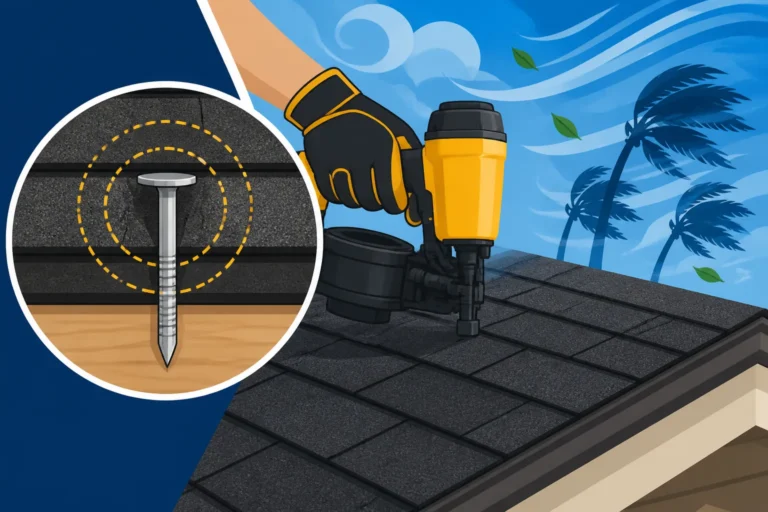
The underlayment is typically fastened with staples or cap nails. Staples are often used for felt underlayment, while synthetic underlayment, being more tear-resistant, sometimes calls for cap nails, which have a broader head for better hold and resistance against tear-through. Fasteners should be placed along the top edge of the underlayment, roughly every 6 to 12 inches, and also in a pattern across the field of the underlayment to prevent it from billowing in the wind or shifting during shingle installation. The goal is to secure it enough to stay put, but not to over-fasten in a way that creates too many penetrations.
Vertical Overlaps and Sealing Around Obstructions
When one roll of underlayment ends and another begins on the same horizontal course, you'll have a vertical overlap. These overlaps should generally be at least 6 inches, ensuring a tight seal. It's often recommended to stagger these vertical seams from course to course to prevent a continuous weak point.
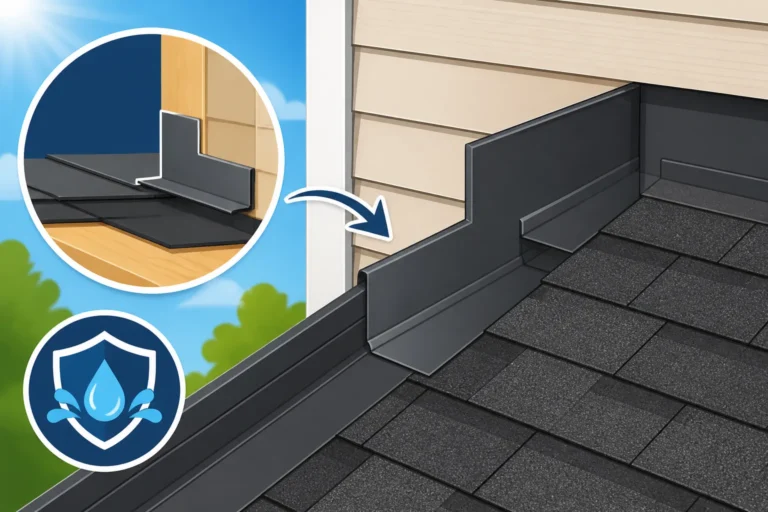
Around roof penetrations like vent pipes, chimneys, and skylights, the underlayment needs to be cut and carefully integrated. The goal is to ensure a continuous seal. Often, a flexible, self-adhering ice and water shield is used in these vulnerable areas to provide superior protection against leaks. This specialized membrane is flexible enough to wrap around curves and corners, creating a watertight seal. Our article on What Is Flashing and Why It Matters goes into more detail about how these areas are protected.
Here's a quick comparison of the nuances between felt and synthetic underlayment installation:
| Feature/Component | Traditional Felt Underlayment (e.g., #15 or #30 felt) | Synthetic Underlayment (e.g., GAF Shingle-Mate, Owens Corning DeckProtect) |
|---|---|---|
| Material | Asphalt-saturated organic felt (paper-like) | Woven polypropylene or polyethylene (plastic-like) |
| Roll Size | Smaller, heavier rolls (e.g., 4 squares for #15 felt) | Larger, lighter rolls (e.g., 10+ squares, easier to handle) |
| Laying Method | Can be more prone to tearing; needs careful handling | Highly tear-resistant; can withstand foot traffic better |
| Fasteners | Staples or roofing nails (plastic caps often preferred) | Cap nails or broad-head roofing nails (staples less common) |
| Horizontal Overlap | Typically 2-4 inches | Often wider, 4-6 inches (check manufacturer specs) |
| Vertical Overlap | Typically 6 inches | Often 6-12 inches (check manufacturer specs) |
| Wrinkling/Expansion | More susceptible to wrinkling in heat/sun | Less prone to wrinkling, lays flatter longer |
| Walkability | Can be slippery, especially when wet | Excellent walkability, often textured for grip |
| Durability Exposure | Limited exposure time (days) | Longer exposure time (weeks to months), UV-resistant |
As you can see, while the principles of starting at the bottom and overlapping remain, synthetic underlayment often offers a more forgiving and durable installation experience for roofers.
Dealing with Valleys, Hips, and Rakes
Valleys are particularly vulnerable spots where two roof planes meet, channeling a significant amount of water. For this reason, a continuous strip of self-adhering ice and water shield is almost always installed first in valleys, running from the eave to the ridge, before the main underlayment is applied. This creates a superior watertight seal.
At rake edges (the sloped edges of the roof), the underlayment is typically trimmed flush with the edge or extends slightly over the drip edge, similar to the eaves. On hips (where two roof planes meet in a raised line) and ridges (the highest point of the roof), the underlayment from the adjacent roof planes will meet and overlap, providing continuous coverage.
Ensuring the underlayment is correctly installed at all these critical junctures, especially the eaves, rakes, and valleys, is paramount for the long-term performance of your roof. It's truly part of a comprehensive Full Roofing System Explained.
Special Considerations for Underlayment Installation
Not all roofs are created equal, and certain factors can influence how underlayment needs to be installed to provide optimal protection. Understanding these nuances can save you headaches and costly repairs down the road.
Ice and Water Shield Requirements
In colder climates, ice and water shield is a mandatory component of the roofing system, specified by building codes. This self-adhering membrane is installed along the eaves, typically extending up the roof deck to a point that is at least 24 inches inside the interior wall line of the building. This prevents water from ice dams (which form when melted snow refreezes at the colder eaves) from backing up under the shingles and into the house. It's also often required in valleys and around all roof penetrations for added leak protection, regardless of climate. Understanding Ice and Water Shield Explained is crucial for protecting your home.
Steep-Slope vs. Low-Slope Roofs
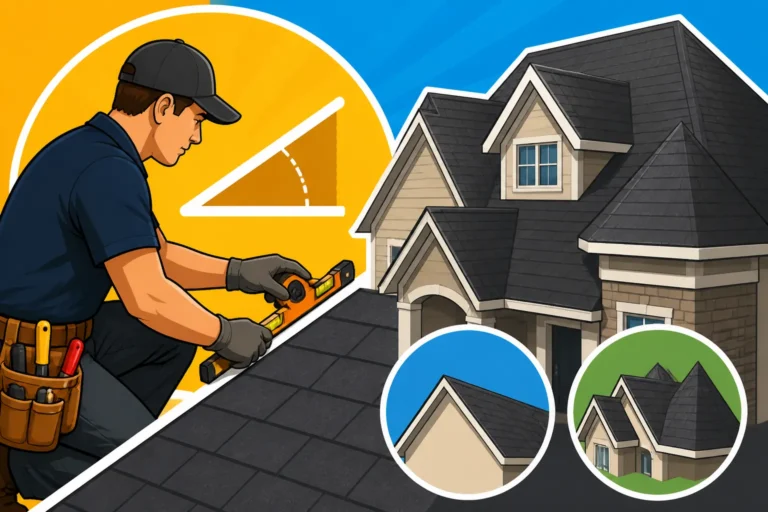
The pitch of your roof also impacts underlayment installation. On very steep roofs (pitches greater than 21:12), the horizontal overlap of underlayment may need to be increased to ensure water sheds properly and doesn't get driven underneath by wind. Conversely, on low-slope roofs (pitches from 2:12 to 4:12), where water flows more slowly, enhanced underlayment protection is often recommended or required, sometimes involving two layers of felt or a specialized low-slope membrane. The slower water movement means there's more opportunity for it to penetrate if the underlayment isn't installed with extra care. You might find our discussion on Roof Replacement Cost by Pitch insightful in this context.
Weather Conditions During Installation
Believe it or not, the weather on installation day makes a huge difference. Installing underlayment in very cold temperatures can make it stiff and prone to cracking, especially felt products. Synthetic underlayment is generally more flexible in cold weather. Conversely, extremely hot weather can make some self-adhering products too sticky to handle easily, and felt underlayment can become very pliable and difficult to keep straight. Professional roofers are adept at adjusting their techniques for different temperatures, ensuring proper adhesion and preventing damage to the materials. Working with a contractor who understands how to handle Roof Installation in Cold Weather or Roof Installation in Hot Weather is key. This is where finding a reputable contractor, perhaps through a platform like Modernize, really pays off.
Common Mistakes to Avoid During Installation
Even experienced roofers can make mistakes, but some errors are more common among less diligent contractors or DIY enthusiasts. Being aware of these pitfalls can help you ensure your underlayment is installed correctly.
Improper Overlaps and Gaps
One of the most critical errors is failing to achieve the correct horizontal and vertical overlaps. If the overlap is too small, water can easily seep through. If there are any gaps where underlayment edges meet, you've essentially created an open invitation for leaks. Remember, the underlayment is a continuous barrier, and any break in that continuity compromises its function. Always ensure that each layer extends sufficiently over the previous one, and that vertical seams are tightly abutted and, ideally, sealed.
Insufficient or Incorrect Fastening
Underlayment needs to be securely fastened, but not over-fastened. Too few fasteners, or fasteners placed incorrectly, can allow the underlayment to shift, wrinkle, or even blow off the deck during installation or before the shingles are applied. This is particularly problematic with lightweight synthetic underlayments if not secured properly. On the other hand, using too many fasteners, or fasteners that are too long, can create excessive penetrations in the deck, potentially leading to future leaks or compromising the roof deck's integrity. Using the correct type of fastener (staples vs. cap nails) for the specific underlayment product is also crucial, as recommended by the manufacturer.
Ignoring Drip Edge and Flashing Details
The edges of your roof and areas around penetrations are the most vulnerable to water infiltration. Installing underlayment without proper consideration for how it interacts with the drip edge or flashing is a recipe for disaster. Drip edge, which is installed before the underlayment at the eave and over the underlayment at the rake, directs water away from the fascia and siding. The underlayment at the eave should ideally overlap the top flange of the drip edge. Flashing, made of metal, provides a watertight seal around chimneys, vents, and valleys. Underlayment should be cut and integrated seamlessly with these components, often with additional ice and water shield for maximum protection. Our article on Drip Edge: What It Does highlights its importance. A detailed Roof Anatomy: Parts of an Asphalt Shingle Roof breakdown will show you how all these layers interact.
The Long-Term Benefits of Properly Installed Underlayment
It might seem like a lot of fuss for a layer that will never be seen, but the benefits of a meticulously installed underlayment are profound and long-lasting, far outweighing the effort and cost.
Enhanced Weather Protection
First and foremost, a correctly installed underlayment dramatically enhances your home's protection against all types of weather. It creates a robust, secondary barrier that works in conjunction with your shingles to repel rain, snow, and ice. This added layer of defense means that even if a few shingles are lost in a strong windstorm, or if an ice dam forms during a harsh winter, your home's interior remains safe and dry. It's peace of mind knowing you have that extra level of protection.
Extended Roof Life and Warranty Compliance
A properly installed underlayment actually contributes to a longer lifespan for your entire roof system. By preventing moisture from reaching the roof deck, it protects the structural components from rot and degradation. This stability helps the shingles lie flat and perform optimally for their intended duration. Furthermore, many asphalt shingle manufacturer warranties require the use of a specific type or brand of underlayment, installed according to their specifications, to maintain warranty coverage. Failing to install the underlayment correctly could void your warranty, leaving you exposed to costly repairs if issues arise. Ensuring all components are installed to spec is part of how a Complete Roof System Qualifies for Warranty.
Improved Energy Efficiency and Attic Health
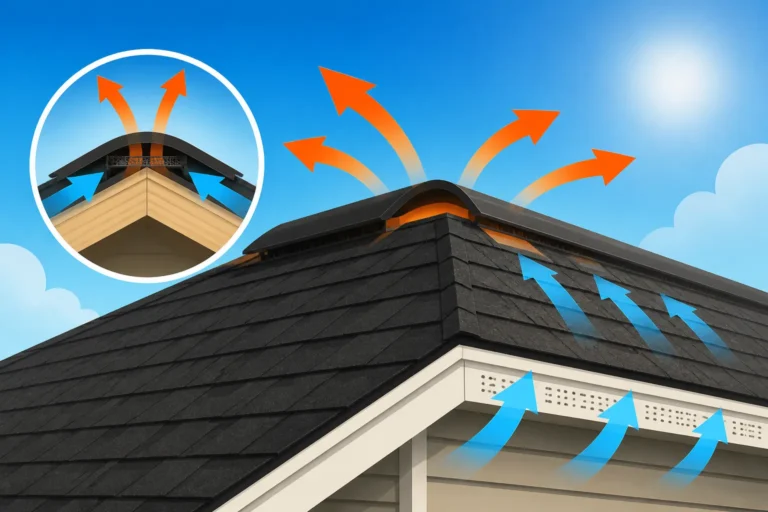
Beyond direct water protection, a sealed and properly installed underlayment contributes to better energy efficiency. While it's not an insulation layer, it helps create a tighter building envelope by reducing air infiltration through the roof deck. This can lead to more stable attic temperatures, indirectly supporting your home's heating and cooling efforts. Moreover, by preventing moisture from entering the attic, underlayment helps maintain good indoor air quality and prevents the conditions that lead to mold and mildew growth, fostering a healthier living environment.
Getting the underlayment installed correctly is a foundational step in building a resilient and long-lasting roof. It’s a layer you won’t see, but one that you'll undoubtedly appreciate when the next big storm rolls through.
Disclaimer
This article provides general information about asphalt underlayment installation. Specific building codes, manufacturer instructions, and best practices can vary significantly based on your location, roof type, and the particular products used. Always consult with a qualified, licensed roofing professional and adhere to local building codes for any roofing project. DIY roofing carries inherent risks, including potential injury and property damage, and may void product warranties.