Roof Installation in Cold Weather
Dealing with a failing roof is stressful enough, but when winter weather starts to creep in, the idea of getting a new roof installed can feel downright impossible. Many homeowners worry about whether roofers can even work in freezing temperatures, if the materials will hold up, or if the whole project will be a costly disaster. This comprehensive guide will walk you through everything you need to know about roof installation in cold weather, addressing your concerns and helping you understand how professionals tackle this challenging task.
The Unique Challenges of Cold Weather Roofing
Installing a roof isn't just about putting shingles on wood; it's a precise process that relies on materials behaving predictably and adhesion happening correctly. When the temperatures plummet, many of the standard procedures and material properties change, presenting distinct challenges that contractors must navigate carefully. It's not just a matter of bundling up; it's about physics and chemistry reacting to the cold.
Shingle Adhesion and Sealing Issues
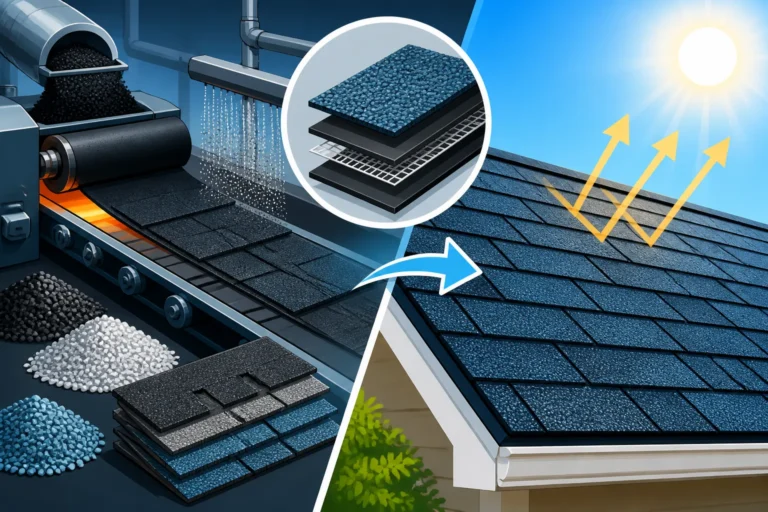
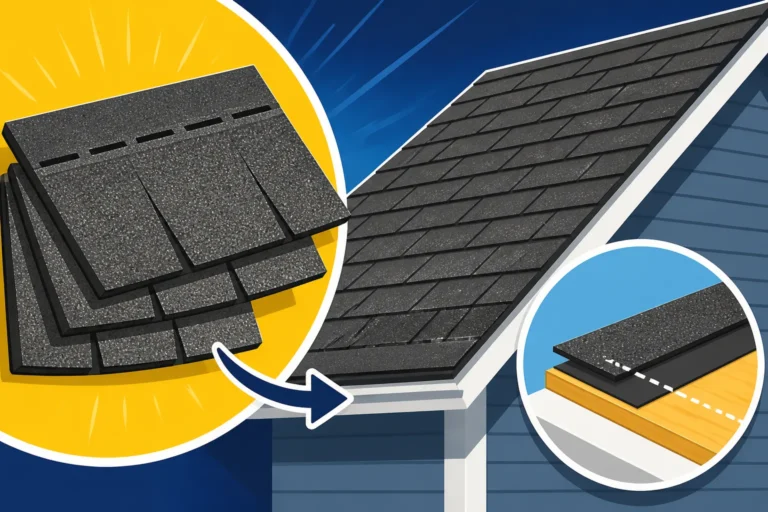
One of the most significant concerns when installing asphalt shingles in cold weather is their ability to properly seal. Most asphalt shingles come with a factory-applied sealant strip, often made of a modified asphalt adhesive, that needs heat to activate. When the sun warms the roof, this sealant melts slightly and then bonds to the shingle above it, creating a watertight seal that resists wind uplift and water penetration.
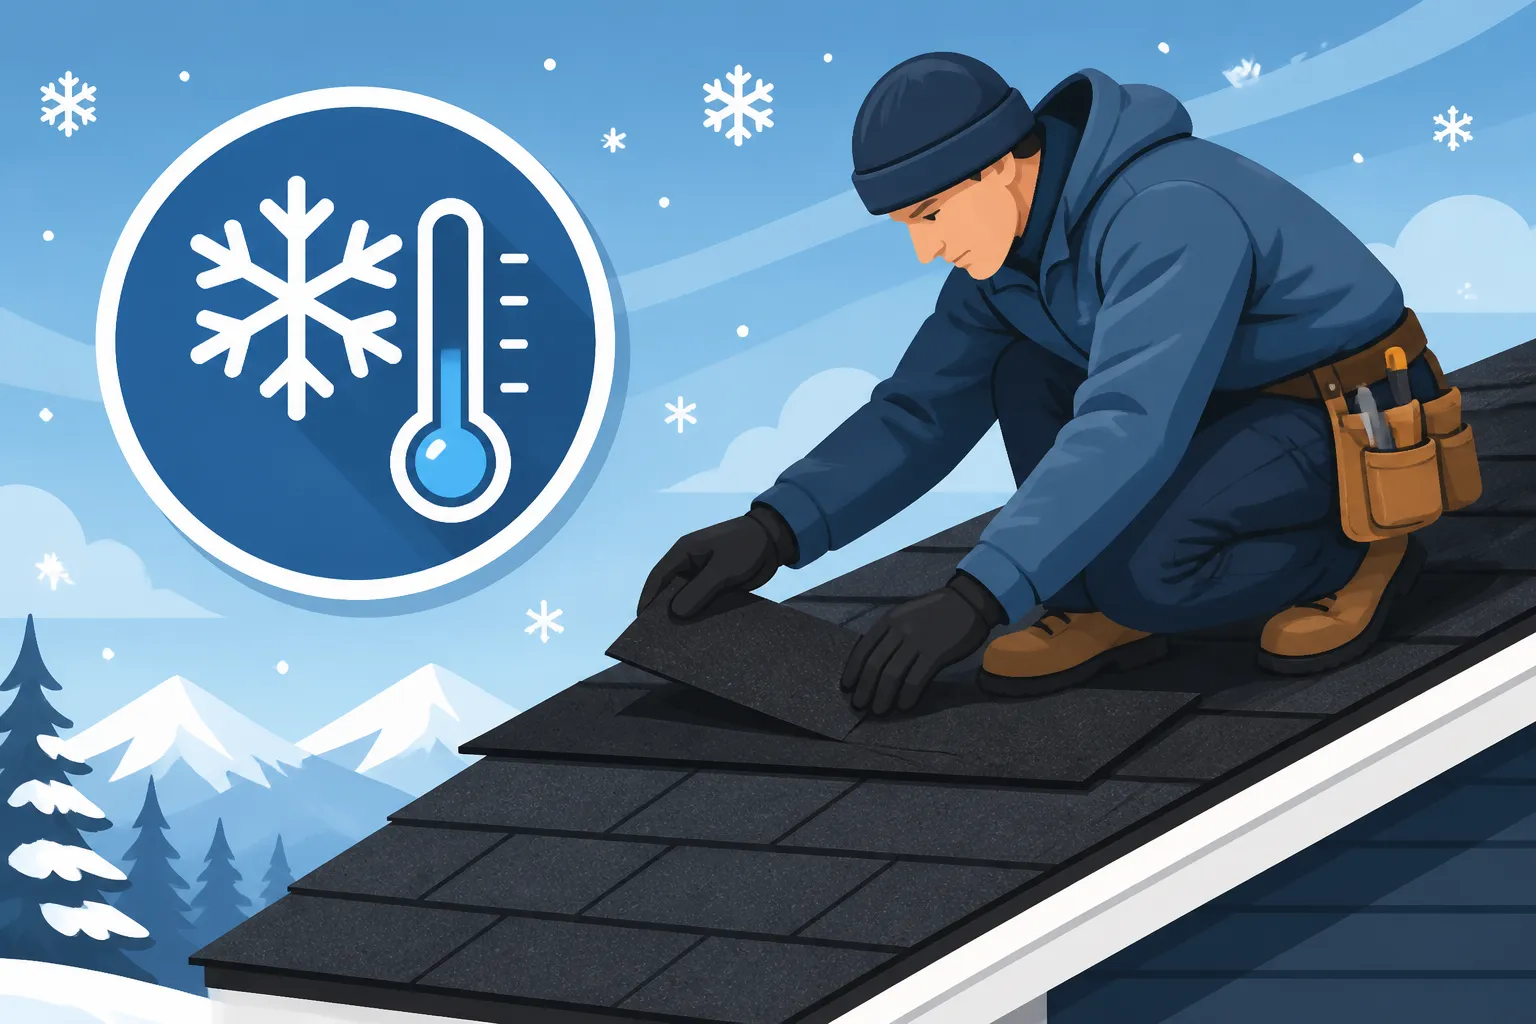
In chilly conditions, especially when temperatures are consistently below 40-50°F (around 4-10°C), this thermal sealing process can be significantly delayed or even prevented entirely. Without proper activation, shingles are much more susceptible to being lifted by strong winds or allowing water to seep underneath, which can lead to leaks and premature roof failure. This is why you often see roofers applying additional hand-tabbing cement or specialized cold-weather adhesives during winter installations to compensate for the lack of natural heat activation. It’s an extra step, but a crucial one for ensuring the integrity of your new roof, especially in climates prone to heavy snow or ice.
Material Brittleness and Breakage
Asphalt is a viscoelastic material, meaning its properties change with temperature. When it's warm, asphalt shingles are flexible and relatively pliable, making them easy to handle, cut, and nail without damage. However, as temperatures drop, the asphalt stiffens considerably. This increased rigidity makes the shingles much more brittle and prone to cracking or breaking, even with careful handling.
Imagine trying to bend a cold piece of plastic compared to a warm one – it’s a similar principle. Shingles can crack when contractors walk on them, when they're bent to fit corners or valleys, or even during the nailing process if not done precisely. This isn't just an aesthetic issue; a cracked shingle compromises the protective barrier of your roof, opening up pathways for water infiltration. Roofing crews must be extra vigilant, work slower, and use specialized techniques to minimize breakage, which naturally adds to the complexity and time required for the job.
Safety Concerns for Crews
Beyond the material challenges, cold weather poses substantial safety risks for roofing crews. Working on a roof is inherently dangerous, but adding ice, snow, and freezing temperatures amplifies these risks significantly. Slick surfaces, even from morning dew or frost, can lead to slips and falls. Exposure to cold can also cause hypothermia or frostbite, impairing judgment and manual dexterity, which are critical for precision work.
Equipment, too, can become more challenging to operate. Nail guns may misfire or become sluggish, ladders can become icy, and heavy bundles of shingles are even harder to maneuver. Reputable contractors prioritize safety above all else, which often means taking more frequent breaks, rotating crews, and sometimes even postponing work if conditions become too hazardous. This dedication to safety protects the crew and, in turn, ensures a higher quality installation, but it does mean that a winter project might take a bit longer than a summer one. Understanding these challenges is key to setting realistic expectations for your roofing project.
How Cold Weather Affects Roofing Materials
It's not just about the installation process; the materials themselves react differently when the mercury dips. Understanding these changes helps you appreciate why specialized care and consideration are needed for a successful cold weather roof installation.
Asphalt Shingles in Low Temperatures
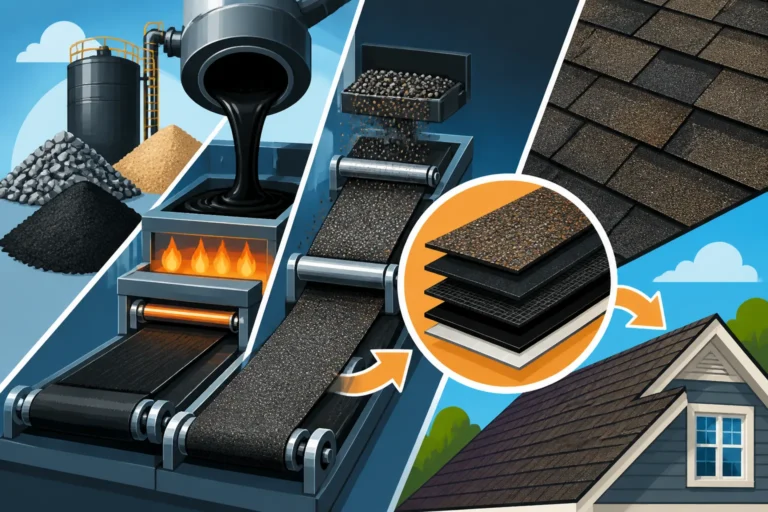
The core of an asphalt shingle roof is, well, the asphalt! And as we've discussed, asphalt's characteristics are highly temperature-dependent. Below freezing, the asphalt binder that holds the granules to the mat and gives the shingle its flexibility becomes much stiffer. This stiffness impacts more than just brittleness; it also affects the shingle's ability to lay flat and conform to the roof deck, especially on uneven surfaces.
When shingles are cold, they don't relax as readily, sometimes leading to a less uniform appearance, at least until warmer weather arrives and they can properly flatten out. This isn't usually a structural issue, but it can be visually noticeable initially. More importantly, the granules, which protect the shingle from UV rays and provide traction, might be more prone to dislodging if the shingle is flexed too much while cold. This is another reason why skilled roofers handle shingles with extreme care in winter, unbundling them slowly and avoiding sudden movements.
Underlayment and Flashing Considerations
It's not just the shingles that are affected. The underlayment, which is the crucial secondary layer of protection beneath your shingles, also reacts to the cold. Self-adhering underlayments, like ice and water shield, rely on an adhesive backing to create a watertight seal. In cold temperatures, this adhesive might not stick as effectively to the roof deck or to adjacent pieces of underlayment. Contractors might need to use primers or heat guns to ensure proper adhesion, especially in critical areas like valleys, eaves, and around penetrations where the risk of leaks is highest. This is part of the overall strategy to make sure your roof is watertight from the base up. You can learn more about how underlayment is installed to see the critical role it plays.
Similarly, metal flashing, which is installed around chimneys, skylights, and vent pipes, expands and contracts with temperature changes. While metal flashing is generally robust, severe temperature swings can sometimes stress its seals or fasteners if not installed with proper allowances for thermal movement. Ensuring that caulk and sealants used with flashing are rated for extreme cold is also crucial for long-term performance.
Adhesives and Sealants
The various adhesives and sealants used in roofing, from the cold-applied asphalt plastic cement for sealing penetrations to the specialized caulks, all have optimal temperature ranges for application and curing. Many common roofing mastics and sealants become very thick and difficult to apply in freezing conditions. They also take much longer to cure and reach their full adhesive strength.
If a sealant doesn't cure properly, it won't form the intended barrier against water. This is why professional roofers select products specifically designed for low-temperature application. These products often contain solvents or additives that allow them to remain workable and cure effectively even in the cold, though their setting time might still be extended. Using the wrong adhesive or applying it improperly in cold weather is a major red flag and can lead to immediate or future leaks. When getting quotes, it's a good idea to ask your roofing contractor about the specific products they plan to use and their cold-weather ratings.
Best Practices for Cold Weather Roof Installation
Just because installing a roof in cold weather presents challenges doesn't mean it can't be done successfully. In fact, many experienced roofing companies have specific protocols and best practices designed to ensure a high-quality job, even when the thermometer dips. It's all about preparation, specialized tools, and a deep understanding of how materials behave.
Choosing the Right Materials for Cold Climates
One of the first steps in a successful cold weather installation is material selection. While standard asphalt shingles are generally designed for a wide range of climates, certain products offer enhanced performance in colder conditions. For instance, some manufacturers offer "cold-weather" versions of their shingles or specific lines that use advanced asphalt formulations less prone to brittleness.
It's also essential to consider the underlayment. In regions with significant snowfall or ice damming potential, a self-adhering ice and water shield is not just recommended but often mandated by building codes along the eaves, valleys, and around roof penetrations. Using a high-quality synthetic underlayment can also provide an excellent secondary barrier against moisture, especially since felt underlayment can become brittle and crack in the cold. Companies like CertainTeed and GAF offer robust underlayment systems that perform well in varying temperatures. Asking your contractor about the specific products they recommend for your climate is a smart move.
Proper Storage and Handling Techniques
The way materials are stored and handled before and during installation is critical in cold weather. Shingles should be stored in a warm, dry place if possible, or at least elevated off the frozen ground, to prevent them from becoming excessively stiff. When brought to the job site, bundles should be handled gently. Rather than tossing full bundles onto the roof, which can cause damage, roofers might opt to carry them up or use equipment to lift them, then carefully break them apart.
On the roof, shingles should be distributed in smaller piles rather than large stacks to avoid prolonged exposure to cold and to minimize stress on the shingles. Crews are trained to keep shingles as warm as possible, sometimes even leaving bundles inside a heated truck or storage unit until they are ready to be installed. This attention to detail in material handling helps maintain the shingles' flexibility and reduces the risk of breakage. This is a subtle but important aspect of a quality installation, and a sign of a professional crew.
Specialized Installation Methods
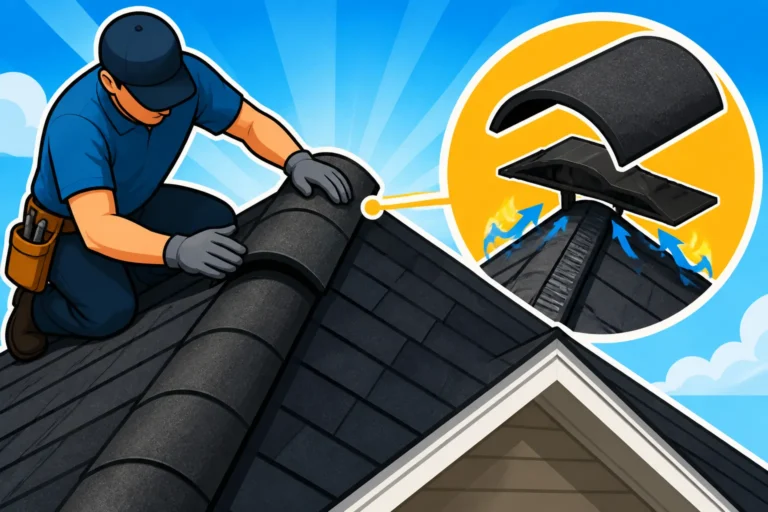
To counter the challenges of cold weather, professional roofers employ several specialized techniques. One of the most common is the use of extra fasteners. While standard nailing patterns are usually sufficient, in areas prone to high winds or in extremely cold conditions where thermal sealing is delayed, roofers might use six nails per shingle instead of the typical four. This "high-wind nailing" pattern significantly increases the shingle's resistance to blow-off before the sealant strip has a chance to fully activate. You can read more about how shingles are nailed and sealed in our detailed guide.
Another technique involves using "hand-tabbing" or specialized cold-weather mastics. These viscous adhesives are applied manually under the shingle tabs to secure them more immediately, essentially acting as a temporary seal until the sun can do its work. Some contractors might even use low-temperature torches (with extreme caution and fire safety measures) to gently warm the sealant strips on critical sections, though this is less common and usually reserved for specific situations due to fire risks. Reputable contractors adhere strictly to manufacturer guidelines, ensuring that any modifications for cold weather installation do not void the shingle warranty. Understanding these details will give you confidence in your contractor's expertise, so feel free to ask questions when you're interviewing candidates or reviewing your contract.
When Is It Too Cold to Install a Roof?
This is the million-dollar question for many homeowners considering a winter roof replacement. There isn't a single, universally agreed-upon temperature, but rather a combination of factors and guidelines that professional roofers consider before hoisting the first bundle of shingles.
Temperature Thresholds and Wind Chill
Most asphalt shingle manufacturers specify a minimum ambient temperature for optimal installation. This threshold is typically around 40°F (4°C), but it can vary by product and manufacturer. Below this temperature, the adhesive strips on the shingles may not activate effectively, and the shingles become more brittle. However, it's not just about the thermometer reading; wind chill plays a significant role. A 40°F day with a strong wind can feel like freezing, impacting both the crew's safety and the materials' workability.
Furthermore, direct sunlight can make a big difference. A sunny, 35°F day might be more suitable for roofing than a cloudy, 45°F day, as the sun's warmth can help activate the shingle's sealant strips and warm the roof deck. That said, extended periods of sub-freezing temperatures, especially below 20°F (-6°C), generally make asphalt shingle installation highly problematic and are usually avoided by responsible contractors due to the increased risk of material damage and poor adhesion.
Manufacturer Guidelines and Warranties
The guidelines set by shingle manufacturers are paramount. If a roof is installed outside the specified temperature range or without adhering to cold-weather installation protocols, the manufacturer's warranty could be jeopardized. This is a huge risk for a homeowner, as a voided warranty means you're on the hook for any future material defects.
For instance, companies like Owens Corning and GAF provide detailed installation instructions that include specific recommendations for low-temperature applications. These might involve storing shingles in warmer conditions, using specific cold-weather adhesives, or increasing the number of nails per shingle. A reputable contractor will be intimately familiar with these guidelines for the specific products they install and will ensure that all necessary precautions are taken to keep your warranty intact. Always ask your potential contractor if they are manufacturer-certified and if they follow specific cold-weather guidelines to protect your roof's long-term coverage. You can learn more about how shingle warranties work and what voids a shingle warranty in our detailed resources.
The Role of Professional Assessment
Ultimately, deciding whether it's too cold to install a roof comes down to a professional assessment by an experienced contractor. They consider not only the current temperature and wind but also the forecast for the coming days, the amount of direct sunlight the roof will receive, and the specific characteristics of the chosen roofing materials.
A skilled roofer understands that pushing an installation in marginal conditions can lead to costly callbacks and dissatisfied customers. They'll also assess factors like the roof's pitch and complexity, as these can influence how easily materials can be handled and how quickly the crew can work. If a contractor seems overly eager to install in truly frigid conditions without discussing their cold-weather plan, it might be a roofing contractor red flag to avoid. Always get multiple quotes and ask detailed questions about their approach to winter installations. A good contractor will clearly explain their strategy and will not hesitate to reschedule if conditions are genuinely unsuitable.
Advantages and Disadvantages of Winter Roofing
While the challenges of cold weather roofing are real, choosing to get your roof replaced in the colder months isn't always a bad idea. In fact, for some homeowners, there can be distinct advantages, balanced, of course, by some notable downsides.
Potential Benefits: Scheduling and Pricing
One of the most appealing aspects of winter roofing is often the scheduling flexibility. The peak roofing season typically runs from late spring through early fall. During these months, contractors are often booked solid, meaning longer wait times for homeowners. In the colder months, especially after the initial rush of fall projects, many roofing companies experience a slowdown. This can translate to quicker scheduling for your project, potentially getting your roof replaced sooner than you might in the spring.
Another potential benefit can be pricing. While material costs remain relatively stable, some contractors might offer slightly more competitive labor rates or special promotions during their off-peak season to keep their crews busy. It's not a guarantee, and you should always compare bids carefully, but it's a possibility worth exploring. Plus, if your roof suffered severe storm damage in the fall, waiting until spring for repairs isn't an option. Getting it fixed in winter means securing your home against further damage, which is a massive peace of mind, especially if you're dealing with issues like a persistent leak or missing shingles. Looking for ways to save money? Our guide on how to get a lower roofing quote might offer some insights.
The Downsides: Risks, Pace, and Curing Time
Despite the potential benefits, it's crucial to be realistic about the downsides of winter roofing. As discussed, the risks of material damage (like brittle shingles breaking) and improper adhesion are higher. While skilled contractors mitigate these risks with best practices, they are still present. A less experienced or less scrupulous contractor might cut corners, leading to a compromised roof that fails prematurely, leaving you with costly repairs down the line.
The pace of work can also be slower. Cold temperatures, shorter daylight hours, and the need for extra precautions mean that a winter roof installation often takes longer than a summer one. Crews may take more breaks to warm up, and the cold can simply slow down manual tasks. This extended timeline can be inconvenient for homeowners, especially if they need to be present or if there are noise concerns.
Perhaps the biggest drawback is the extended curing and sealing time for the shingles. If the temperatures remain consistently low, the thermal sealant strips on the shingles might not fully activate for weeks or even months until warmer weather returns. This leaves your roof vulnerable to high winds for a longer period. While hand-tabbing cement can help, it's not a perfect substitute for the natural thermal seal. This delay means you might need to monitor your new roof more closely through the winter for any signs of issues.
Here's a quick comparison of factors:
| Factor | Summer/Fall Installation | Winter Installation |
|---|---|---|
| Shingle Adhesion | Fast, reliable thermal sealing | Delayed thermal sealing, often requires hand-tabbing |
| Material Flexibility | High, less prone to breakage | Low, shingles more brittle and prone to cracking |
| Crew Safety | Heat stress, dehydration (manageable) | Slips, falls, hypothermia, frostbite (higher risk) |
| Work Pace | Generally faster due to long daylight hours and optimal temps | Slower due to short daylight, cold, and precautions |
| Scheduling | Longer wait times due to high demand | Potentially quicker scheduling, more flexibility |
| Pricing | Standard rates | Might find off-season deals (variable) |
| Warranty Risk | Lower if installed to spec | Higher if cold-weather guidelines are not strictly followed |
| Visibility | Easier to spot initial imperfections or issues | Harder to spot issues until snow/ice melts or temps rise |
What Homeowners Should Know and Ask
Deciding to install a new asphalt roof in cold weather is a big decision, and as a homeowner, you have every right to be informed and confident in the process. Asking the right questions and taking specific steps can make a world of difference.
Questions for Your Roofer
Before you sign any contract for a winter roofing project, engage in a thorough conversation with your prospective contractors. Don't be shy; this is your investment. Here are some critical questions you should ask:
- What are your specific protocols for cold weather installation? This is crucial. Listen for details about material storage, special adhesives, increased nailing, and safety measures. A confident, detailed answer shows experience.
- What are the temperature limits for your crew to work? A professional roofer will have a clear threshold and won't just say "we work in any weather." They should also mention factors like wind chill and precipitation.
- Which specific cold-weather rated products will you use (shingles, underlayment, sealants)? Ask for brand names and product lines. This demonstrates their attention to material compatibility with cold. Brands like Malarkey and Atlas are known for certain shingle technologies that can perform well in various climates, but specific product lines vary.
- How will you ensure the shingles seal properly, given the cold? They should explain the use of hand-tabbing cement, additional nails, or other manufacturer-recommended methods.
- How will you protect my property from damage during the colder installation? This includes ensuring debris doesn't get buried under snow and is easily cleaned up.
- What happens if weather conditions worsen during the project? A good contractor will have a plan for securing the roof overnight or during unexpected snowstorms.
- How will this affect my manufacturer's warranty? They should assure you that their methods will adhere to warranty requirements, and ideally, they should be a manufacturer-certified roofer like a GAF Master Elite or Owens Corning Platinum Preferred contractor, as these certifications often come with enhanced warranty options, even in challenging conditions.
Preparing Your Home for a Winter Roof Job
Once you've chosen a contractor, there are a few things you can do to prepare your home for the winter installation:
- Clear the perimeter: Ensure the areas around your house are free of obstructions, including snow drifts, decorative items, and anything that could be damaged or hinder access. Move vehicles from the driveway.
- Protect vulnerable items: Cover or move outdoor furniture, grills, and plants. While roofers take care, falling debris is always a risk.
- Secure your attic: Clear any valuables directly below the roof work area in your attic. Expect dust and debris, and possibly some shaking.
- Inform your neighbors: Let them know about the upcoming work, as it can be noisy and disruptive, especially with shorter daylight hours.
- Manage pets and children: Keep them away from the work area for safety.
- Consider your heating: Ensure your heating system is working efficiently. While roofers work outside, interior temperatures can fluctuate due to open access points.
These steps help the crew work more efficiently and safely, and protect your property.
Post-Installation Monitoring
After your new roof is installed in cold weather, your job isn't quite over. You'll need to monitor it more closely than you might a roof installed in warmer months.
- Watch for shingle sealing: Once warmer weather arrives (typically consistently above 50°F or 10°C), keep an eye on your roof to ensure the sealant strips activate. You should notice the shingles lying flatter and feeling more secure.
- Inspect for debris: After the snow melts, do a thorough check of your yard for any lingering nails or small pieces of shingle. A good contractor will do a thorough cleanup, but a second look never hurts.
- Check for leaks: Keep an eye on your attic or ceilings during heavy rains or snowmelt. While rare with a professional installation, a persistent drip should be reported to your contractor immediately.
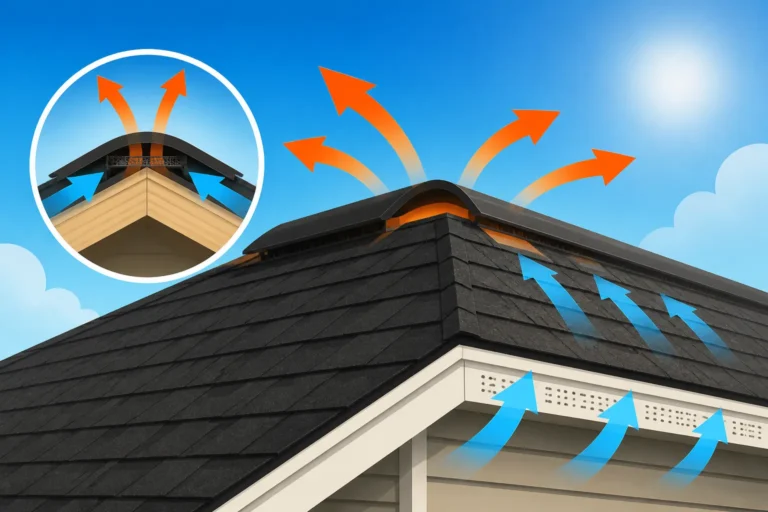
- Maintain ventilation: Ensure your attic ventilation isn't obstructed by snow or ice, which can lead to ice damming and other issues. You can learn more about how roof ventilation works in our dedicated guide.
Following these steps will help ensure that your winter roof installation performs as expected for years to come. Remember, a new roof is a significant investment, and proper care and vigilance on your part contribute to its longevity.
Disclaimer
The information provided in this article is intended for general guidance and informational purposes only. While we strive to offer accurate and up-to-date content, roofing is a complex field that requires professional expertise. Always consult with a qualified, licensed, and insured roofing contractor for specific advice regarding your property and before making any decisions related to roof repair or replacement. Local building codes, manufacturer specifications, and environmental conditions can vary greatly, and a professional assessment is crucial for any roofing project.