How Hip and Ridge Caps Are Installed
Ever looked at a house with a brand-new roof and noticed how crisp and defined the lines are, especially at the peaks and corners? That polished finish isn't just a happy accident; it’s largely thanks to properly installed hip and ridge caps. Without these crucial components, your roof wouldn't just look unfinished; it would be vulnerable to leaks, wind damage, and premature deterioration. This guide is going to walk you through everything you need to know about how these vital elements are installed, ensuring your home gets the protection and curb appeal it deserves.
What Are Hip and Ridge Caps and Why Do They Matter?
When we talk about the "roofline" of a house, we're referring to those prominent angles and peaks that give your home its distinct shape. These are more than just architectural features; they are critical junctures where different roof planes meet, making them highly susceptible to the elements. Hip and ridge caps are specialized asphalt shingles designed specifically to cover these exposed areas, providing a protective and aesthetically pleasing finish.
The Critical Role of Caps in Roof Protection
Imagine your roof as a giant umbrella over your home. The main slopes shed water efficiently, but what about where those slopes come together? That's where the hips (the angled lines running from the peak down to the eaves) and ridges (the horizontal line at the very top of your roof) come into play. These are transition points, and if not properly sealed and protected, they become prime entryways for water, wind, and debris.
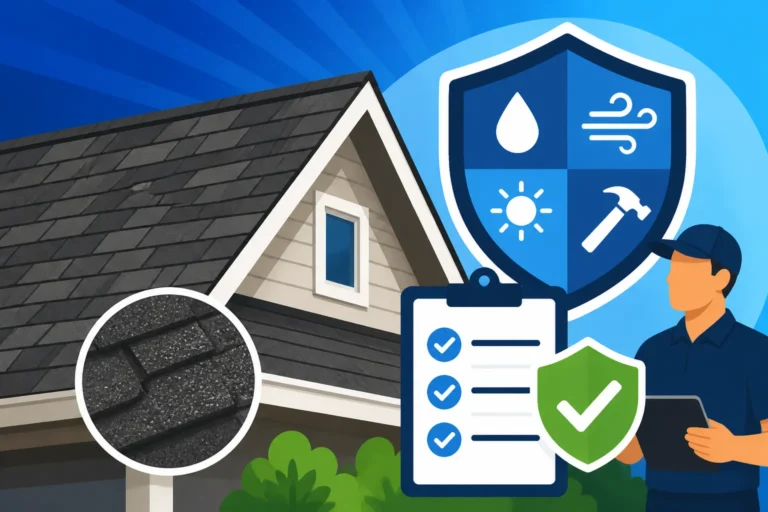
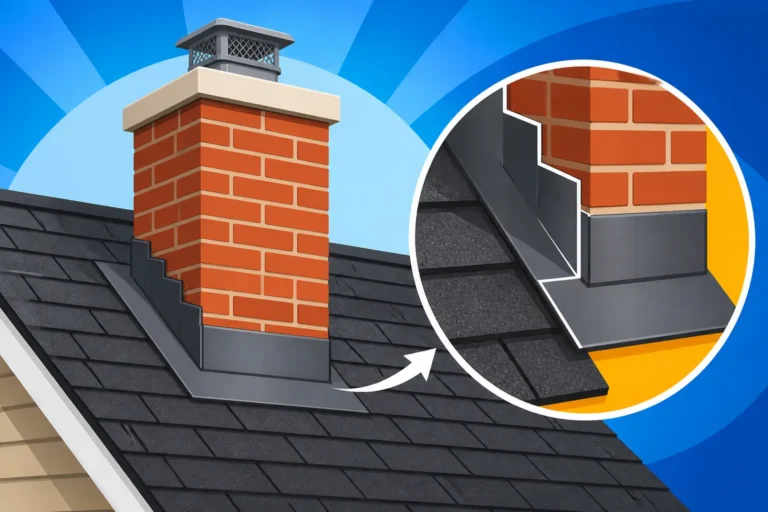
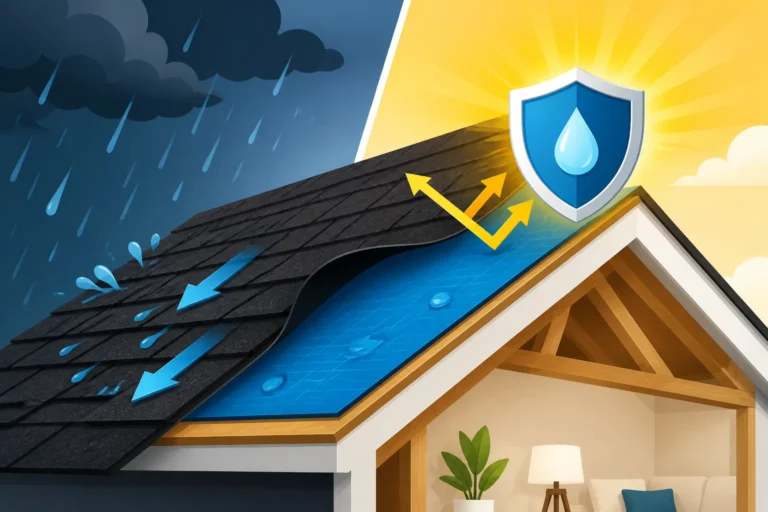
Hip and ridge caps act as the first line of defense at these vulnerable spots. They are installed in an overlapping fashion, creating a watertight seal that prevents rain, snow, and ice from seeping underneath your regular field shingles. Think of them as the helmet for your roof's most exposed areas. Without them, you'd be looking at potential structural damage to your roof decking, attic leaks, and even mold growth in your home. They are an integral part of a comprehensive roofing system, working in conjunction with underlayment, flashing, and the main field shingles to create an impenetrable barrier against the weather. It’s not just about covering a gap; it’s about shunting water flow effectively and preventing uplift from high winds.
Aesthetic Impact and Curb Appeal
Beyond their vital protective function, hip and ridge caps play an enormous role in your home's overall appearance. A well-executed cap installation provides a clean, continuous line that frames your roof and enhances its architectural beauty. It's the difference between a tailored suit and one that's been thrown on haphazardly.
Consider two identical houses side-by-side. One has standard, flat-looking caps or even poorly cut ones, showing inconsistent lines. The other boasts robust, dimensional hip and ridge caps that add texture and definition, making the roof appear much more substantial and custom-built. The second house will undoubtedly have better curb appeal. This is especially true for homes with complex roof designs, where the hips and ridges are prominent features. Properly installed caps literally highlight the craftsmanship of your roof, contributing significantly to your home's aesthetic value and potentially even its resale value. It’s one of those subtle details that, when done right, makes a huge difference in the perceived quality and care of a property.
Understanding Different Types of Hip and Ridge Caps
Just like there are different types of asphalt shingles for the main part of your roof, there are also various options when it comes to hip and ridge caps. The choice often comes down to budget, aesthetic preference, and the type of main shingles being installed. Knowing the differences can help you make an informed decision and understand why your roofing contractor might recommend one over another.
Standard 3-Tab Cut Caps
Historically, and still quite commonly today, many roofers would create hip and ridge caps directly from standard 3-tab asphalt shingles. This is a practice that dates back decades, and it's certainly a cost-effective approach. The process involves taking a standard 3-tab shingle, cutting off the tabs to create individual segments, and then trimming the corners slightly to achieve a more finished look when overlapped.
The main advantage of 3-tab cut caps is their affordability and availability. If your contractor is already using 3-tab shingles for the rest of your roof, they can easily produce the caps on-site, minimizing waste and potentially reducing material costs. However, there are some significant drawbacks. Because they are essentially cut from flatter, thinner 3-tab shingles, these caps typically don't offer the same dimensional aesthetic or robust protection as their specialized counterparts. They can appear less substantial and may not complement the thicker, architectural shingles often used on modern homes. Their lifespan might also be shorter due to less material thickness and fewer reinforcing layers. They might be acceptable for a garage or a shed, but for your main home, especially if you're installing a high-quality architectural shingle, they can feel like a downgrade. This is often where a homeowner might unknowingly compromise on the longevity and appearance of their roof.
Pre-Formed or Dimensional Caps
In contrast to cut caps, pre-formed or dimensional hip and ridge caps are specifically manufactured by roofing companies to provide superior performance and a more attractive finish. These caps are usually thicker, multi-layered, and designed to perfectly complement dimensional or architectural shingles. Brands like GAF, Owens Corning, and CertainTeed all offer a range of these specialized caps. For instance, GAF's TimberTex or Cobra series, Owens Corning's DecoRidge or DuraRidge, and CertainTeed's Mountain Ridge are popular choices known for their durability and striking appearance.
The advantages of dimensional caps are numerous. Firstly, they offer enhanced durability. Built with multiple layers of asphalt and granules, they are much more resistant to wind uplift, impact, and UV degradation than standard cut caps. Many come with higher wind ratings and often include a sealant strip for added protection, helping to prevent moisture intrusion. Secondly, their aesthetic appeal is undeniable. They are designed to mimic the thicker, more textured look of architectural shingles, providing a cohesive and high-end finish to your roofline. This dimensional quality adds significant depth and shadow lines, making the roof appear more substantial and visually appealing. Lastly, using manufacturer-specific caps often ensures that your entire roofing system qualifies for the best available warranties, as these caps are engineered to work in harmony with the field shingles. While they do come at a higher cost than simple cut caps, the investment in long-term performance, aesthetic appeal, and warranty coverage is often well worth it. When considering your Asphalt Roof Replacement Cost: Complete Breakdown, remember that these specialized caps are an important component.
Step-by-Step Installation of Hip and Ridge Caps
Installing hip and ridge caps is one of the final, crucial steps in a roof replacement. It requires precision and adherence to specific techniques to ensure both durability and a flawless finish. While it might look straightforward, there are important details that separate a professional, long-lasting installation from one that might cause problems down the road.
Preparation and Underlayment Considerations
Before a single hip or ridge cap is nailed down, proper preparation is key. This phase often goes unnoticed by homeowners, but it lays the groundwork for the entire capping process. First and foremost, the underlying roof structure must be sound. This means ensuring that the roof decking is solid, free from rot or significant damage, and securely fastened. Any necessary repairs to the roof decking should have been completed long before this stage.
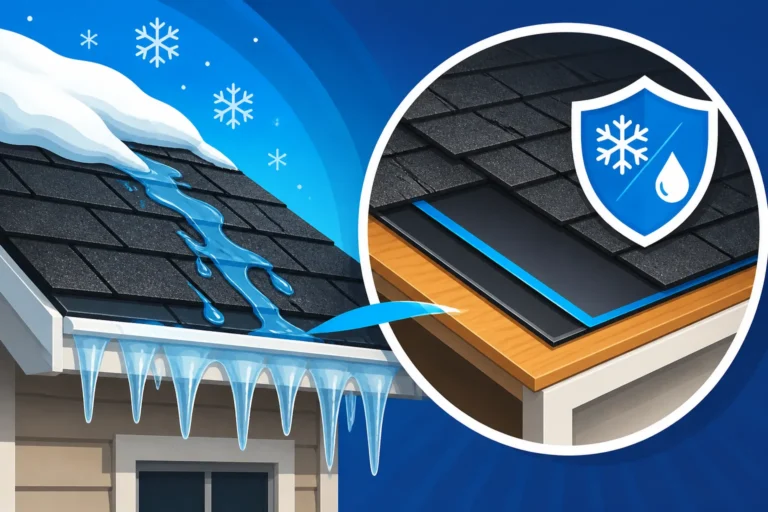
Next, the underlayment, whether it's traditional felt or a synthetic option, needs to be correctly installed and extend fully to the hip and ridge lines. For added protection, many codes and best practices recommend installing an ice and water shield in these critical areas, especially in regions prone to heavy snow or ice. This self-adhering membrane offers an extra layer of waterproofing where water has a tendency to pool or back up. A good contractor will ensure that all previous layers of the roof system, including the drip edge and starter shingles, are perfectly in place. Once the underlying structure is sound and sealed, the roofer might snap chalk lines to ensure the caps run perfectly straight. This is particularly important on long ridge lines or prominent hips, as even slight deviations can be glaringly obvious from the ground. Safety is paramount here, so the crew will be using appropriate fall protection gear as they work on these elevated sections of the roof.
Nailing and Sealing Techniques for Optimal Performance
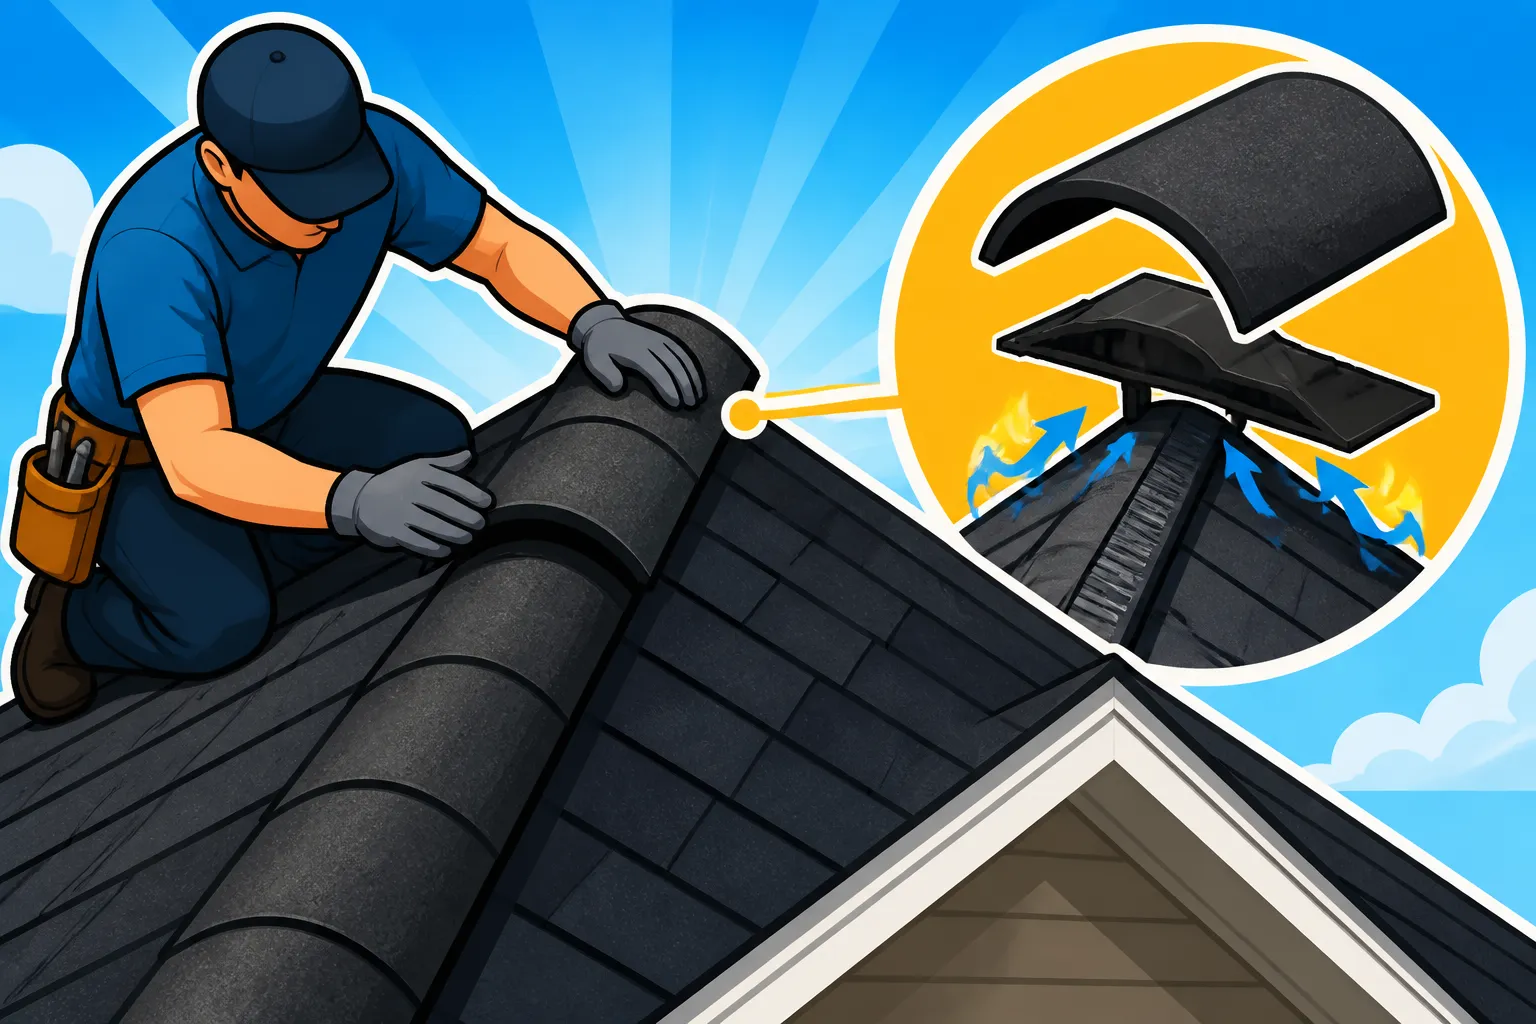
The actual installation process of hip and ridge caps is methodical and critical for their performance. For hips, work generally starts from the bottom (eaves) and progresses upwards towards the ridge, overlapping each cap shingle over the one below it. This ensures that water flows smoothly over the overlaps, away from the roof deck. For ridges, installation typically begins at one end of the ridge line, working across to the other, often against the prevailing wind direction to minimize uplift.
The nailing pattern is paramount. Each cap shingle needs to be securely fastened with roofing nails, typically two nails on each side, placed just below the sealant strip (if present) and far enough from the edge to be covered by the next overlapping shingle. The nails must penetrate completely through the cap shingle and the roof decking. It's a common mistake for nails to be driven too high, leaving them exposed to the elements, or too low, risking improper fastening. Exposed nails are a recipe for leaks and premature failure.
Many dimensional hip and ridge caps come with an adhesive sealant strip on their underside, which activates in the sun's heat to bond the layers together. However, some applications, especially in colder weather, or for added security, might require a small dab of roofing cement or a specialized sealant under the leading edge of each cap. This extra step provides an additional layer of weatherproofing and helps to prevent wind uplift. When you're choosing a roofing contractor, you want one who understands and applies these precise techniques, ensuring the How a Complete Roof System Qualifies for Warranty and truly protects your home. Looking at your options, a service like Modernize can help you connect with qualified professionals in your area.
Finishing Touches and Inspection
As the last hip or ridge cap is installed, the work isn't quite over. The finishing touches and a thorough inspection are what guarantee a professional, long-lasting job. The last cap shingle on a ridge, or where a hip meets a ridge, needs to be meticulously trimmed and sealed. Often, this involves cutting the shingle to fit snugly and then generously applying roofing cement underneath and along any exposed edges to create a watertight seal. This final piece is sometimes called the "ridge cap termination" and requires particular care.
Once all the caps are in place, the roofing crew will conduct a visual inspection. They'll check for consistent shingle exposure—meaning each cap shingle should reveal the same amount of its surface, creating an even, attractive pattern. They'll look for any signs of "nail pops" where a nail head might be pushing up, indicating improper fastening, or nails that weren't driven flush. They'll also ensure all adhesive strips have properly sealed, though some may take time to fully activate under the sun. Any excess roofing cement should be neatly wiped away for a clean finish. Finally, the area will be thoroughly cleaned, removing any shingle scraps, nails, or debris that might have fallen during the installation. A complete cleanup isn't just about aesthetics; it also prevents hazards like stray nails that could puncture tires or injure someone. This comprehensive approach to installation and finishing ensures that the caps not only look great but also perform optimally for the lifespan of your roof.
Common Mistakes and How to Avoid Them
Even experienced roofers can sometimes make mistakes during hip and ridge cap installation, and as a homeowner, understanding these pitfalls can empower you to ask the right questions and ensure a high-quality job. These areas are critical, so getting them right directly impacts your roof's longevity and performance.
Incorrect Nailing and Fastening
This is perhaps the most common and damaging mistake in hip and ridge cap installation. Nailing might seem simple enough, but precise placement and sufficient quantity are non-negotiable. One frequent issue is "high nailing," where the nails are placed too high on the cap shingle. When the next shingle overlaps, these high nails aren't fully covered, leaving them exposed to direct sunlight, rain, and hail. Exposed nails are a direct pathway for water into your roof deck, leading to leaks, wood rot, and premature cap failure.
Another problem is not using enough nails or using nails that are too short to properly penetrate the roof decking. Most manufacturers specify at least four nails per cap shingle (two on each side), often strategically placed to maximize wind resistance. If fewer nails are used, or if they don't get a good bite into the decking, the caps are much more susceptible to wind uplift. Imagine a gusty storm hitting your home; poorly fastened caps can be ripped off, leaving the underlying roof structure exposed. To avoid these issues, always ask your contractor about their nailing pattern and ensure they are following manufacturer guidelines. A reputable contractor will be transparent about their techniques and emphasize High-Wind Nailing Explained when discussing installation.
Improper Overlap or Alignment
The beauty and functionality of hip and ridge caps come from their consistent, overlapping pattern. When this is done incorrectly, it not only looks bad but also compromises the weatherproofing of your roof. Improper overlap means that either too much or too little of the underlying shingle is exposed. If too much is exposed, the cap can appear thin and may not adequately protect the nail heads beneath it. If too little is exposed, it can create a bulky, uneven look, and in extreme cases, might hinder proper water runoff.
Alignment is another aesthetic and functional concern. Each cap shingle should be installed squarely and consistently with the ones before it, creating a straight, clean line along the hip or ridge. If they are installed crooked or with varying exposures, the entire roofline will look wavy and unprofessional. This lack of precision not only detracts from your home's curb appeal but can also create small gaps or uneven surfaces where water can collect or wind can catch, slowly degrading the integrity of the roof over time. A professional roofing crew will use chalk lines and consistent measuring techniques to ensure perfect alignment and overlap, understanding that these details contribute significantly to the overall aesthetic and protective qualities of the roof, tying into the broader appeal of Roof Replacement ROI Explained.
Neglecting Manufacturer Specifications
Every major shingle manufacturer—whether it's GAF, Owens Corning, CertainTeed, or Malarkey—provides detailed installation instructions for their entire roofing system, including hip and ridge caps. These specifications are not mere suggestions; they are engineered guidelines designed to ensure optimal performance, longevity, and, critically, warranty coverage. Neglecting these specifications is a serious mistake that can lead to headaches down the road.
For instance, some manufacturers might require a specific type of sealant or a particular nail length for their dimensional caps. Others might have unique recommendations for installation in cold weather or high-wind zones. If a contractor deviates from these guidelines, even if the installation looks okay, it could potentially void your manufacturer's warranty. This means if a defect arises years later, you might be left paying for repairs or a full replacement out of pocket, even if the material itself was faulty. This is why when you're interviewing roofers, you should always ask if they are manufacturer-certified (e.g., GAF Master Elite or Owens Corning Platinum Preferred). These certifications indicate that the contractor has undergone training and committed to installing products according to the manufacturer's strict standards. Reputable roofing companies, often found through services like Modernize, understand that adhering to these specifications is not just about doing a good job; it's about protecting the homeowner's investment and upholding the integrity of their work. Ignoring these crucial details can turn a simple roof installation into a costly lesson in What Voids a Shingle Warranty.
Hip and Ridge Cap Comparison
To help you visualize the differences between the two main types of hip and ridge caps, here's a quick comparison:
| Feature | Standard 3-Tab Cut Caps | Pre-Formed/Dimensional Caps |
|---|---|---|
| Material Source | Cut from standard 3-tab asphalt shingles | Factory-manufactured, multi-layered asphalt shingle |
| Appearance | Flatter, less dimensional, can look more basic | Thicker, sculpted, adds significant depth and shadow |
| Durability | Generally lower, thinner, less wind-resistant | Higher, more robust, excellent wind and impact resistance |
| Cost | Lower material cost, often made on-site | Higher material cost, specialized product |
| Warranty Impact | May not qualify for enhanced manufacturer warranties | Often required for extended manufacturer warranties |
| Aesthetic Match | Best for 3-tab roofs, can look mismatched with architectural | Designed to complement architectural/dimensional shingles |
| Examples | Basic cut shingles | GAF TimberTex, Owens Corning DecoRidge, CertainTeed Mountain Ridge |
Disclaimer
Please note that this article is intended for informational purposes only and should not be considered professional advice. While we strive to provide accurate and up-to-date information, roofing installation is a complex process that requires specific skills, knowledge, and adherence to local building codes. Always consult with a qualified and licensed roofing contractor for any roofing projects or concerns. The information provided here does not create a client-contractor relationship.