How Roof Underlayment Prevents Leaks
There's nothing quite like the panic that sets in when you spot a water stain spreading across your ceiling, or worse, see drips during a heavy rain. It's a stark, chilling reminder that your roof, your home's primary shield, might be compromised. While asphalt shingles often get all the glory, or blame, depending on the situation, the true unsung hero working tirelessly underneath them is the roof underlayment. This guide is dedicated to explaining precisely how roof underlayment prevents leaks, ensuring your home stays dry and protected.
What Exactly Is Roof Underlayment, Anyway?
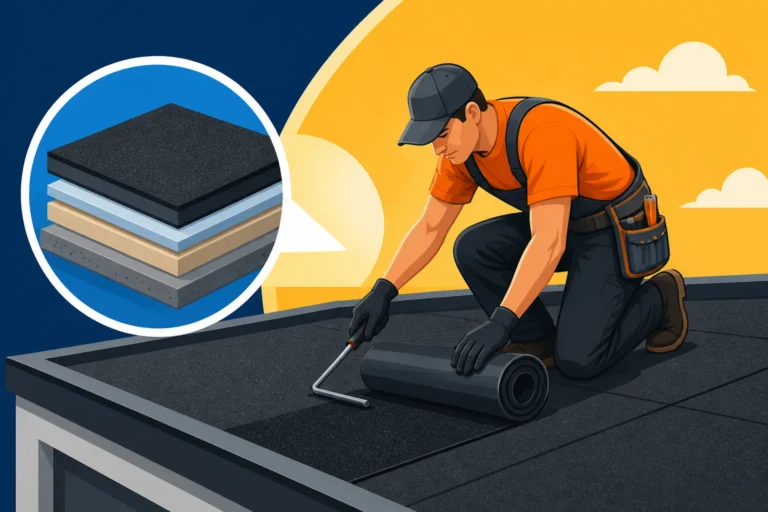
Before we dive into how it works its magic, let's get clear on what roof underlayment actually is. Think of it as your roof's second line of defense, a critical layer of material installed directly onto your roof deck before the shingles go on. Many homeowners don't even realize it's there, hidden beneath the visible roofing, but its presence is absolutely non-negotiable for a robust, leak-proof roof system. For decades, the standard was asphalt-saturated felt paper, often called "tar paper" or "felt." While effective for its time, roofing technology has advanced significantly, and now, modern synthetic underlayments are largely dominating the market, offering superior protection and longevity.
The primary purpose of underlayment is twofold: it provides a temporary weather barrier during the installation process, protecting your home if an unexpected storm rolls in before the shingles are complete, and more importantly, it offers an essential extra layer of water resistance after the shingles are installed. It's there to catch any water that might manage to sneak past your primary shingle layer, ensuring that moisture doesn't reach your roof deck, attic, or worse, your living space.
The Role of Underlayment as a Secondary Barrier
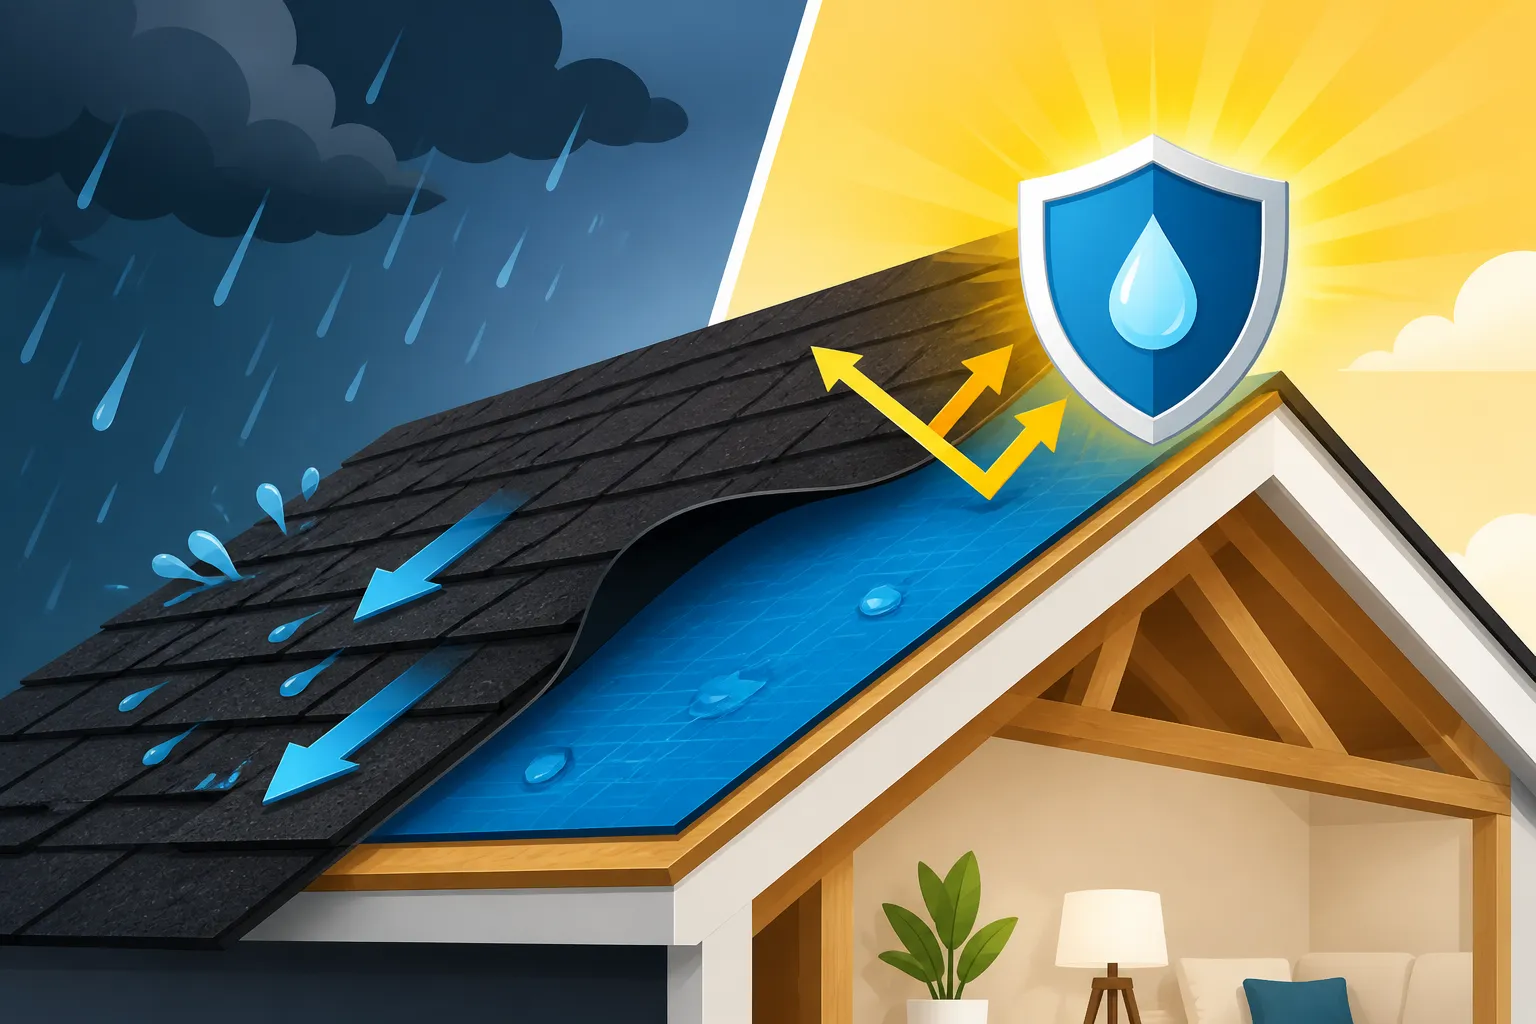
Imagine your roof deck as the bare plywood or OSB sheeting that forms the structural base of your roof. Without underlayment, if a shingle gets damaged, lifts in a strong wind, or simply fails over time, water would have a direct path to this vulnerable decking. That's a recipe for rot, mold, and costly interior damage. Underlayment creates a continuous, water-shedding surface over the entire deck, acting as a critical barrier. It essentially becomes the last stand against water intrusion, funneling any moisture that breaches the shingle layer down and off the roof. This redundancy is what makes a modern asphalt roofing system so incredibly durable and protective.
Furthermore, underlayment isn't just about water. It also helps protect the roof deck from resin bleed-through from the shingles, which could potentially damage the wood. It also provides a smooth, uniform surface for the shingles to be installed on, which can actually improve their overall appearance and help them lay flatter, contributing to better long-term performance.
The Unsung Hero: How Underlayment Actually Blocks Water
So, how does this hidden layer perform its crucial duty of preventing leaks? It's all about its material properties and how it interacts with the rest of your roofing system. Underlayment works through a combination of shedding water, sealing around fasteners, and providing resistance to wind-driven rain.
Water Shedding and Barrier Protection
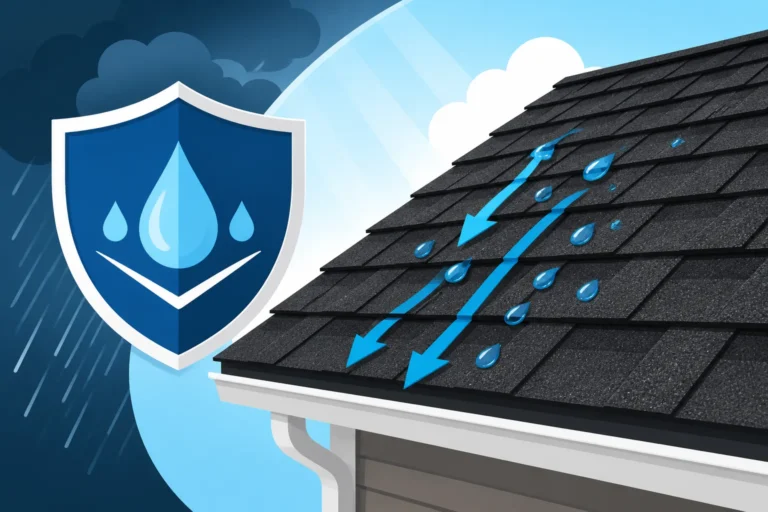
The most straightforward way underlayment prevents leaks is by being a physical, water-impermeable barrier. Modern synthetic underlayments are typically made from woven polypropylene or fiberglass, often coated with polymers, making them extremely resistant to water absorption. When water penetrates the shingle layer, it hits the underlayment, which is designed to be smooth and slightly slick, allowing the water to flow downward, following the slope of the roof, until it reaches the gutters. It's a bit like a giant, continuous tarp spread beneath your shingles, redirecting any intruding moisture away from the vulnerable roof deck.
This shedding action is particularly vital during heavy downpours or ice dams, where water might pool or back up under shingles. Without underlayment, such conditions would almost certainly lead to leaks. This protective layer ensures that even if a shingle cracks or becomes dislodged, your home isn't immediately exposed. Understanding how roof underlayment prevents leaks really highlights its critical role in the overall system. If you're wondering about the specifics of its placement, diving into how underlayment is installed can provide a clearer picture.
Sealing Around Fasteners and Wind-Driven Rain Resistance
One of the most common points of vulnerability on a roof are the thousands of nail holes created during shingle installation. Every shingle is fastened to the deck with nails, and each of these penetrations is a potential entry point for water. This is where advanced underlayments, particularly self-adhering ice and water shields, truly shine. These specialized underlayments have a rubberized asphalt adhesive backing that seals tightly around the shaft of each nail. When the nail penetrates, the material essentially "grows" around it, preventing water from seeping through the tiny gap. This is a game-changer for leak prevention, especially in areas prone to high winds or heavy, wind-driven rain.
Consider a fierce gale pushing rain horizontally. This kind of weather can force water up and under shingles, bypassing their typical shedding mechanism. Without a robust underlayment that can resist this upward capillary action and seal around fasteners, water would easily find its way into your home. This is why building codes in many areas, particularly those in hurricane zones or cold climates, often mandate specific underlayment types, like ice and water shield, especially along eaves, valleys, and around penetrations. For a deeper understanding of the comprehensive process, consider looking into how a roof replacement works: the full process.
Types of Underlayment: Choosing the Right Shield for Your Home
The world of roof underlayment isn't one-size-fits-all. Different types offer varying levels of protection, durability, and, of course, cost. Choosing the right one for your home depends on your local climate, budget, and the level of protection you desire. When you're working with a roofing contractor, they should walk you through these options, but it’s always good to be informed. Platforms like Modernize can help you connect with local professionals who can explain these choices in detail.
Asphalt-Saturated Felt Underlayment
This is the traditional workhorse, often referred to as "tar paper." It's made from a base mat (usually organic cellulose or fiberglass) saturated with asphalt. You'll typically find it in two weights: 15-pound felt and 30-pound felt. The 30-pound felt is thicker and more durable than the 15-pound.
- Pros: It's generally the most economical option upfront, readily available, and has a long track record. It still offers decent water resistance and helps prevent asphalt shingles from sticking to the roof deck in hot weather.
- Cons: It's prone to tearing, especially during installation, and can wrinkle or become brittle over time. It offers minimal resistance to wind-driven rain compared to synthetics and does not self-seal around fasteners. If it gets wet before shingle installation, it can absorb water and degrade, which is a major concern.
Synthetic Underlayment
Synthetic underlayments are the modern standard, offering superior performance compared to felt. Made from polymers, usually polypropylene, these woven or non-woven fabrics are incredibly lightweight, strong, and highly resistant to tearing.
- Pros: Much stronger and more tear-resistant than felt, making installation safer and more efficient. They are hydrophobic, meaning they shed water exceptionally well and won't absorb moisture. Many synthetic underlayments are treated for UV resistance, allowing them to be exposed to the elements for longer periods without degrading, which is great if there are delays in shingle installation. They also lie flatter, which can lead to a smoother shingle application.
- Cons: Higher upfront cost than felt. Some can be a bit slick, requiring care during installation, though many now come with anti-slip coatings. Despite the higher initial cost, many homeowners find the enhanced protection and durability worth the investment. For a more detailed comparison of choices, check out our guide on synthetic vs felt underlayment cost.
Self-Adhering (Ice and Water Shield) Underlayment
This specialized underlayment is typically a rubberized asphalt material with a strong adhesive backing, protected by a release liner. It's designed to stick directly to the roof deck, creating a watertight seal. This is particularly crucial in areas prone to ice dams and severe weather.
- Pros: Provides exceptional watertight protection. It self-seals around fasteners, effectively eliminating potential leak points from nails. Its adhesive backing makes it impervious to wind-driven rain and ice dams, which can force water under regular shingles. Often required by code in northern climates along eaves and in valleys.
- Cons: It is the most expensive type of underlayment. Installation requires careful planning and can be more labor-intensive due to its adhesive nature. It's generally not used across the entire roof deck, but rather in vulnerable areas. To truly grasp its importance, reading about ice and water shield explained is highly recommended.
Here’s a quick overview of the main underlayment types:
| Feature | Asphalt-Saturated Felt | Synthetic Underlayment | Self-Adhering (Ice & Water Shield) |
|---|---|---|---|
| Material | Asphalt-saturated felt | Woven Polymer | Rubberized Asphalt + Adhesive |
| Water Resistance | Good | Excellent | Superior (Watertight) |
| Tear Resistance | Low | High | Moderate to High |
| Self-Sealing (Nails) | No | No (some have limited) | Yes |
| Wind-Driven Rain | Minimal Protection | Good Protection | Excellent Protection |
| Ice Dam Protection | Poor | Fair | Excellent |
| Cost | Lowest | Moderate | Highest |
| Primary Use | General barrier | General barrier | High-risk areas (eaves, valleys) |
Beyond Underlayment: A Full System for Ultimate Leak Protection
While underlayment is an undeniable powerhouse in leak prevention, it's crucial to remember that it's part of a larger, interconnected roofing system. No single component works in isolation; they all collaborate to create a watertight, durable shield over your home. Just like a well-oiled machine, if one part is faulty or improperly installed, the entire system can suffer. This holistic approach is what truly gives you peace of mind.
Integrating Underlayment with Shingles and Flashing
The shingles are your first line of defense, shedding the vast majority of rainwater. The underlayment acts as the crucial backup, but it's the seamless integration of both that makes the difference. During a roof replacement, contractors will ensure the underlayment is laid correctly, often overlapping in a shingle-like fashion to maximize its water-shedding capabilities. Following this, the asphalt shingles are then meticulously installed. For instance, reputable brands like GAF or Owens Corning often recommend using their proprietary underlayments as part of their comprehensive roofing systems to qualify for enhanced warranties, which often cover not just material defects but also workmanship. Understanding how asphalt shingles are installed: step by step can give you a clearer picture of this crucial process.
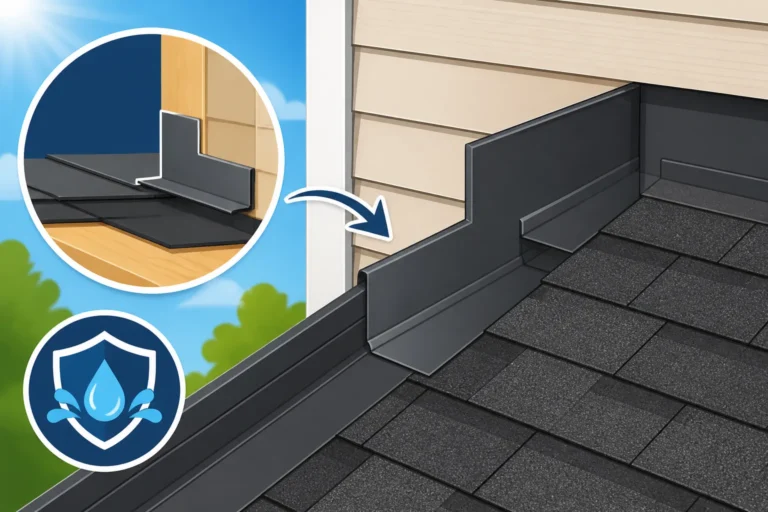
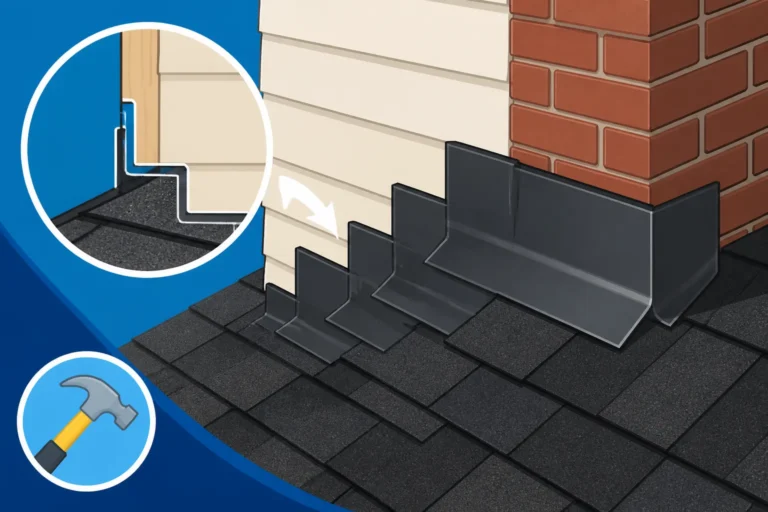
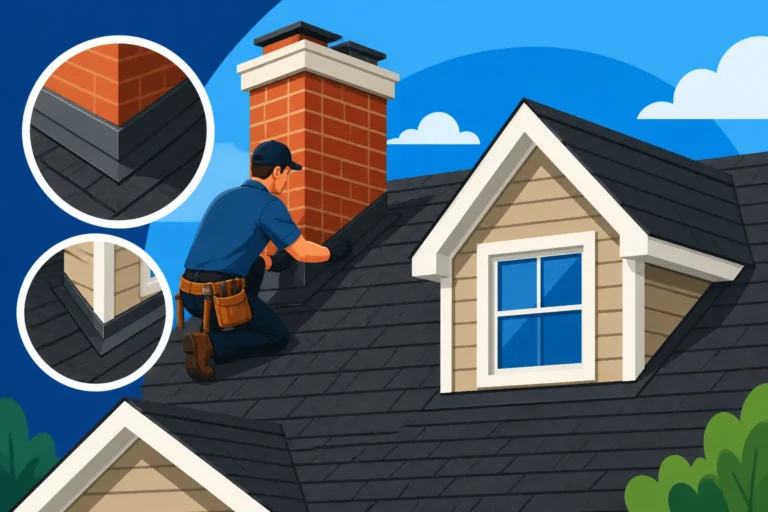
Beyond the main roof slopes, flashing is another critical component that works hand-in-hand with underlayment and shingles to prevent leaks. Flashing are thin pieces of impervious material, usually metal, installed around vulnerable areas like chimneys, skylights, vent pipes, and wall intersections. These areas are notorious for leaks because they interrupt the continuous flow of water down the roof. Underlayment should be applied up to and around these features, providing a continuous seal, and then the flashing is carefully woven into the shingle layers to divert water away. Without properly installed flashing and underlayment, these architectural features would be constant sources of trouble. Our guide on roof anatomy: parts of an asphalt shingle roof offers great insight into all these components.
The Importance of Proper Ventilation
You might wonder what roof ventilation has to do with preventing leaks. Well, a lot, actually! Proper attic ventilation, achieved through components like soffit vents, ridge vents, and sometimes gable vents, helps regulate the temperature and moisture levels in your attic. When an attic gets too hot, it can prematurely age your shingles and even cause the adhesives on your underlayment and shingles to fail, making them more susceptible to wind damage and leaks. In colder climates, poor ventilation can lead to excessive heat buildup in the attic, melting snow on the roof, which then refreezes at the colder eaves, forming ice dams.
Ice dams are a homeowner's nightmare. They create a barrier that prevents meltwater from draining off the roof, causing water to pool behind them and potentially back up under your shingles and underlayment. Even the best underlayment can be challenged by persistent ice dams. By ensuring proper attic ventilation, you minimize the conditions that lead to ice dam formation, allowing your underlayment and shingles to perform their leak-prevention duties more effectively. This goes to show that leak prevention isn't just about direct water barriers, but also about creating a healthy environment for your entire roof system. When you're ready to get quotes, remember that a good contractor found through a service like Modernize will consider all these elements.
Ultimately, preventing leaks is a team effort. The underlayment is a phenomenal player, offering robust, hidden protection. But it truly shines when it's part of a complete, well-installed roofing system that includes quality shingles, diligent flashing, and adequate ventilation. When considering a roof replacement or even a significant repair, ensure your contractor addresses all these elements. A thorough roof damage assessment: a homeowner's guide can further help you understand how these components work together and what to look for when evaluating your roof's health.
Disclaimer
Please remember that this article provides general information and should not be considered professional advice. Always consult with a qualified and licensed roofing contractor for specific recommendations and services tailored to your home's needs and local building codes. Roofing work can be dangerous and should be performed by experienced professionals.