How Roofers Handle Low-Slope Sections
It’s a common scenario: you’re looking at your roof, maybe from an upstairs window, and you notice a section that just doesn't seem to slope as much as the rest. Perhaps it's over a porch, a garage, or an addition, and it makes you a little nervous. Low-slope areas on an asphalt roof can indeed be tricky business, often inviting water to linger and creating potential leak headaches for homeowners. This guide is here to walk you through exactly how skilled asphalt roofers approach and conquer these challenging sections, ensuring your roof remains watertight and robust, no matter its pitch.
Understanding the Challenges of Low-Slope Asphalt Roofing
When you think of a typical asphalt shingle roof, you likely envision those beautiful, layered shingles shed water efficiently down a steep pitch. But not all roofs, or sections of roofs, are created equal. Low-slope areas present a unique set of challenges that require specialized knowledge and materials to tackle effectively.
Why Low Slopes Are Different
The fundamental principle of asphalt shingles is that gravity does most of the work, pulling rainwater rapidly down the sloped surface and off the roof. For this to happen effectively, shingles typically require a minimum roof pitch. Most standard asphalt shingles, whether 3-tab or architectural, are designed for roofs with a minimum slope of 4:12 (meaning the roof rises 4 inches vertically for every 12 inches it extends horizontally). If the slope is less than that, the risk of water penetration skyrockets.
On a low-slope section, water simply doesn't drain as quickly. Instead of flowing off, it can linger, pooling in depressions or moving horizontally under the shingles due to capillary action. This is when water gets drawn into tiny spaces against the force of gravity, a natural phenomenon that can wreak havoc on a roof designed for steep-slope drainage. Imagine a shallow puddle sitting on your driveway versus water cascading down a waterslide – that's the difference in how water behaves on steep versus low-slope roofing. This slower drainage allows water more time to find its way through the shingle overlaps, nail penetrations, or any minor imperfections in the installation.
Common Issues Arising from Insufficient Pitch
When standard asphalt shingles are installed on a roof section with an insufficient pitch, you’re basically setting yourself up for trouble. Here’s a rundown of common problems:
- Water Pooling and Standing Water: This is the most obvious issue. Instead of shedding, water sits. Prolonged exposure to standing water accelerates the degradation of asphalt shingles. The granules protecting the asphalt matrix begin to loosen and wash away, exposing the asphalt to UV rays and heat, which causes it to dry out, crack, and become brittle much faster.
- Capillary Action Leaks: As mentioned, water can defy gravity by being drawn upward between shingle layers. This is particularly problematic around overlaps and at the edges of the roof system where wind-driven rain can push water horizontally. These insidious leaks are often hard to pinpoint until significant damage has occurred inside the home.
- Moss, Algae, and Fungal Growth: Standing water and extended dampness create a perfect breeding ground for organic growth. Moss and algae not only look unsightly but can trap even more moisture against the shingles, further accelerating deterioration and sometimes even lifting shingle edges, creating new pathways for water.
- Shingle Degradation and Premature Failure: Beyond granule loss, the constant moisture can lead to blistering, curling, and cracking of shingles. The sealant strips designed to bond shingles together also rely on heat and a relatively dry environment to activate properly. On a perpetually damp, low-slope surface, these seals might not form strongly, making the roof more vulnerable to wind uplift and water intrusion.
- Damage to Roof Decking and Substructure: If water does manage to get through the shingles and underlayment, the next casualty is your roof decking. Plywood or OSB decking will absorb moisture, leading to rot, mold, and structural weakening. This can eventually affect your rafters and even the interior ceilings and walls of your home, turning a simple leak into a costly structural repair. This is one of the clearest signs you need a new roof, or at least a significant repair.
Understanding these inherent challenges is the first step in appreciating the specialized approach roofers take for these unique sections. It's not just "more shingles" – it's a completely different strategy.
Specialized Materials and Techniques for Low-Slope Sections
Because standard asphalt shingles aren't designed for shallow slopes, roofers employ a range of specialized materials and installation techniques to ensure these areas are just as robust and waterproof as the rest of your home. It’s all about creating a system that can handle standing water and slow drainage effectively.
The Role of Modified Bitumen and Low-Slope Shingles
When a section of your roof has a pitch below the 4:12 threshold, but isn't entirely flat, a roofer might recommend options beyond traditional shingles.
-
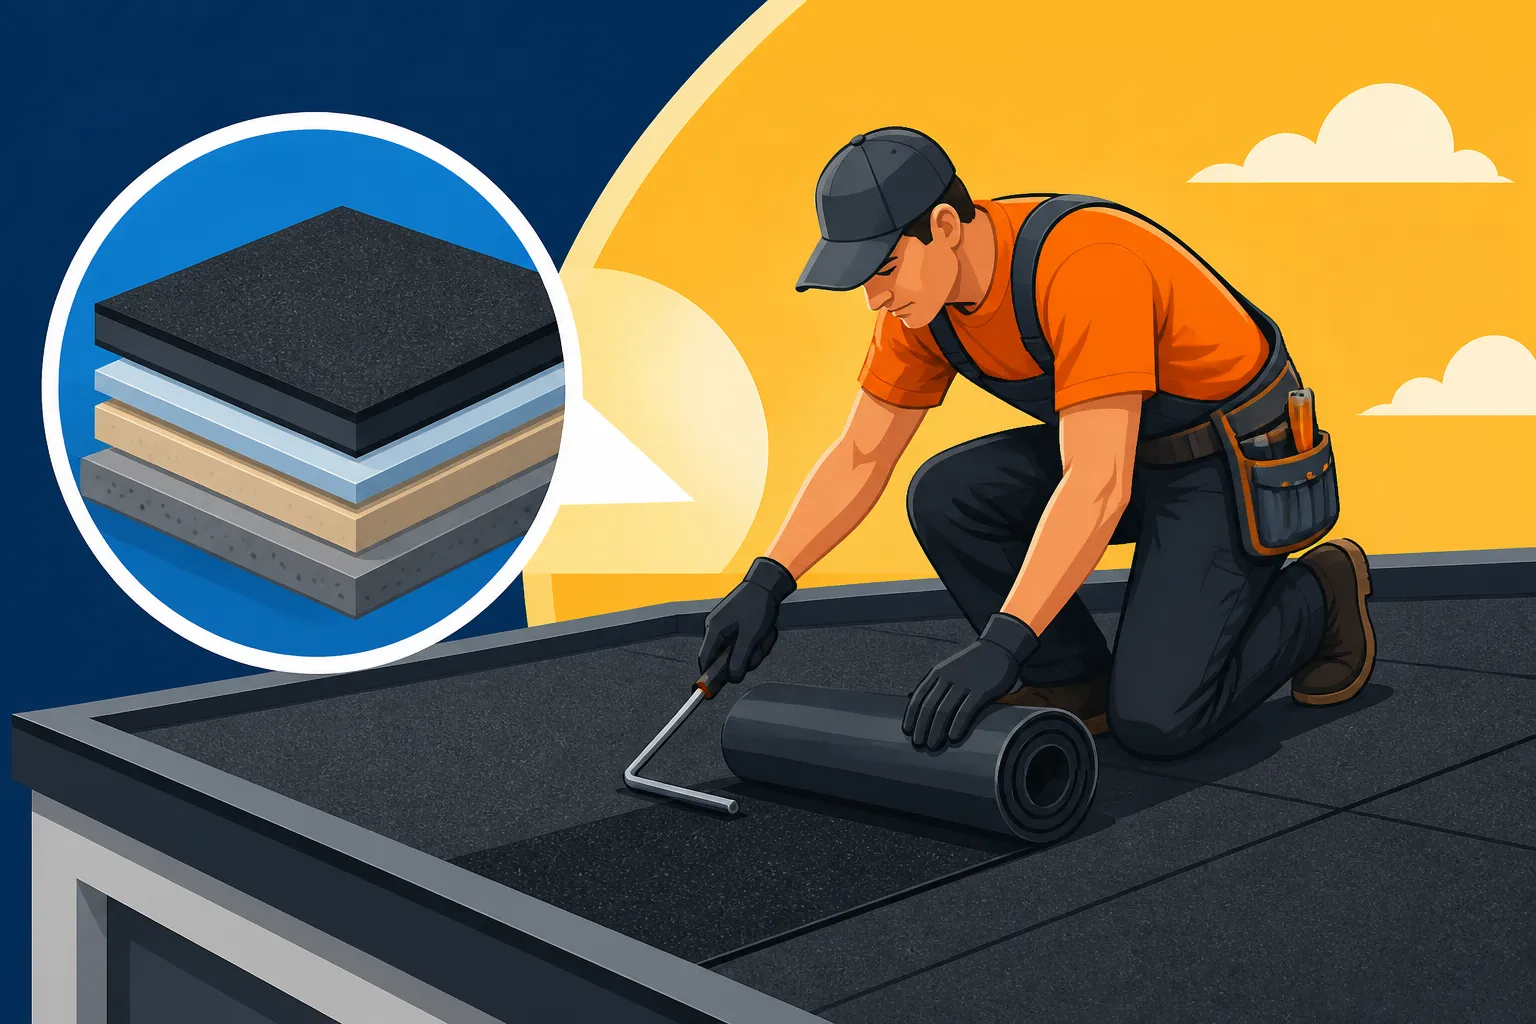
Modified Bitumen (MB) Systems: For truly low-slope areas, typically pitches as low as 1/4:12 (meaning a rise of 1/4 inch over 12 horizontal inches), modified bitumen is often the go-to solution. This material is essentially an asphalt-based sheet membrane that has been enhanced with polymers – either APP (atactic polypropylene) or SBS (styrene-butadiene-styrene) – to give it rubber-like flexibility and durability.
- Composition: Modified bitumen sheets come in rolls, often with a mineral surface similar to shingles for UV protection and aesthetics. The polymers make the asphalt much more resistant to temperature extremes, preventing it from becoming brittle in cold or soft in heat.
- Application Methods: MB can be installed in several ways:
- Torch-Down: This traditional method involves unrolling the membrane and using a propane torch to melt the underside, fusing it to the substrate. It creates an incredibly strong, monolithic seal. However, it requires experienced professionals due to the fire risk.
- Self-Adhered (Peel-and-Stick): A popular and safer alternative, self-adhered MB has an adhesive backing protected by a release film. Once the film is removed, the membrane adheres strongly to the prepared surface. This method is common in residential low-slope applications.
- Cold-Applied: Some systems use a cold adhesive applied with a squeegee or roller.
- When it's Chosen: Modified bitumen systems are ideal for flat roofs or very low-slope residential areas like carports, sunroom roofs, shed roofs, or sections over covered patios. Its continuous, seam-sealed surface dramatically reduces the risk of leaks associated with individual shingle overlaps.
-
Low-Slope or Special Application Shingles: Some manufacturers offer specific asphalt shingles designed for slightly lower pitches, typically between 2:12 and 4:12. These aren't your everyday 3-tab or architectural shingles.
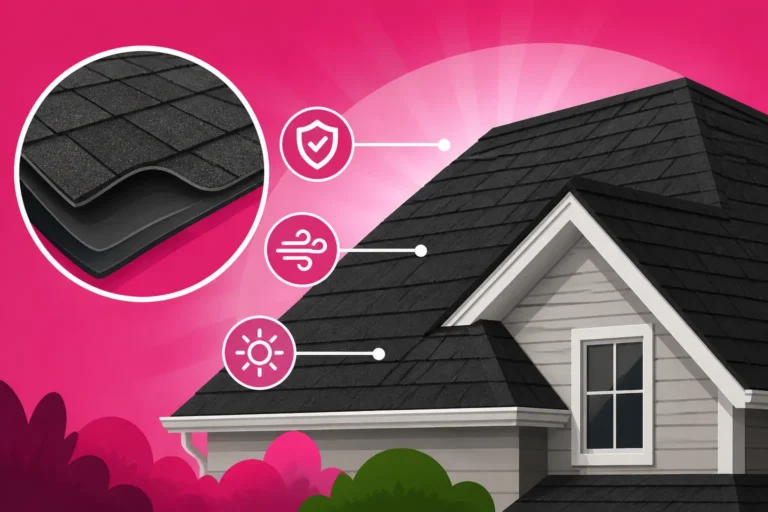
- Key Features: These shingles often feature extra-wide sealant strips for enhanced adhesion and a stronger bond between courses, forming a more robust barrier against wind-driven rain and capillary action. They might also have a slightly different design to facilitate better water shedding on flatter planes.
- Considerations: While an improvement over standard shingles, they still rely on the individual shingle overlap system. For pitches below 2:12, they are generally not recommended, and modified bitumen or other single-ply membrane systems become the standard.
Enhanced Underlayment and Flashing Systems
No matter the primary roofing material chosen for a low-slope section, the underlayers are absolutely critical. They act as your last line of defense against water intrusion.
-
Ice and Water Shield: This is not just for cold climates anymore; it's a hero for low-slope applications everywhere. Ice and water shield is a self-adhering, self-sealing membrane composed of a rubberized asphalt blend.
- Function: When fasteners (like nails) penetrate it, the rubberized asphalt flows around the nail shank, effectively sealing the hole. This is revolutionary compared to traditional felt underlayment, which simply gets punctured.
- Critical Application Areas: For low-slope sections, roofers often apply ice and water shield not just at the eaves and valleys, but over the entire surface of the low-slope area. This creates a secondary, impenetrable layer beneath your shingles or modified bitumen, providing superior leak protection. It’s also crucial around any roof penetrations like vent pipes, skylights, and chimneys, as these are common leak points.
- Benefits: It prevents water from backing up under shingles due to ice dams, heavy rains, or wind-driven rain, especially on areas where water naturally moves slower. Learning how to install ice and water shield is a key skill for any roofer dealing with these challenging spots.
-
Proper Flashing Techniques: Flashing, which are thin pieces of metal (or sometimes plastic or rubber) used to direct water away from vulnerable areas, is even more vital on low slopes.
- Step Flashing: Used where the roof meets a vertical wall (like a dormer or chimney), each shingle course gets its own piece of L-shaped flashing that is woven into the shingle layers and extends up the wall, directing water over the shingle below.
- Counter Flashing: This metal piece is often installed into a mortar joint or cut into a wall/chimney, then bent down over the step flashing, preventing water from getting behind it.
- Apron Flashing: Used at the base of chimneys or dormers facing uphill, it's a single, larger piece of bent metal that funnels water around the obstruction.
- Valley Flashing: For roof valleys, where two roof planes meet, a robust metal valley flashing (often painted galvanized steel, copper, or aluminum) or a full ice and water shield application followed by closed-cut shingles or woven shingles is critical. On low slopes, proper valley flashing is paramount to prevent leaks where high volumes of water converge.
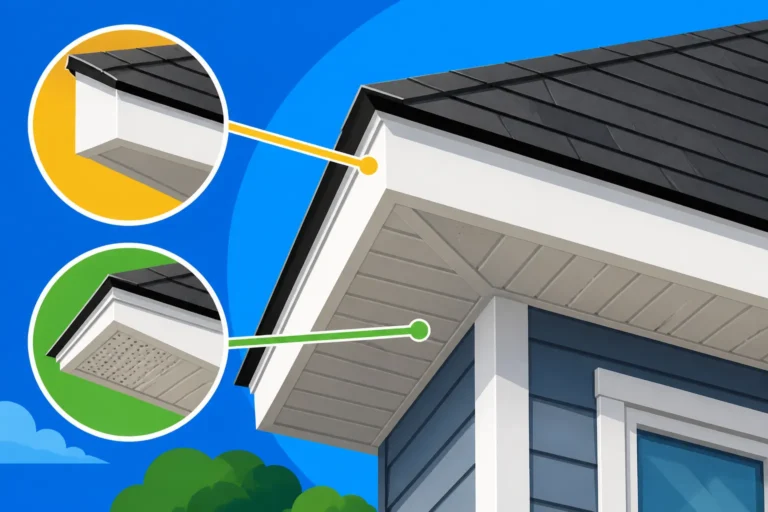
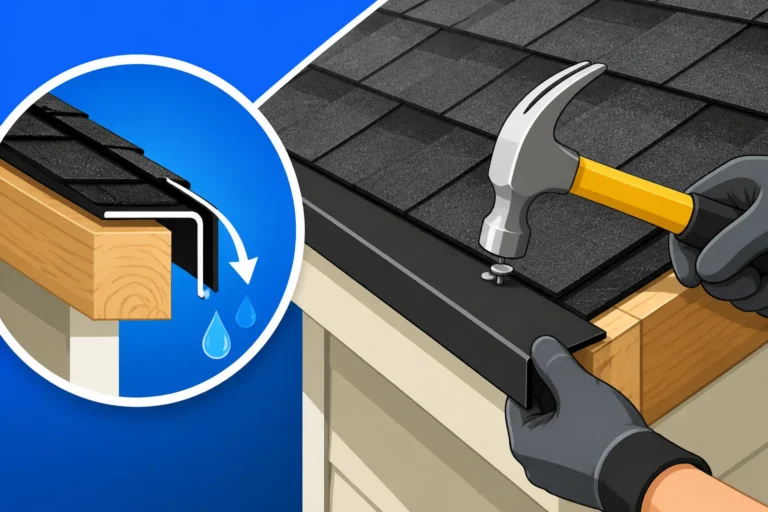
- Drip Edge: This metal flashing is installed along the eaves and rakes (gable ends) of the roof. It directs water off the roof and into the gutters, protecting the fascia board from rot. On low slopes, effective drip edge ensures water leaves the roof system cleanly.
Drainage Solutions and Water Management
Even with the best materials, if water can't get off the roof, it will eventually find a way in. Effective drainage is a non-negotiable for low-slope sections.
- Slope Creation and Modification: Sometimes, an existing low-slope area might have inadequate or even negative pitch, meaning water can actually flow towards the building. A skilled roofer might employ techniques like adding tapered insulation boards beneath the roofing material to create a slight positive slope, guiding water towards the drains or edges. For areas around chimneys or other large obstructions on a low-slope, roofers might build a "cricket" – a small, peaked diversion structure that channels water around the obstruction, preventing pooling behind it.
- Effective Gutter Systems and Downspouts: While gutters are always important, they are especially crucial for low-slope sections. They must be appropriately sized and pitched to handle the potentially slower, but still significant, volume of water. Clogged gutters on a low-slope can lead to water backing up onto the roof plane, defeating all other protective measures. Regular maintenance of gutters is therefore a must.
- Ensuring Clean Water Paths: During installation, roofers are meticulous about ensuring that all materials are laid smoothly, without depressions or uneven spots that could trap water. They confirm that flashing directs water effectively and that there are no "dams" or obstructions created by sealant or materials. The goal is to make sure every drop of water has a clear, unimpeded path off the roof.
The Installation Process for Low-Slope Asphalt Sections
Understanding the specialized materials is one thing, but knowing how they're installed is where the rubber meets the road. The devil is truly in the details when it comes to low-slope roofing, requiring meticulous attention and skilled execution.
Preparing the Roof Deck for Low-Slope Application
Just like building a house, a solid foundation is essential for a durable roof. This is especially true for low-slope areas where the underlying structure will be under more stress from lingering moisture.
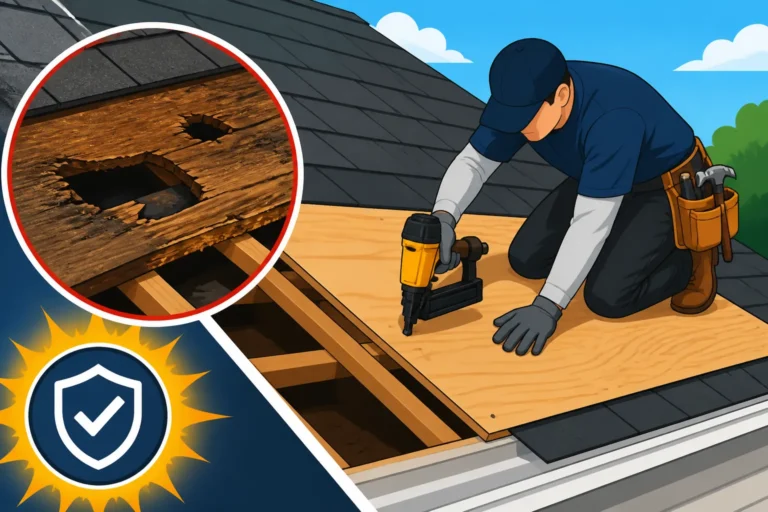
- Inspection and Repair: The first step, after a thorough tear-off if it's a replacement job, is a complete inspection of the roof deck. The decking (typically plywood or OSB) must be clean, dry, and structurally sound. Any signs of rot, mold, or significant damage from previous leaks must be addressed. A reputable contractor will never just roof over compromised decking. If sections are soft or damaged, they will need to be cut out and replaced with new, properly fastened decking. This part of the process is crucial and often impacts the overall Roof Decking Replacement Cost.
- Cleaning and Priming: The deck surface needs to be free of debris, dust, and oils to ensure proper adhesion of subsequent layers. If a modified bitumen system is being installed, a primer might be applied to the deck, especially if it's an older or porous surface, to enhance the bond of the self-adhering or torched membranes.
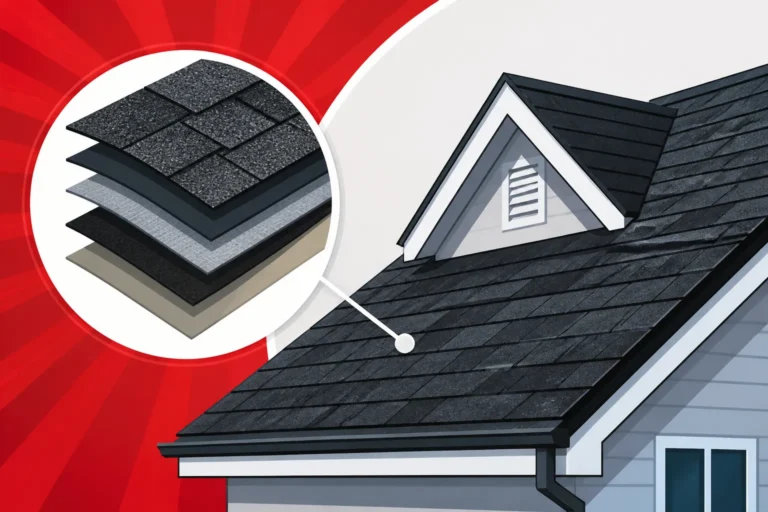
- Initial Underlayment: Even if the entire low-slope section will eventually be covered with ice and water shield, a layer of traditional synthetic or felt underlayment might sometimes be used as an initial layer to provide a clean, consistent surface for the more advanced materials. However, more often than not, the self-adhering ice and water shield acts as both the underlayment and the primary waterproofing membrane on these critical areas. The choice often comes down to specific manufacturer requirements and local building codes, which a knowledgeable contractor will be well-versed in.
Precision Application of Materials
This is where the specialized knowledge truly shines. Installing materials on a low-slope is not the same as a typical shingle job.
- Modified Bitumen Installation:
- Preparation: The roof deck is cleaned and primed.
- Base Sheet (Optional): In some multi-ply systems, a mechanically fastened base sheet might be installed first, especially in torch-down applications, to provide a stable substrate.
- Membrane Placement: The modified bitumen rolls are carefully positioned. For self-adhered systems, the release film is peeled back gradually as the membrane is unrolled and pressed firmly into place, often with a roller to ensure full adhesion and remove air bubbles. For torch-down, the roofer meticulously heats the underside of the roll and the substrate simultaneously, pressing the melting material into a continuous, watertight bond.
- Seams: Overlaps (or "laps") between rolls are critical. These are typically 3-6 inches wide and are either heat-welded (torch-down) or firmly pressed (self-adhered) to create a seamless, monolithic barrier. These overlaps are the most vulnerable points, so precision here is paramount.
- Flashing Details: All flashing, around parapet walls, vents, and other penetrations, is carefully integrated with the modified bitumen system, often using strips of the same material or specialized flashing materials to create a continuous, watertight seal.
- Low-Slope Shingle Installation:
- Underlayment First: As discussed, the entire low-slope area will receive a full coverage of ice and water shield. This is installed with careful overlaps, ensuring no gaps.
- Starter Shingles: Starter shingles are installed along the eaves to protect the bottom edge and ensure proper shingle offset.
- Shingle Laying: The special low-slope shingles are installed with a slightly altered exposure (the part of the shingle visible to the weather) or a more aggressive nailing pattern to ensure maximum adhesion. The wider sealant strips are critical here, and roofers will ensure they are clean and properly activated by pressing them down.
- Nailing: Nailing patterns might be adjusted for high-wind resistance, which coincidentally helps keep shingles down on flatter planes where wind can more easily lift them. Nails must be driven flush, not under-driven (which can allow water in) or over-driven (which can cut the shingle).
- Flashing Integration: All flashing – step, counter, apron – is woven into the shingle courses meticulously, sealing the most vulnerable transitions. This is especially vital around areas like chimneys and dormers. This attention to detail ensures proper roof flashing explained in other guides is followed precisely.
Quality Control and Post-Installation Checks
A reputable roofer knows that the job isn't done until every detail is checked. This final stage is crucial for the longevity and performance of a low-slope roof.
- Seam and Flashing Inspection: Every single seam in modified bitumen, every piece of flashing, and every shingle overlap is visually inspected. Roofers look for any signs of inadequate adhesion, potential openings, or areas where water could infiltrate. They’ll run their hands over seams, looking for irregularities.
- Drainage Path Verification: The roofer will ensure that water has a clear path off the roof. This might involve looking at the overall slope, checking for any subtle depressions, and confirming that gutters and downspouts are properly installed and clear. They'll confirm that no debris from installation is left to impede water flow.
- Manufacturer Specifications and Warranty: A key part of quality control is ensuring that the entire installation adheres strictly to the manufacturer's specifications. Many warranties, especially extended or enhanced ones offered by brands like GAF or Owens Corning, depend on the system being installed precisely as designed. Deviations can void the warranty. A good contractor, like those found via Modernize, will keep detailed records and ensure all warranty requirements are met, helping you understand Roofing Warranties: Manufacturer vs Workmanship.
- Final Cleanup: While not directly related to water shedding, a thorough cleanup of the job site, including magnetic sweeps for nails, is a sign of a professional crew and ensures no hazards are left behind.
This meticulous, multi-layered approach to low-slope sections is what differentiates a true roofing professional from a less experienced contractor. It’s an investment in preventing future headaches and ensuring the overall integrity of your entire roofing system.
Choosing the Right Contractor for Low-Slope Challenges
When you have a low-slope section on your roof, finding the right contractor isn't just important—it's absolutely critical. This isn't a job for the lowest bidder or someone who "can probably figure it out." You need expertise that specifically addresses the unique demands of low-pitch roofing.
Experience Matters: Vetting Roofing Professionals
The biggest factor in a successful low-slope roofing project is the contractor's experience. Someone who primarily works on steep, traditional shingle roofs might not have the specialized knowledge or the right crew for modified bitumen or advanced shingle techniques.
- Ask Direct Questions: Don't be shy about asking pointed questions:
- "How many low-slope asphalt roofs or sections have you installed?"
- "What specific materials do you recommend for my particular pitch and why?"
- "Can you describe your process for ensuring watertight seams on modified bitumen?"
- "Can you provide references for past low-slope projects?"
- "What training or certifications do your installers have for these specialized materials?"
- It's like asking Questions to Ask a Roofing Contractor Before Hiring but with a specific focus.
- Look for Proven Track Record: Review their portfolio, if available, and certainly check online reviews. Look for comments specifically mentioning their handling of challenging roof areas or flat/low-slope sections. A truly reputable roofer will be transparent about their experience and proud of their specialized work.
- Licensing and Insurance: This goes without saying for any roofing project, but it’s worth reiterating. Ensure your contractor is fully licensed and insured (liability and workers' compensation). This protects you from financial responsibility if there's an accident on your property or if the work is shoddy. Don't just take their word for it; ask for proof and verify it. This is a crucial step in How to Choose a Roofing Contractor.
- Manufacturer Certifications: Many leading manufacturers, such as GAF and Owens Corning, offer certifications for contractors who have undergone specific training in their product lines, including specialized materials for low-slope applications. A contractor with these certifications is more likely to install products correctly and can often offer enhanced warranties. When you're looking for pros, resources like Modernize can help connect you with local, vetted contractors who are experienced in these specialized types of roofing.
Understanding Your Warranty and Maintenance
Even with the best installation, understanding your warranty and performing routine maintenance are key to the long-term health of your low-slope roof.
- Specific Warranties for Low-Slope Materials: Be aware that warranties for modified bitumen or special low-slope shingles might differ from those for standard architectural shingles. Discuss both the manufacturer's warranty (covering defects in the material) and the contractor's workmanship warranty (covering installation errors). Make sure you understand what each covers, for how long, and any conditions that might void them. Often, proper installation following manufacturer guidelines is a prerequisite for the warranty to be valid.
- Importance of Regular Maintenance: Low-slope sections, especially if they are modified bitumen, require a bit more vigilance than a steeply pitched shingle roof.
- Debris Removal: Because water moves slower, leaves, twigs, and other debris can accumulate more easily, impeding drainage and holding moisture against the roof surface. Regularly clear away any buildup.
- Drainage Checks: Periodically check your gutters and downspouts connected to low-slope areas to ensure they are clear and draining effectively. Also, visually inspect the low-slope surface for any signs of standing water after a rain.
- Visual Inspections: From the ground or a safe vantage point, look for any signs of cracking, blistering, lifting seams (on MB), or granule loss. Address small issues quickly before they escalate.
- How Poor Installation Can Void a Warranty: This is a harsh reality. If the installer deviates from the manufacturer's specified installation methods – for example, by not using the correct underlayment, improper fastening, or incorrect seam treatment on modified bitumen – the manufacturer can deny a warranty claim, even if the material itself was defective. This underscores the importance of choosing a highly qualified and certified contractor. Always get a detailed contract that specifies the materials and installation methods, and don't hesitate to verify their adherence to those standards.
By diligently vetting your contractor and staying on top of maintenance, you can ensure that your low-slope asphalt sections perform flawlessly, protecting your home for decades to come.
Here’s a quick overview of materials often used in low-slope scenarios:
| Material Type | Ideal Slope Range (Pitch) | Key Benefits | Considerations | Common Applications |
|---|---|---|---|---|
| Standard Asphalt Shingles | 4:12 pitch or steeper | Economical, wide variety, common | Not suitable for low slopes, prone to leaks | Most residential roofs with adequate pitch |
| Low-Slope/Special Shingles | 2:12 to 4:12 pitch | Enhanced sealing, better water resistance | Limited styles, slightly higher cost than 3-tab | Porch roofs, extensions, dormers, garages where pitch is moderate |
| Modified Bitumen (MB) | 1/4:12 pitch or steeper | Excellent waterproofing, durable, flexible | Requires specialized installation, can be hotter | Flat roofs, carports, commercial buildings, very low-slope residential areas |
| Ice & Water Shield | All pitches (critical on low) | Self-sealing, superior leak protection | High material cost, not a primary roofing material | Eaves, valleys, penetrations, entire low-slope areas as a secondary barrier |
Disclaimer
Please remember that this article provides general information and recommendations. Roofing work can be dangerous and complex. Always consult with qualified, licensed, and insured roofing professionals for specific advice, inspections, and installation services tailored to your property's unique needs and local building codes. Do not attempt complex roofing repairs or installations without proper training, safety equipment, and expertise.