How Roofers Measure a Roof
One of the most anxiety-inducing parts of getting a new roof is wondering if you're being quoted fairly. You invite roofers out, they spend some time walking around, maybe even climbing up, and then they give you a number that often feels like it's pulled from thin air. But here's the thing: behind every accurate, fair roofing estimate is a precise measurement of your roof. Without that, you could be overpaying for materials, getting an inflated labor quote, or even worse, ending up with a job that runs out of materials mid-way through. This guide will pull back the curtain on how roofers truly measure a roof, helping you understand what goes into that crucial first step of any roofing project.
Why Accurate Roof Measurement is Absolutely Critical
It's easy to dismiss roof measurement as just a quick step, but it's the bedrock of your entire roofing project. Think of it like baking a cake – if you don't measure the flour and sugar correctly, you're not going to end up with the delicious result you're hoping for. A roof is far more complex than a cake, and the stakes are much higher. A few square feet off here or there might not seem like a big deal, but when you're talking about hundreds of square feet and specialized materials, those small discrepancies can quickly balloon into significant cost overruns or frustrating delays.
Avoiding Costly Material Waste
Imagine a roofer ordering 10% more shingles than needed because their measurements were generous. Those extra bundles cost money, and while some contractors might absorb a small buffer, excessive over-ordering means you're ultimately paying for materials that end up in the dumpster or stored in a corner of their warehouse. Conversely, under-ordering is just as bad, if not worse. It leads to delays while waiting for more materials, which can push back your project timeline and leave your roof exposed longer than necessary.
This isn't just about the shingles themselves; it extends to all the components of a complete roofing system. Underlayment, starter strips, hip and ridge cap shingles, flashing, and even the nails – they all need to be accounted for. Each one is purchased based on the roof's dimensions. Precise measurement minimizes waste, ensures a smoother workflow, and ultimately helps keep your project on budget. It’s also crucial for determining your total project cost, which you can read more about in our guide on How Much Does an Asphalt Shingle Roof Cost
Ensuring a Precise Labor Estimate
Roofing is labor-intensive work. The time it takes to tear off old shingles, make repairs to the decking, and install new materials directly impacts the labor portion of your bill. When a roofer provides an estimate, they're not just guessing how long it will take; they're calculating it based on the measured "squares" of your roof, its pitch, and its complexity. A roofing square, by the way, is a unit of measurement equal to 100 square feet. So, if your roof is measured inaccurately, the labor estimate will be off as well.
If the measurement is too low, the contractor might realize halfway through the job that they underbid the labor, leading to frustrating conversations about change orders or, worse, a rushed job to meet the original, unrealistic timeline. If the measurement is too high, you're essentially paying for labor that isn't required. A precise measurement allows contractors to calculate the manpower and hours needed much more accurately, giving you a fair and transparent labor cost. You can learn more about how this impacts your bill by exploring Roof Cost Per Square: What You'll Pay.
Impact on Project Timeline and Efficiency
Ever had a home renovation project drag on for weeks longer than expected? It's incredibly frustrating, and often, it's due to poor planning and inaccurate initial assessments. Your roof replacement is no different. If the materials aren't ordered correctly because of bad measurements, you'll experience delays. Imagine your roofers show up on Monday, tear off your old roof, and then realize they're short on hip and ridge cap shingles. The job grinds to a halt until more materials arrive, leaving your home potentially vulnerable to weather and your life in disarray.
Conversely, a well-measured roof means materials can be delivered efficiently, the crew knows exactly what to expect in terms of square footage and complexity, and the project can flow smoothly from start to finish. This not only makes for a happier homeowner but also allows the roofing company to schedule their crews and equipment more effectively. It's a win-win: less stress for you, and a more profitable, organized job for the contractor.
The Traditional Way: Manual Roof Measurement
Before the advent of satellite imagery and drones, every roofer measured roofs the old-fashioned way: with a tape measure and a good pair of boots. This method, while labor-intensive and not without its risks, is still a staple for many contractors, especially for smaller, simpler roofs or when a high-tech solution isn't readily available. There's a certain hands-on precision that comes with being on the roof itself, seeing every angle and curve up close.
The Ladder, Tape Measure, and Chalk Line Method
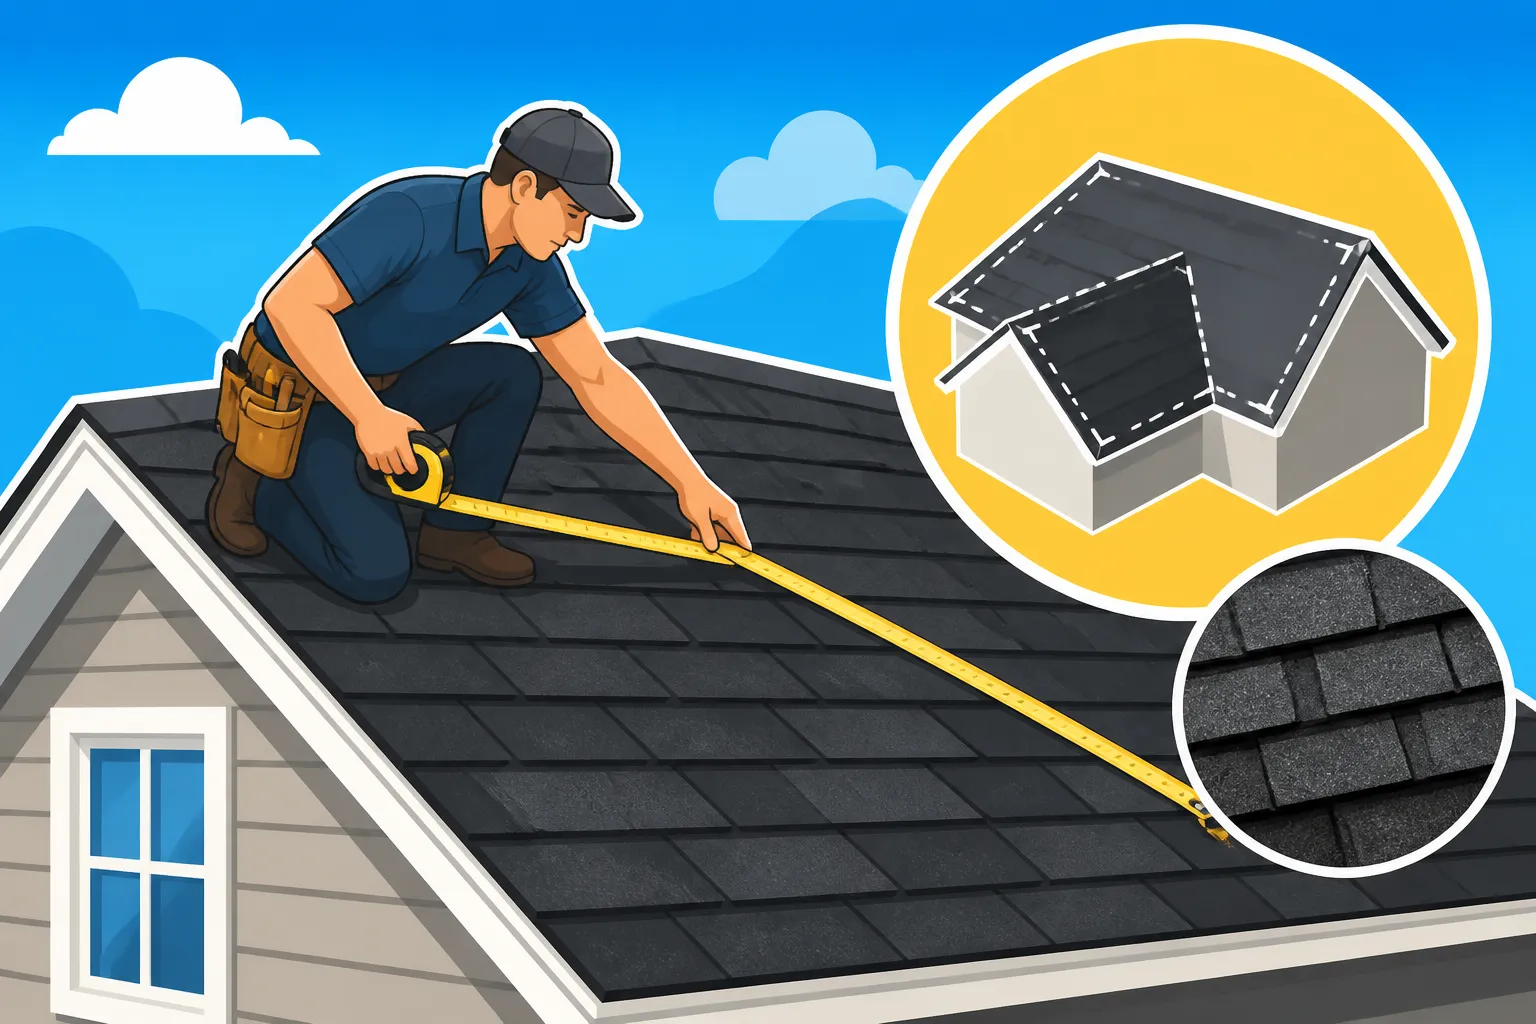
This method is exactly what it sounds like. A roofer, or a team of roofers, will carefully ascend to your roof with ladders, safety harnesses, long tape measures, and often a chalk line. They'll measure each individual plane of the roof – the main slopes, dormers, and any other flat surfaces. They'll take measurements of the length and width of these planes, carefully noting down the dimensions.
It's not just about the large flat sections. They'll also measure the length of all the hips (the angled ridges where two roof planes meet), ridges (the horizontal lines at the top of the roof), valleys (the internal angles where two roof planes meet), and eaves (the lower edges of the roof). Each of these components requires specific types of shingles or flashing, and their lengths are crucial for accurate material ordering. For instance, the length of your ridge line directly affects the Cost of Ridge Vent Installation. They'll often use a chalk line to mark out sections or identify problem areas, ensuring they don't miss anything.
Advantages and Disadvantages of Manual Measurement
Advantages:
- High Accuracy for Simple Roofs: For a straightforward gable roof without too many complexities, manual measurement can be incredibly accurate, assuming the roofer is meticulous. Being on the roof allows for direct verification of every dimension.
- Direct Inspection: While measuring, the roofer can perform a detailed visual inspection of the roof deck, flashing, and other components, noting any hidden damage or unique features that might affect the estimate. This can be especially important for understanding How Roof Decking Works and identifying potential issues.
- Immediate Answers: The roofer can answer questions and provide initial observations on the spot, building rapport and trust with the homeowner.
Disadvantages:
- Safety Risks: Climbing on roofs, especially steep or multi-story ones, is inherently dangerous. Accidents can happen, leading to injuries for the workers and potential liability for the homeowner if the contractor isn't properly insured. You can consider the Multi-Story Roof Cost Premium in part due to these safety considerations.
- Time-Consuming: Manual measurement takes time, especially for larger or more complex roofs. This can mean a longer waiting period for your estimate.
- Human Error: Even the most careful roofer can make a mistake. Misreading a tape measure, transposing numbers, or missing a small detail can throw off the entire calculation.
- Weather Dependent: Roofers can't safely measure a roof in the rain, heavy snow, or icy conditions, which can delay the estimation process.
When Manual Measurement is Still the Best Approach
Despite the rise of technology, there are still situations where getting boots on the roof for a manual measurement is preferable. For very small structures, like sheds or garages, the time and expense of a digital report might not be justified. Similarly, if your roof has highly unusual or custom architectural elements that might confuse satellite software, a manual measurement can ensure every unique detail is captured accurately.
Moreover, if there's extensive visible damage, like a sagging roof deck or obvious rot, a roofer might need to get up close to properly assess the underlying issues during the measurement process. This close inspection can't be replicated by a satellite image and is critical for understanding the full scope of a potential Roof Replacement Cost by Pitch or other repairs. Sometimes, seeing is truly believing, and a skilled roofer can spot subtle issues during a manual measurement that a digital report simply can't highlight.
Embracing Technology: Digital Roof Measurement
In recent years, technology has revolutionized how roofs are measured, making the process safer, faster, and often more accurate, especially for complex or large homes. These digital methods harness the power of aerial imagery and specialized software to provide detailed reports without a single boot touching your roof. This innovation has been a game-changer for many roofing companies and homeowners alike, streamlining the initial phase of a roof replacement.
Satellite and Aerial Measurement Services
One of the most common and widely adopted technological advancements is the use of satellite and aerial imagery. Companies like EagleView and AccuLynx provide services that utilize high-resolution aerial photographs of your property, often taken from small planes or drones, to generate comprehensive roof measurement reports. These reports include detailed diagrams of your roof, outlining every plane, hip, ridge, valley, and eave.
The process typically involves the roofing contractor submitting your address to one of these services. Within a day or two, sometimes even faster, they receive a multi-page report that breaks down all the critical measurements. This includes total roof area in squares, linear feet of ridges, hips, valleys, and eaves, as well as the different pitches of each roof section. Many contractors find this incredibly efficient, especially when providing multiple quotes, and it's a fantastic way for you to compare different estimates. Learning to interpret these reports is part of understanding What a Roofing Estimate Should Include.
Drone-Based Measurement for Precision and Safety
For situations where satellite imagery might not be recent enough, or for very specific, intricate roof designs, some cutting-edge roofing companies are now deploying drones. Drones equipped with high-resolution cameras and advanced photogrammetry software can fly over your property, capturing hundreds of images from various angles. These images are then stitched together by specialized software to create a highly accurate 3D model of your roof.
This 3D model allows roofers to take incredibly precise measurements from the ground, identifying every detail down to fractions of an inch. The safety aspect here is huge: no one needs to climb on a potentially dangerous roof, eliminating the risk of falls. Drones are particularly useful for inspecting roofs after storm damage or for homes with very steep pitches where manual measurement would be exceptionally hazardous. The level of detail captured can also help identify potential problems like damaged flashing or loose shingles that might be hard to spot from the ground. This method truly epitomizes Satellite Roof Measurement Explained.
Software Solutions for Digital Roof Reporting
Beyond the data collection, specialized software is key to making sense of these digital measurements. Once the aerial or drone images are processed, the software generates detailed reports that contractors can use directly for their estimates. These programs often integrate with estimating software, allowing for quick and accurate calculations of material quantities and labor costs.
Some software even allows contractors to upload their own field measurements or combine them with aerial data, providing a hybrid approach that leverages the best of both worlds. The reports often come with interactive 3D models that can be rotated and viewed from different angles, giving both the contractor and the homeowner a clear understanding of the roof's geometry. This level of detail ensures that when you're looking at various roofing quotes, the underlying measurements are consistent and reliable, making it easier to effectively How to Get Roofing Quotes and Compare Them. This type of advanced reporting is becoming standard for many top-tier roofing companies, helping homeowners feel confident in the numbers they receive. Platforms like Modernize can help connect you with contractors who use these advanced methods.
Key Elements Roofers Measure and Why They Matter
When a roofer measures your roof, whether manually or digitally, they're not just looking for a single number. They're breaking down your roof into several critical components, each of which plays a vital role in calculating material needs, labor costs, and ultimately, the total price of your new roof. Understanding these components can demystify your roofing estimate.
Field Area and Hip/Ridge Lengths
The most fundamental measurement is the field area, which is the total surface area of your roof's main slopes. This is often expressed in "squares," where one square equals 100 square feet. This number directly dictates how many bundles of shingles you'll need. For instance, if your roof's field area is 20 squares, you'll need roughly 20 squares worth of shingles, plus a bit extra for waste and starter courses. For a deeper dive into this, check out our guide on How Many Squares of Shingles for a 2,000 Sq Ft Roof.
Beyond the flat planes, roofers measure the linear feet of hips and ridges. Hips are the angled lines where two roof planes meet and slope downward, while ridges are the horizontal lines at the very top where two roof planes meet. These require specialized "hip and ridge cap" shingles, which are thicker and designed to create a finished look while also protecting these vulnerable areas. The longer your hips and ridges, the more cap shingles are needed, adding to the material cost and the labor involved in installing them.
Eave and Rake Lengths, and Valley Measurements
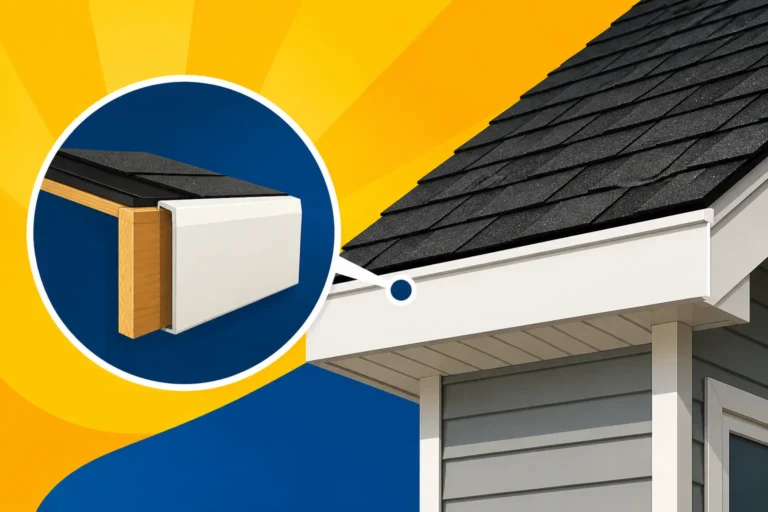
Next, roofers meticulously measure the linear feet of your eaves and rakes. The eave is the lower, horizontal edge of the roof that typically overhangs the walls of the house. This is where your gutters are usually attached. The rake, also known as a gable edge, is the inclined edge of a gable roof that extends beyond the side wall of the house. Both eaves and rakes require "drip edge" flashing to direct water away from the fascia and prevent damage to the underlying structure. The length of these edges directly impacts the amount of drip edge material and installation time. They also factor into the calculation of your starter shingle needs, which are installed along these edges to provide a sealed, straight line for the first course of main shingles.
Valleys are another critical measurement. These are the internal angles where two roof planes meet, channeling a significant amount of water. Valleys are often a weak point on a roof if not installed correctly, and they require special attention and materials, typically metal flashing or a specialized valley lining system, to ensure watertightness. The linear feet of valleys determines the amount of valley material needed and the complexity of its installation. The more valleys your roof has, the more intricate the job becomes, and this is factored into both material and labor costs.
Understanding Pitch and Complex Features
One of the most crucial, yet often misunderstood, elements of roof measurement is pitch. Roof pitch refers to the steepness of your roof, expressed as a ratio (e.g., 6/12, meaning it rises 6 inches for every 12 inches of horizontal run). This measurement is absolutely vital because it affects everything from material quantities to labor safety and difficulty. A steeper roof requires more material to cover the same horizontal footprint, as the slope increases the actual surface area. It also makes the job more challenging and dangerous for roofers, often leading to a Steep Roof Cost Premium.
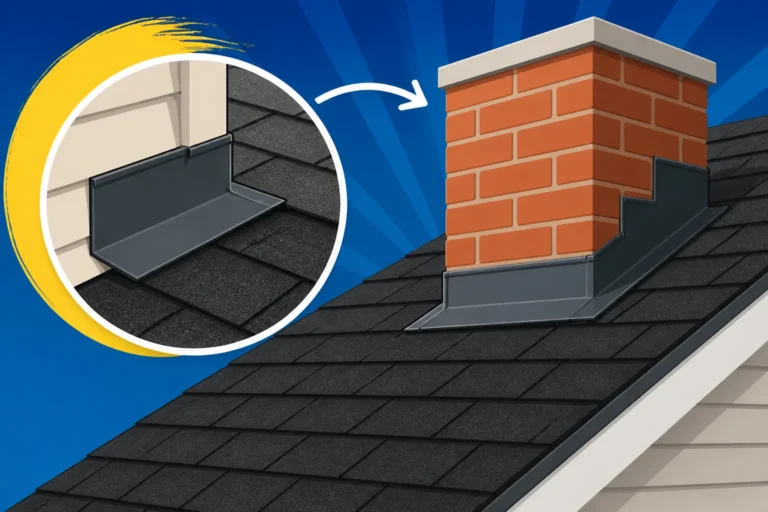
Beyond pitch, roofers also account for complex features. This includes the number and size of dormers, chimneys, skylights, vents, and any other penetrations or architectural elements. Each of these features requires custom flashing and careful sealing to prevent leaks. The more complex features your roof has, the more intricate the job, impacting labor time and specialized material costs. A detailed measurement report will usually itemize these features, giving you a clear picture of the full scope of work.
Factors That Complicate Roof Measurement
While some roofs are relatively simple to measure, others present significant challenges that can affect the accuracy and time required for estimation. These complexities aren't just minor inconveniences; they can significantly impact the overall cost and duration of your roofing project. Understanding these factors can help you appreciate why some estimates might vary more than others.
Roof Pitch and Multi-Story Homes
As we touched upon earlier, roof pitch is a major complicating factor. A low-slope roof (like a 2/12 pitch) is relatively easy and safe to walk on, making manual measurement straightforward. However, as the pitch increases to, say, a 8/12 or 12/12 (which is a 45-degree angle!), the roof becomes much harder and more dangerous to navigate. Roofers must use specialized safety equipment, including harnesses, ropes, and toe boards, to prevent falls. This not only slows down manual measurement but also increases the risk, which is often reflected in the labor costs.
Similarly, multi-story homes add another layer of complexity. Getting ladders to a second or third-story roof, especially on uneven ground or around landscaping, is more challenging and risky. The higher the roof, the more time and care are needed for setup and movement, which translates to a higher labor premium. Even for digital measurement, extreme heights or dense tree cover can sometimes obscure clear aerial views, though modern satellite and drone technology are constantly improving to overcome these obstacles.
Dormers, Skylights, and Other Obstructions
Your roof isn't just one big flat surface; it's often punctuated by various features that create breaks in the simple geometry. Dormers, those little windowed protrusions, add multiple small roof planes, hips, and valleys, each requiring individual measurement and careful flashing. A roof with half a dozen dormers is far more complex to measure and roof than one with none.
Skylights, chimneys, vent pipes, and other penetrations also complicate matters. Each of these requires precise measurements for custom flashing, cutting shingles around them, and ensuring a watertight seal. If a roofer misses a vent pipe or mismeasures a chimney base, you could end up with a leak. The sheer number of these obstructions directly increases the linear feet of flashing required and the intricacy of the installation. For example, a home with three chimneys, five skylights, and a dozen vent pipes will require significantly more detailed measurement and labor than a roof with only standard plumbing vents. This is an important consideration in the overall How a Roof Replacement Works: The Full Process.
Irregular Roof Shapes and Multiple Slopes
While many homes feature relatively simple gable or hip roofs, some architectural styles boast highly irregular shapes or a multitude of different slopes and intersecting planes. Victorian homes with turrets, modern designs with various levels and flat sections, or even ranch-style homes with complex additions can pose significant measurement challenges. Each curve, angle, and transition must be individually measured and accounted for.
A roof might have a steep pitch on one side and a much shallower pitch on another, or feature several different roof lines converging at unusual angles. These complexities require painstaking detail during measurement, whether manual or digital, to ensure that every square foot is accurately calculated and that all the transition points are properly addressed in the material order and labor plan. Mistakes in measuring these irregular shapes can lead to costly material shortages or an inefficient use of resources, underscoring why precise measurement is so vital.
What Homeowners Should Know About Their Roof Measurement
As a homeowner, you're not expected to become a roofing expert overnight, but understanding the basics of how your roof is measured can empower you. It allows you to ask informed questions, compare estimates intelligently, and ultimately feel more confident in the investment you're making in your home. Don't be shy about asking your contractor to walk you through their measurement process.
Interpreting Your Roofing Estimate's Measurements
When you receive a roofing estimate, it should ideally include a breakdown of the measurements. Look for the total "squares" of your roof, as this is the primary indicator of the main surface area. You should also see linear feet measurements for hips, ridges, valleys, eaves, and rakes. Some estimates will even list the number of dormers, skylights, or other penetrations.
It's helpful to know that while shingles are sold by the bundle, roofing estimates typically calculate material needs in "squares." One roofing square covers 100 square feet. So, if your estimate says your roof is 25 squares, you know the main roof area is 2,500 square feet. This number is then used to determine the number of shingle bundles (usually 3 bundles per square for most asphalt shingles) plus an allowance for waste. Don't be afraid to ask your contractor to explain any terms or numbers that aren't clear. A reputable roofer will be happy to educate you.
Here's a simplified table illustrating common measurements:
| Measurement Type | Unit of Measure | What it Dictates | Typical Range (2,000 sq ft home) |
|---|---|---|---|
| Field Area | Squares (100 sq ft) | Shingle Quantity | 20 – 30 squares |
| Ridge Length | Linear Feet | Ridge Cap Shingles, Ridge Vents | 20 – 50 linear feet |
| Hip Length | Linear Feet | Hip Cap Shingles | 0 – 100+ linear feet |
| Valley Length | Linear Feet | Valley Flashing/Lining | 0 – 50 linear feet |
| Eave Length | Linear Feet | Drip Edge, Starter Shingles | 50 – 150 linear feet |
| Rake Length | Linear Feet | Drip Edge | 0 – 100 linear feet |
| Pitch | Ratio (e.g., 6/12) | Labor Difficulty, Material Overlap | 4/12 to 10/12 (common) |
This table provides a general overview. Actual measurements will vary greatly depending on your home's unique roof design.
Verifying Measurements (Without Climbing on Your Roof!)
You absolutely do not need to climb on your roof to verify measurements. That's what your contractor is for, and you should always prioritize safety! However, you can still be an informed consumer. If your contractor uses a digital measurement service like EagleView, they should be able to provide you with a copy of that report. These reports are usually incredibly detailed, with diagrams and specific linear and area measurements. Review it carefully.
You can also use online tools or even a free satellite imagery service (like Google Earth) to get a rough idea of your roof's footprint, although these won't be as precise as professional reports. The key is to compare the measurements provided by different contractors. If one contractor quotes you for 20 squares and another for 25 squares on the exact same roof, that's a red flag that warrants further inquiry. Ask them both to explain the discrepancy. This diligence is part of understanding how to use a Roofing Cost Calculator: How to Estimate.
Comparing Measurement Reports from Different Contractors
When you're gathering multiple estimates for a roof replacement, which is always a smart move, pay close attention to the measurement reports. Ideally, you want to see consistency in the core numbers, especially the total squares. If you get three estimates, and two of them are within a square or two of each other, while the third is significantly higher or lower, that outlier needs clarification.
Don't just look at the final price; delve into the specifics of the measurements. Are they all accounting for the same number of valleys? Do they agree on the linear feet of hips and ridges? Differences in these details can lead to variations in the material list and labor hours. This comparison is critical when you're making such a significant investment in your home. Reputable platforms like Modernize can help you gather multiple quotes from pre-vetted contractors, making the comparison process much easier. By carefully comparing these reports, you can ensure you're getting an accurate bid based on consistent data, helping you make the best decision for your home.
Disclaimer
Please remember that this article provides general information and guidance. Roofing work is complex and can be dangerous. Always consult with licensed, insured, and reputable roofing professionals for specific advice, inspections, and project execution tailored to your property's unique needs and local building codes. Do not attempt complex roofing tasks yourself without proper training, equipment, and safety precautions.