How Many Squares of Shingles for a 2,000 sq ft Roof
Trying to figure out how many shingles you'll need for your new roof can feel like trying to solve a complicated math problem, especially when you hear terms like "roofing squares" thrown around. It’s a common frustration for homeowners, wondering if that 2,000 square foot home means a 2,000 square foot roof. Spoiler alert: it almost never does! This guide will break down exactly how to estimate the number of shingle squares required for a 2,000 square foot house, considering all the often-overlooked factors that impact your final material needs.
Understanding Roofing Squares: More Than Just Square Footage
When you first start researching a roof replacement, you quickly learn that the size of your house isn't the same as the size of your roof. This simple truth is often where the confusion begins for many homeowners. It's not just about the footprint of your home on the ground; it's about the three-dimensional surface area that needs to be covered.
What Exactly is a Roofing Square?
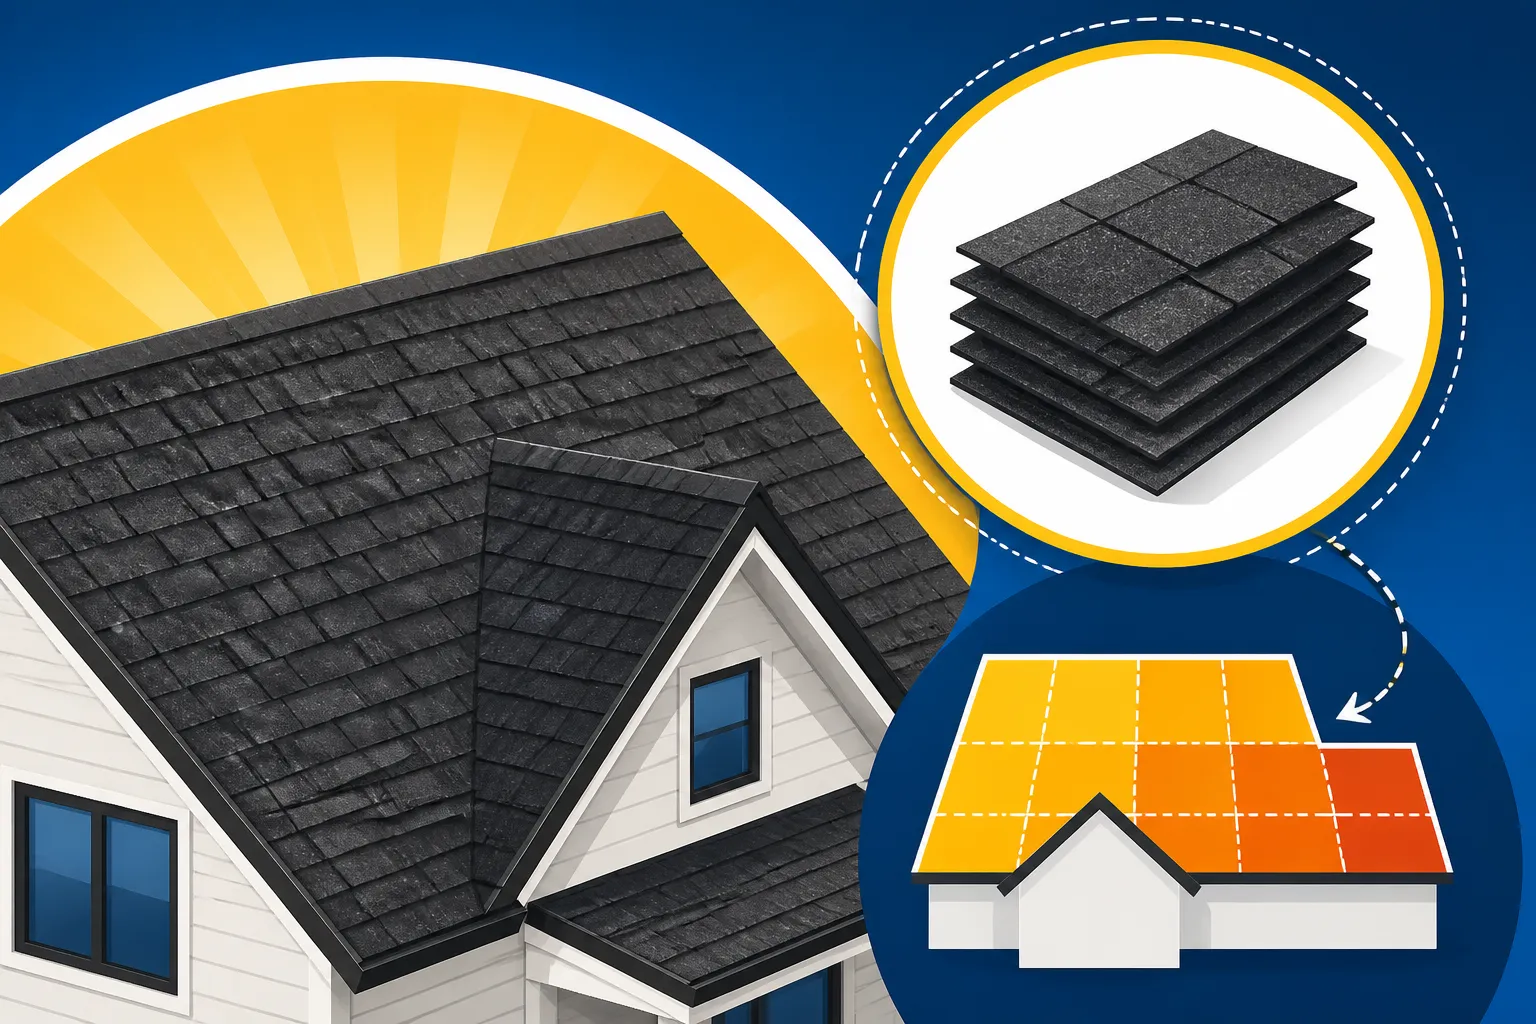
In the roofing industry, materials like asphalt shingles are typically measured and sold in "squares." So, What Is a Roofing Square? A single roofing square is precisely 100 square feet of roofing material. This standardized unit helps contractors and suppliers communicate consistently, but it can be a bit of a mental leap for homeowners used to thinking in terms of their home's living space. For example, if your roof's surface area measures 2,500 square feet, you'd need 25 squares of shingles.
The reason for this specific measurement dates back to a time when roofers would often mark out 10×10 foot sections (100 square feet) on a roof to organize their work. Over time, it simply became the industry standard. It's worth noting that shingles aren't usually sold as individual 100 sq ft pieces; instead, they come in bundles. Most architectural shingles, for instance, come in bundles that cover about 33.3 square feet, meaning you'll typically need three bundles to make up one roofing square. Three-tab shingles sometimes come in bundles that cover a bit more or less, but the "three bundles per square" rule of thumb is generally a good starting point. This means for every 100 square feet of roof, you'll be handling three bundles of shingles.
Why Your Roof's Actual Area Differs from Your Home's Footprint
This is where things get really interesting and why a 2,000 sq ft house doesn't automatically mean a 2,000 sq ft roof in terms of shingle squares. There are several key architectural elements that expand your roof's surface area beyond the simple two-dimensional outline of your home.
Firstly, think about overhangs. These are the parts of your roof that extend past the exterior walls of your house, protecting the siding and foundation from rain and sun. While they add curb appeal and protection, they also add to the total surface area that needs to be shingled. Even a modest 1-foot overhang around a typical rectangular house adds significant square footage.
Then there's the roof pitch, or slope. Imagine laying a blanket flat on the ground. That's a 0/12 pitch. Now, drape it over a tent frame. The blanket now covers more ground distance because it goes up and down. A steeper roof pitch means more surface area to cover for the same horizontal footprint. A very common roof pitch, like a 6/12, means that for every 12 horizontal feet, the roof rises 6 feet. This angle significantly increases the material required compared to a low-slope roof. We'll delve deeper into Roof Pitch and Slope Explained later, as it's a huge factor in your material needs.
Finally, architectural features play a massive role. Think about hips (the external angles where two roof slopes meet), valleys (the internal angles where two roof slopes meet and water drains), dormers (those charming windowed projections that stick out of your roof), chimneys, and skylights. Each of these elements adds complexity and, crucially, additional surface area or requires specific flashing and cutting, which contributes to material waste. A simple gable roof will require far fewer squares than a complex cross-gabled roof with multiple dormers and valleys, even if the house footprint is the same. Understanding these nuances is key to getting an accurate estimate for your asphalt shingle roof.
Estimating Shingle Squares for a 2,000 Sq Ft House
Let's get down to brass tacks. You have a 2,000 sq ft house. What does that really mean for your roofing needs? It's not a straightforward "divide by 100" calculation, but by understanding the variables, you can arrive at a much more accurate estimate.
The Basic Calculation: Flat Roof Scenario
If your 2,000 sq ft house had an absolutely flat roof with no overhangs, no pitch, and perfectly straight edges (which is almost never the case for an asphalt shingle roof, as asphalt shingles require a minimum pitch to shed water effectively), the math would be simple.
You would take your 2,000 square foot house footprint and divide it by 100 square feet per square.
2,000 sq ft (house footprint) / 100 sq ft (per roofing square) = 20 roofing squares.
But this is a purely hypothetical number, serving only as a baseline to illustrate the unit of measurement. Asphalt shingles are designed for sloped roofs, typically with a minimum pitch of 2/12 (meaning for every 12 horizontal feet, the roof rises 2 feet). Anything flatter usually requires different roofing materials, like modified bitumen or TPO membranes. So, while it's nice to dream of simple math, your actual needs will definitely be higher.
Accounting for Roof Pitch and Complexity
This is where the magic (and the extra material) happens. As we discussed, roof pitch is the angle or slope of your roof. The steeper the pitch, the more surface area it has, even if the footprint of the house remains the same. This is because the roof isn't just a flat plane; it's a series of angled surfaces.
Roofers use "pitch multipliers" to account for this. A very low-slope roof, say a 4/12 pitch, might have a multiplier around 1.05. This means your actual roof surface area is about 5% larger than your house's footprint. A medium-slope roof, like a 6/12 pitch, could have a multiplier of 1.12. And a steep roof, perhaps an 8/12 or even a 10/12 pitch, could have multipliers of 1.20 to 1.30 or more.
Let's illustrate with a rough example:
- 2,000 sq ft house footprint
- Assume a 6/12 pitch (common in many residential areas) with a multiplier of ~1.12
- Estimated roof surface area (before waste) = 2,000 sq ft * 1.12 = 2,240 sq ft
- Number of squares = 2,240 sq ft / 100 sq ft per square = 22.4 squares
Suddenly, your 20 squares have become over 22 squares, and we haven't even factored in overhangs or waste yet! It's a significant difference that highlights why simply going by your home's square footage can lead to a drastic underestimation of materials. For a precise calculation, a professional will use specialized tools or How Roofers Measure a Roof manually, often factoring in each plane of the roof separately.
Incorporating Overhangs, Hips, and Valleys
Beyond the pitch, those crucial architectural details further inflate your shingle square count.
Overhangs: Let's say your 2,000 sq ft house is roughly a 40 ft x 50 ft rectangle. A 1-foot overhang on all sides adds significant lineal footage, which then translates to square footage. For a perimeter of (40+50)*2 = 180 feet, a 1-foot overhang adds 180 square feet to the base measurement before factoring in pitch. If your overhangs are wider, say 2 feet, that's 360 square feet. This can easily add another 2-4 squares to your total.
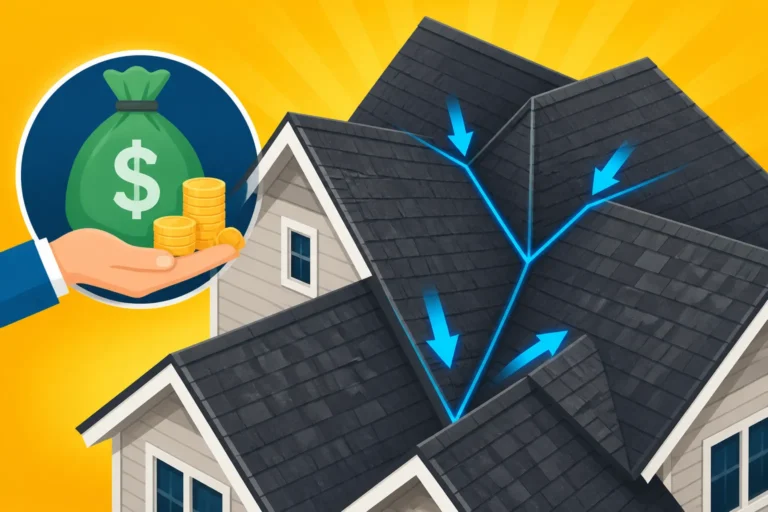
Hips and Valleys: These are the complex lines on your roof. Hips are the exterior angles, and valleys are the interior angles where two roof planes meet. They require specialized shingle cuts and often specific flashing, leading to a higher waste factor and sometimes extra material. Imagine a roof with four valleys meeting at a central point – that's a lot of intricate work and material that simply wouldn't be present on a straightforward gable roof. Each linear foot of hip or valley contributes to the overall complexity and material usage. A contractor will often measure these linear feet directly to factor them into the overall material estimate and labor cost.
Therefore, for a 2,000 sq ft house, a more realistic estimate for the actual roof surface area requiring shingles, accounting for average pitch, overhangs, and some typical architectural features, would likely fall somewhere in the range of 2,400 to 2,800 square feet, translating to 24 to 28 squares before considering the waste factor. This is why getting a professional to accurately assess your specific roof is non-negotiable.
Factors That Influence the Number of Shingle Squares Needed
Beyond the raw square footage calculation, there are several critical elements that directly influence how many bundles of shingles you'll ultimately need to purchase for your 2,000 sq ft home. Ignoring these can lead to either running short mid-project or overspending on excess materials.
Roof Pitch: The Primary Game Changer
We've touched on this, but it bears repeating: roof pitch is arguably the most impactful factor in determining the actual surface area of your roof. It's not just an aesthetic choice; it's a structural necessity that directly dictates material quantity.
Think about it this way: a house with a very low pitch, like a 3/12, might seem easy to walk on, and indeed, it presents a smaller overall surface area than a house of the same footprint with a steeper pitch. However, asphalt shingles on very low pitches require specific installation techniques, such as applying ice and water shield over a wider area or using a double layer of felt, to prevent water from backing up and leaking. For a 3/12 pitch, the multiplier might be around 1.03.
Now consider a moderately steep roof, say a 7/12 or 8/12 pitch, which is common in many colonial or craftsman-style homes. For every 12 feet horizontally, the roof rises 7 or 8 feet vertically. This significantly increases the square footage. A 7/12 pitch has a multiplier of approximately 1.21, meaning your roof's actual surface area is 21% larger than its flat footprint. For an 8/12 pitch, the multiplier jumps to about 1.33.
Let's do some quick math on our hypothetical 2,000 sq ft home footprint, considering overhangs adding an estimated 200 sq ft to the base for simplicity:
- Base footprint + overhangs = 2,200 sq ft
- With a 4/12 pitch (multiplier ~1.05): 2,200 sq ft * 1.05 = 2,310 sq ft = 23.1 squares
- With a 7/12 pitch (multiplier ~1.21): 2,200 sq ft * 1.21 = 2,662 sq ft = 26.6 squares
- With an 10/12 pitch (multiplier ~1.47): 2,200 sq ft * 1.47 = 3,234 sq ft = 32.3 squares
You can see how quickly the number of required squares escalates purely based on the roof's slope. This is why contractors pay close attention to the pitch, often using specialized tools or measuring techniques to determine it accurately. This number of squares, remember, is still before factoring in waste.
Roof Design Complexity
The more intricate your roofline, the more materials you'll need, and the higher the waste factor will be. A simple rectangular roof with two slopes (a gable roof) is the most efficient in terms of material usage. Shingles can be laid in long, continuous rows with minimal cutting.
However, many homes, even 2,000 sq ft ones, have more complex designs:
- Multiple Gables: If your home has several intersecting roof sections, like a cross-gable design, you'll have more hips and valleys. These junctions require careful cutting and fitting of shingles, leading to off-cuts that can't be used.
- Dormers: These charming additions might look small, but they introduce miniature roof planes and vertical walls that need flashing. Each dormer means more cuts, more intricate sealing around edges, and more waste.
- Chimneys and Skylights: Any penetration through the roof, whether it's a chimney, a vent pipe, or a skylight, requires specialized flashing. This flashing ensures watertight seals but also means shingles need to be cut precisely around these obstructions, increasing the waste.
- Turrets or Towers: For homes with unique architectural flair, features like turrets mean highly curved surfaces, which are extremely shingle-intensive and generate a significant amount of waste.
A roof with many features will invariably require a higher waste factor percentage compared to a simple, unobstructed roof. For example, a very complex roof might necessitate a 15-20% waste factor, whereas a simple roof might only need 10%. This means for every 10 squares of estimated roof surface, you might buy 11.5 or 12 squares of material to account for the cuts and mistakes. This is also why Cost of a Roof with Multiple Valleys and other complex features can be higher.
Waste Factor and Over-Ordering
Even with the most precise measurements, you can't install a roof without generating some waste. Shingles need to be cut at hips, valleys, ridges, and eaves. Pieces that are too small or damaged during handling become waste. This is where the "waste factor" comes in.
A general rule of thumb for waste factor on a fairly standard, moderately complex roof is around 10-15%. For a very simple gable roof, you might get away with 8-10%. For an extremely complex roof with many dormers, valleys, and hips, it could be as high as 20% or even more.
Let's revisit our 2,000 sq ft house with a 6/12 pitch and overhangs, giving us an estimated 2,662 sq ft of surface area (26.6 squares).
- Estimated surface area: 26.6 squares
- Applying a 15% waste factor: 26.6 squares * 0.15 = 3.99 squares of waste
- Total shingles needed (rounded up): 26.6 + 3.99 = 30.59 squares. Let's round that up to 31 squares to be safe.
This is why contractors always order extra. It's far more efficient and cost-effective to have a few extra bundles leftover than to stop a job because you're one bundle short, especially if that specific shingle color or style isn't readily available. Those leftover shingles can also be handy for minor repairs down the line, saving you the headache of trying to Matching New Shingles to an Old Roof.
Step-by-Step Guide to Estimating Your Shingle Needs
Getting a precise shingle estimate is best left to experienced professionals. However, as an informed homeowner, it's incredibly helpful to understand the process so you can better grasp the quotes you receive and ask informed questions. You don't want to be caught off guard by a drastically different number of squares than you expected.
Measure Your Roof's Footprint
Before you can add for pitch and complexity, you need a solid base measurement. The most straightforward way to get a rough idea is to measure the footprint of your home from the ground. This gives you the basic length and width.
- Rectangular Homes: If your home is a simple rectangle, measure its length and width from outside wall to outside wall. Multiply these two numbers to get your basic square footage. For a 2,000 sq ft home, this might be a 40 ft x 50 ft footprint, for example.
- Irregular Shapes: If your home has an L-shape or other irregular footprint, you'll need to break it down into simpler rectangles, calculate the area of each, and then add them together. For instance, an L-shaped home could be seen as two rectangles merged together.
- Overhangs: Once you have the basic footprint, remember to account for the overhangs. Typically, these extend 1-2 feet beyond the walls. For an initial estimate, you can estimate the perimeter of your house and add a "skirt" of extra square footage based on your overhang width. For example, a 40×50 ft house has a perimeter of (40+50)*2 = 180 linear feet. If overhangs are 1 foot wide, that's an additional 180 sq ft.
Many homeowners today also use online satellite measurement tools. Services like those offered by RoofSnap or EagleView can provide highly accurate, detailed measurements of your roof's actual surface area, including pitch, hips, and valleys, using aerial imagery. While these are often used by contractors, some platforms offer simplified versions for homeowners. These tools give you a much more accurate starting point than trying to guess from the ground.
Adjust for Pitch and Features
Once you have your basic horizontal footprint (including overhangs), the next crucial step is to adjust for the roof's slope or pitch.
- Determining Pitch: This can be tricky. You might find your home's original blueprints, which often list the roof pitch. If not, a professional roofer can measure it on-site. For a DIY estimate, if you can safely access your attic, you can measure the "rise over run" (how many inches the roof rises over a 12-inch horizontal distance). For instance, if it rises 6 inches over 12 inches, that's a 6/12 pitch.
- Applying the Multiplier: Once you know your pitch, you can apply the corresponding multiplier to your horizontal surface area. As we discussed, a 6/12 pitch has a multiplier of about 1.12. If your base footprint + overhangs was 2,200 sq ft, multiplying by 1.12 gives you 2,464 sq ft.
- Factor in Complexities: This is where precise measurement gets difficult without professional tools. Each dormer, chimney, and skylight adds complexity and additional surface area that's hard to accurately quantify without measuring each plane individually. A contractor will meticulously measure each roof section (plane) and then calculate its true surface area based on its pitch. They also account for the linear feet of hips and valleys.
This is a point where relying on a reputable contractor is incredibly valuable. They have the expertise to accurately assess all these factors. Many homeowners turn to platforms like Modernize to find experienced local roofers who can provide detailed, accurate estimates. These professionals are skilled at How to Get Multiple Roofing Estimates Fast that account for all these variables.
Calculate for Waste
After you've accounted for the footprint, overhangs, and pitch to get your estimated true roof surface area, you need to factor in waste.
- Choose a Waste Factor: For a fairly standard 2,000 sq ft home with a moderate pitch and a few features (chimney, vent pipes), a 10-15% waste factor is reasonable. If your roof is exceptionally complex with many dormers, valleys, and steep pitches, lean towards 15-20%.
- Add the Waste: Multiply your calculated surface area by your chosen waste factor percentage. Add this amount to your surface area.
- Example: If your adjusted surface area (including pitch and overhangs) is 2,464 sq ft, and you use a 15% waste factor:
- Waste = 2,464 sq ft * 0.15 = 369.6 sq ft
- Total Required Sq Ft = 2,464 sq ft + 369.6 sq ft = 2,833.6 sq ft
- Example: If your adjusted surface area (including pitch and overhangs) is 2,464 sq ft, and you use a 15% waste factor:
- Convert to Squares: Finally, divide this total square footage by 100 to get the number of roofing squares.
- Example: 2,833.6 sq ft / 100 sq ft/square = 28.336 squares.
- Round Up: Always round up to the nearest whole number of squares (or even slightly higher if you want some spares). In this case, you'd be looking at needing 29 squares of shingles. Remember, if shingles come 3 bundles to a square, that's 29 * 3 = 87 bundles!
This detailed process shows how a 2,000 sq ft house can easily require almost 30 squares of shingles, which is significantly more than the initial "20 squares" many homeowners might assume. This is why How to Read and Compare Roofing Estimates is crucial; you want to see how contractors break down their material calculations.
Practical Considerations Beyond the Number of Squares
Getting the right number of shingle squares is a huge step, but it's not the only piece of the puzzle. There are other practical aspects you'll want to be aware of when planning your asphalt roofing project. These details can impact everything from the final look of your roof to its longevity and overall cost.
Understanding Shingle Packaging
As we briefly touched upon, shingles aren't sold individually or even in single 100 sq ft units. They come in bundles. The number of bundles per square can vary slightly depending on the shingle type and manufacturer.
- Architectural Shingles: The most common type of asphalt shingle today, architectural or dimensional shingles, almost always come with three bundles per roofing square. This means if your estimate calls for 29 squares, you'll be ordering 87 bundles (29 squares * 3 bundles/square). Brands like GAF, Owens Corning, and CertainTeed typically adhere to this packaging for their popular architectural lines.
- 3-Tab Shingles: While less common now, 3-tab shingles might sometimes come in four bundles per square, or their bundles might be slightly lighter, requiring more to make up 100 sq ft. This is why it's important to clarify with your supplier or contractor the specific shingle type you're purchasing.
- Luxury/Designer Shingles: These thicker, heavier shingles might also vary in packaging, but often stick to the three-bundle-per-square standard. Because they are bulkier, fewer shingles are typically in each bundle.
Knowing the bundle count is essential for logistics. Bundles are heavy – typically 60-80 pounds each. For our 29-square roof, that's 87 bundles, weighing potentially over 6,000 pounds! This affects delivery, how they're loaded onto your roof, and the labor involved. It's also part of the Roofing Material Cost vs Labor Cost equation, as heavier materials can sometimes increase labor time.
The Role of Your Roofing Contractor
While it's great to understand the estimation process yourself, the ultimate accuracy and responsibility for material ordering lie with your roofing contractor. They have the tools, experience, and knowledge to provide the most precise estimate.
- Professional Measurement: A reputable contractor will use sophisticated methods, whether it's drone-based measurements, satellite imaging reports, or traditional on-the-roof measuring, to determine your roof's exact square footage, pitch, and complexity. This minimizes guesswork and ensures they order the correct amount of material.
- Waste Factor Expertise: Based on their experience with roofs similar to yours, they'll apply an appropriate waste factor, ensuring enough material is on hand without excessive over-ordering. This also factors into the overall How Much Does an Asphalt Shingle Roof Cost.
- Understanding Codes and Requirements: Contractors are familiar with local building codes, which might dictate specific underlayment requirements, nailing patterns, or even shingle types. They also understand that a complete roofing system goes beyond just shingles. For example, How Asphalt Shingles Are Installed: Step by Step explains how components like drip edge, ice and water shield, and ventilation are crucial for a durable roof.
- Access to Materials: Contractors often have established relationships with suppliers, ensuring they get the right materials at competitive prices and can handle returns of unopened, unused bundles.
This is where finding a reliable, experienced professional becomes paramount. If you're looking for trustworthy contractors in your area, using a service like Modernize can connect you with pre-vetted roofers who understand these intricacies and can provide accurate quotes. They can help you navigate the entire How to Choose a Roofing Contractor process, from initial consultation to final inspection.
Don't Forget the Accessories
A roof is much more than just shingles! To build a complete, durable, and watertight asphalt roofing system, you'll need a range of accessories, all of which are factored into a comprehensive estimate. These aren't included in the "shingle squares" calculation but are absolutely essential.
- Underlayment: This protective layer goes directly on your roof deck before the shingles are installed. Options include traditional felt paper or modern synthetic underlayment. The type and amount needed will depend on local building codes and the pitch of your roof. For instance, What Is Underlayment and Why It Matters is critical for your roof's integrity.
- Ice and Water Shield: A self-adhering membrane, this is typically installed along eaves, valleys, and around penetrations (like chimneys and skylights) to provide an extra layer of protection against water penetration, especially from ice dams and heavy rain. Requirements vary by climate and code, but it's a vital component.
- Starter Shingles: These specialized shingles are installed along the eaves and rake edges (the sloped edges) to provide a sealed, straight edge for the first course of main shingles and to prevent blow-offs. They're specifically designed to protect the vulnerable edges of your roof. What Is Starter Shingles and Why It Matters cannot be overstated.
- Ridge Cap Shingles: These are thicker, pre-formed shingles designed to cover the peaks (ridges) and hips of your roof. They provide a finished, protective layer where two roof planes meet. The amount needed depends on the linear feet of ridges and hips on your roof. The Cost of Ridge Vent Installation is often tied to these.
- Flashing: Metal flashing is crucial for sealing around chimneys, skylights, vent pipes, and wall intersections. This material ensures these critical areas are watertight. Without proper flashing, leaks are almost guaranteed.
- Vents: Proper attic ventilation is vital for extending the life of your roof and improving energy efficiency. Ridge vents, soffit vents, and other types ensure continuous airflow.
- Nails, Sealants, and Adhesives: These small but mighty components are essential for securing shingles and sealing critical areas.
While your primary focus might be on the main shingles, a comprehensive roof replacement cost will include all these accessory materials, as well as the Asphalt Roof Labor Cost Explained to install them properly. A good estimate from a reliable contractor will itemize or clearly include all these components.
Estimated Shingle Squares for a 2,000 Sq Ft House Footprint by Pitch
This table provides a generalized estimate for a 2,000 square foot house footprint. Please remember, these numbers are illustrative. Your specific roof's actual surface area will depend heavily on its precise dimensions, the number of overhangs, and architectural complexities like dormers and valleys. A professional measurement is always recommended for accuracy.
| Roof Pitch (Rise/Run) | Approx. Pitch Multiplier | Estimated Base Surface Area (sq ft) (with 200 sq ft overhangs) | Estimated Shingle Squares (Before Waste) | Estimated Total Shingle Squares (with 15% Waste) |
|---|---|---|---|---|
| 2/12 | 1.017 | 2,000 + 200 = 2,200 sq ft * 1.017 = 2,237.4 sq ft | 22.4 | 26 (22.4 * 1.15) |
| 3/12 | 1.031 | 2,000 + 200 = 2,200 sq ft * 1.031 = 2,268.2 sq ft | 22.7 | 27 (22.7 * 1.15) |
| 4/12 | 1.054 | 2,000 + 200 = 2,200 sq ft * 1.054 = 2,318.8 sq ft | 23.2 | 27 (23.2 * 1.15) |
| 5/12 | 1.083 | 2,000 + 200 = 2,200 sq ft * 1.083 = 2,382.6 sq ft | 23.8 | 28 (23.8 * 1.15) |
| 6/12 | 1.118 | 2,000 + 200 = 2,200 sq ft * 1.118 = 2,460.0 sq ft | 24.6 | 29 (24.6 * 1.15) |
| 7/12 | 1.158 | 2,000 + 200 = 2,200 sq ft * 1.158 = 2,547.6 sq ft | 25.5 | 30 (25.5 * 1.15) |
| 8/12 | 1.202 | 2,000 + 200 = 2,200 sq ft * 1.202 = 2,644.4 sq ft | 26.4 | 31 (26.4 * 1.15) |
| 9/12 | 1.250 | 2,000 + 200 = 2,200 sq ft * 1.250 = 2,750.0 sq ft | 27.5 | 32 (27.5 * 1.15) |
| 10/12 | 1.302 | 2,000 + 200 = 2,200 sq ft * 1.302 = 2,864.4 sq ft | 28.6 | 33 (28.6 * 1.15) |
| 11/12 | 1.357 | 2,000 + 200 = 2,200 sq ft * 1.357 = 2,985.4 sq ft | 29.9 | 35 (29.9 * 1.15) |
| 12/12 | 1.414 | 2,000 + 200 = 2,200 sq ft * 1.414 = 3,110.8 sq ft | 31.1 | 36 (31.1 * 1.15) |
Note: "Estimated Base Surface Area" includes a hypothetical 200 sq ft for overhangs added to the 2,000 sq ft house footprint, then adjusted for pitch. Final "Estimated Total Shingle Squares" includes a rounded 15% waste factor for typical complexity.
This table highlights just how much variation there can be. For a 2,000 sq ft house footprint, the actual shingle squares needed can range anywhere from 26 to 36 squares, depending on pitch alone, before even factoring in greater complexity. This wide range underscores the necessity of a professional, on-site assessment.
Figuring out how many squares of shingles you need for a 2,000 square foot home is clearly more involved than a simple calculation. It’s a process that requires careful consideration of your roof’s unique characteristics, from its pitch and overhangs to any dormers, valleys, and chimneys. While you can certainly get a good preliminary estimate by understanding these factors, nothing beats the accuracy of a professional assessment. Ultimately, working with a trusted roofing contractor will ensure you get a precise material estimate, avoid costly delays, and end up with a high-quality roof that protects your home for years to come.
Disclaimer
This article is intended for informational purposes only and does not constitute professional advice. Always consult with a qualified roofing contractor for specific estimates and advice regarding your roof replacement project. Roofing costs and requirements can vary significantly based on location, materials, labor, and specific roof characteristics.