What Causes Damaged Flashing on a Roof
There’s nothing quite like the sinking feeling you get when you discover a water stain spreading across your ceiling or a persistent drip during a rainstorm. Often, the culprit isn't a massive hole in your roof, but rather something far more insidious and often overlooked: damaged flashing. This guide will walk you through the many reasons your roof flashing might be failing, helping you understand how to identify these issues and, most importantly, prevent them from wreaking havoc on your home.
Understanding Roof Flashing: The Unsung Hero
It's easy to focus on the shingles when you think about your roof, but they're only part of the story. Flashing plays an absolutely critical role in keeping water out of your home, especially in those tricky areas where your roofline is interrupted. Without proper flashing, even the most pristine shingles can't do their job effectively.
What Exactly Is Flashing and Why Is It So Important?
Think of flashing as the specialized waterproofing material that acts as a seal around vulnerable areas on your roof. These are the spots where water is most likely to find an entry point into your home, such as around chimneys, skylights, vents, dormers, and where different roof planes meet (valleys). Essentially, wherever there's a break in the continuous shingle surface, flashing is there to create a watertight barrier.
It's typically made from thin sheets of metal – often aluminum, galvanized steel, copper, or lead – but can also include plastic or rubberized membranes in certain applications. Its primary job is to divert water away from these penetrations and off the roof, preventing it from seeping into the roof deck, attic, or even down into your walls. When flashing fails, it’s not just an aesthetic issue; it's a direct threat to the structural integrity of your home. A small leak can quickly lead to extensive water damage, mold growth, and costly repairs down the line. It's truly a critical component, working tirelessly to protect your home from the elements.
Common Types of Flashing You'll Find on Your Roof
Your roof isn't just equipped with one type of flashing; it's usually a combination of different styles, each designed for a specific purpose and location. Understanding these can help you better identify where problems might arise.
- Step Flashing: This is perhaps the most common type you'll encounter, used where a roof meets a vertical wall, such as alongside a dormer or chimney. It consists of multiple short pieces of metal bent at a 90-degree angle, interwoven with the shingles in a stepped pattern. Each piece covers the seam of the shingle below it, creating an overlapping system that sheds water downward. A crucial element in understanding how shingles protect against water, step flashing is an integral part of that defense.
- Continuous Flashing: Sometimes referred to as apron flashing, this is a single, long piece of flashing typically used at the base of a chimney or a dormer where it meets the lower roof slope. It's designed to cover a wider area in one continuous strip.
- Valley Flashing: Valleys are those internal angles where two roof slopes meet. They are natural channels for water runoff, so they require robust protection. Valley flashing is usually a wider piece of metal, often bent down the center, installed beneath the shingles to ensure water flows efficiently into the gutters. If you're wondering how valleys are flashed, this is the key component.
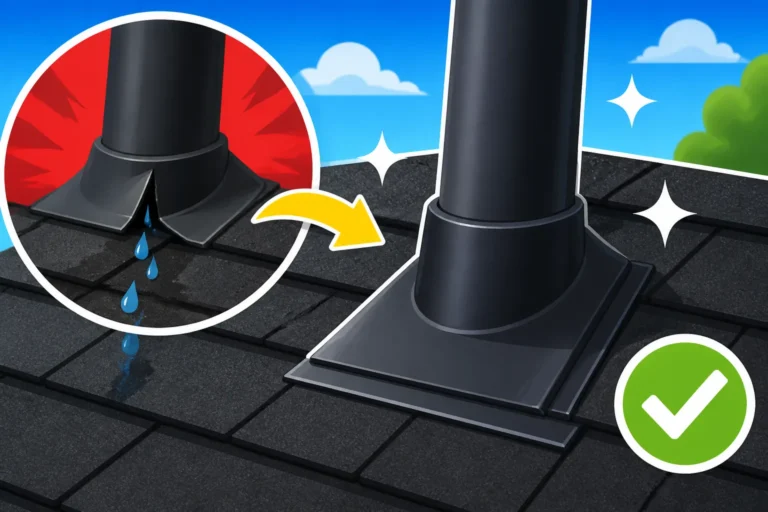
- Pipe Flashing (or Vent Flashing): Any plumbing vent pipes or exhaust vents protruding from your roof will have circular or square flashing around them. These usually consist of a metal base with a rubber boot that fits snugly around the pipe, forming a watertight seal. Over time, the rubber can degrade, leading to leaks.
- Chimney Flashing: Chimneys are notorious leak points because they are large, rigid structures interrupting the roof. Chimney flashing is a complex system involving multiple pieces: a base flashing along the front, step flashing up the sides, and a cricket (a small diversionary roof structure) behind larger chimneys to prevent water and debris buildup. The top part of the flashing is typically counter-flashed, meaning it's cut into the chimney mortar joints and bent down over the base flashing, ensuring no water can get behind it.
- Drip Edge: While not always considered "flashing" in the same vein as those around penetrations, drip edge serves a similar protective function at the edges of your roof. It's a metal strip installed along the eaves and rake edges, extending slightly beyond the roof deck. Its purpose is to guide water away from the fascia and into the gutters, preventing it from running down the siding or getting under the roofing materials. Understanding Drip Edge: What It Does is vital for overall roof health.
Each type has its own vulnerabilities and common failure points, which we'll dive into next.
The Top Culprits Behind Damaged Roof Flashing
When flashing fails, it's rarely a mystery. There are usually very clear reasons why it gives out, and recognizing these can help you and your roofing contractor address the issues proactively. It's a frustrating reality for many homeowners that these seemingly small components can lead to such big headaches.
Weather-Related Wear and Tear
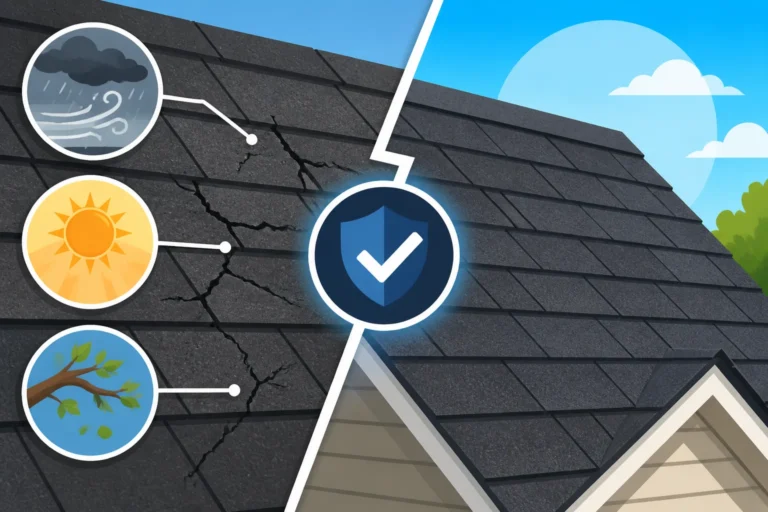
Mother Nature is arguably the biggest antagonist when it comes to roof flashing. Your roof endures a constant barrage of elements, and over time, even the toughest materials begin to show signs of stress.
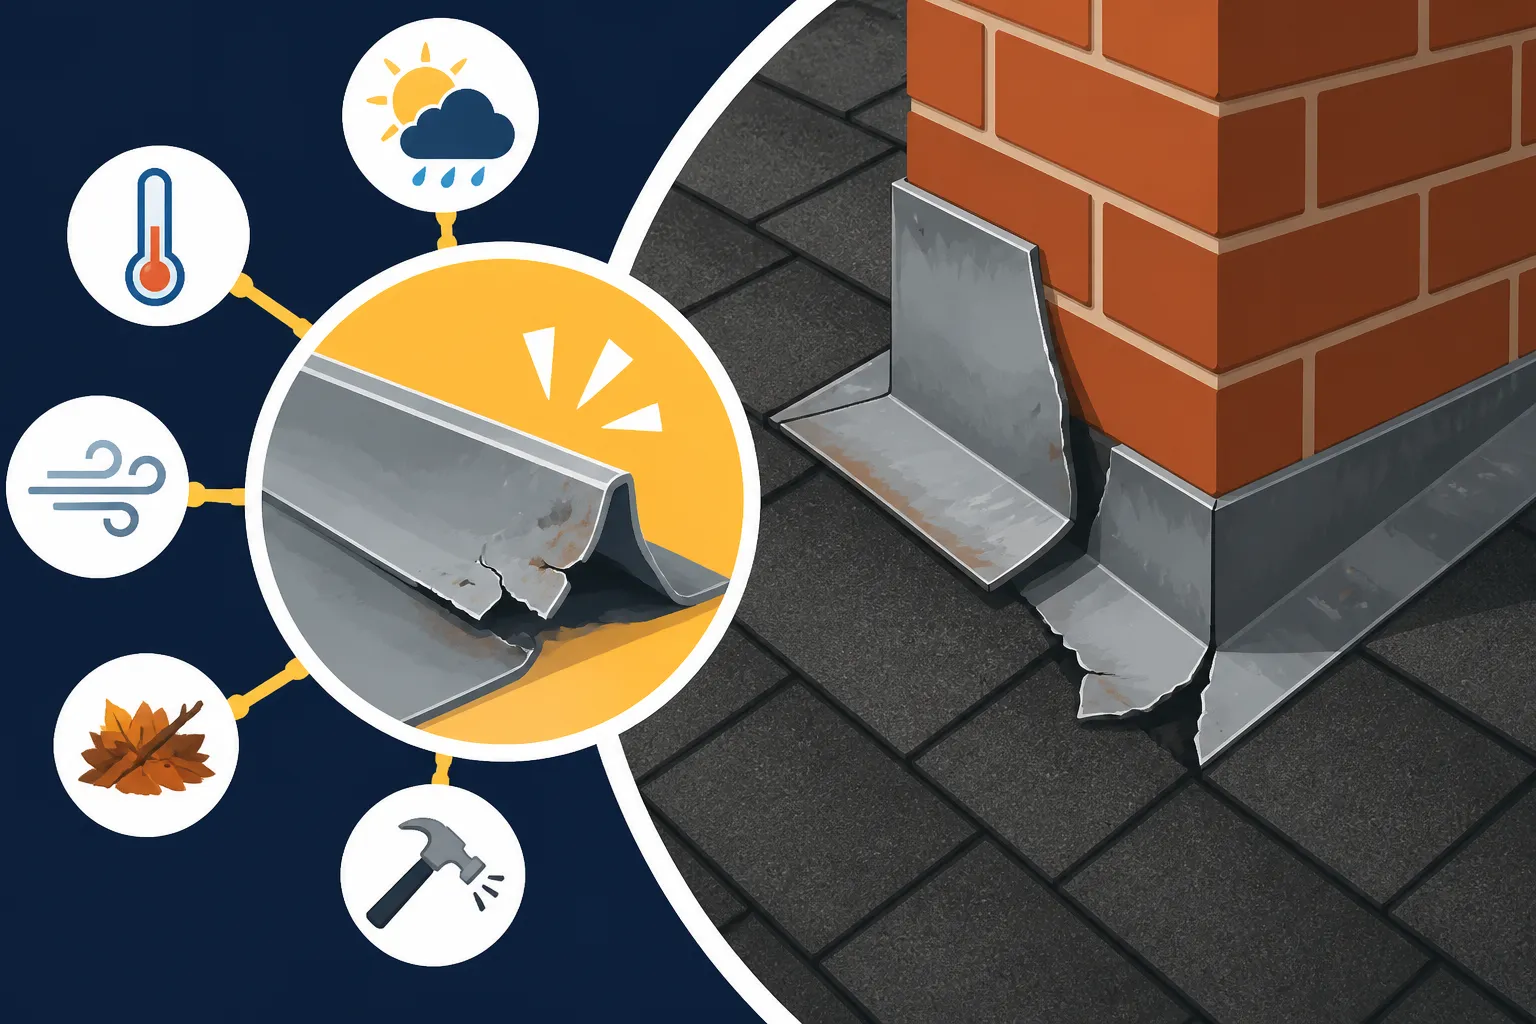
- High Winds: Strong gusts can be incredibly destructive. They can lift the edges of flashing, especially around the perimeter of the roof or at exposed corners. Once lifted, water can easily get underneath during the next rain. In severe storms, wind can even tear flashing entirely off the roof, leaving significant areas completely unprotected. This is particularly true for older, less securely fastened flashing. You might notice this more in regions prone to intense storms, like coastal areas or the Midwest's "Tornado Alley."
- Hail Impact: Hailstones, even small ones, can dent and deform metal flashing. Larger hail can cause significant creases, cracks, or punctures. While a minor dent might not cause an immediate leak, it compromises the integrity of the metal, making it more susceptible to further damage or corrosion. Over time, these small deformations can lead to water pooling or improper drainage, eventually causing leaks.
- Heavy Rain and Water Accumulation: While flashing is designed to shed water, relentless heavy rain can push water into vulnerable spots, especially if the flashing itself is already compromised. If gutters are clogged or incorrectly installed, water can overflow and run behind the drip edge or other flashing components, leading to saturation and rot in the underlying wood. Improper drainage can cause water to sit against flashing, accelerating rust on metal components.
- Extreme Temperature Fluctuations: The constant expansion and contraction of materials due to hot days and cold nights can put immense stress on flashing. Metals expand when heated and contract when cooled. If the flashing isn't installed with enough room for this movement, or if it's rigidly fastened, this continuous stress can lead to cracks in the metal, loosened nails, or separated sealant joints. This is a common issue in climates with dramatic seasonal temperature swings, such as the Northeast or Rocky Mountain states.
Improper Installation: A Recipe for Disaster
You can have the highest quality flashing materials, but if they aren't installed correctly, they are destined to fail prematurely. This is a common and often preventable cause of flashing problems.
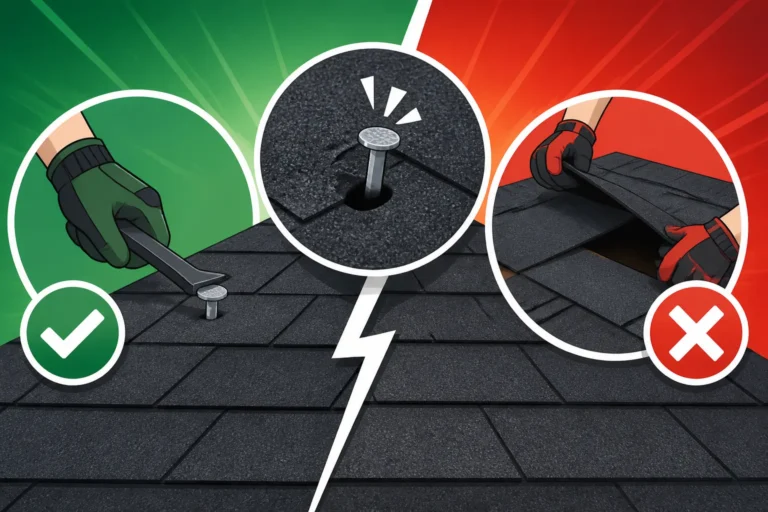
- Incorrect Nailing or Fastening: Flashing needs to be securely fastened but also allow for some movement. If nails are driven in incorrectly (e.g., too many, too few, or in the wrong spot), they can create pathways for water or prevent the flashing from lying flat. Over-nailing can restrict natural expansion and contraction, leading to buckling or cracking. Under-nailing can cause flashing to become loose and detach in windy conditions. For example, with step flashing, each piece should be nailed to the side wall, not directly to the roof deck, to allow for independent movement of the wall and roof. Proper nailing patterns affect wind resistance, which is why a skilled roofer is so important.
- Missing or Inadequate Sealants: While metal flashing is the primary barrier, sealants (like roofing cement or caulk) are often used to bridge small gaps, seal seams, or secure flashing components. If these sealants are applied improperly, too thinly, or are missing entirely, water will inevitably find its way through. Furthermore, using the wrong type of sealant that isn't compatible with roofing materials or weather conditions can lead to premature cracking, shrinking, or deterioration of the sealant itself.
- Improper Overlaps or Incorrect Layering: Flashing relies on gravity to shed water. Each piece must overlap the one below it correctly, directing water downwards and away from the penetration. If pieces are layered incorrectly (e.g., lower pieces on top of upper pieces), water can flow under the flashing rather than over it. This is particularly crucial for step flashing around chimneys or dormers, where the "step" design is paramount. Incorrectly cut or sized flashing can also lead to inadequate coverage and direct exposure of vulnerable areas. This is why understanding how flashing is installed is so critical.
- Lack of Counter-Flashing: For vertical penetrations like chimneys, counter-flashing is vital. This second layer of flashing is typically integrated into the chimney's mortar joints or wall material and then bent down over the base flashing. Its purpose is to prevent water from running behind the base flashing. Without it, or if it's installed improperly, water can easily seep between the flashing and the chimney, leading to leaks that are incredibly difficult to trace.
Age and Material Degradation
Even with perfect installation, flashing isn't immune to the relentless march of time. Materials degrade, and fasteners weaken, making age a significant factor in flashing failure. How long asphalt shingles last often goes hand-in-hand with how long other roof components like flashing hold up.
- Corrosion and Rust: Most metal flashing, especially galvanized steel or aluminum, is designed to resist corrosion. However, constant exposure to moisture, particularly in environments with high humidity or acid rain, can lead to rust and corrosion over many years. This is exacerbated if the protective coatings are scratched or compromised. Once corrosion sets in, the metal weakens, can develop pinholes, and eventually disintegrates, creating direct pathways for water. Different metals in contact can also cause galvanic corrosion, accelerating degradation.
- Cracking and Brittleness of Materials: Over decades, metal flashing can become brittle, especially if it's subjected to continuous expansion and contraction cycles. This can lead to stress cracks, particularly at bends or folds. For pipe boots with rubber collars, the rubber can dry out, crack, and become brittle due to UV exposure and ozone, losing its flexibility and seal around the vent pipe. This is a very common failure point for plumbing vent flashing.
- Loose or Missing Fasteners: The nails or screws holding flashing in place can rust, back out over time due to thermal movement, or simply lose their grip as the surrounding wood slightly shifts. Once fasteners are loose or missing, the flashing can lift, allowing wind to further damage it or water to penetrate. This is especially true for older roofs where original fasteners may not have been corrosion-resistant.
- Separation from Adjoining Surfaces: Over many years, the adhesion between flashing and the surfaces it seals (e.g., roofing cement to shingles, sealant to masonry) can weaken and separate. This can create tiny gaps where water can enter. The natural movement of a house and roof over decades contributes to this separation.
Structural Movement and Shifting
Your house isn't a static object; it breathes and shifts with the seasons, soil conditions, and even its own settlement. These movements can put immense strain on your roof and its flashing.
- House Settlement: All houses settle over time, especially within the first few years of construction, but minor movements continue throughout their lifespan. This settlement can cause subtle shifts in the foundation, walls, and roof framing. Even slight changes can pull flashing away from its sealed position, creating tiny gaps or stressing the metal to the point of cracking. This is often an underlying cause when flashing seems to fail without obvious external damage.
- Roof Deck Movement: The plywood or OSB roof decking under your shingles can expand and contract with changes in temperature and humidity. If the flashing is rigidly attached to both the roof deck and an immovable structure like a chimney, this differential movement can tear or buckle the flashing. A damaged roof deck, perhaps from water infiltration, can also destabilize flashing. Understanding roof decking replacement cost and when it's needed often ties into flashing issues.
- Earthquakes or Severe Vibrations: In seismically active regions, even minor tremors can cause significant structural shifting that impacts flashing. Similarly, heavy vibrations from nearby construction or constant strong winds can contribute to the gradual loosening of flashing and its fasteners, leading to eventual failure.
- Improper Framing Around Penetrations: If the framing around a chimney, skylight, or vent pipe was not done correctly or becomes compromised (e.g., from rot or insect damage), it can shift independently of the main roof structure. This instability will inevitably lead to the flashing becoming dislodged, twisted, or torn.
Spotting Damaged Flashing: What to Look For
Catching flashing problems early can save you a world of hurt and expense. The key is knowing what signs to look for, both from the ground and, more importantly, from inside your home. It’s always tempting to just glance at your roof, but a deeper inspection is necessary to really protect your investment.
Visible Deterioration from the Ground
While you should never get on your roof if you're uncomfortable or don't have the proper safety equipment, many flashing issues can be spotted with a good pair of binoculars or from a ladder positioned safely against the eaves.
- Rust Stains or Discoloration: Look for reddish-brown streaks running down your shingles or siding, especially below areas like chimneys, skylights, or vent pipes. This is a tell-tale sign that metal flashing is rusting and water is carrying those rust particles with it. You might also see white chalky stains on aluminum flashing, indicating oxidation.
- Bent, Kinked, or Missing Flashing: Visually scan around all roof penetrations and junctions. Is any flashing noticeably bent, ripped, or missing entirely? Strong winds often cause this. Pay close attention to the corners of chimneys, the edges of dormers, and the valleys. If you see areas where the flashing seems to be pulled away from the wall or roof surface, that's a red flag.
- Cracked or Deteriorated Sealant/Caulk: The caulking or sealant used around flashing can dry out, crack, or peel away over time, especially on vent pipe boots. Inspect these seals carefully. If they appear brittle, shrunken, or have visible gaps, they are no longer doing their job of keeping water out. This is a common point of failure for Flashing Leak Repair.
- Loose or Exposed Nails: Look for any nails that have popped up, are rusted, or are completely missing from the flashing. Exposed nail heads are direct entry points for water. A properly installed roofing system aims to hide fasteners as much as possible, so visible nails on flashing can indicate a problem or poor installation.
- Moss or Algae Growth Around Flashing: While moss and algae on shingles are often just cosmetic, if you see an unusual concentration of growth specifically around flashing, it could indicate prolonged moisture retention, which can accelerate deterioration of both the flashing and the surrounding roof deck.
Interior Signs of Trouble
Sometimes, the first sign of flashing failure appears inside your home. These signs are critical and should never be ignored. When you spot them, it's time to call in a professional immediately. For help finding a reliable pro, services like Modernize can be a great starting point to get you connected with qualified local roofers.
- Water Stains on Ceilings or Walls: The most obvious sign of a leak is a water stain. Pay close attention to stains in the attic or on the top-floor ceilings directly below roof penetrations (chimneys, skylights, vents) or near exterior walls that meet the roof. The water may travel along roof trusses or rafters before dripping, so the stain might not be directly under the leak source, but it will be in the general vicinity.
- Dripping Sounds During Rain: If you hear persistent dripping sounds inside your home during a rainstorm, especially when you know all windows are closed, it's a strong indicator of a roof leak. Try to trace the sound to narrow down the area.
- Mold or Mildew Growth: Persistent moisture from a slow leak creates an ideal environment for mold and mildew. Look for fuzzy or discolored patches on attic sheathing, ceiling joists, insulation, or interior walls. Mold often comes with a distinct musty odor, even if you can't see it. This can quickly become a serious health hazard.
- Damp or Saturated Insulation in the Attic: During or after rainfall, go into your attic (if accessible and safe) and check the insulation directly beneath roof penetrations. If it feels damp, compressed, or looks discolored, you likely have an active leak. Wet insulation loses its effectiveness and can lead to structural rot if not addressed. This is one of the most immediate signs to identify when doing a Roof Damage Assessment: A Homeowner's Guide.
- Rotting Wood in the Attic or Around Windows: Long-term flashing leaks can cause the wooden components of your roof structure (rafters, decking, fascia, window frames) to soften, discolor, or show visible signs of rot. This can compromise the structural integrity of your home and is a clear indicator that the problem has been ongoing for some time.
When to Call a Professional for an Inspection
While some minor issues might seem DIY-friendly, when it comes to flashing, it's almost always best to call a professional. Not only is working on a roof dangerous, but the nuances of flashing repair or replacement require specialized knowledge and experience. If you’re ever in doubt, the answer is always to get a pro involved.
- After a Major Storm: If your area has experienced severe weather like heavy hail, strong winds, or a particularly intense downpour, a professional roof inspection is a smart preventative measure. Even if you don't see immediate interior leaks, damage could be subtle and lead to problems down the road. This is especially important for Storm Damage: Repair or Replace considerations.
- If You Suspect Any Damage: If you've spotted any of the visible or interior signs mentioned above, don't delay. A small leak can quickly become a major structural issue. A professional can accurately diagnose the source of the leak, which isn't always obvious to the untrained eye, and recommend the correct course of action. They can also perform a thorough Roof Inspection: What They Check to ensure all components are sound.
- Before Buying or Selling a Home: A professional roof inspection, specifically checking flashing, should be a standard part of any real estate transaction. It protects both the buyer from inheriting costly repairs and the seller from unforeseen issues.
- Every 3-5 Years as Part of Routine Maintenance: Even without obvious signs of damage, regular inspections by a qualified roofing contractor can catch minor flashing issues before they escalate. This proactive approach can significantly extend the life of your roof and prevent unexpected expenses. This is part of how to extend the life of an asphalt roof. If you're looking for expert help, remember that a platform like Modernize can help you compare roofing quotes from trusted local professionals.
Preventing Future Flashing Problems and Maintaining Your Roof
While you can't stop time or the weather, you can certainly take steps to prevent flashing problems and keep your roof in tip-top shape. A bit of proactive effort goes a long way in protecting your home and avoiding costly repairs.
Regular Maintenance and Inspections
The best defense is a good offense, and that means staying on top of your roof's health. You wouldn't neglect oil changes for your car, so don't neglect your roof!
- Annual Visual Checks: Once a year, preferably in the spring or fall, conduct a visual inspection of your roof from the ground with binoculars, or safely from a ladder. Look for any of the signs of damaged flashing we discussed earlier: rust, bends, cracks in sealant, or loose components. Pay special attention to high-risk areas like chimneys, valleys, and vent pipes. While you're at it, check your gutters for blockages.
- Clear Gutters and Downspouts: Clogged gutters are a primary cause of water overflow, which can back up under flashing and damage fascia and soffit. Keep your gutters and downspouts free of leaves and debris, especially before rainy seasons. This ensures water is directed away from your home, as it should be.
- Trim Overhanging Branches: Tree branches that rub against your roof or overhang significantly can cause abrasion to shingles and flashing, leading to premature wear. They can also drop debris that clogs gutters. Regularly trim these branches to prevent contact with your roof.
- Don't DIY Flashing Repairs Unless Experienced: While tempting to fix a small crack with some caulk, flashing repairs are often more complex than they seem. Improper repairs can do more harm than good, trapping water or creating new leak points. Unless you have significant roofing experience, leave flashing repairs to the professionals. Attempting to DIY Shingle Repair: When It's Safe usually doesn't extend to complex flashing work.
The Importance of Professional Installation
This point cannot be stressed enough. The quality of installation is paramount to the longevity of your flashing. Even the highest-grade materials won't perform if they aren't put in correctly. Choosing a reputable roofing contractor is the single most important decision you'll make when it comes to your roof.
- Certified and Experienced Contractors: Always choose a contractor with a proven track record of quality work, especially with flashing. Look for certifications from manufacturers like GAF, Owens Corning, or CertainTeed, as these usually indicate a commitment to best practices. Ask about their experience with various flashing types and materials. A skilled professional understands the nuances of local building codes and best installation practices. You can learn more about how to choose a roofing contractor.
- Adherence to Building Codes: Proper flashing installation is mandated by local building codes for a reason – it ensures safety and durability. A good contractor will be fully aware of and adhere to all relevant codes, including those for Drip Edge Code Requirements and ice barrier installation. They will also secure all necessary roofing permits.
- Using the Right Materials: An experienced roofer will recommend the appropriate flashing material for your specific roof design and local climate. For example, in coastal areas, corrosion-resistant metals like copper or stainless steel might be preferred over galvanized steel. They will also ensure compatible materials are used together to avoid issues like galvanic corrosion.
- Manufacturer Warranties: Many high-quality roofing systems and their components, including flashing, come with manufacturer warranties. However, these warranties are often contingent on professional installation by a certified contractor. Improper installation can void your warranty, leaving you responsible for future repair costs. This highlights the importance of understanding Roofing Warranties: Manufacturer vs Workmanship. If you need help finding vetted contractors who understand these warranties, platforms like Modernize can be a valuable resource.
Upgrading Flashing Materials
If you're replacing your roof, or even just dealing with a persistent flashing issue, consider upgrading your flashing materials. Investing a little more upfront can save you significant headaches and costs in the long run.
- Choosing Durable Metals: While galvanized steel is common, consider options like copper, lead, or stainless steel for critical areas like chimneys and valleys. These materials are highly corrosion-resistant and have much longer lifespans, often outlasting the shingles themselves. They might have a higher initial Asphalt Roof Replacement Cost: Complete Breakdown, but their durability can make them worthwhile.
- Rubberized or Self-Adhering Flashing Products: For certain applications, especially around vent pipes and skylights, newer rubberized or self-adhering flashing products offer superior watertight seals. Products like ice and water shield are excellent for providing an additional layer of protection under traditional metal flashing in valleys and along eaves. This is key for understanding Ice and Water Shield Explained.
- Proper Vent Boots: If your pipe boots are showing signs of wear, replacing them with higher-quality, all-metal or reinforced rubber options can prevent common leak points. Some modern vent boots are designed with enhanced UV resistance to combat the cracking and brittleness issues seen with older rubber components.
- Regular Inspections and Proactive Replacement: If your flashing is approaching its expected lifespan (e.g., galvanized steel might last 20-30 years, while copper can last 50+), consider proactively replacing it during a re-roofing project or even as a standalone repair if issues arise. It's often more cost-effective to replace aging flashing before it fails and causes interior damage.
By understanding what causes damaged flashing and taking proactive steps, you can ensure that this unsung hero of your roof continues to protect your home effectively for years to come.
Common Flashing Issues and Their Causes
Here's a quick overview of common flashing problems and what usually causes them:
| Flashing Issue | Common Locations | Primary Causes | Visible Symptoms |
|---|---|---|---|
| Rust/Corrosion | Galvanized steel flashing (valleys, chimneys, vents) | Age, prolonged moisture exposure, incompatible metal contact | Reddish-brown streaks, pitting, holes |
| Bends/Kinks/Tears | Exposed edges, valleys, step flashing | High winds, hail impact, improper installation, physical damage (e.g., falling debris) | Deformed metal, lifted edges, visible gaps |
| Cracked/Brittle Sealant | Vent pipe boots, chimney seams, skylight edges | UV exposure, age, extreme temperature fluctuations, incorrect sealant type | Dry, cracked, shrunken caulk; visible gaps around pipes |
| Loose/Missing Fasteners | Any nailed flashing (step, continuous, drip edge) | Age, thermal movement, rust, improper nailing, wind uplift | Flashing lifting away, exposed nail holes |
| Improper Overlaps | Valleys, step flashing, chimney base | Incorrect installation, DIY mistakes | Water stains under flashing, persistent leaks |
| Missing Counter-Flashing | Chimneys, masonry walls | Incorrect installation, overlooked component, previous repair shortcuts | Water seeping behind base flashing into masonry |
| Deteriorated Rubber Boot | Plumbing vent pipes | UV exposure, age, ozone degradation | Cracked, crumbling rubber around the pipe |
Disclaimer
Please remember that this article is intended for informational purposes only and should not be taken as professional advice. Roofing work can be dangerous and complex. Always consult with a qualified and licensed roofing contractor for specific inspections, repairs, or replacements on your property. They can provide accurate assessments and ensure work is done safely and correctly according to local building codes.