Flashing Leak Repair
That unsettling drip, the spreading water stain on your ceiling, or even the faint smell of mildew in your attic are all tell-tale signs that your roof might be compromised. Often, these frustrating leaks stem from a common culprit: damaged or failing roof flashing. This guide is here to walk you through everything you need to know about flashing leak repair, from understanding what flashing does to diagnosing a leak, attempting DIY fixes, and knowing when it's absolutely time to call in the pros.
Understanding Flashing and Its Critical Role
When you look at your roof, you probably notice the shingles first. But underneath and around them, working tirelessly behind the scenes, is a system of protective materials, and flashing is one of the most important. It’s essentially your roof's personal bodyguard for all those vulnerable spots.
What is Flashing and Where is it Found?
Flashing refers to thin pieces of impervious material, most commonly galvanized steel, copper, or aluminum, installed to prevent water penetration at junctions and penetrations on a roof. Think about all the places where your roof isn't just a flat, shingled surface: around chimneys, skylights, vent pipes, valleys where two roof planes meet, and along wall intersections. These are all prime locations for flashing. Without it, water would simply seep into your home, causing untold damage.
Different types of flashing serve different purposes. Step flashing, for instance, is used along walls that abut the roof, layered with shingles to create a shingle-over-flashing-over-shingle pattern that sheds water. Continuous flashing might be a longer piece used along a horizontal wall. Apron flashing is a single, large piece often found at the base of a chimney or dormer. Then there's valley flashing, which is crucial where two roof sections converge to form a V-shape, channeling a significant amount of water. Learning about the different components of your roof is really helpful, and you can get a deeper dive into Roof Flashing Explained to understand each type.
Why Flashing is So Important for Your Roof
The primary job of flashing is to create a watertight seal in areas where shingles alone just can't do the job. Shingles are designed to overlap and shed water down the slope, but they aren't flexible enough to wrap perfectly around a vent pipe or hug the contours of a chimney. This is where flashing steps in. It diverts water away from these vulnerable points and directs it down the roof towards the gutters.
Without properly installed and maintained flashing, your roof—and consequently your home's interior—is incredibly susceptible to water intrusion. Even a small gap or a tiny crack can allow water to trickle in, leading to wood rot in your roof deck, damage to your insulation, stained ceilings, and even hazardous mold growth. It's a small but mighty component that plays an outsized role in the overall integrity and longevity of your asphalt roofing system.
Common Causes of Flashing Leaks
It’s often disheartening to discover a leak, and when it comes to flashing, the causes can be varied. Understanding why your flashing might be failing is the first step toward figuring out the best way to fix it.
Improper Installation and Subpar Materials
Believe it or not, a significant number of flashing leaks aren't due to age, but rather to mistakes made during the initial installation. If a roofer rushes the job, uses too few nails, doesn't lap the flashing correctly with the shingles, or cuts corners on sealing, you're setting yourself up for problems down the line. For example, Chimney Flashing Explained highlights how crucial proper layering and sealant are around these complex structures. Each piece of step flashing needs to be integrated correctly with its corresponding shingle layer, and every bend and seam must be perfectly sealed to prevent water from wicking underneath.
Furthermore, the quality of the flashing material itself can be a factor. While cheaper, thinner aluminum might seem like a way to save a few bucks, it can be more prone to bending, tearing, or corroding over time compared to more robust materials like copper or heavy-gauge galvanized steel. When working with a contractor, it's always worth asking about the materials they use, and if you’re looking to find a reliable pro, resources like Modernize can connect you with experienced roofing contractors in your area who prioritize quality installation.
Wear and Tear and Environmental Factors
Even the best-installed flashing eventually succumbs to the relentless assault of Mother Nature. Years of scorching sun, freezing temperatures, torrential rain, and strong winds take their toll. The sealants used around flashing, like roofing cement or caulk, can dry out, crack, and lose their adhesion, creating tiny pathways for water. Metal flashing itself can corrode, especially if exposed to certain chemicals or prolonged moisture, leading to pinholes or larger breaches.
Then there's the natural movement of your house. Over decades, homes settle, foundations shift slightly, and even the roof structure can flex with temperature changes. This subtle movement can stress flashing, causing it to pull away from surrounding materials or develop hairline cracks at stress points. Severe weather, like hailstorms or ice dams, can also directly damage flashing, bending it out of shape or tearing it loose. When assessing if you need a full replacement versus a repair, knowing What Causes Leak on a Roof can provide greater clarity.
Damage from Other Sources
Sometimes, flashing leaks are caused by external factors that aren't directly related to installation or age. Critters, for instance, can wreak havoc. Squirrels or raccoons looking for a cozy attic space might chew through soft lead flashing around vent pipes or even bend metal flashing out of the way to gain entry. Falling tree branches, wind-blown debris, or even improperly aimed power washers during a cleaning can dent, tear, or dislodge flashing.
Even well-intentioned DIY efforts can sometimes lead to issues. If someone walked on your roof incorrectly while cleaning gutters or attempting a small repair, they might have inadvertently bent or stepped on flashing, compromising its seal. It’s always important to be extremely careful when performing any work on your roof, or better yet, leave it to trained professionals who know how to navigate the roof safely and effectively.
Diagnosing a Flashing Leak: Signs and Detection
Finding a roof leak is often like playing detective. The water stain on your ceiling might be far from the actual source of the leak, as water travels along rafters and decking before dripping down. This is particularly true for flashing leaks, which can be elusive.
Interior Signs of a Leak
The most obvious sign of a flashing leak, or any roof leak for that matter, is water inside your home. Look for water stains on your ceiling, especially those that appear along interior walls or near a chimney, vent pipe, or skylight. These stains might be yellow, brown, or even black if mold has started to grow. You might also notice peeling paint or bubbling drywall in areas directly below the suspected leak.
Beyond visible stains, listen for the tell-tale drip-drip-drip sound during or after rainfall. Pay attention to any musty odors, particularly in your attic or upper floors, which can indicate hidden moisture or mold growth. In more severe cases, you might even find actual puddles on your floor or see water actively dripping from the ceiling. If you spot these signs, it's crucial to act fast. How to Spot a Roof Leak goes into more detail about these warning signs.
Exterior Clues on the Roof
While interior signs are what often prompt action, the real detective work begins outside. If it's safe to do so, and you feel comfortable on a ladder, a visual inspection of your roof can reveal a lot. Look for flashing that appears bent, dented, or rusted. Check around chimneys, skylights, and vent pipes for flashing that has pulled away from the structure or has visible gaps in the sealant.
- Around Chimneys and Skylights: These are notorious spots for leaks. Look for loose counter flashing (the top layer) or base flashing (the bottom layer). The sealant where the flashing meets the masonry or skylight frame might be cracked, crumbling, or missing altogether.
- In Valleys: The metal flashing in roof valleys should be smooth and intact. Any kinks, tears, or rust spots can indicate a leak source.
- Along Walls: If your roof meets a wall (e.g., a dormer), inspect the step flashing. It should be interwoven with the shingles. If you see exposed nail heads, missing pieces, or signs that the flashing has slipped down, it’s a red flag.
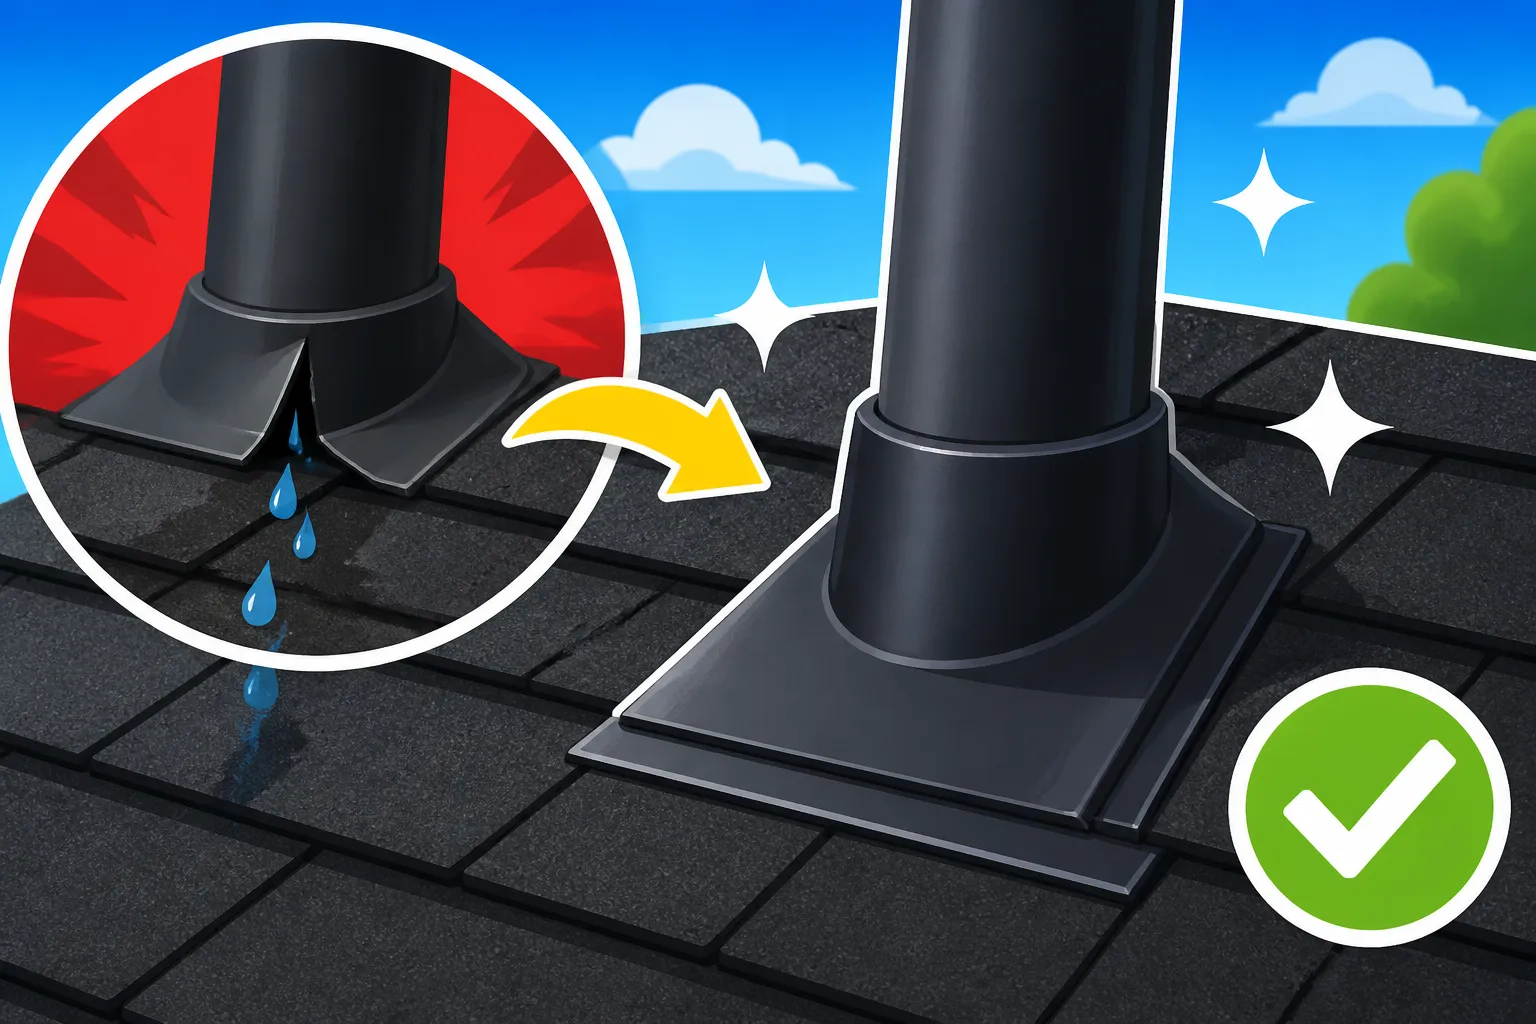
- Vent Pipes: Check the rubber boot around the base of vent pipes. Over time, these can dry out and crack, allowing water to penetrate.
Remember, safety is paramount. If you're not comfortable on a ladder or inspecting a steep roof, it's always best to call a professional for an inspection.
The Water Test: Safely Confirming the Leak Source
Sometimes, the exterior damage isn't obvious, or you suspect a leak but can't pinpoint it. That's when a controlled water test can be incredibly useful. This is a two-person job, so grab a helper!
Here’s how to do it safely:
- Prep Inside: Have one person position themselves in the attic or inside the home where the leak evidence is visible. They should have a flashlight and be ready to yell when they see water.
- Prep Outside: The other person goes onto the roof with a garden hose. Start by running water directly above the suspected leak area, rather than directly on it. For example, if you suspect a chimney leak, start running water on the shingles a few feet above the chimney.
- Systematic Approach: Gradually move the hose closer to the suspected area. Work slowly and systematically. For a chimney, spray one side at a time, then the front, then the back. For a skylight, spray above it, then each side.
- Wait and Watch: Water can take time to travel. Have the person inside watch carefully, and the person outside should hold the hose in one spot for several minutes before moving. When the person inside sees water, they should shout immediately. The person with the hose can then note the exact location.
- Caution: Never spray water directly into seams or under flashing with high pressure. The goal is to simulate rainfall, not a high-pressure wash, which could create a leak where none existed before.
This method helps confirm the exact source of the leak, which is invaluable whether you're tackling the repair yourself or calling in a professional.
DIY Flashing Leak Repair: When It's Possible
Let's be real, a lot of homeowners like to save money where they can, and the idea of fixing a small leak yourself can be tempting. For certain types of flashing leaks, especially minor ones, a DIY repair is absolutely feasible. However, it's crucial to understand your limits.
Minor Repairs: Sealants and Small Patches
If you've got a small crack in the sealant around a vent pipe, or a tiny pinhole in a piece of valley flashing, you might be able to tackle it yourself. The key is using the right materials.
- Roofing Cement/Mastic: This is a thick, asphalt-based compound that comes in a caulk tube or a can. It's excellent for sealing small gaps, cracks, or reapplying loose flashing. It remains flexible and waterproof. Brands like Henry and Gardner are common and effective.
- Silicone Sealant: A high-quality exterior-grade silicone sealant can work well for non-asphaltic surfaces, such as around metal skylight frames or where flashing meets siding. Make sure it's designed for outdoor use and can withstand UV rays and temperature fluctuations.
- Flashing Tape/Patch: For slightly larger holes or tears in metal flashing, a self-adhesive flashing tape (often asphalt-based with an aluminum surface) can be a temporary or even long-term solution. These usually require a clean, dry surface for optimal adhesion.
Remember, these are for minor issues. If the flashing is severely bent, corroded, or missing entirely, these band-aid solutions won't cut it. You might also want to consult with a roofing professional to ensure that what looks like a small problem isn't indicative of a larger structural issue.
Step-by-Step Guide for Simple Repairs
Let's say you've got a small gap in the sealant around a vent pipe boot or a small section of step flashing that's come loose. Here’s a basic approach:
- Gather Your Tools: You'll need a sturdy ladder, safety glasses, work gloves, a utility knife, a wire brush, rags, mineral spirits (for cleaning), and your chosen sealant or patching material.
- Clean the Area Thoroughly: This is the most critical step for any successful sealant application. Scrape away all old, loose caulk, rust, dirt, moss, or debris. Use the wire brush to get the surface as clean as possible. For stubborn residue, a rag dampened with mineral spirits can help, but ensure the area is completely dry before applying new sealant.
- Apply Sealant: For gaps or small cracks, apply a generous bead of roofing cement or silicone sealant directly into the gap. Use a caulk gun for even application. If you’re re-sealing a loose piece of flashing, lift it slightly (if possible and safe), apply sealant underneath, and then press it firmly back into place. You can use a putty knife to spread the sealant evenly, ensuring it feathers out smoothly.
- Apply Patch (If Needed): If you're using flashing tape for a hole, cut a piece slightly larger than the damage. Peel off the backing and carefully press it over the hole, starting from one edge and smoothing it down firmly to avoid air bubbles. Ensure good contact around the entire perimeter.
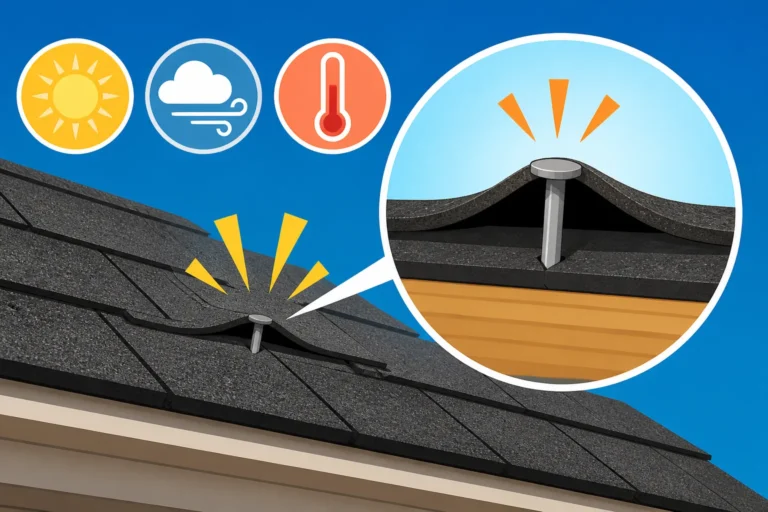
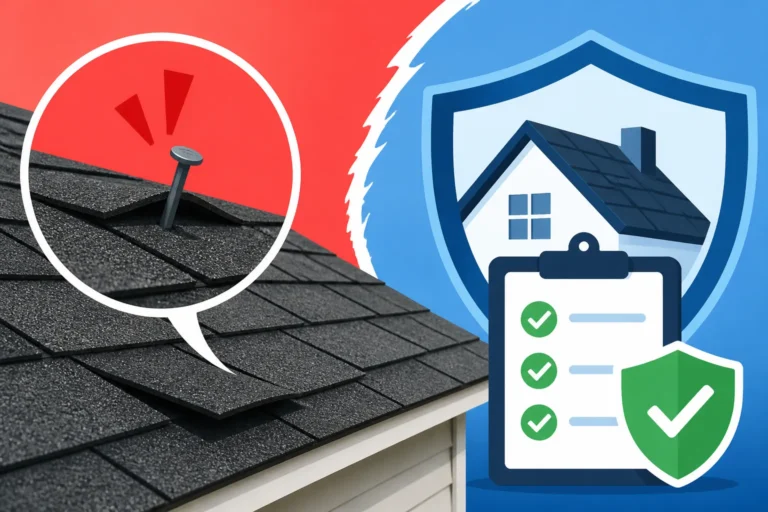
- Check for Exposed Nails: If you see any exposed nails in the flashing, gently tap them down and then cover their heads with a dab of roofing cement to prevent water from seeping in around them.
- Cure Time: Allow the sealant or patch to cure according to the manufacturer's instructions before expecting it to be fully waterproof. This usually means no rain for at least 24 hours.
Safety First: Essential Precautions for DIY Roofing
Working on a roof is inherently dangerous. Seriously, don't take risks you're not comfortable with.
- Ladder Safety: Always use a sturdy ladder, placed on firm, level ground. Ensure it extends at least three feet above the edge of the roof. Have someone "spot" you, holding the base of the ladder. Never overreach; it's better to move the ladder.
- Footwear: Wear rubber-soled shoes with good grip. Avoid slippery surfaces like wet shingles or mossy areas.
- Weather Conditions: Only work on a dry roof on a calm, clear day. Avoid windy conditions, rain, or extreme heat or cold.
- Personal Protective Equipment (PPE): Wear work gloves to protect your hands, safety glasses to protect your eyes from debris or splashing sealant, and comfortable but sturdy clothing.
- Know Your Limits: If your roof is very steep, very high, or if you feel at all uneasy, do not attempt the repair yourself. A fall from a roof can result in serious injury or worse. It’s simply not worth the risk. For more complex repairs or those on multi-story homes, consulting a professional like those you can find through Modernize is a smart move.
When to Call a Professional for Flashing Repair
While minor DIY fixes can save you a few bucks, there comes a point where professional expertise isn't just a convenience – it's an absolute necessity. Knowing when to put down the caulk gun and pick up the phone can save you a lot of headache, and ultimately, more money in the long run.
Recognizing Beyond DIY Scope
There are clear indicators that a flashing leak is beyond what most homeowners should attempt to fix themselves. If the damage is extensive, involving large tears, severely bent or corroded metal, or completely missing sections of flashing, a simple patch won't suffice. Similarly, if the leak is persistent despite your best DIY efforts, it likely points to a more complex issue, perhaps even an underlying problem with the roof deck or structure that you can't see from the surface.
Complex flashing types, such as those integrated into intricate roof lines or historical homes, often require specialized skills and tools to repair correctly. For instance, fixing custom copper flashing around a bay window dormer is a far cry from sealing a plastic vent boot. The risk of causing further damage or creating a new leak is high if you're not experienced. Furthermore, steep roofs or multi-story homes pose significant safety challenges. As tempting as it is to save on How Much Does It Cost to Fix A Roof Leak, your safety and the long-term integrity of your roof should always be the top priority.
The Benefits of Professional Expertise
When you hire a professional roofer for flashing leak repair, you're not just paying for a fix; you're investing in their experience, knowledge, and specialized equipment. A reputable roofing contractor will have seen countless flashing issues and can accurately diagnose the root cause of the problem, not just treat the symptom. They'll also be able to identify other potential weak spots on your roof during their inspection, potentially preventing future leaks.
Professionals use commercial-grade materials and adhere to industry best practices and local building codes, ensuring that the repair is durable and long-lasting. Many even offer warranties on their workmanship, giving you peace of mind. For instance, a certified contractor might be trained to work with specific manufacturers like GAF or Owens Corning, ensuring that any new materials seamlessly integrate with your existing roofing system and maintain any existing warranties. When it comes to making a significant investment in your home, professional work minimizes the risk of costly do-overs.
What to Expect from a Professional Repair
When you engage a professional for flashing repair, the process usually starts with a thorough inspection. They'll examine both the exterior and interior (attic) of your home to pinpoint the leak's exact location and assess the extent of any damage to the underlying roof deck or insulation. This initial assessment is crucial.
Once they've identified the problem, they'll provide you with a detailed estimate outlining the scope of work, the materials they plan to use, and the associated costs. Don't be shy about asking questions! This is also a good time to compare multiple bids, and knowing How to Read and Compare Roofing Estimates will be invaluable.
The repair itself will typically involve:
- Removing Damaged Materials: Carefully removing compromised shingles, old flashing, and any deteriorated sealant.
- Repairing Substrate: If the underlying roof decking has rotted or been damaged by water, they will repair or replace those sections. This is a critical step, as flashing can't do its job effectively on a compromised surface.
- Installing New Flashing: Cutting and shaping new flashing pieces to fit precisely, ensuring proper overlaps and integration with existing shingles.
- Sealing: Applying high-quality roofing cement or specialized sealants to create a watertight barrier. They will ensure all nail heads are covered and seams are properly sealed.
- Testing (Optional): Some contractors may perform a water test after the repair to ensure its effectiveness, especially for stubborn leaks.
The cost will vary depending on the extent of the damage, the type of flashing, the complexity of your roof, and local labor rates. A simple repair of a vent pipe boot might be a few hundred dollars, while extensive chimney flashing replacement could run significantly higher. Always ask about their warranty on the repair work. Finding a great roofer can feel overwhelming, but tools like Modernize can simplify the process by connecting you with trusted local professionals who are experienced in handling these types of repairs.
Here's a quick comparison of DIY vs. Professional Flashing Repair:
| Feature | DIY Flashing Repair (Minor) | Professional Flashing Repair |
|---|---|---|
| Cost | Low (materials only) | Moderate to High (materials + labor + expertise) |
| Skill Required | Basic DIY, comfort with heights | Expert roofing knowledge, specialized training |
| Safety Risk | High for inexperienced individuals | Low for homeowner, high for trained professionals |
| Warranty | None | Often includes workmanship and/or material warranties |
| Longevity | Variable, dependent on skill and material choice | Typically long-lasting, code-compliant |
| Scope | Small cracks, minor resealing, simple damage | Extensive damage, complex areas (chimneys, valleys), structural repair |
| Tools | Basic ladder, caulk gun, utility knife, wire brush | Specialized tools, safety equipment, commercial sealants |
| Time | Can be quick for simple fixes | Varies depending on complexity, often a few hours to a day |
Preventing Future Flashing Leaks
An ounce of prevention is worth a pound of cure, right? This old adage rings especially true for your roof. Taking proactive steps can save you from the headache and expense of future flashing leaks.
Regular Inspections and Maintenance
One of the easiest yet most overlooked ways to prevent flashing leaks is simply to keep an eye on your roof. Annual inspections, ideally both in the spring and fall, allow you to catch small issues before they escalate. You can perform a visual inspection from the ground with binoculars, looking for obvious signs of damage around all flashing areas. If you're comfortable and safe, a closer look from a ladder or even walking the roof (if it’s a low-slope pitch) can reveal more subtle problems.
During these inspections, look for:
- Cracked or peeling sealant around vent pipes, skylights, and chimneys.
- Loose or bent flashing.
- Any signs of rust or corrosion on metal flashing.
- Accumulation of debris (leaves, branches) in valleys or around chimneys, which can trap moisture and cause premature deterioration.
Beyond visual checks, keeping your gutters clean is paramount. Clogged gutters can cause water to back up and pool against your fascia and even under the edge of your shingles and flashing, leading to significant water damage. Regularly trimming tree branches that overhang your roof can also prevent physical damage to flashing from falling limbs, especially during storms.
Investing in Quality Materials and Installation
When it's time for a roof replacement or even a significant repair, don't skimp on quality. Opt for durable flashing materials that are appropriate for your climate. In areas prone to heavy rain, snow, or high winds, thicker gauge metals or specialty flashing products might be a wise investment. For example, some regions might benefit from lead flashing around chimneys for its malleability and longevity, even if it has a higher upfront cost.
Equally important is the quality of installation. Even the best materials can fail if they're not installed correctly. That's why choosing a highly reputable and experienced roofing contractor is non-negotiable. Look for contractors who are licensed and insured, have excellent reviews, and are transparent about the materials and methods they use. Many reputable contractors are also certified by major shingle manufacturers, which often means they adhere to higher installation standards and can offer enhanced warranties. You can get more insight into what to look for when you're asking Questions to Ask a Roofing Contractor Before Hiring.
Understanding Your Roof's Lifespan
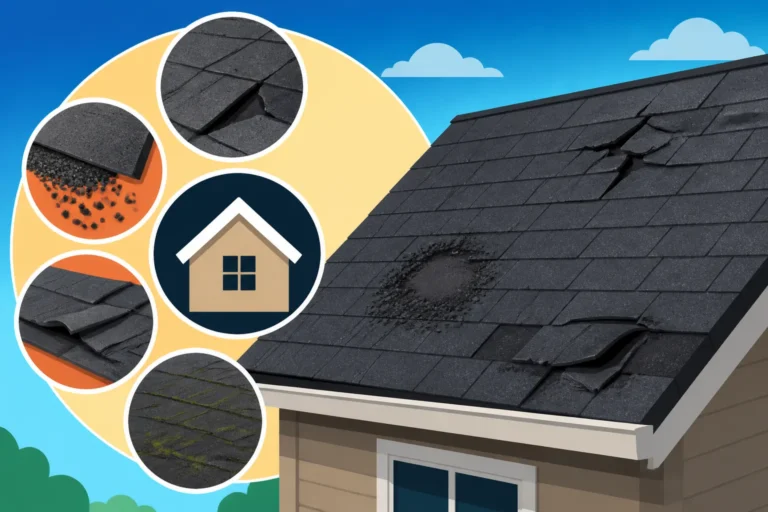
Even with diligent maintenance and high-quality materials, your roof, and its flashing, won't last forever. Asphalt shingles typically have a lifespan of 20-30 years, and while metal flashing can last longer, it's often prudent to replace it as part of a full roof replacement. Ignoring the age of your roof and constantly patching old, worn-out flashing can be a costly game. Sometimes, flashing issues are a symptom of a larger problem – that your roof is nearing the end of its life. If you're seeing multiple, recurring leaks, widespread granule loss, or significant curling and cracking of shingles, it might be time to consider a full replacement. Signs You Need a New Roof can help you determine if you're beyond simple repairs.
Proactively planning for a roof replacement, rather than reacting to a catastrophic failure, allows you to make informed decisions about materials, contractors, and budgeting. A comprehensive How a Roof Replacement Works: The Full Process will ensure that all components, including new flashing, are installed correctly and will perform optimally for decades to come, protecting your home from the elements.
Disclaimer
Please remember that this guide offers general information and recommendations. Roofing work can be dangerous and should only be undertaken by individuals who are properly trained, equipped, and comfortable with the risks involved. Always prioritize your safety and consult with qualified roofing professionals for specific advice related to your home's unique situation and local building codes.