How to Replace a Few Damaged Shingles
It’s a truly disheartening moment when you step outside, look up at your home, and spot it: a few damaged shingles on your roof. Maybe it was that last windstorm, a rogue branch, or just the relentless sun finally taking its toll. You see those curled edges, missing tabs, or even a completely displaced shingle, and your mind immediately jumps to a full, expensive roof replacement. But often, if the damage is isolated, you don't need to panic and jump straight to that massive project. This comprehensive guide will walk you through how to assess the situation and, if appropriate, safely and effectively replace just a few damaged asphalt shingles, potentially saving you a lot of time and money.
Understanding Why Your Shingles Get Damaged
Before you can fix the problem, it helps to understand what caused it in the first place. Knowing the common culprits can also help you prevent similar issues down the road and make a more informed decision about whether a simple repair is truly sufficient.
Common Culprits: Wind, Hail, and UV Rays
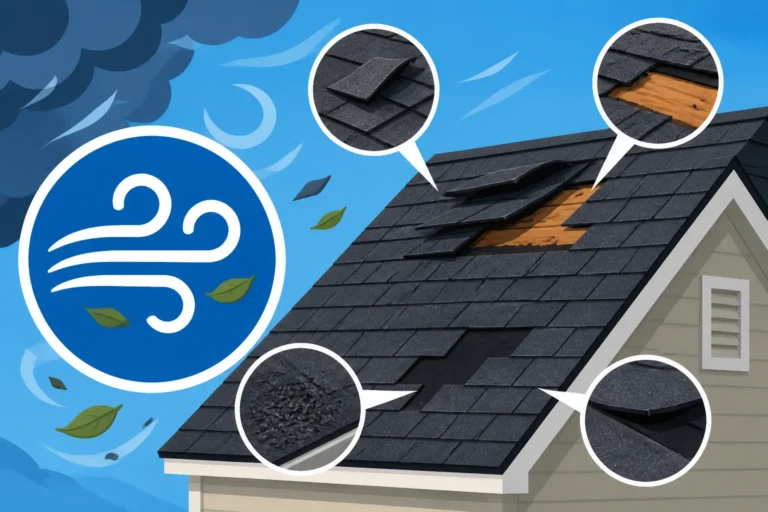
One of the most frequent reasons homeowners find themselves with damaged shingles is the weather, especially the dramatic kind. Strong winds are notorious for lifting and tearing shingles right off the roof. This often starts with shingles that weren't properly sealed during installation or those already weakened by age. You might notice shingles completely gone, or just loose, flapping tabs, particularly along the eaves, rakes, or around protrusions like chimneys and vents. The wind can sneak underneath, exert upward pressure, and eventually break the adhesive seal and pull out fasteners.
Then there's hail. A hailstorm, even one that doesn't seem too severe, can cause significant damage that isn't always obvious from the ground. Hailstones can create dents, cracks, or chip away the protective granules on asphalt shingles. This granule loss exposes the asphalt mat beneath to the sun's harmful UV rays, accelerating its deterioration. While a single small impact might not cause an immediate leak, repeated or larger impacts can weaken the shingle, making it more vulnerable to future damage.
And let's not forget the silent killer: the sun's ultraviolet (UV) rays and the constant cycle of heating and cooling. Over years, the sun bakes asphalt shingles, causing them to dry out and become brittle. This process, known as thermal cycling, leads to cracking, curling, and shrinking. The granules that protect the asphalt from UV radiation slowly wear off and wash away, further exposing the shingle to the elements.
Age and Installation Issues
Beyond the immediate impact of weather events, the simple passage of time plays a huge role in shingle degradation. Every asphalt roof has a lifespan, and as it approaches its end, the shingles naturally lose their flexibility, the adhesive strips weaken, and granules slough off more easily. A roof that’s 15, 20, or even 25 years old is far more susceptible to minor damage turning into a major headache. If you're wondering How Long Does an Asphalt Roof Last, generally, 3-tab shingles might last 15-20 years, while architectural shingles can often go for 25-30 years, but this varies greatly by climate and maintenance.
Sometimes, though, the problem isn't age or weather, but rather how the roof was put on in the first place. Improper installation can significantly shorten a roof's life and make shingles more vulnerable to damage. Issues like insufficient nailing – not enough nails per shingle, or nails placed in the wrong spot – can leave shingles susceptible to wind uplift. Incorrect shingle overhangs can create weak points, while a lack of proper sealing during installation means the shingles won't bond together, making them prone to flapping in the wind. We've also seen issues like Nail Pops: Why They Happen, where nails push up through the shingle, creating weak spots that can crack and lead to leaks. It’s a frustrating reality, but sometimes a small fix points to a larger, underlying installation flaw.
Deciding If a Spot Repair is Enough
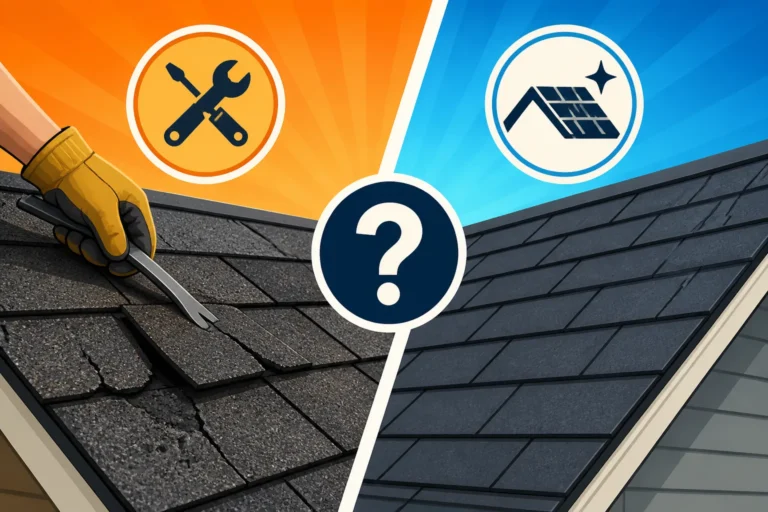
This is where many homeowners get anxious. You've identified the problem, but now you're faced with a critical decision: can you get away with just replacing a few shingles, or is this a sign that your entire roof needs attention? It's essential to make an informed choice to avoid wasting money on a temporary fix when a larger solution is truly needed.
When to Opt for a Few Shingle Replacements
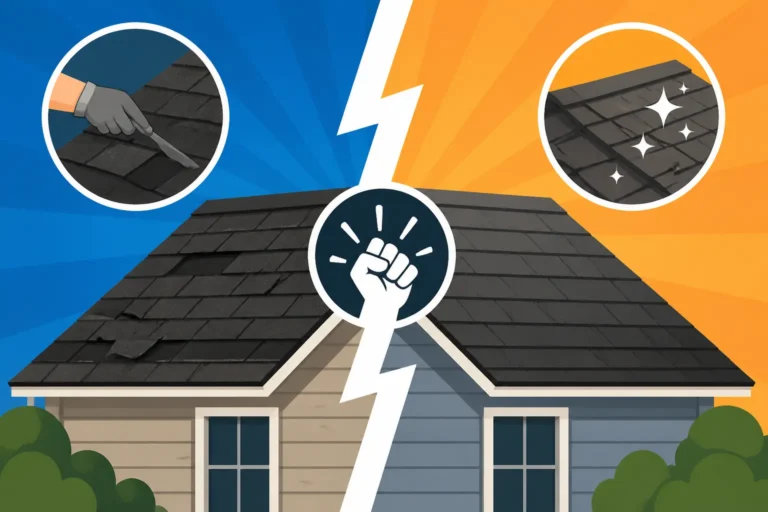
A spot repair – replacing just a handful of damaged shingles – is absolutely the right call in many specific situations. If you're dealing with isolated damage, perhaps from a heavy tree branch falling on a small section of your roof, or if a recent, particularly aggressive windstorm lifted just a few shingles on one slope, a targeted replacement can be very effective. This also applies to minor hail dings that are clearly contained to a small area and haven't compromised the underlayment beneath. The key here is "isolated" and "contained."
Think of it like getting a small scratch on your car door versus a major fender bender. You wouldn't replace the whole car for a scratch, right? Similarly, if the rest of your roof looks healthy, has plenty of life left in its shingles, and shows no other signs of widespread wear, a simple shingle replacement is a cost-effective and practical solution. It addresses the immediate leak or aesthetic issue without incurring the significant expense of a full roof replacement. For these smaller, contained problems, a few new shingles can restore your roof's integrity and appearance, extending its overall lifespan.
Signs Your Roof Needs More Than a Patch
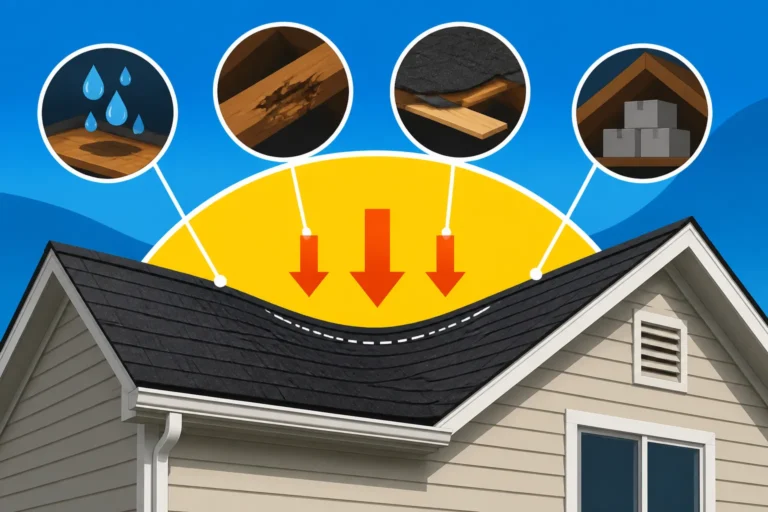
While spot repairs are great for isolated issues, there are definite red flags that indicate your roof needs a more comprehensive solution than just swapping out a few shingles. One of the clearest indicators is widespread granule loss. If you look at your shingles and notice many areas where the granular surface has eroded, exposing the black asphalt underneath, that’s a sign of advanced aging across the entire roof. You might even see large piles of granules in your gutters. Similarly, if you observe extensive curling, cracking, or blistering across multiple slopes, not just a small section, it suggests that the shingles' protective qualities are failing uniformly. These are all common Signs You Need a New Roof.
Another major factor is the overall age of your roof. If your asphalt roof is already nearing or past its expected lifespan—typically 20-25 years for architectural shingles or 15-20 years for 3-tab shingles, depending on your climate and maintenance—then a spot repair is often just a temporary band-aid. You might fix one problem area only for another to pop up a few months later. Constantly chasing leaks or replacing individual shingles can quickly become more expensive and frustrating than investing in a new roof. Moreover, if a professional inspection reveals widespread issues with the underlying roof decking, significant damage to the flashing around chimneys or skylights, or problems with the underlayment, a full replacement is usually the most prudent long-term solution. In such cases, a professional from a network like Modernize can provide an expert assessment and help you understand the full scope of necessary work. They might find that you have widespread rot that requires a full Roof Decking Replacement Cost assessment, which is certainly beyond a simple shingle swap.
Your Step-by-Step Guide to Replacing Damaged Shingles
Alright, so you’ve assessed the situation, and you're confident that replacing a few damaged shingles is the right move. That’s great! Now, let’s get down to the practical steps. This isn't rocket science, but it does require careful attention, the right tools, and, most importantly, a strong commitment to safety.
Gathering Your Tools and Prioritizing Safety
Before you even think about climbing a ladder, you need to make sure you have everything at hand. There’s nothing worse than being halfway through a repair and realizing you need to go back to the store. Here’s a basic list of what you’ll likely need:
- New Shingles: Ideally, you want to match your existing shingles as closely as possible. If you have some spares from the original installation, that's perfect. More on matching later!
- Flat Pry Bar (or Shingle Removal Tool): Essential for gently lifting shingles and removing old nails.
- Claw Hammer: For nailing in the new shingles.
- Utility Knife with Extra Blades: For cutting and trimming shingles if necessary. New blades are key for clean cuts.
- Roofing Nails: These are special nails with broad heads, typically 1 to 1.5 inches long, galvanized to resist rust.
- Roofing Cement/Sealant: A small tube of asphalt-based roofing sealant to help bond shingles.
- Caulking Gun: For applying the sealant smoothly.
- Sturdy Ladder: Make sure it’s rated for your weight plus the weight of your tools.
- Work Gloves: To protect your hands from rough shingle edges and nails.
- Safety Glasses: Protect your eyes from debris.
Now, let's talk about safety – and this isn't just a suggestion, it's a non-negotiable. Working on a roof can be incredibly dangerous, especially if you're not accustomed to heights. Always use a sturdy ladder placed on a firm, level surface, and ensure it extends at least three feet above the edge of the roof. Wear non-slip, closed-toe shoes with good grip – sneakers or flip-flops are a definite no-go. Only work on a dry roof; wet or icy shingles are incredibly slippery. If possible, have a spotter on the ground to steady the ladder and hand you tools.
For many homeowners, especially those uncomfortable with heights or without proper safety gear, investing in a safety harness that’s properly anchored can be a lifesaver. However, if you don't have experience with harnesses, setting one up incorrectly can be just as dangerous. Always err on the side of caution. If the roof pitch is steep, the weather is iffy, or you simply don’t feel comfortable, it's far better to call a professional. Your safety is worth more than any repair cost.
The Replacement Process
Once you’re geared up and focused on safety, you can begin the actual shingle replacement. Take your time, don’t rush, and work methodically.
Step 1: Locate and Prepare
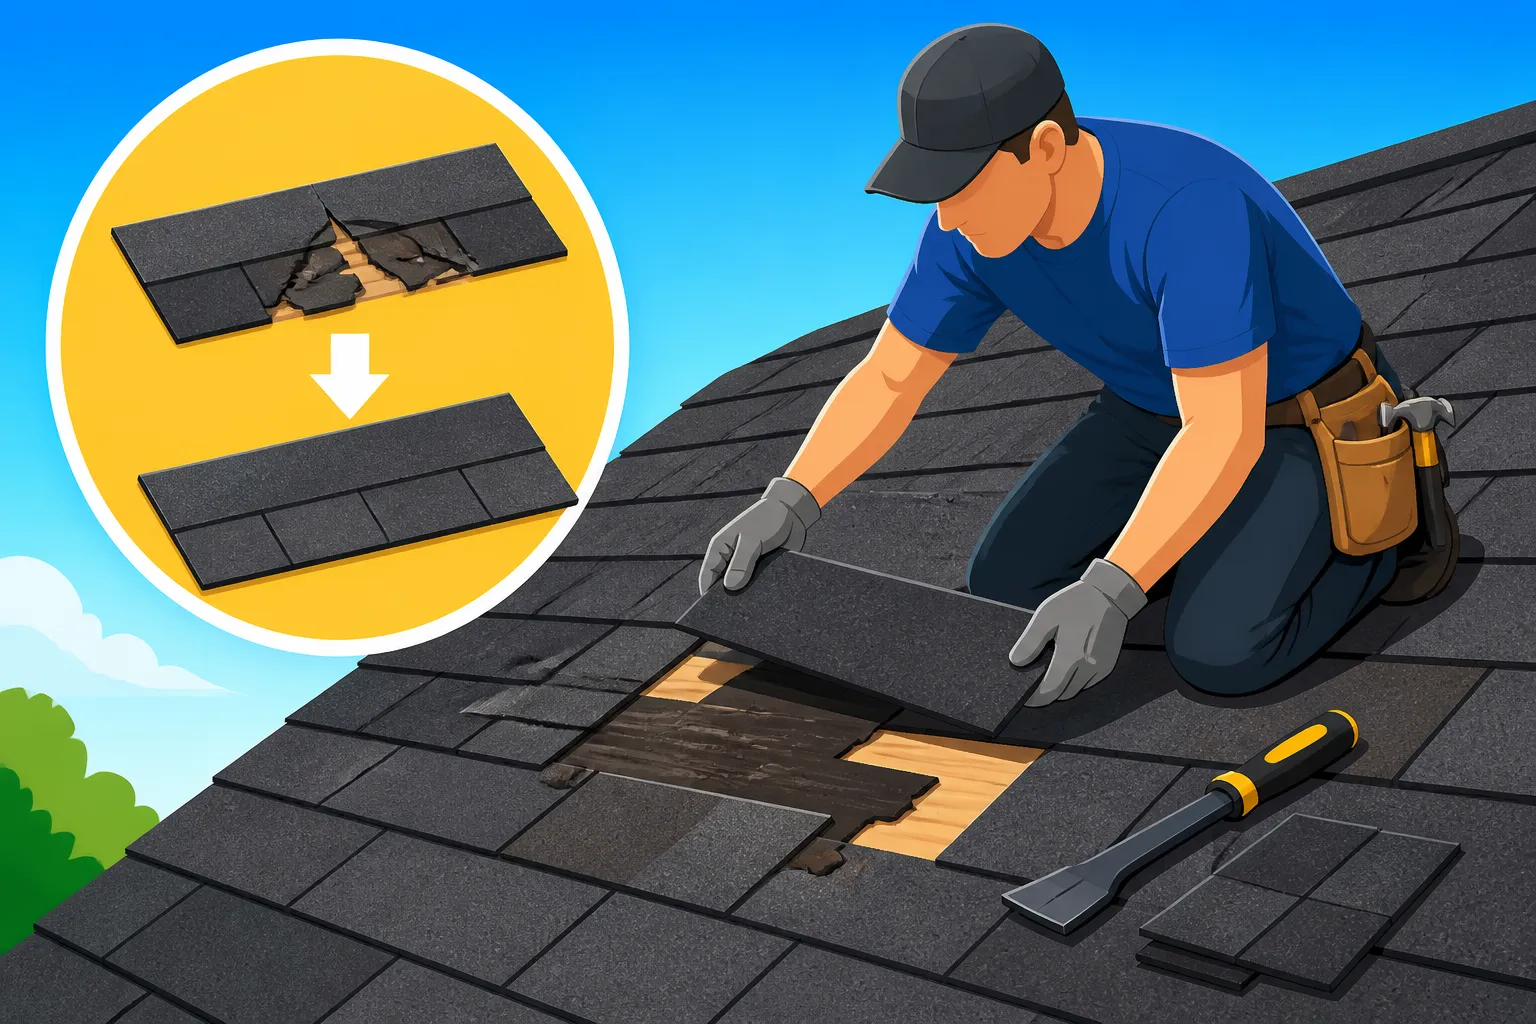
First things first, clearly identify the damaged shingles you're going to replace. Sometimes a single shingle is damaged, but others nearby might have lifted tabs or minor cracks that also need attention. Once identified, the goal is to gently lift the tabs of the surrounding shingles that overlap the damaged one. This exposes the nails holding the compromised shingle (and potentially the ones above it) in place. On older, more brittle shingles, this lifting process requires a delicate touch. You don't want to create more damage while trying to fix the existing problem. Work slowly and carefully, using your flat pry bar or shingle removal tool to ease them up.
Step 2: Remove Damaged Shingles
With the overlapping shingles gently lifted, you can now access the nails securing the damaged shingle. Use your pry bar to carefully pull out these nails. Sometimes, the nails might also be securing the bottom edge of the shingle above the one you're removing, so be aware of that. Once all the fasteners are out, you can slide the damaged shingle out from under the course above it. If your roof has multiple layers (an "overlay" rather than a "tear-off" installation), this step might require a bit more finesse, as you'll be working through more material. Ensure all old nails are removed and accounted for.
Step 3: Clean and Inspect
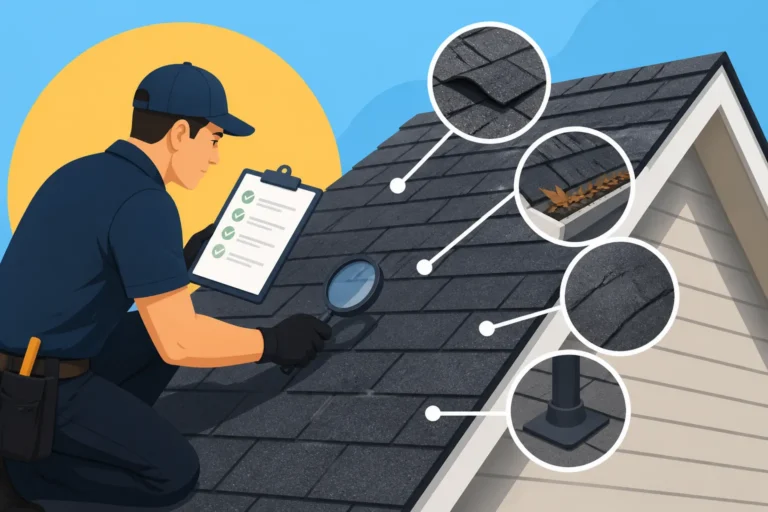
After removing the damaged shingle, take a moment to clean the area. Scrape away any old caulk, sealant, or debris that might be clinging to the underlayment or the surrounding shingles. This is also a crucial moment for inspection. Look closely at the roof decking beneath where the shingle was. Are there any signs of water damage, rot, or soft spots? If you find significant damage here, like discolored wood or areas that feel spongy when pressed, you might have a bigger issue that needs professional attention. Extensive decking damage could mean a greater project like a Roof Decking Replacement Cost estimate is needed, which a standard shingle replacement won't fix.
Step 4: Install New Shingle
Now for the good part – putting in the new shingle! Carefully slide your replacement shingle into the exact position where the old one was. Make sure it's properly aligned with the surrounding shingles, both horizontally and vertically. You want it to look as seamless as possible. Take your time aligning the bottom edge with the top of the cutouts (or "dragon's teeth") of the shingle course below it, ensuring a consistent exposure.
Step 5: Nail and Seal
With the new shingle in place and properly aligned, it's time to secure it. Fasten the new shingle with four new roofing nails. The standard placement is roughly 1 inch above the cutout slots and about 1 inch in from each side. Make sure your nails go straight through the shingle and firmly into the roof decking, but don't over-drive them so they crush the shingle. You want the nail head to be flush, not sunken or sticking up. For added security and to re-adhere any lifted tabs, apply a small dab of asphalt roofing cement or sealant under the tabs of the new shingle and any lifted surrounding shingles. This helps to create a watertight seal and prevent future wind uplift. Understanding How Shingles Are Nailed and Sealed correctly is vital for the longevity of your repair.
Step 6: Press and Cure
Finally, press down firmly on any sealed tabs to ensure good adhesion. The sun will do most of the work to activate the shingle's self-sealing adhesive strip over time, but a good initial press helps. It's a good idea to periodically check the repaired area over the next few weeks, especially after any rain or strong winds, just to ensure everything has settled properly and remains watertight.
Expert Tips for a Seamless Repair
Even with the step-by-step guide, a few insider tips can make a world of difference in the success and appearance of your repair.
Shingle Matching: The Art of Disappearing
One of the trickiest parts of replacing individual shingles is matching the color and style of your existing roof. Over time, shingles fade due to sun exposure, so even a brand-new shingle of the exact same model will likely look different from your weathered existing ones. This can be especially noticeable if your existing roof has a distinctive color blend, like some of the beautiful choices from CertainTeed or Owens Corning. The best-case scenario is if you kept a few bundles of spare shingles from the original installation; if so, congratulations, you've hit the jackpot!
If you don't have spares, you might need to buy a new bundle. Try to find the closest match possible in terms of brand, style (e.g., 3-tab, architectural), and color. Many homeowners find it helpful to take a small sample of their existing shingle to the hardware store for comparison. Sometimes, if the mismatched shingle is particularly jarring, you can strategically place the new, brighter shingle in a less visible area of the roof, like the back or near a chimney, and move a more faded shingle from that spot to your repair area. It's a bit of a shingle shuffle, but it can make the new one "disappear" better.
Working in the Right Conditions
The weather isn't just a safety factor; it's also crucial for the quality of your repair. Avoid working on extremely hot days. While the sun helps activate the sealant, very high temperatures can make shingles overly soft and prone to damage, especially older ones. You might accidentally tear them or leave foot impressions. Similarly, never work on a very cold day. When shingles are cold, they become brittle and can easily crack or break when you try to lift their tabs, turning a small repair into a much larger problem.
The ideal conditions for shingle replacement are mild, sunny days with temperatures between 50 and 80 degrees Fahrenheit. This allows the shingles to be pliable enough to lift without breaking, and the self-sealing adhesive strips on both the new and surrounding shingles will activate properly as the sun warms them up. A little warmth is good, but too much or too little can hinder your efforts.
Don't Over-Nail or Under-Nail
Proper nailing technique is critical for the longevity of your repair. It's easy to make mistakes here. Over-nailing occurs when you drive the nail head too far into the shingle, crushing the asphalt and creating a depression. This can weaken the shingle, making it more prone to tearing around the nail hole and potentially allowing water to pool or seep in. On the other hand, under-nailing means the nail head isn't flush with the shingle, leaving it sticking up slightly. This can prevent the overlapping shingle from lying flat, making it susceptible to wind uplift and potentially creating a high point that wears out prematurely.
The goal is to drive the nail so that the head is flush with the shingle surface, firm but not crushing it. The shingle should be securely fastened but still have a tiny bit of room to expand and contract with temperature changes. Remember, the nails hold the shingle, but the sealant provides the watertight bond. Getting the nailing just right ensures both structural integrity and a proper seal.
When to Call in the Roofing Professionals
Even the most confident DIY enthusiast needs to know when to throw in the towel and call in the experts. There are situations where trying to tackle a repair yourself could be more costly, more dangerous, or simply ineffective in the long run.
Complex Damage or Widespread Issues
If, during your initial inspection or even halfway through a shingle replacement, you uncover more significant issues, it's a clear signal to pause and call in a professional. This includes situations where you find widespread rot in the roof decking, suspect structural damage, or discover that the damage extends far beyond a few isolated shingles. Attempting to patch over extensive water damage or a compromised roof structure is like putting a band-aid on a gaping wound – it won't solve the underlying problem and could lead to more serious, costly damage down the line.
Roofs with a steep pitch also present a much higher safety risk for the untrained homeowner. Professionals have specialized safety equipment, training, and experience working on challenging angles. Similarly, if your roof has multiple layers of old shingles, removing and replacing them properly becomes a much more involved and time-consuming process that often requires specialized tools and techniques. Don't be afraid to admit when a job is too big or too complex. A professional roofer can accurately diagnose the true extent of the damage and recommend the most appropriate and durable solution.
The Value of Professional Expertise and Warranties
Choosing to hire a professional for your roofing needs isn't just about outsourcing a difficult job; it's an investment in expertise, quality, and peace of mind. A reputable, certified roofing contractor ensures that the repair or replacement is executed correctly, adhering to industry best practices and local building codes. This is particularly important for maintaining the integrity of your home and protecting its value. They have the specialized tools, extensive experience, and, crucially, the necessary safety equipment to perform the work efficiently and without incident.
Furthermore, professional work often comes with a workmanship warranty, guaranteeing the quality of their installation. This is a huge benefit, as DIY repairs, no matter how carefully done, rarely carry such assurances. Many manufacturer warranties for shingles, such as those from GAF, Owens Corning, or CertainTeed, require installation by a certified professional to remain valid or to qualify for their highest levels of coverage. If you’re considering a full replacement, knowing that your roofer is manufacturer-certified can significantly impact your long-term warranty protection. When dealing with complex or widespread damage, a professional can properly assess the issue and provide a repair that is built to last. For homeowners looking to connect with vetted local professionals, platforms like Modernize can be a valuable resource, helping you find contractors who understand local conditions and deliver reliable service. They can guide you through everything from an initial inspection to understanding How Much Does an Asphalt Shingle Roof Cost or navigating the complexities of Roofing Contractor Red Flags to Avoid. After all, the goal is not just a quick fix, but a lasting one.
| Feature | DIY Shingle Replacement | Professional Shingle Repair |
|---|---|---|
| Cost | Lowest (materials only) | Moderate (materials + labor) |
| Skill Required | Basic carpentry, comfort with heights | Expert roofing knowledge and technique |
| Tools | Basic homeowner tools (hammer, pry bar, knife, sealant) | Specialized roofing tools and safety equipment |
| Safety Risk | High for inexperienced individuals, especially on steep roofs | Lower for trained professionals with proper gear |
| Time Commitment | Varies based on experience, can take several hours | Typically quicker, more efficient |
| Warranty | None on workmanship or materials (for the repair) | Often includes a workmanship warranty |
| Shingle Matching | Can be challenging to match existing roof color | Professionals often have better access to matching options |
| Underlying Issues | May overlook deeper damage to decking or underlayment | Thorough inspection for comprehensive solution |
| Overall Quality | Varies greatly based on individual skill and experience | Consistent, professional-grade repair |
Disclaimer
Please remember that this guide offers general advice for informational purposes. While we strive to provide accurate and helpful information, roofing work can be dangerous and complex. Always prioritize your safety, follow local building codes, and consider consulting with a qualified, licensed, and insured roofing professional, especially for extensive damage, steep roofs, or if you are uncomfortable performing the work yourself. This content is not a substitute for professional advice or an onsite inspection.