When Wind Lifts Shingles: What to Do
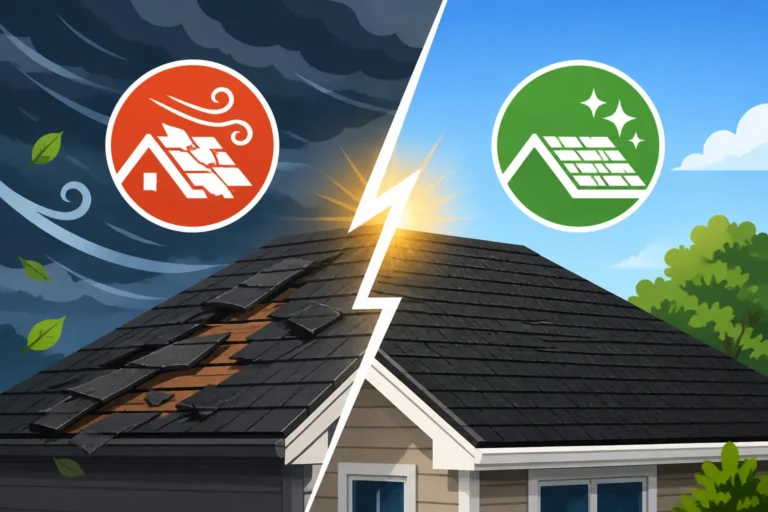
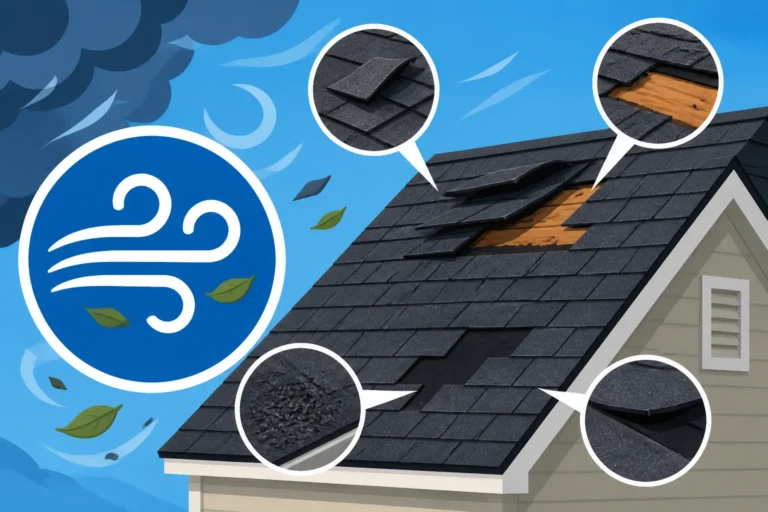
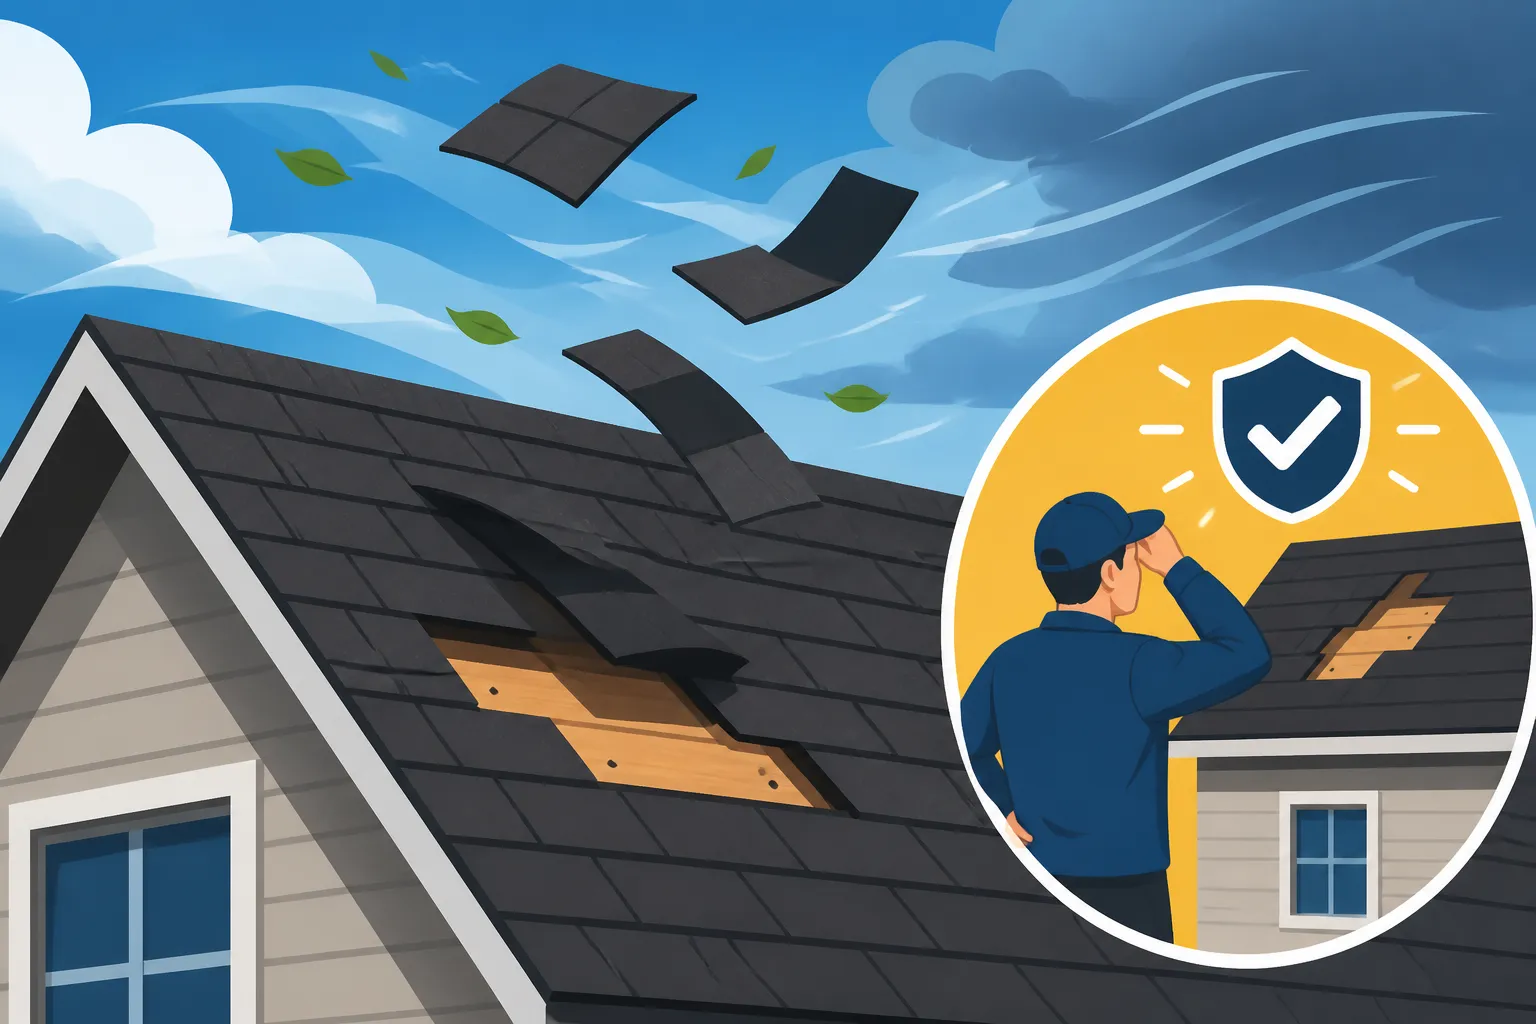
Discovering that your shingles have been lifted by the wind can be incredibly unsettling. You look up at your roof, expecting solid protection, only to see shingles askew, flapping, or even gone entirely, leaving you worried about leaks, further damage, and the inevitable repair costs. This guide is here to walk you through exactly what to do when wind strikes your asphalt roof, from immediate safety measures to assessing damage, working with professionals, and planning for the future.
Understanding Why Wind Lifts Asphalt Shingles
It's easy to think a roof is just a static structure, but it's constantly battling the elements. Wind, especially strong gusts or sustained high winds, doesn't just push against your roof; it creates complex forces that can literally peel shingles right off. Understanding why this happens can help you grasp the extent of the problem and appreciate the importance of proper installation and maintenance.
The Mechanics of Wind Uplift
When wind hits your roof, it doesn't just push downwards. It also creates a vacuum effect, or uplift, especially over the edges, eaves, and ridges. Think of how an airplane wing works: air moving faster over the curved top creates lower pressure, causing lift. Similarly, wind rushing over your roof's surface creates lower pressure above the shingles than the air trapped underneath them. If this pressure difference is strong enough, it can literally suck the shingles upwards.
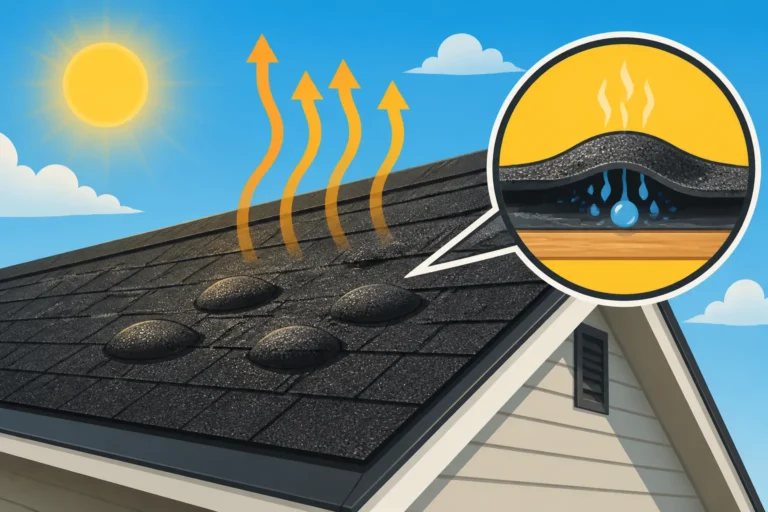
Once a shingle edge lifts, even slightly, the wind can get underneath it, exacerbating the problem. This is where the shingle's sealant strip is crucial. New asphalt shingles have a thermally activated sealant that bonds them to the shingle below, creating a strong seal that resists uplift. However, over time, this seal can weaken or fail due to age, extreme temperatures, or inadequate initial sealing. Without that strong seal, shingles become far more susceptible to even moderate winds.
Factors Making Shingles Vulnerable
Several factors contribute to whether your asphalt shingles will withstand a wind event or succumb to uplift. It’s not always about the sheer strength of the wind; sometimes, it’s a combination of subtle vulnerabilities.
Firstly, the age of your roof plays a massive role. As asphalt shingles age, they become brittle, and their sealant strips lose their adhesive properties. The granules that protect the asphalt can also wear away, further exposing the shingle to the elements. A roof that’s nearing the end of its life, say after 15-20 years, is far more likely to experience wind damage than a newer one. You might be wondering, "How Long Does an Asphalt Roof Last?" The answer varies, but age is definitely a primary indicator of vulnerability.
Secondly, the quality of the initial installation is paramount. If shingles aren't nailed correctly – using too few nails, nails placed too high, or under-driven/over-driven nails – their ability to resist uplift is severely compromised. Manufacturers like GAF, Owens Corning, and CertainTeed provide strict nailing guidelines precisely for this reason. A shoddy installation, even with the best materials, can lead to premature wind damage. The way a roofing contractor applies the shingles, including the critical High-Wind Nailing Explained techniques, directly impacts its resilience.
Lastly, the type of shingle matters. Basic 3-tab shingles, while more economical, typically have lower wind resistance ratings compared to architectural or dimensional shingles. Architectural shingles are heavier and designed with a stronger bond, offering enhanced protection against high winds. If you live in a particularly windy area, choosing shingles with a higher wind rating from the outset can save you a lot of headaches down the line.
Immediate Steps When You Discover Lifted Shingles
Finding lifted shingles can trigger a wave of panic, but it's important to remain calm and follow a few critical steps to protect your home and prepare for repairs. Your immediate actions can prevent further damage and make the insurance and repair processes smoother.
Prioritizing Safety First
Before you do anything else, prioritize your safety. Seriously. Don't, under any circumstances, get on a ladder or climb onto your roof if you're not experienced or if conditions are unsafe. Wind-damaged shingles can be loose, the roof surface might be slippery, and the risk of falling is very real. If the storm is still active, or if there are downed power lines or other immediate hazards, stay clear.
Instead, conduct a ground-level inspection from a safe distance. Look for obvious signs of damage like missing shingles, torn pieces, or shingles that are visibly flapping in the wind. Also, check your yard for debris that might have fallen from the roof or nearby trees. If there's active water leaking into your home, place buckets or tarps to contain it and move any valuable items out of the way. If you suspect structural damage or extensive issues, it's best to call a professional for an immediate assessment.
Documenting the Damage Thoroughly
Documentation is your best friend when dealing with wind damage, especially if you plan to file an insurance claim. Grab your phone or a camera and start taking pictures and videos.
- Exterior Views: Get wide shots of your house showing the general condition of the roof, and then zoom in on specific areas where shingles are lifted, torn, or missing. Take photos from different angles.
- Interior Damage: If you have leaks inside your home, document those too. Photograph water stains on ceilings, walls, or floors, and any damage to personal property.
- Debris: Capture images of any shingle fragments, tree limbs, or other debris in your yard that clearly came from the wind event.
- Date and Time: Make sure your photos and videos are time-stamped, or at least note the date and time you took them. This helps establish a timeline for your insurance claim.
The more comprehensive your documentation, the better equipped you'll be when speaking with your insurance adjuster and a roofing contractor. This visual evidence will be crucial in proving the extent of the damage caused by the wind.
Considering Temporary Fixes
While professional repairs are the long-term solution, sometimes you need a temporary fix to prevent immediate water intrusion, especially if another storm is on the horizon or if you're waiting for a contractor.
Roof Tarping: This is the most common temporary solution. You can purchase heavy-duty tarps and secure them over the damaged areas. The key is to extend the tarp well beyond the damaged spot and secure it tightly with boards and nails (into solid sheathing, not just shingles) or weighted objects to prevent it from blowing away. Be extremely cautious if you attempt this yourself, as it involves working on the roof. Often, your roofing contractor or even your insurance company can arrange for emergency tarping.
Sealing Lifted Edges: For shingles that are merely lifted but not torn or missing, a small amount of roofing cement or caulk can sometimes temporarily re-adhere them. Gently lift the shingle, apply a small dab of cement underneath, and press it down firmly. This is a very short-term solution and should only be done if the shingle isn't severely compromised. It’s critical not to use too much, as it can prevent the shingle from breathing and cause further issues.
Remember, these are temporary measures. They are not substitutes for a professional repair or replacement. Their sole purpose is to buy you time and prevent further damage until a qualified roofer can address the issue properly.
Assessing the Damage and Next Steps
Once the immediate crisis is over and you've taken temporary measures, the next crucial phase is to accurately assess the damage and decide on the best course of action. This often involves professional input and navigating the world of insurance claims.
Differentiating Repair from Replacement
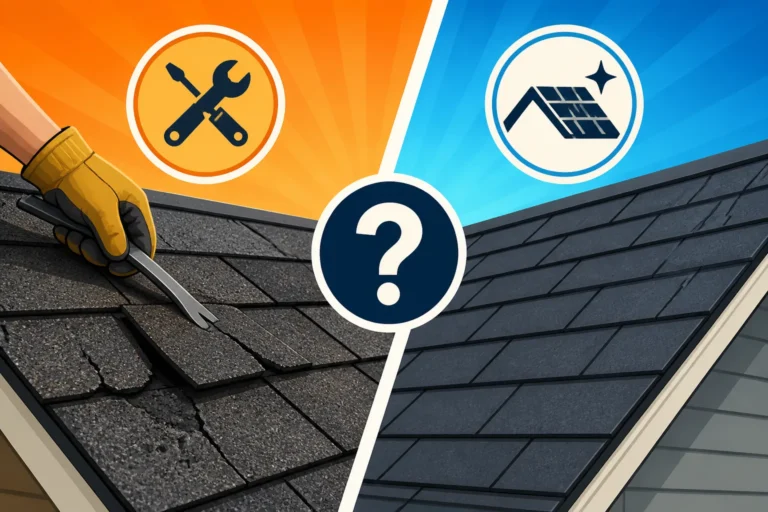
The big question homeowners face is: can these lifted shingles be repaired, or does the entire roof need to be replaced? This isn't always a straightforward answer and depends heavily on the extent and nature of the wind damage, as well as the overall condition of your roof.
- Minor, Isolated Damage: If only a few shingles in a small, localized area are lifted or missing, and the rest of the roof is in good condition with plenty of life left, a targeted repair is often sufficient. A contractor can carefully remove the damaged shingles and install new ones, ensuring they are properly sealed and nailed. This is generally more cost-effective.
- Widespread Damage: If the wind has caused widespread shingle lifting, granule loss across large sections, or if many shingles are cracked, brittle, or their sealant strips have failed, a full roof replacement might be the more prudent choice. This is particularly true for older roofs. A patchwork of repairs on an already failing roof can be a waste of money in the long run. If your roof is already showing other signs of age, such as significant granule loss or widespread curling shingles, then wind damage might be the final push towards a full replacement. Consider reading "Roof Repair vs Replacement: How to Decide" to help weigh your options.
Getting a Professional Assessment
You need a skilled eye to accurately assess wind damage. This isn't just about looking at the shingles; it's about understanding the underlying structure, potential water intrusion points, and the overall integrity of your roofing system.
Contact reputable local roofing contractors. They will conduct a thorough inspection, often identifying damage that isn't immediately visible to an untrained eye. A good contractor will check:
- Shingle Integrity: Beyond lifted shingles, they'll look for cracks, tears, creases, and excessive granule loss.
- Sealant Strips: They'll assess if the sealant strips have failed, which indicates a systemic issue rather than just a few loose shingles.
- Flashing and Penetrations: Wind can also damage flashing around chimneys, skylights, and vent pipes, creating entry points for water.
- Gutters and Downspouts: These can be damaged by wind or falling debris, impacting drainage.
- Roof Decking: In severe cases, high winds can damage the underlying roof decking, which is a critical component of your roof's structure.
Many contractors offer free inspections. Don't settle for just one estimate; it's always wise to get several quotes and compare them. Websites like Modernize can help you connect with qualified professionals in your area who can provide accurate assessments and competitive bids. These professionals can explain "Roof Damage Assessment: A Homeowner's Guide" to you in detail.
Navigating Insurance Claims
If your wind damage is significant, filing an insurance claim is likely your next step. This process can feel daunting, but knowing what to expect can ease the stress.
- Contact Your Insurer: As soon as you discover the damage, notify your homeowner's insurance company. They will assign an adjuster to your case.
- Schedule an Inspection: The insurance adjuster will typically want to inspect the damage themselves. It's highly recommended to have your chosen roofing contractor present during this inspection. Your contractor can point out damage the adjuster might miss and advocate on your behalf, ensuring all damage is noted for the claim.
- Understand Your Policy: Review your policy to understand your deductible, coverage limits, and whether you have Actual Cash Value (ACV) or Replacement Cost Value (RCV) coverage. RCV is generally more favorable as it pays for the cost of a new roof, while ACV factors in depreciation. "Does Insurance Cover Roof Replacement" is a common question, and understanding your specific policy details is key.
- Review the Estimate: Once the adjuster completes their assessment, they will provide an estimate for the repairs or replacement. Compare this with your contractor's estimate. If there's a significant discrepancy, your contractor can often help you negotiate with the insurance company for a fair settlement.
Remember, most insurance policies require you to mitigate further damage (hence the temporary tarping) and report claims promptly. Delaying can sometimes jeopardize your coverage. You'll want to ensure your chosen contractor is experienced with insurance claims and can help you through the paperwork. For instance, reputable contractors found through platforms like Modernize often have extensive experience working with insurance companies.
Preventing Future Wind Damage
Experiencing wind damage once is enough to make you want to ensure it never happens again. While you can't control the weather, there are definite steps you can take to make your roof more resilient and better prepared for the next big gust.
Choosing the Right Shingles and Installation
One of the most impactful decisions you can make is selecting shingles designed for high wind resistance and ensuring they are installed correctly. It's an investment that truly pays off in peace of mind.
- High-Wind Rated Shingles: Look for asphalt shingles that come with enhanced wind resistance warranties. Many manufacturers, such as Owens Corning and CertainTeed, offer shingles rated for wind speeds up to 130 mph. These shingles often feature wider sealant strips and specialized nailing zones to create a stronger bond and better resist uplift. While the "Impact-Resistant Shingle Cost" might be slightly higher upfront, the long-term benefits in storm-prone areas are immense.
- Proper Nailing: This is critical. According to industry standards and manufacturer specifications, shingles should be fastened with at least four nails per shingle, placed in the specific nailing strip area. In high-wind areas, many codes and manufacturers recommend a "High-Wind Nailing Explained" pattern, which often involves using six nails per shingle. An experienced and certified roofing contractor will adhere to these best practices, knowing that improper nailing is one of the leading causes of shingle blow-off.
- Complete Roofing System: A truly wind-resistant roof is more than just shingles. It's a complete system that includes quality underlayment, starter shingles, and proper hip and ridge caps, all working together to shed water and resist wind. Ask your contractor about the full roofing system they recommend and the associated "Roofing Wind Warranty Requirements." A comprehensive system from a single manufacturer (like GAF's Lifetime Roofing System) often comes with stronger warranties.
Regular Maintenance and Inspections
Even the best-installed roof needs a little love and attention over the years. Regular maintenance can catch small issues before they become major wind vulnerabilities.
- Annual Roof Inspections: Have your roof professionally inspected at least once a year, especially after severe weather events. A trained eye can spot signs of wear and tear, loose shingles, or degraded sealant strips that you might miss from the ground. Catching these issues early allows for minor repairs that prevent larger, more costly damage later.
- Clear Gutters and Downspouts: Ensure your gutters are free of debris. Clogged gutters can lead to water backing up, seeping under shingles, and compromising the roof's integrity, which can indirectly make shingles more susceptible to wind damage.
- Trim Overhanging Branches: Trees close to your house are a double-edged sword. While they offer shade, overhanging branches can scrape against shingles, causing granule loss, and in a strong wind, a fallen branch can cause significant structural damage. Keep them trimmed back to minimize risk.
- Check Flashing: Periodically inspect the flashing around chimneys, skylights, and vent pipes. If you notice any rust, cracks, or loose seams, have them repaired immediately. Compromised flashing is an open invitation for water leaks and can weaken surrounding shingles.
Choosing a Reputable Contractor
Ultimately, the longevity and performance of your roof against wind damage largely depend on the expertise of the people installing it. This is not a project to cut corners on.
When you're looking for a contractor, make sure they are licensed, insured, and have a proven track record. Ask for references, check online reviews, and ensure they are certified by major shingle manufacturers like GAF or Owens Corning. These certifications indicate that the contractor has met rigorous standards for quality and training.
A reputable contractor will provide a detailed estimate that clearly outlines the scope of work, materials to be used, and warranty information. They should also be transparent about the "Roofing Material Cost vs Labor Cost" breakdown. Platforms like Modernize can be a valuable resource for finding pre-vetted contractors who prioritize quality and customer satisfaction, ensuring your investment in a wind-resistant roof is a sound one. A great contractor can make all the difference in ensuring your roof is built to withstand the elements, giving you confidence for years to come. For more insights, check out our guide on "How to Choose a Roofing Contractor".
Here's a quick comparison of shingle types and their typical wind resistance:
Shingle Type Appearance Typical Wind Resistance Rating Average Lifespan (Years) Cost (Per Square) Notes
This is an old but important query, as older roofs are more prone to wind-lifted shingles. The solution must be objective and informative, not sales-oriented.
The user is looking for a comprehensive guide. I need to deliver substantial depth.
Here's the plan for structure, ensuring compliance with the "Long-tail" requirements:
- Introduction: ~60 words, problem-focused, sets the stage for the guide.
- H2: Why Wind Causes Shingles to Lift
- Deep dive into the physics of wind uplift.
- Factors like shingle age, sealant failure, incorrect nailing.
- H2: Immediate Actions When You Spot Lifted Shingles
- Safety precautions (don't climb, inspect from ground).
- Crucial documentation for insurance.
- Temporary emergency repairs (tarping, patching).
- H2: Long-Term Solutions and Professional Help
- How to get a comprehensive damage assessment.
- Deciding between repair and full replacement.
- Working with insurance.
- Finding a reliable contractor.
- H2: Preventing Future Wind Damage to Your Roof
- Choosing high-wind-rated shingles and full roofing systems.
- Importance of proper installation techniques (high-wind nailing).
- Ongoing maintenance and regular inspections.
- Table: A comparison of shingle types by wind resistance/lifespan.
- Internal Links: 6-12 relevant links spread throughout.
- Contextual Brand: Modernize mentioned 3-5 times.
- Disclaimer: H2 at the end.