How to Temporarily Stop a Roof Leak
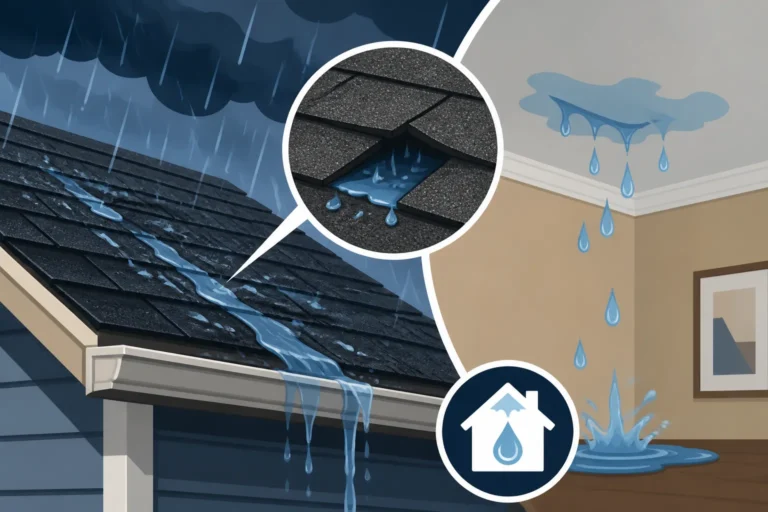
Oh, the sheer dread of seeing that first drip, drip, drip from your ceiling! It's an instant gut-punch, isn't it? One minute you're relaxing, the next you're scrambling for buckets and towels, wondering how on earth water is finding its way into your living space. A roof leak isn't just an annoyance; it's a silent alarm signaling potential widespread damage to your home and your peace of mind. This guide is here to walk you through the crucial, immediate steps you can take to temporarily stop a roof leak, buying you precious time until a professional can assess and permanently fix the issue.
The Panic of a Sudden Roof Leak: Why Immediate Action Matters
When a roof leak strikes, especially unexpectedly during a rainstorm, it can feel like your world is caving in. That sense of panic is completely normal, but it's vital to channel that energy into swift, decisive action. Ignoring a leak, even a seemingly small one, can lead to far greater problems than just a damp spot on your ceiling.
Understanding the Potential for Rapid Damage
That little drip you see isn't just affecting the visible ceiling tile; it's a symptom of water infiltrating layers of your home's structure. Think about what's above your ceiling: insulation, drywall, electrical wiring, and potentially even wooden structural components. Water is incredibly destructive, and its impact compounds over time.
For instance, a persistent leak can saturate your attic insulation, rendering it ineffective and leading to higher energy bills. It can also wick into your drywall, causing unsightly stains, bubbling, and eventually, soft spots that crumble to the touch. In older homes, leaks can even compromise plaster ceilings. But perhaps most concerning are the hidden dangers: mold and mildew thrive in damp, dark environments, spreading rapidly through your home's cavities and posing serious health risks. Furthermore, water and electricity are a deadly combination; a leak near electrical wiring or fixtures can create hazardous shorts or even spark fires. And let's not forget your precious belongings – furniture, electronics, cherished photographs, all susceptible to irreparable water damage. A leak doesn't just damage the roof; it damages your entire living environment, escalating costs and headaches exponentially if not addressed immediately.
Differentiating Temporary Fixes from Permanent Solutions
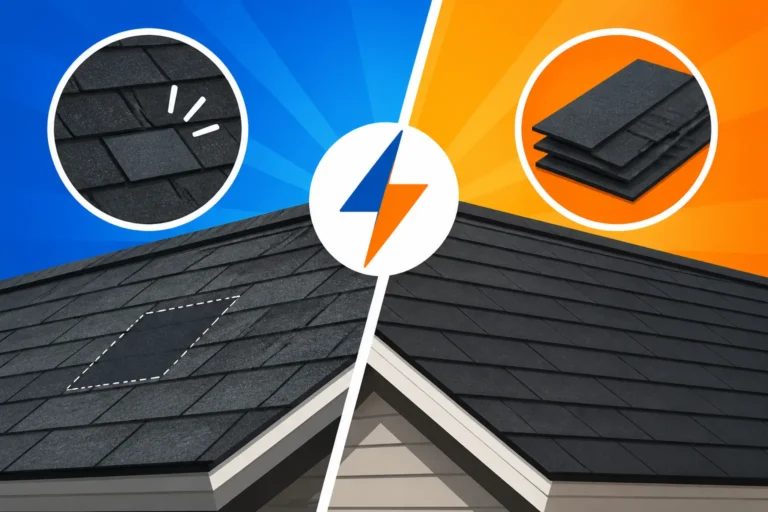
It's crucial to understand that the steps we're discussing here are temporary fixes. They are stop-gap measures designed to prevent further water intrusion and mitigate damage until a qualified roofing contractor can perform a proper, lasting repair. Think of it like a bandage on a deep wound – it keeps things from getting worse, but it's not the surgery itself.
Many homeowners, out of a desire to save money or a belief they've "fixed" the problem, will try to make a temporary repair permanent. This is a common pitfall. While patching a small crack with roofing cement might seem effective in the short term, it rarely addresses the underlying issue or stands up to the long-term wear and tear of weather. Roofing systems are complex, involving multiple layers and components that work in harmony. A professional roofer understands how water behaves on a roof, how to properly flash around penetrations, and how to ensure materials are installed to manufacturer specifications for maximum longevity and warranty coverage. Your temporary patch, no matter how well-intentioned, likely lacks the durability and structural integrity for lasting protection. The goal of a temporary fix is simply to keep the elements out for a few days or weeks, giving you the breathing room to hire a pro who can provide a durable, warrantied solution.
Initial Steps When You Discover a Leak (Before You Even Go Outside)
The moment you spot a leak inside your home, the immediate priority is to stop the damage from spreading internally. Don't grab a ladder and sprint to the roof just yet. There are crucial indoor steps to take first.
Containing the Interior Damage
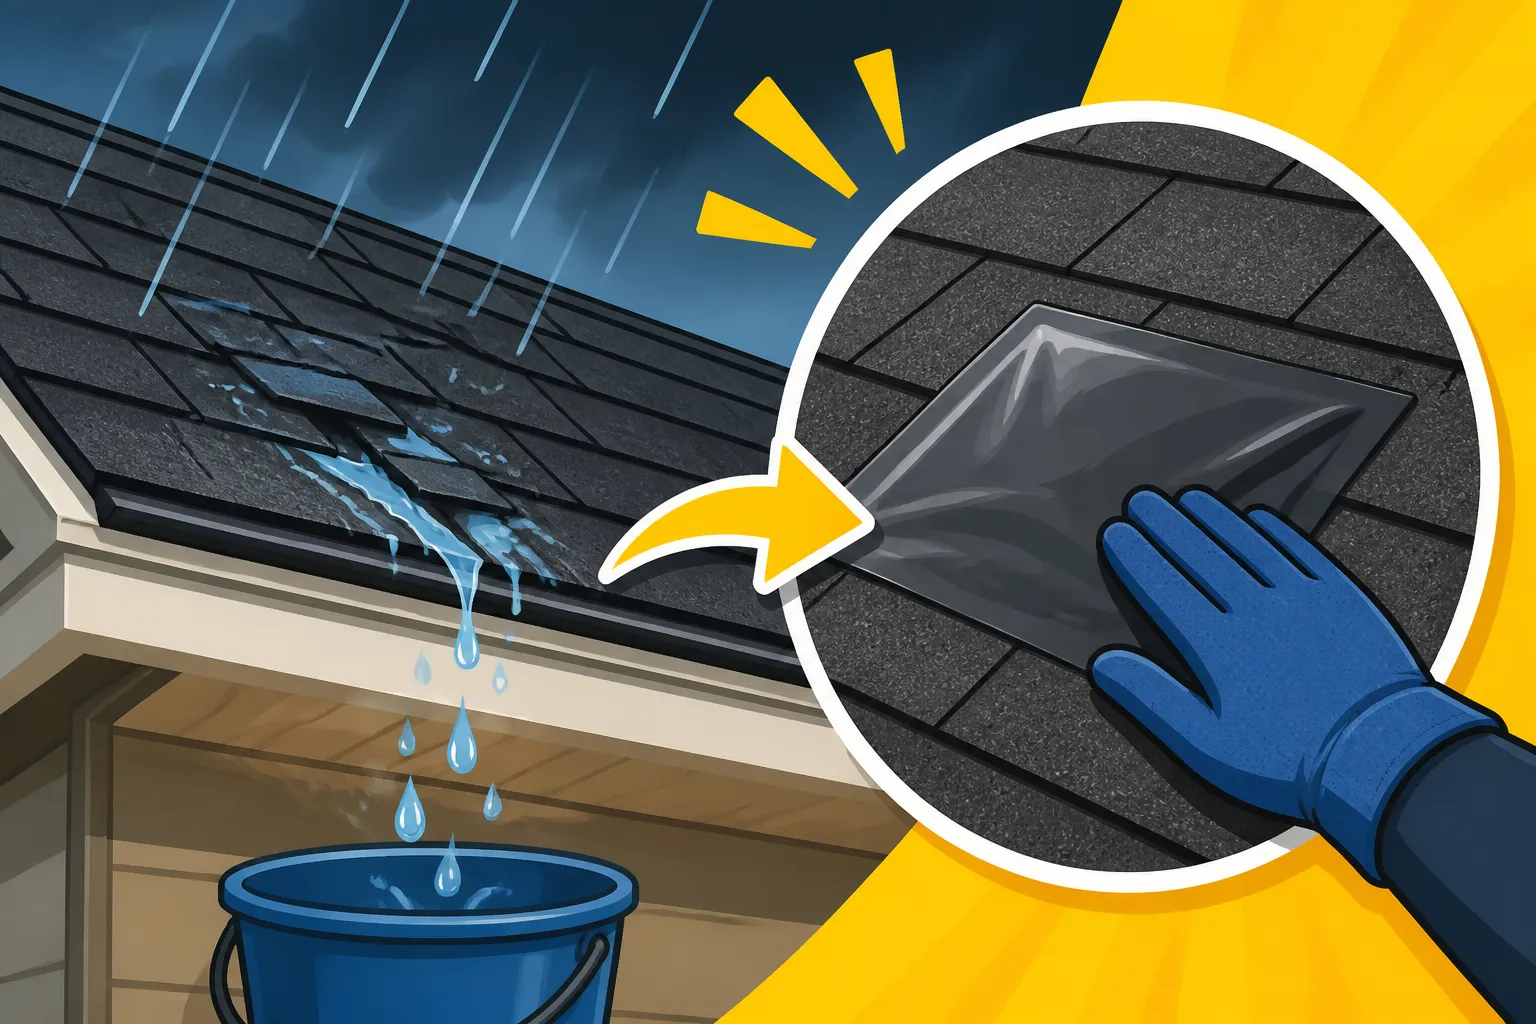
Your first line of defense is right inside your home. The minute you see water, grab anything that can catch it. Buckets, large pots, and even trash cans are excellent for collecting drips. If the leak is spreading across the ceiling, laying down old towels or sheets on the floor beneath the affected area can help absorb runoff and protect your flooring.
Sometimes, water can pool behind drywall or plaster, causing a noticeable bulge. While it might seem counterintuitive, carefully puncturing a small hole in this bulge can actually prevent a larger, uncontrolled collapse of the ceiling, allowing the trapped water to drain into your collection vessels. Just be absolutely certain that there's no electrical wiring directly behind that bulge before you make any punctures. If you're unsure, it's best to err on the side of caution. Move furniture, electronics, and any other valuables away from the dripping or damp areas to prevent them from becoming saturated or damaged. A heavy-duty plastic tarp spread over furniture that can't be moved easily can offer a good layer of protection. This immediate containment strategy is about minimizing the collateral damage inside your home, giving you a chance to breathe and plan your next move.
Prioritizing Safety: Electrical Hazards and Wet Surfaces
When water and electricity mix, it creates an extremely dangerous situation. If the leak is near light fixtures, ceiling fans, or any electrical outlets, your first and most critical step is to head to your electrical panel and shut off the power to that specific circuit or, if uncertain, the main breaker for your entire home. This simple action could prevent electrocution or an electrical fire.
Beyond electrical concerns, wet surfaces are a major slip-and-fall hazard. Be extremely careful when moving around, especially if you're carrying buckets of water. Lay down towels or mats on wet floors to create safer pathways. If you need to access your attic to get a better look at the leak source, be acutely aware of any damp insulation or wet wooden beams, as these can be slippery and unstable. Never step directly onto ceiling drywall when in the attic, always walk on the joists. If you see signs of wet electrical wiring in the attic, do not touch it; shut off the power immediately. Your personal safety always takes precedence over property protection.
Documenting the Damage for Insurance
Once you've safely contained the interior leak and addressed immediate safety concerns, it's time to document everything. This step is absolutely critical if you plan to file an insurance claim, and trust me, you'll want to explore that possibility. Insurers need evidence, and the more thorough you are, the smoother the claims process will be.
Grab your phone or a camera and take a multitude of photos and videos. Start with the interior damage: the drips, the buckets, the water stains on your ceiling, walls, and flooring. Document any damaged furniture or personal items. Then, if it's safe to do so, venture outside (or have a trusted neighbor help you if the roof is too high or dangerous) and take pictures of the exterior of your roof. Look for obvious signs like missing shingles, curled or cracked shingles, damaged flashing around chimneys or vents, or any debris that might have caused impact damage. A wide shot of your roof, followed by close-ups of specific damaged areas, is ideal. Date and time-stamp your photos if your camera allows. This visual record provides irrefutable proof of the damage and helps your insurance adjuster understand the scope of the problem. Remember, insurance often covers sudden, accidental damage, but documentation is key to a successful claim. For more guidance, you might find our post on How to Document Roof Damage for Insurance helpful.
Essential Materials for Your Emergency Roofing Toolkit
When a leak springs, you don't want to be caught empty-handed. Having a few key items on hand can make all the difference in quickly applying a temporary fix. These materials range from common household goods to specialized products designed for roofing emergencies.
Common Household Items That Can Help
You might be surprised by how many things you already have around the house that can assist with a temporary roof repair. The goal here is to create a barrier and direct water away from the leak, not necessarily to create a perfectly sealed surface.
- Plastic Sheeting or Tarps: These are your best friends. A heavy-gauge plastic tarp (the kind used for camping or covering outdoor furniture) or even thick plastic sheeting like visqueen can be draped over a leaking area on the roof. Inside, plastic sheeting can protect floors and furniture from active drips.
- Duct Tape: The universal fix-all! While not a long-term solution, heavy-duty duct tape can temporarily secure plastic sheeting, patch small holes in a pinch, or hold down a lifted shingle edge. Just remember it's not designed for direct water exposure for extended periods.
- Caulk or Sealant: A tube of exterior-grade silicone caulk or a general-purpose roofing sealant can be surprisingly effective for tiny cracks or nail pops. It won't work for large holes, but for a pinhole leak, it might offer a moment's reprieve. Make sure the surface is as dry and clean as possible for the best adhesion.
- Plywood Scraps: If you have any old plywood sheets or even thick cardboard, these can be placed under a tarp on the roof to create a more stable surface over a damaged section, helping to distribute the pressure and keep the tarp in place.
- Nails/Screws and Hammer/Drill: For securing battens over a tarp, or gently re-nailing a slightly lifted shingle (if you're careful and it's safe to do so, though caution is advised here).
Remember, these are for extremely short-term, "I need to get through the next few hours" situations.
Specialized Emergency Repair Products
Beyond household basics, there are products specifically designed for immediate roofing emergencies that you might want to consider keeping in your garage if you're prone to storms or have an older roof.
- Roofing Cement or Tar: This black, thick, asphalt-based substance comes in a caulk tube or a larger tub. It's excellent for patching small holes, sealing around pipe penetrations, or securing loose flashing. It creates a waterproof seal that's more robust than standard caulk. For application, you'll want a caulk gun (for tubes) or a trowel/putty knife (for tubs).
- Peel-and-Stick Patches/Tape: Many hardware stores now carry specialized butyl or asphalt-based peel-and-stick repair tapes or patches. These are incredibly sticky and can adhere to damp surfaces (though dry is always better), providing a quick, waterproof seal over cracks, small punctures, or even temporarily sealing the edges of a lifted shingle. Brands like Gorilla Glue and Flex Tape offer popular options. They are easy to apply and require minimal tools.
- Emergency Roof Tarp Kits: Some hardware stores or storm preparedness retailers sell kits specifically for emergency roof tarping. These usually include a heavy-duty tarp, rope, and often fasteners or battens. They take the guesswork out of gathering supplies.
While these specialized items offer a better temporary seal than household items, they are still just buying time. The goal is to weather the current storm, not avoid hiring a professional altogether.
Safety Gear You Absolutely Need
I can't stress this enough: safety first, always. Working on a roof, especially a wet or damaged one, is incredibly dangerous. Even for a temporary fix, proper safety gear is non-negotiable.
- Sturdy, Non-Slip Shoes: Forget your sneakers. You need work boots with excellent traction. A wet, shingle-covered roof can be as slippery as ice.
- Work Gloves: Protect your hands from rough shingles, nails, and potential splinters.
- Safety Glasses: Debris, shingle granules, or even a misplaced hammer swing can cause serious eye injury.
- Ladder Safety: Ensure your ladder is stable, placed on solid, level ground, and extends at least three feet above the roofline. Have someone spot you if possible. Never use a damaged ladder.
- Harness and Fall Protection (for steep roofs): If your roof has any significant pitch (anything over a 4/12 slope is generally considered steep), or if you're uncomfortable with heights, do not attempt to get on the roof yourself. Seriously. Hire a professional. If you must go on a steep roof for a temporary fix, use a properly anchored safety harness and lifeline. Most homeowners don't have this equipment, reinforcing the point that professional help is often the safest route.
- Cell Phone: Keep your cell phone in a pocket for emergencies.
No temporary repair is worth a trip to the emergency room. If you feel unsafe or unqualified, don't hesitate to call a professional for emergency tarping. Many roofing companies, including those found through services like Modernize, offer emergency services specifically for situations like this.
Step-by-Step Guide to Common Temporary Leak Fixes
Alright, you've taken the internal precautions, gathered your gear, and assessed the safety situation. Now it's time to tackle the actual leak from the outside, if it's safe to do so. Remember, these are general guidelines, and specific situations may require different approaches.
Locating the Source of the Leak (The Hardest Part!)
Finding the exact point of entry for water can often be more challenging than you'd think. Water has a sneaky way of traveling along rafters, pipes, and other structural elements before making its grand appearance inside your home. The drip you see might be several feet, or even yards, away from where the water is actually getting in.
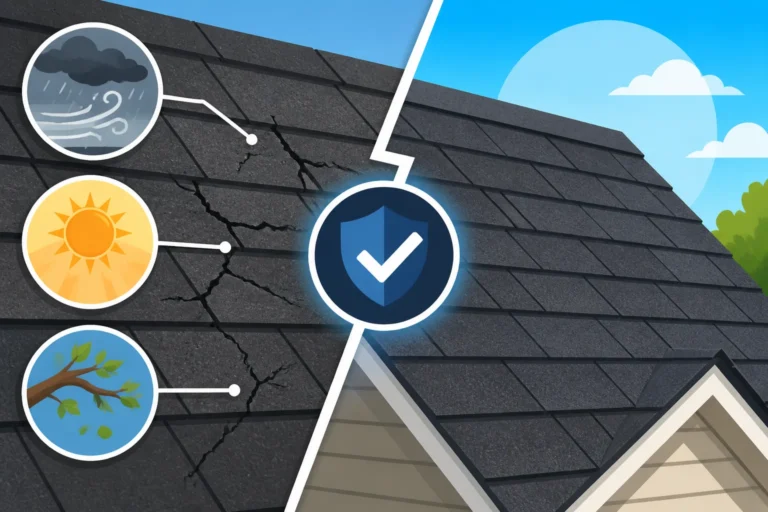
Start by going into your attic with a bright flashlight. Look for water stains on the underside of the roof decking, rafters, or insulation. If the insulation is wet, pull it back carefully to see the decking underneath. Once you find a wet spot or stain on the decking, try to trace it upwards to its source. Gravity is your friend here – water flows downhill. Look directly above the wet area for signs of damage: missing shingles, damaged flashing around a chimney, vent pipe, or skylight, or even nail pops where a nail has pushed up slightly through a shingle. Sometimes, the leak is obvious, like a gaping hole from a fallen branch. Other times, it's a tiny crack in a shingle that only opens when saturated. If the leak occurs only during specific wind directions or heavy rain, it might point to wind-driven rain getting under a compromised shingle. For a deeper dive into identifying the culprits, our article on How to Spot a Roof Leak offers extensive advice. If you can pinpoint the source, even generally, your temporary fix will be much more effective.
Tarping a Damaged Area
Tarping is arguably the most effective temporary fix for larger leaks or significant damage, especially after a storm. It essentially creates a new, albeit temporary, waterproof layer over the compromised section of your roof.
Here's how to do it safely and effectively:
- Safety First: Ensure the roof is dry enough to walk on and not too steep. Wear appropriate safety gear.
- Measure and Cut: Measure the damaged area and cut your heavy-duty tarp so it extends at least 3-4 feet beyond the damaged area in all directions. You want ample overlap to prevent water from running under it.
- Position the Tarp: Lay the tarp over the damaged area. The top edge of the tarp should be positioned higher on the roof (closer to the ridge) than the damaged spot, allowing water to flow over the tarp, not underneath it.
- Secure the Top Edge: Roll the top edge of the tarp around a 2×4 piece of lumber or a similar sturdy batten. This creates a strong, flat edge. Secure this batten to the roof by nailing or screwing it through the tarp and into the roof decking, ensuring the fasteners go through an existing shingle. Space the fasteners every 1-2 feet. This top edge is critical for preventing wind uplift.
- Extend and Secure Sides: Allow the tarp to extend down over the damaged area and beyond. You can roll the bottom and side edges around additional battens or simply secure them directly to the roof or fascia board with screws and large washers. For even more security, run ropes from the corners of the tarp down to anchors on the ground or to sturdy points on the house structure, like a gutter support or a window frame (but don't rely solely on this). Make sure the tarp is pulled taut to minimize flapping in the wind.
- Avoid Nailing Through Valleys/Edges: Try to avoid nailing directly into sensitive areas like roof valleys or along the eaves if you can help it, as these are critical water channels.
This Emergency Roof Tarping Explained method can keep your home dry for weeks, even months, in some cases, depending on weather conditions and how well it's installed.
Using Roofing Cement or Sealant for Small Leaks
For smaller, less severe leaks, such as those caused by a popped nail or a hairline crack in a shingle, roofing cement or a similar sealant can be a quick and easy solution.
- Clean and Dry: The area around the leak must be as clean and dry as possible for the sealant to adhere properly. Use a stiff brush to remove loose granules, dirt, or debris. If the roof is wet, try to blot it dry with a towel, but know that adherence will be compromised if it's not truly dry.
- Apply Generously: If using a caulk tube of roofing cement, apply a generous bead directly over the crack, nail hole, or separation. Use a putty knife or your finger (wearing a glove!) to spread it evenly and firmly over the entire compromised area, ensuring it creates a watertight seal. If applying to a lifted shingle, lift the shingle gently and apply a dollop underneath before pressing it back down.
- Embed a Patch (Optional but Recommended): For slightly larger cracks or holes, you can embed a small piece of fiberglass mesh or even a scrap of aluminum flashing into the wet roofing cement. Then, apply another layer of cement over the patch, essentially creating a reinforced seal.
- Curing Time: Give the sealant adequate time to cure, which can range from a few hours to 24 hours depending on the product and weather conditions. Avoid walking on the patched area during this time.
While effective for isolated minor issues, remember that roofing cement can degrade over time, especially with UV exposure and temperature fluctuations. It's a temporary fix, not a lifetime solution.
Addressing Damaged or Missing Shingles
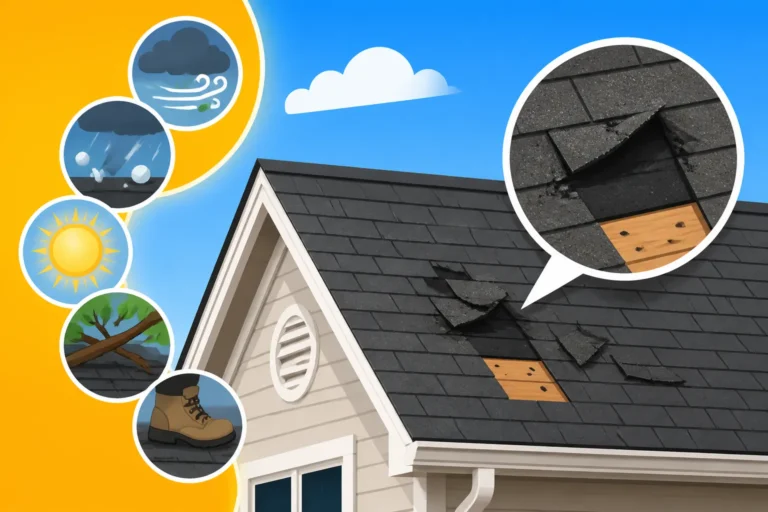
Missing or damaged shingles are often the most obvious culprits for leaks. Replacing a few shingles can be a DIY task for many, but for a temporary fix, you might just need to stabilize the area.
- Careful Access: Ensure safe access to the damaged area.
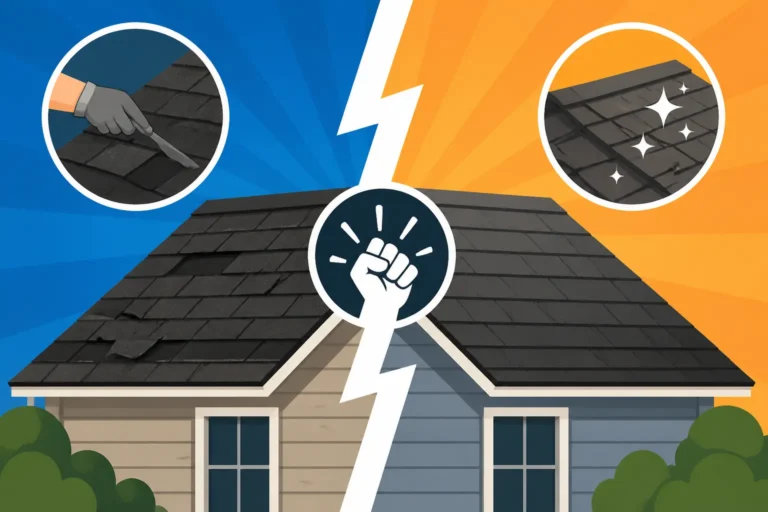
- Lift and Apply: For cracked or curled shingles that are still attached, you can often gently lift the bottom edge of the shingle above the damaged one. Apply a generous amount of roofing cement underneath the cracked or curled shingle, pressing it firmly back down. If the shingle is severely cracked or has a hole, you might consider cutting a small patch from an old shingle or a piece of heavy roofing felt, sliding it underneath the damaged shingle, and then sealing it with roofing cement.
- Replace (If You Have Spares): If you happen to have a few matching spare shingles from a previous repair or installation, you might attempt a temporary replacement. Carefully remove the nails from the damaged shingle by prying them up with a flat bar (being careful not to damage the underlying felt or shingles). Slide out the damaged shingle, apply roofing cement to the area, and then slide in the new shingle. Secure it with new roofing nails, covering the nail heads with a dab of roofing cement. Then, apply a small amount of roofing cement under the tabs of the shingles directly above the new one to help seal them down.
- Don't Force It: If shingles are brittle, lifting them can cause more damage. In such cases, a tarp might be a better option.
Keep in mind that matching the color and style of older shingles can be tricky, and even a well-done temporary repair here is just that – temporary. The adhesion tabs on new shingles need warm weather to seal properly, and manual cementing can be less reliable long-term.
After the Immediate Crisis: What Comes Next
Phew! You've managed to stop the immediate flow of water, and that's a huge accomplishment. But the job isn't done. This temporary fix is merely a pause, a chance to catch your breath and plan for the permanent solution.
Contacting a Reputable Roofing Professional
Once the immediate threat of water intrusion is contained, your very next step should be to contact a reputable roofing contractor. Do not put this off! Even a small leak can indicate a larger, underlying problem with your roof system that only a professional can properly diagnose and rectify. Waiting too long could turn a manageable repair into a costly full replacement.
When looking for a pro, prioritize those who are licensed and insured in your state or municipality. A licensed contractor adheres to local building codes and standards, and their insurance protects both their workers and your property in case of accidents. Don't be afraid to ask for proof of both. I always recommend getting multiple quotes – ideally three – from different companies. This allows you to compare not just prices, but also the scope of work, proposed solutions, and warranty options. Platforms like Modernize can be a fantastic resource for connecting with vetted, local roofing contractors who are ready to provide estimates. They can help you sift through options and find professionals known for their reliability. Make sure to discuss their approach to permanent repairs, their experience with your specific type of asphalt roofing, and how quickly they can schedule the work. Remember, a good contractor will offer a thorough inspection to determine the true extent of the damage, not just fix the visible symptom. For more on this, check out How to Choose a Roofing Contractor.
Navigating Insurance Claims
Remember all those photos and videos you took? Now's the time they come into play. Contact your homeowner's insurance provider as soon as possible after discovering the leak and after you've applied your temporary fix. Many policies cover sudden and accidental damage, which a leak often falls under. However, if the leak is determined to be due to long-term neglect or wear and tear, coverage might be limited or denied.
Be prepared to provide your detailed documentation – photos, videos, and a clear timeline of events. Your insurer will likely send out an adjuster to assess the damage. It's often beneficial to be present during this assessment so you can point out all the areas of damage, both interior and exterior, and ensure nothing is missed. Understand your policy's specifics, particularly regarding your deductible and whether your coverage is Actual Cash Value (ACV) or Replacement Cost Value (RCV). ACV policies will factor in depreciation, meaning you'll get less for an older roof, while RCV typically covers the cost of a new roof up to your policy limits. Don't be shy about asking questions and understanding every step of the process. If you're concerned about your claim being denied or undervalued, a roofing contractor experienced in insurance claims can often help advocate on your behalf. Our guide on Does Insurance Cover Roof Replacement is a must-read for anyone going through this process.
Planning for Permanent Repairs or Replacement
After the temporary fix is holding and you've engaged with contractors and your insurance company, it's time to make the long-term decision: repair or replace? This isn't always straightforward. A small, isolated leak might indeed be fixable with a targeted repair, like replacing a few shingles or some flashing. However, if your roof is older, say nearing or past its 20-25 year lifespan for asphalt shingles, or if the leak points to widespread damage or deterioration, a full roof replacement might be the more economical and safer long-term solution.
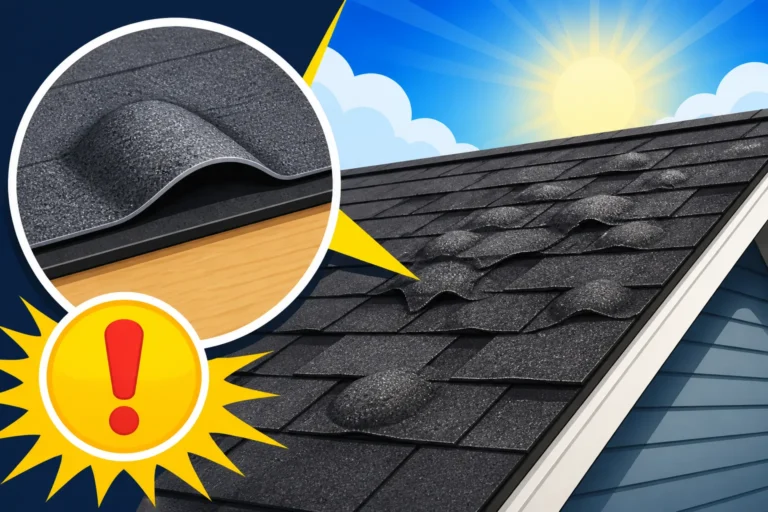
A thorough roof inspection by a qualified professional will be key here. They'll assess the overall condition of your asphalt shingles, look for signs of granule loss, curling, cracking, blistering, and evaluate the integrity of your underlayment and decking. They'll also check your ventilation system, which plays a crucial role in roof longevity. Sometimes, patching one area only leads to another leak cropping up elsewhere shortly after. In such cases, the overall cost of multiple repairs can quickly approach the Cost to Replace a Roof by House Size. Your contractor should provide you with a detailed estimate outlining the recommended permanent solution, its cost, and a timeline. This is also where you can discuss options for upgrading, such as installing Impact-Resistant Shingle Cost if you live in a hail-prone area, or choosing higher-quality architectural shingles for better durability and curb appeal. Ultimately, you want a solution that not only fixes the current leak but also protects your home for decades to come. To help you weigh your options, our article Roof Repair vs Replacement: How to Decide provides a detailed comparison.
Temporary Roof Repair Methods Comparison
Here's a quick overview of the temporary repair methods we've discussed, along with their ideal uses, pros, and cons:
| Method | Best For | Materials Needed | Pros | Cons |
|---|---|---|---|---|
| Tarping | Large holes, multiple damaged shingles, severe storm damage, emergency situations | Heavy-duty tarp, 2x4s or similar wood battens, screws/nails, rope/bungies, ladder | Covers large areas quickly, effective for major damage, buys significant time, relatively simple installation | Can be blown off in high winds, aesthetically unappealing, truly temporary, requires careful installation |
| Roofing Cement/Tar | Small cracks, nail pops, minor shingle damage, sealing flashing | Tube of roofing cement, caulk gun, putty knife/trowel, cleaning rags, gloves, ladder | Quick, easy for small fixes, creates a strong watertight seal, readily available | Not for large areas, can be messy, very temporary, prone to cracking over time, surface must be clean/dry |
| Plastic Sheeting/Visqueen | Small to medium holes, temporary patching of roof features, interior drip protection | Heavy-gauge plastic sheeting, duct tape, sandbags/bricks/weights, ladder | Cheap, readily available, good for very short-term emergency, easy to apply | Less durable than tarping, tears easily, minimal wind resistance, primarily for extremely short-term use |
| Peel-and-Stick Patches | Small punctures, minor shingle tears, sealing around pipes or vents | Specialized adhesive patches (butyl, asphalt-based) or tape, cleaning rag, roller (optional) | Easy application, good adhesion, flexible, creates a waterproof seal, relatively durable for a temporary fix | Limited to small areas, surface must be clean and dry, can be pricey, may not adhere well in very cold weather |
| Shingle Reattachment/Replacement | Lifted, loose, or a few missing shingles (if spares available) | Roofing cement, roofing nails, hammer/pry bar, spare shingles (if available), ladder | Restores a more uniform look, can be quite effective for specific shingle issues | Risk of further shingle damage, requires careful technique, depends on shingle availability/condition, not for widespread damage |
Disclaimer
Please remember that this guide offers information for temporary leak prevention measures only. Working on a roof can be extremely dangerous. Always prioritize your safety and never attempt a repair that you feel uncomfortable or unqualified to perform. For permanent and safe solutions, always consult with a licensed and insured roofing professional. This information is not a substitute for professional advice or services.