Emergency Roof Tarping Explained
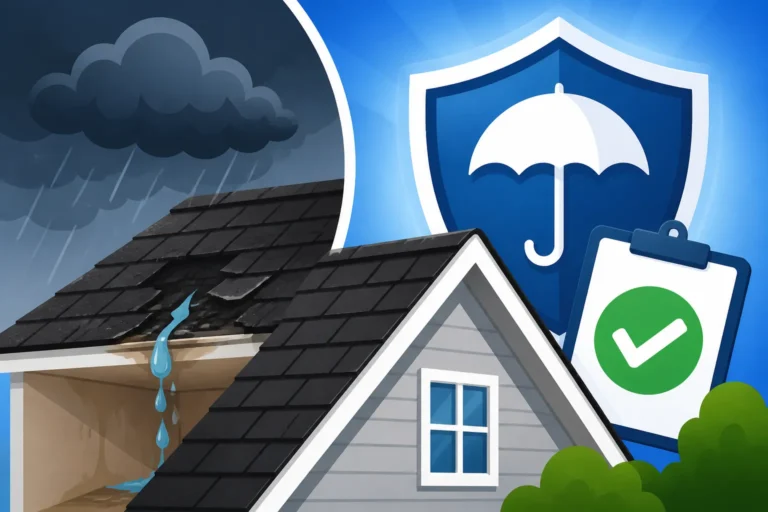
The moment you realize your roof has been compromised – maybe after a furious hailstorm, a sudden gust of wind ripped shingles clean off, or a tree branch came crashing down – that immediate, gut-wrenching panic is completely understandable. Water intrusion can quickly lead to extensive damage to your home's interior, personal belongings, and even structural integrity. This guide is here to walk you through the critical first step in protecting your home: emergency roof tarping, explaining what it is, when to do it, and how to get it done right to minimize further harm.
Understanding Emergency Roof Tarping: Your First Line of Defense
When your roof suffers sudden, significant damage, time is of the essence. Every minute that passes with an open wound on your roof is a minute where water can seep in, leading to a cascade of costly problems inside your home. Emergency roof tarping acts as a crucial, immediate barrier against the elements, buying you precious time until permanent repairs can be made. It's not a long-term solution, but it's an indispensable first response.
What Exactly is Roof Tarping?
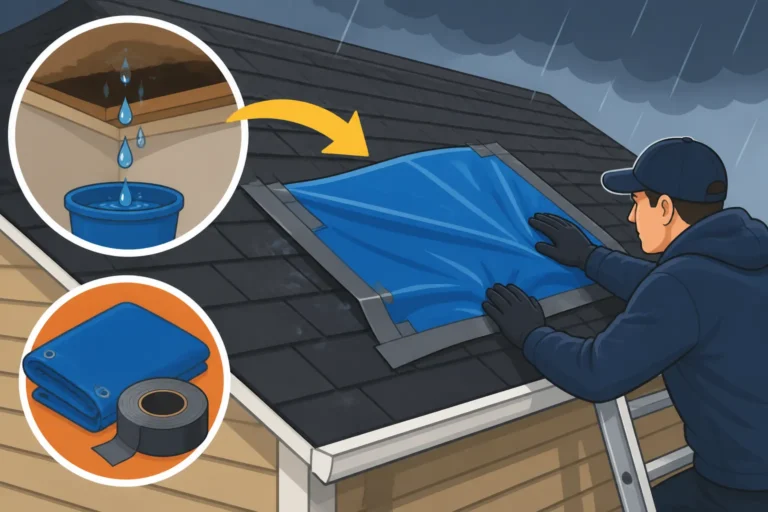
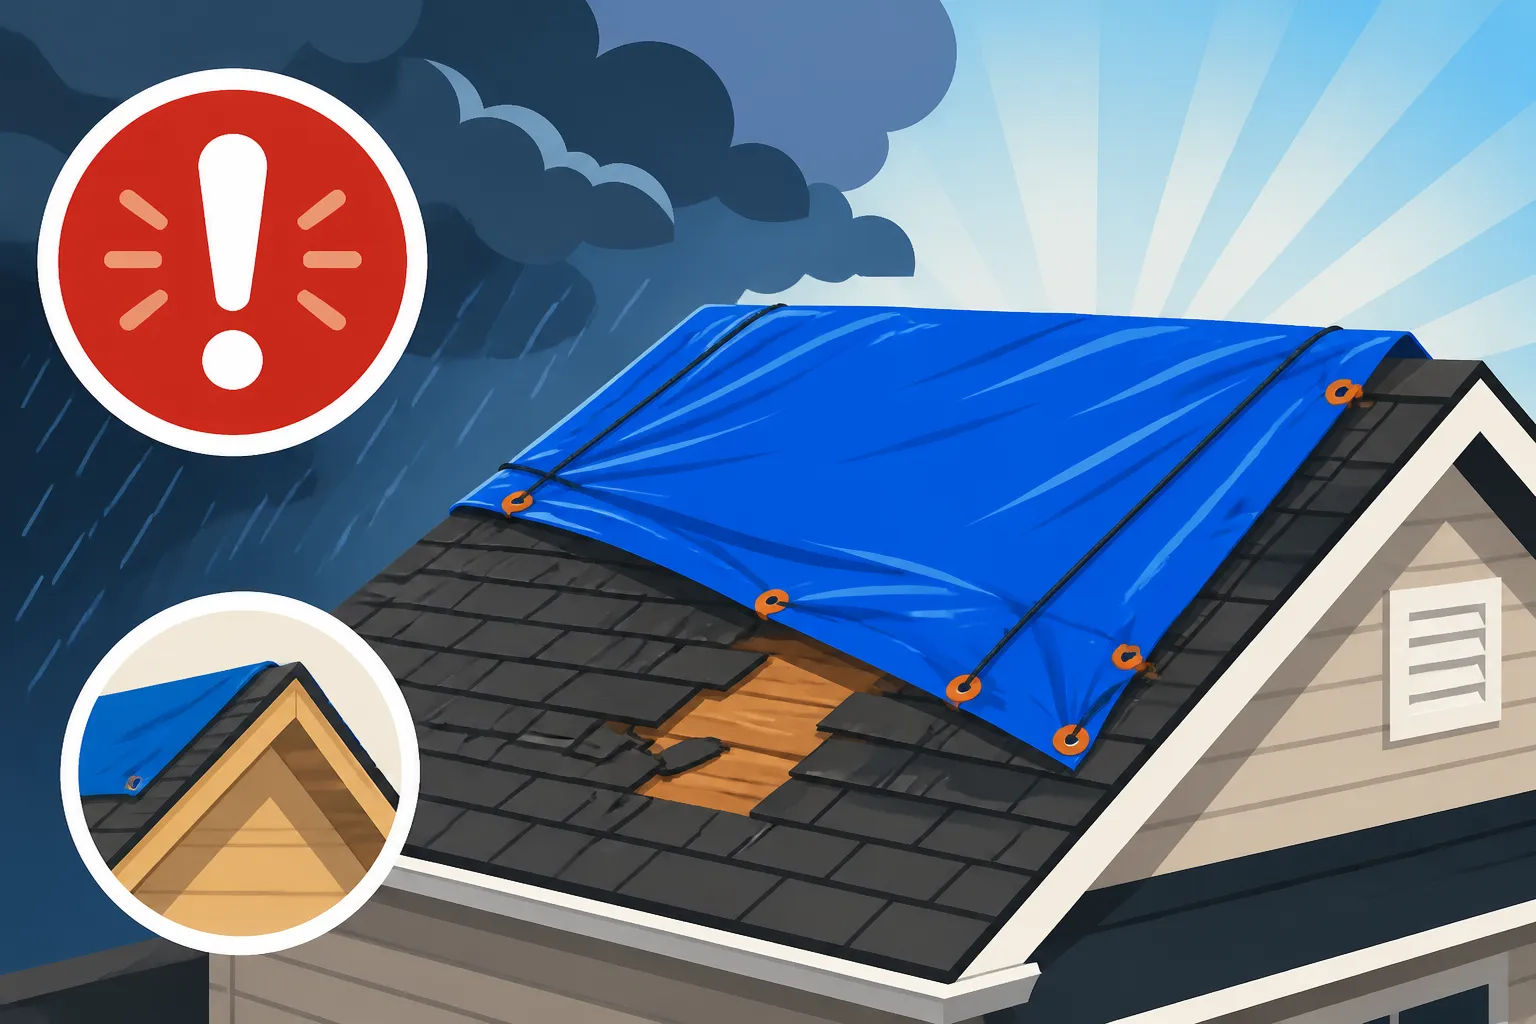
Simply put, roof tarping involves covering the damaged section of your roof with a waterproof tarp, securely fastened to prevent further water penetration. Think of it as a giant, temporary bandage for your home. These tarps are typically made of durable polyethylene or similar waterproof materials, often reinforced for strength. The goal isn't aesthetics or even complete waterproofing, but rather to divert the bulk of rain and snow away from the compromised area. It’s a rapid deployment measure to prevent a bad situation from becoming catastrophic.
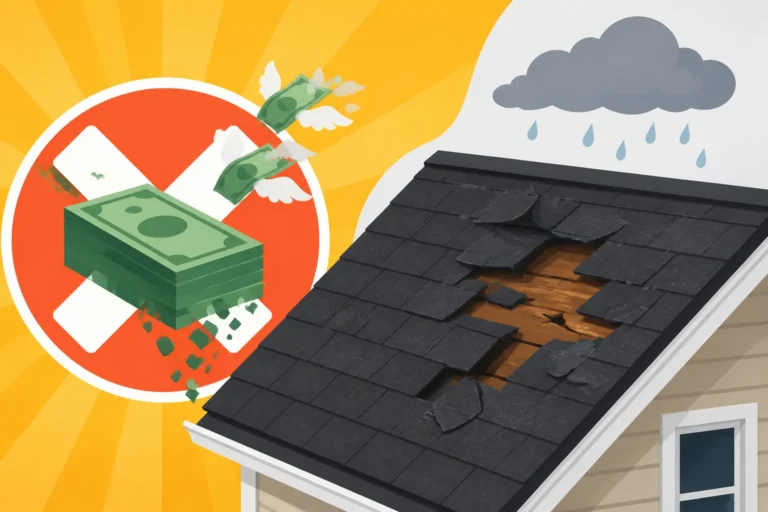
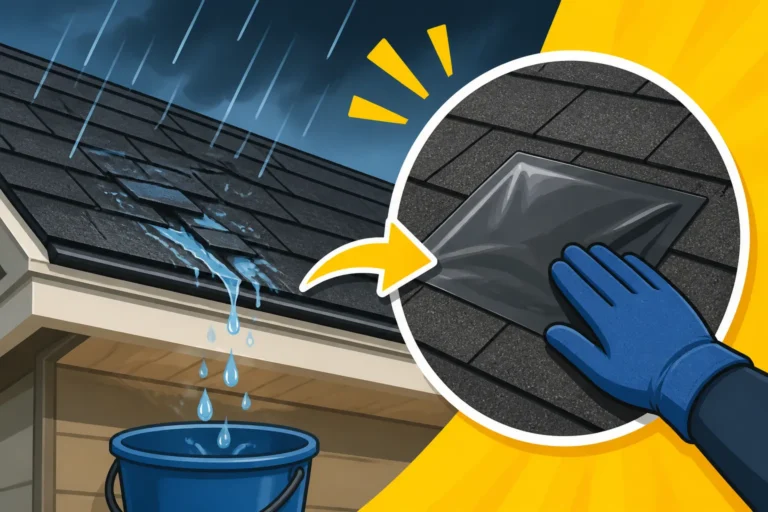
Without a proper tarp in place, a small hole or missing section of shingles can quickly turn into a major leak, saturating your attic insulation, staining ceilings, damaging drywall, and creating an environment ripe for mold growth. The costs associated with repairing water damage can far exceed the initial roof repair itself, which is why acting swiftly with a temporary tarp is so vital. It’s about containing the crisis and protecting your most valuable asset.
Why Immediate Action is Critical
The urgency of emergency roof tarping cannot be overstated. Imagine a heavy rainstorm rolling in just hours after a tree limb has punched a hole through your roof. That tiny puncture could become a waterfall inside your living room. The structural integrity of your home relies on a watertight envelope, and when that envelope is breached, the clock starts ticking on potential secondary damages. These could include ruined electrical systems, warped flooring, damaged appliances, and even compromised structural wood framing.
Beyond the visible damage, moisture can lead to hidden issues like mold and mildew growth, which can pose serious health risks and be incredibly difficult and expensive to remediate. By securing a tarp promptly, you are actively minimizing the extent of the damage, which can also play a significant role in your insurance claim process later on. Insurers often look favorably upon homeowners who take reasonable steps to mitigate further damage, and a properly installed tarp is a prime example of this. It shows you were proactive in protecting your property during a stressful time.
When Disaster Strikes: Identifying the Need for a Tarp
Recognizing when your roof needs immediate tarping is key. Not every missing shingle calls for a full tarp, but certain types of damage absolutely do. It's often the aftermath of severe weather events that leaves homeowners scrambling for protection.
Common Damage Scenarios
Roof damage can come in many forms, but some indicators clearly scream for emergency tarping.
- Severe Storm Damage: This is probably the most common culprit. High winds can rip off large sections of shingles, leaving exposed decking vulnerable. Hailstorms, particularly those with large hailstones, can create significant impact damage, sometimes even puncturing shingles and underlayment. If you've just experienced a significant weather event, pay close attention to your roof. For example, if you live in a region prone to intense thunderstorms, like many parts of Florida or Texas, you'll want to inspect your roof for Signs of Roof Wind Damage or Signs of Roof Hail Damage soon after the storm passes.
- Fallen Trees or Large Branches: A tree limb crashing onto your roof creates an immediate and often large hole or significant structural compromise. This is one of the clearest signals that a tarp is needed, often requiring professional assistance due to the scale and complexity of the damage.
- Other Impact Damage: Sometimes, it's not nature but an accident – perhaps debris from a nearby construction site, or something falling during a backyard project – that causes a sudden breach. Any immediate opening to the elements means a tarp should be considered.
- Catastrophic Leaks: While a slow drip might warrant a repair, a sudden, heavy leak pouring through your ceiling suggests a major breach that needs immediate containment. If you're wondering how to identify the source of the leak, our guide on How to Spot a Roof Leak can offer more insights.
These situations often require immediate protection to prevent further loss and damage to your home's interior and structure. Waiting even a day or two for a sunny forecast can prove disastrous if another storm rolls through.
Initial Damage Assessment and Safety
Before you even think about getting on your roof, safety has to be your absolute priority. After a storm, downed power lines, sharp debris, and unstable surfaces can all pose serious risks. Always assess the situation from the ground first. Look for visible holes, missing shingle sections, or exposed decking. If the damage is extensive, or if you suspect structural compromise, do not attempt to climb onto the roof yourself. This is where professional help becomes invaluable.
Even for smaller, more manageable areas, consider if you have the right equipment (a sturdy ladder, appropriate footwear) and the physical capability to safely work on a roof, especially if it's wet or steeply pitched. A guide on Roof Damage Assessment: A Homeowner's Guide can walk you through what to look for, but remember that your personal safety is non-negotiable. If you're uncomfortable or unsure, it's always best to err on the side of caution and call a professional emergency service. They have the training, equipment, and experience to handle these hazardous situations safely and effectively.
The Tarping Process: DIY vs. Professional Approach
Once you've identified the need for a tarp, you'll face a decision: tackle it yourself or call in the pros? Both have their merits and drawbacks.
Essential Materials and Tools
If you decide to go the DIY route for minor, accessible damage, you’ll need a few key items. These are readily available at most hardware stores.
- Heavy-Duty Tarp: Choose a tarp that is significantly larger than the damaged area, ideally extending a few feet beyond all sides. Look for tarps labeled "heavy-duty" or "reinforced," as standard thin tarps won't hold up to wind and prolonged exposure. Blue tarps are common, but silver or black can also work.
- 2×4 Lumber: You'll need several pieces of 2×4 lumber, cut to a length that is about 2 feet longer than the width of your tarp. These will be used to secure the tarp edges.
- Nails or Screws: Roofing nails (1.5 to 2 inches) or screws suitable for outdoor use.
- Hammer or Drill/Impact Driver: For fastening the lumber.
- Utility Knife or Shears: To cut the tarp if necessary.
- Safety Gear: Crucially, this includes sturdy work gloves, non-slip footwear, safety glasses, and potentially a safety harness if you're working on a steep roof. A reliable, stable ladder is also paramount.
- Caulk or Sealant (optional): For minor leaks that don't warrant a full tarp, sometimes a temporary sealant can help, as discussed in How to Temporarily Stop a Roof Leak. However, for significant damage, a tarp is usually the better option.
Having these materials ready, or at least knowing what you need, can save critical time when a storm hits unexpectedly.
Step-by-Step Tarp Installation Basics
This is a general overview; specific situations may require variations.
- Clear the Area: Safely remove any loose debris, branches, or damaged shingles from around the compromised section of the roof. Be extremely cautious of sharp edges or unstable footing.
- Position the Tarp: Lay the tarp over the damaged area, ensuring it extends well beyond all edges, especially uphill. The higher edge of the tarp should be tucked under any intact shingles above the damage if possible, or at least run flat against the roof so water can flow over it.
- Create Batten Boards: Take your 2×4 lumber pieces. Roll the edges of the tarp around a 2×4 board at both the top and bottom of the damaged area. This creates a secure "batten" that will hold the tarp taut.
- Secure the Batten Boards: Fasten the batten boards directly to the roof decking using roofing nails or screws. The goal is to secure the tarp firmly so that wind cannot easily lift it. You'll want to angle your fasteners slightly into the roof sheathing.
- Secure the Sides: If possible, extend the tarp over the roof edges and use additional 2x4s or sandbags to weigh down the sides, preventing wind uplift. Some professionals use specialized clips or adhesive roofing tape for side security, but battens are the most common DIY method for primary anchorage.
- Ensure Proper Drainage: Make sure the tarp is positioned so that water flows off the roof naturally and not into the damaged area or underneath the tarp. The goal is to redirect water away from the leak.
Remember, this is a dangerous job. If at any point you feel unsafe, stop immediately.
The Benefits of Calling in a Professional
While DIY tarping can be a quick fix for small, easily accessible damage, there are significant advantages to calling a professional, especially for complex or extensive damage.
- Safety First: Professional roofers are trained and equipped to work safely on damaged roofs, often at heights and under conditions that would be hazardous for a homeowner. They have harnesses, specialized ladders, and safety protocols in place.
- Proper Installation: An experienced roofer knows how to correctly secure a tarp to withstand wind, ensuring maximum protection. They understand roof anatomy and drainage, ensuring the tarp directs water effectively without causing new problems. They'll also use techniques that minimize further damage to your existing roof during the tarp installation.
- Faster Response: Many roofing companies offer emergency services and can deploy crews quickly after a storm. Companies like Modernize can help connect you with reputable local roofing professionals who specialize in emergency repairs and tarping.
- Damage Assessment: A professional can perform a thorough Roof Damage Assessment: A Homeowner's Guide that goes beyond what's visible, identifying underlying issues that might not be apparent to an untrained eye. This assessment is critical for planning permanent repairs and dealing with insurance.
- Insurance Guidance: Professionals often have experience working with insurance companies and can help document the damage, providing necessary estimates for your claim. This can simplify the process of filing a claim, which can be found in our guide on the Roofing Insurance Claim Process Step by Step.
Beyond the Tarp: Next Steps and Long-Term Solutions
Getting a tarp on your roof is a massive first step, but it's just the beginning of the recovery process. You've mitigated the immediate threat, but now it's time to think about making your home whole again.
Documenting for Insurance and Planning Repairs
After the immediate threat is contained by the tarp, your next crucial step is to meticulously document all the damage. This documentation will be invaluable when you file your homeowner's insurance claim. Don't skip this part, even if you're stressed and overwhelmed.
- Take Extensive Photos and Videos: Capture clear images and videos of the damaged roof area before the tarp was applied, as well as the interior damage caused by water intrusion. Get different angles, close-ups, and wide shots to show the overall impact. Our article on How to Document Roof Damage for Insurance provides a detailed checklist of what to capture.
- Contact Your Insurance Provider: Notify your insurance company as soon as possible about the damage. They will guide you through their specific claims process and likely send an adjuster to assess the damage.
- Keep Records: Maintain a detailed log of all communications with your insurance company, including names, dates, and what was discussed. Keep copies of all estimates, invoices, and receipts related to the emergency tarping and any temporary repairs.
- Obtain Multiple Estimates: Once the tarp is on and the immediate crisis is averted, start gathering estimates for the permanent repair or replacement of your roof. It's wise to get at least three quotes from different, reputable roofing contractors. Our guide on How to Choose a Roofing Contractor can help you find reliable professionals. This will give you a comprehensive understanding of the scope and cost of the work required.
The Importance of a Permanent Repair
While emergency tarping is a lifesaver in the short term, it's absolutely vital to remember that it is not a permanent fix. Tarps, no matter how heavy-duty or expertly installed, are designed to be temporary. They degrade over time due to UV exposure, can shift in high winds, and are susceptible to wear and tear. Leaving a tarp on for too long can lead to new problems, such as:
- Further Water Intrusion: Tarps can develop tears, holes, or simply lose their effectiveness over prolonged periods, leading to leaks you might not immediately notice.
- Structural Damage: The constant presence of a tarp, especially if it collects water, can add undue weight to compromised areas of your roof.
- Mold and Mildew: If moisture gets trapped underneath the tarp or if condensation forms, it can create a breeding ground for mold, even on roof decking.
- Warranty Issues: Most manufacturer warranties require proper installation techniques and certified materials. Leaving a tarp on indefinitely could potentially void parts of your roof's warranty.
Therefore, as soon as feasible, you need to transition from the emergency tarping phase to planning and executing permanent roof repairs or a full roof replacement, depending on the extent and nature of the damage. Consulting with a qualified roofing contractor soon after the incident is crucial to determine the best long-term solution. They can accurately assess the damage, recommend appropriate materials, and ensure all work complies with local building codes.
The Lifespan and Limitations of a Tarped Roof
Understanding how long a tarp can reasonably protect your home and its inherent limitations is crucial for managing expectations and planning your next steps effectively.
How Long Can a Tarp Last?
This is a question many homeowners ask, and the answer, unfortunately, isn't a precise number. The lifespan of an emergency roof tarp depends on several factors:
- Tarp Quality: A thick, UV-resistant, heavy-duty tarp will obviously last longer than a flimsy, basic plastic sheet.
- Installation Quality: A professionally installed tarp with proper battens and secure fastening will withstand weather better than a hastily thrown-on, poorly secured one.
- Weather Conditions: Constant sun exposure will break down a tarp's material over weeks or months. High winds can tear it. Heavy rain and snow can stress the fastenings and lead to pooling. A tarp might last a few weeks in mild weather, but only days or even hours during another severe storm.
- Type of Damage: If the underlying roof structure is severely compromised, even the best tarp might struggle to provide complete protection.
Generally, most roofing professionals will tell you that a tarp is good for a few weeks to a couple of months at best. It's a stop-gap measure designed to get you through an immediate crisis, not a long-term roofing material. Think of it as putting a band-aid on a broken bone – it helps temporarily, but you still need to see a doctor for proper healing.
Why a Tarp is Not a Permanent Fix
It's tempting, especially if the leak seems stopped, to put off the full repair. But relying on a tarp for an extended period is a risky game.
- Material Degradation: Tarps are not designed for continuous outdoor exposure to the elements. UV rays from the sun cause the plastic to become brittle and eventually crack or disintegrate. This leads to reduced waterproofing and structural integrity.
- Wind Uplift and Shifting: Even well-secured tarps can eventually succumb to persistent high winds. If a tarp shifts or tears, your roof is exposed again, often without you realizing it until water starts dripping inside.
- Trapped Moisture: A tarp, by its nature, can trap moisture underneath it, especially if there are imperfections in its seal or if condensation occurs. This trapped moisture, particularly in warmer climates, creates ideal conditions for mold, mildew, and even wood rot on your roof decking. This can turn what might have been a simple shingle replacement into a much costlier Roof Decking Replacement Cost project.
- Aesthetics and Home Value: Let's be honest, a blue tarp isn't exactly a selling point for your home. While that's secondary to protection, it's a constant visual reminder of an unresolved issue and can impact curb appeal and potential resale value if left for too long.
The bottom line is that a tarp provides a temporary reprieve. It buys you time to thoroughly assess the damage, work with your insurance company, and schedule a professional, permanent repair. Delaying the inevitable will almost always lead to more extensive and expensive problems down the road.
Key Safety Precautions and Avoiding Common Pitfalls
Attempting any roof work, especially on a damaged roof, carries inherent risks. Being aware of these and taking precautions is paramount.
Prioritizing Your Well-being
Your safety should always be the absolute top priority. No amount of potential water damage is worth risking a fall or injury.
- Do Not Work Alone: Always have someone with you who can assist or call for help if needed.
- Use Proper Footwear: Wear shoes with excellent grip, not sandals or smooth-soled sneakers.
- Stable Ladder Use: Ensure your ladder is on stable, level ground and extends at least three feet above the edge of the roof you'll be accessing. Have someone hold the ladder if possible.
- Avoid Wet or Icy Roofs: Never, ever climb onto a wet, icy, or snow-covered roof. This is incredibly dangerous. If the roof is wet, wait until it's completely dry.
- Watch for Electrical Hazards: Be extremely cautious of downed power lines near your home. If you see any, do not approach and contact your utility company immediately.
- Know Your Limits: If the roof pitch is too steep, the damage too extensive, or you simply feel uncomfortable, call a professional. There's no shame in recognizing a job is beyond your capability, especially when safety is involved. Many emergency roofing services are available, and the cost is often worth the peace of mind and safety.
Common Tarping Mistakes to Steer Clear Of
Even with good intentions, some common errors can undermine the effectiveness of emergency tarping or even create new issues.
- Using a Tarp That's Too Small: An undersized tarp won't adequately cover the damaged area and extend beyond it to create a proper watershed. Always opt for a tarp significantly larger than the breach.
- Inadequate Fastening: Simply throwing a tarp over a hole and weighing it down with a few bricks or rocks is a recipe for disaster. The first strong gust of wind will send it flying, leaving your roof exposed again. The batten board method, where the tarp is rolled around a 2×4 and then nailed to the roof, provides much better security against wind uplift.
- Ignoring Proper Drainage: The tarp needs to be installed in a way that directs water away from the damaged area. If it creates a pocket where water can pool, it adds weight to your roof and can find new ways to seep underneath. The higher edge of the tarp should always overlap any lower sections of the tarp or the roof.
- Nailing Through the Tarp Directly: While it might seem quicker, nailing directly through the tarp creates new holes and weakens the material, compromising its waterproofing. Rolling the tarp around a batten board and nailing the board is the correct approach.
- Procrastinating on Permanent Repairs: As discussed, a tarp is a temporary solution. Leaving it on for months on end invites further damage, mold growth, and can complicate insurance claims. Use the time the tarp buys you wisely to arrange for a permanent fix. For severe situations, you may need to decide between Roof Repair vs Replacement: How to Decide.
| Feature/Action | DIY Tarping (Pros & Cons) | Professional Tarping (Pros & Cons) |
|---|---|---|
| Cost | Pro: Potentially lower immediate material cost. Con: Risk of additional interior damage if done incorrectly, potential for injury leading to medical costs. | Pro: Minimizes risk of further damage, potentially covered by insurance. Con: Higher upfront service fee. |
| Speed | Pro: Can be deployed instantly if materials are on hand. Con: Requires homeowner to be ready and able to work immediately. | Pro: Many companies offer 24/7 emergency service with rapid deployment. Con: May involve a wait time for a crew to arrive, depending on demand. |
| Safety | Con: High risk of injury (falls, cuts, electrocution) for untrained individuals, especially on damaged or wet roofs. | Pro: Trained, insured professionals with proper safety equipment and protocols. Minimizes homeowner risk. |
| Effectiveness | Con: Often less secure, prone to shifting/tearing, risk of improper drainage, leading to potential leaks. | Pro: Expert installation for maximum protection against elements, proper water diversion, and longer temporary lifespan. |
| Damage Assessment | Con: Homeowner may miss underlying or hidden damage. | Pro: Comprehensive assessment by experienced eyes, helpful for insurance claims and planning permanent repairs. |
| Insurance Claim | Con: May require homeowner to handle all documentation and communication. | Pro: Professionals can assist with documentation and provide detailed reports for the insurance company, streamlining the How to File a Roof Insurance Claim process. |
| Complexity | Con: Not suitable for large, complex, or steep roof damage. | Pro: Equipped to handle all types of roof damage and pitches, regardless of complexity. |
By being mindful of these considerations, you can ensure that your emergency tarping effort is as safe and effective as possible, setting the stage for a smooth transition to permanent roof repairs.
Disclaimer
Please remember that this article provides general information and recommendations. Every roof damage scenario is unique, and local building codes and safety regulations may vary. Always prioritize your safety and consult with a qualified, licensed, and insured roofing professional for specific advice regarding your home's needs. Do not attempt roof work if you are uncomfortable, lack proper equipment, or if conditions are unsafe.