How to Temporarily Cover Missing Shingles
Oh, the sinking feeling when you look up and spot that tell-tale bare patch on your roof—a missing shingle. It’s not just an aesthetic flaw; it's an open invitation for rain, wind, and debris to wreak havoc on your home's interior, causing leaks, rot, and much more expensive problems down the line. This guide will walk you through practical, temporary ways to cover those missing shingles and protect your most valuable asset until a professional roofer can arrive for a permanent solution.
Understanding the Urgency of Missing Shingles
You might think, "It's just one shingle, what's the big deal?" But trust me, as someone who's seen the aftermath, even a small breach in your roof's armor can lead to significant headaches. Water, once it finds a way in, is incredibly persistent and can travel far from the entry point, making it hard to pinpoint the true source of damage.
Why Even One Missing Shingle is a Big Deal
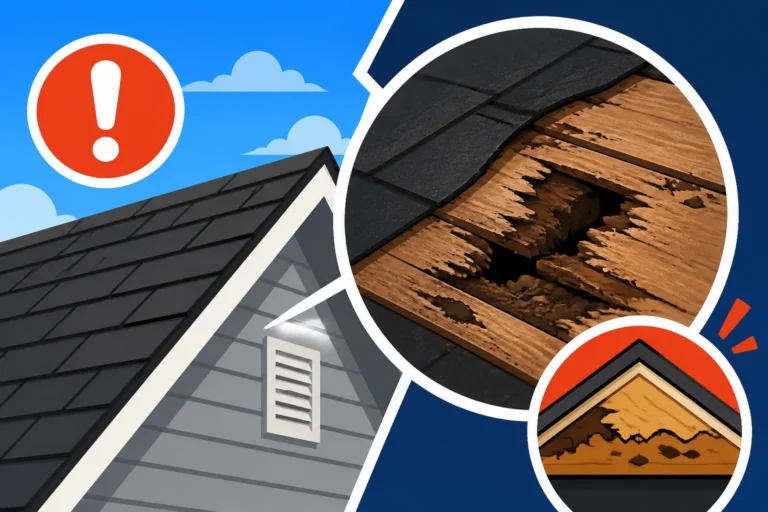
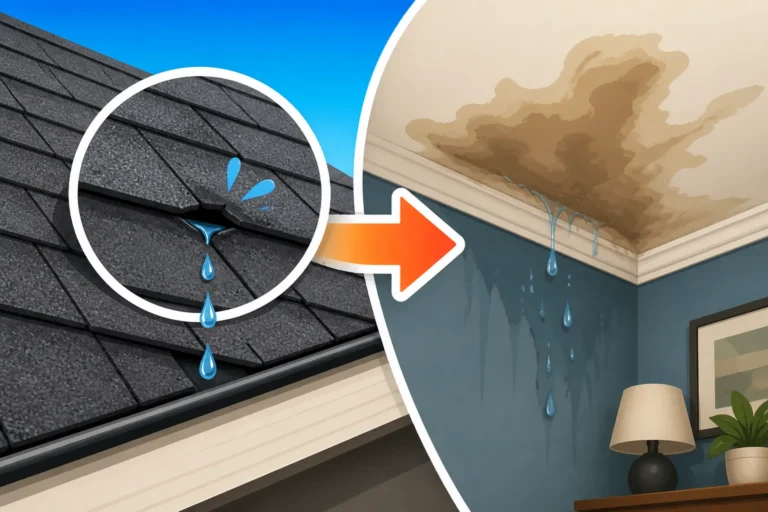
When a shingle goes missing, it leaves the underlayment and, in some cases, the roof decking directly exposed to the elements. The underlayment, typically a synthetic or felt material, offers a layer of protection, but it's not designed for long-term direct exposure to UV rays, heavy rain, or persistent winds. Think of it like tearing a hole in your rain jacket – the shirt underneath might offer a little resistance, but it's not truly waterproof.
The immediate concern is, of course, water infiltration. Rain can seep into your attic, saturating insulation, dripping onto ceilings, and promoting mold growth. This isn't just an inconvenience; mold can lead to serious health issues and structural damage. Beyond water, sun exposure can degrade the exposed underlayment rapidly, further weakening your roof's defenses. Wind can then catch the edge of the next shingle in line, prying it up and potentially leading to a cascade of further shingle loss. This is why even a small, seemingly insignificant gap can quickly become a major issue. You might want to understand more about How to Spot a Roof Leak before things get too dire.
Common Causes of Missing Shingles
Missing shingles aren't just bad luck; they're often a symptom of underlying issues or the direct result of severe weather. Understanding the common culprits can help you identify if your roof is vulnerable.
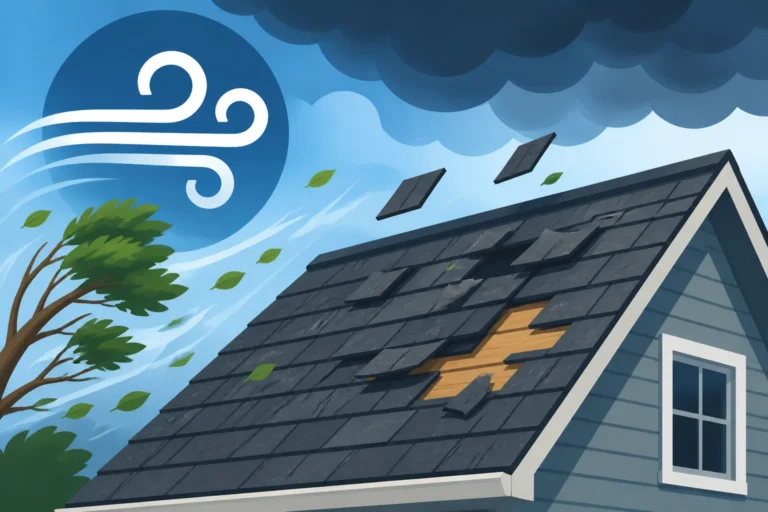
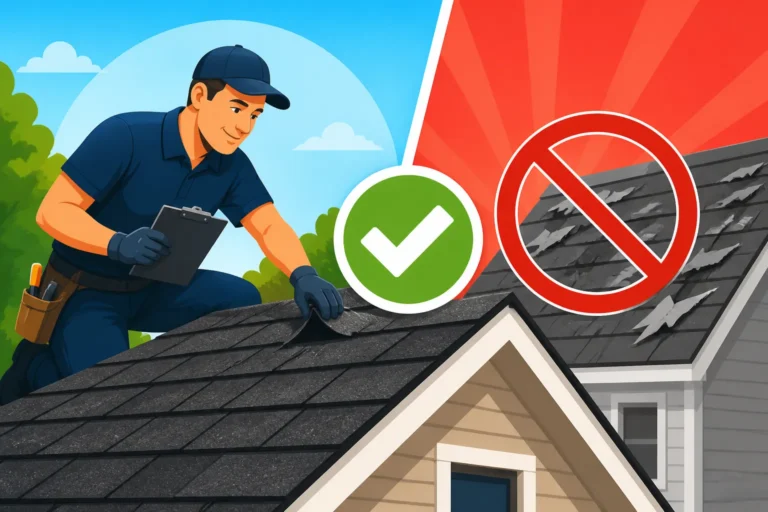
Wind Damage: This is by far the most frequent offender. Strong winds, especially those during a severe storm, can lift and tear shingles right off your roof. The older your shingles are, the more brittle they become, and their adhesive strips, which are supposed to seal them down, can lose their grip over time. This makes them particularly susceptible to wind uplift. If you've recently experienced a strong gust or a hurricane, it's always a good idea to perform a visual check, even if you think your roof is fine. Learn more about Signs of Roof Wind Damage.
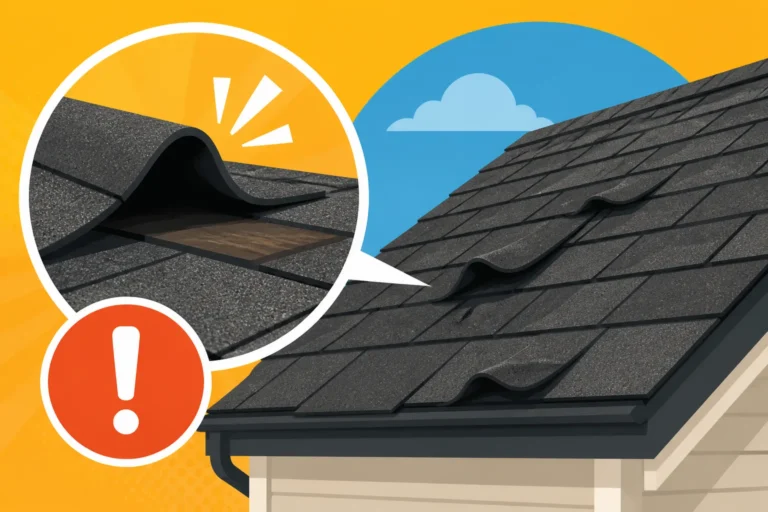
Age and Wear: Asphalt shingles aren't meant to last forever. Over time, exposure to sun, rain, and temperature fluctuations causes them to degrade. They can become brittle, crack, curl, or lose their protective granules. Once shingles start to curl or crack, they present an easier target for wind to catch and rip away. If your roof is past its expected lifespan (typically 20-30 years for architectural shingles, less for 3-tab), missing shingles might be a sign that it’s time to start thinking about a full Roof Repair vs Replacement: How to Decide.
Improper Installation: Unfortunately, not all roofers are created equal. Shingles nailed incorrectly—either too high, too low, or with too few nails—are far more likely to come loose. If the roofing cement wasn't applied correctly, or if the starter course wasn't installed properly, these foundational issues can manifest as missing shingles years down the line. This highlights why choosing a reputable contractor is so important.
Impact Damage: Falling tree branches, large hail, or even debris carried by high winds can strike your roof with enough force to dislodge or break shingles. While hail might create more subtle damage like bruising or granule loss, a heavy branch can outright rip sections away.
Essential Materials for Temporary Shingle Repair
When you discover missing shingles, the clock starts ticking. You need to act fast to prevent further damage. Luckily, a temporary fix doesn't require a specialty roofing supply store visit if you're in a pinch. You probably have some of these items around the house already, or they're readily available at your local hardware store.
Gathering Your Supplies
Before you even think about climbing a ladder, gather everything you'll need. A few key items can make all the difference in quickly and effectively sealing up that exposed area.
- Heavy-Duty Tarp: This is your primary shield. Choose a tarp that is larger than the damaged area. A common mistake is getting one that's just big enough, which leaves edges vulnerable to wind. A good quality, waterproof tarp will be your best friend. Look for tarps with grommets around the edges for easier securing.
- Roofing Cement or Caulk: This sticky, waterproof sealant is crucial for smaller patches or securing tarp edges. A tube of roofing cement that can be applied with a caulk gun works wonders. It's designed to withstand outdoor elements and bond to asphalt.
- Utility Knife or Scissors: You'll need something sharp to cut your tarp or potentially trim any lifted shingles if you're trying to create a smoother surface for your patch.
- Hammer and Nails/Screws with Washers: If you're really trying to secure a tarp, especially in a windy area, you might need to use nails or screws with rubber washers directly into the roof decking, through the grommets of the tarp. This is generally a last resort and should be done carefully to avoid unnecessary holes. For less aggressive securing, consider 1×3 or 2×4 lumber strips to act as battens over the tarp edges, nailing those down instead.
- Plywood or Thick Cardboard (Optional): For a slightly more rigid temporary patch on smaller holes, a piece of plywood cut to size can be placed over the exposed area, then sealed with roofing cement around the edges and potentially weighted down.
- Work Gloves: Protecting your hands is paramount. Shingles can be sharp, and roofing cement is messy.
- Flashlight or Headlamp: If you're working at dawn, dusk, or under an overcast sky, good lighting is essential for clearly seeing the damage and ensuring your patch is secure.
Safety First: Gear You'll Need
I cannot stress this enough: roofing work, even temporary patching, can be incredibly dangerous. Always prioritize your safety. If you're uncomfortable with heights, or if the roof pitch is steep, please, for your own sake, call a professional. No temporary fix is worth a trip to the emergency room.
Ladder: Ensure your ladder is sturdy, in good condition, and rated for your weight plus the weight of your materials. Place it on a stable, level surface. Ideally, have someone steady the base of the ladder for you. Extend it at least three feet above the edge of the roof you'll be accessing.
Non-Slip Shoes: Wear shoes with excellent grip. Sneakers or work boots with rubber soles are far better than sandals or worn-out shoes.
Safety Harness (Optional but Recommended): If you're going to be on a steep roof or working for an extended period, a safety harness anchored to a secure point on the roof or structure is a lifesaver. This is especially true for those living in areas like Colorado or California where roofs can be quite steep, leading to a Steep Roof Cost Premium for pros.
Another Person: Seriously, don't do this alone if you can avoid it. Having a spotter for the ladder, someone to hand you tools, or simply someone aware that you're on the roof can be invaluable in an emergency.
Cell Phone: Keep your phone in an easily accessible pocket in case you need to call for help.
Remember, the goal is a temporary fix. Don't take unnecessary risks trying to make it perfect. The priority is to stop water entry until a qualified professional can perform a proper repair. Once you've got your temporary fix in place, reach out to an expert. Services like Modernize can help you connect with qualified roofing professionals in your area who can assess the damage and provide permanent solutions.
Step-by-Step Guide to Temporary Shingle Cover-Up
Now that you're geared up and your supplies are ready, let's get down to the actual work of protecting your home. There are a few different approaches you can take, depending on the size and location of the missing shingles. Remember, these are quick fixes designed to buy you time, not permanent solutions.
Method 1: Tarping a Large Area
This is your go-to method for significant damage or when multiple shingles are missing over a wide section. Tarping provides broad coverage and is relatively quick to deploy.
- Clean the Area: Carefully remove any loose debris, broken shingle pieces, or branches from the damaged area. You want a relatively clean, flat surface for the tarp to lie on. Be gentle so you don't cause more damage.
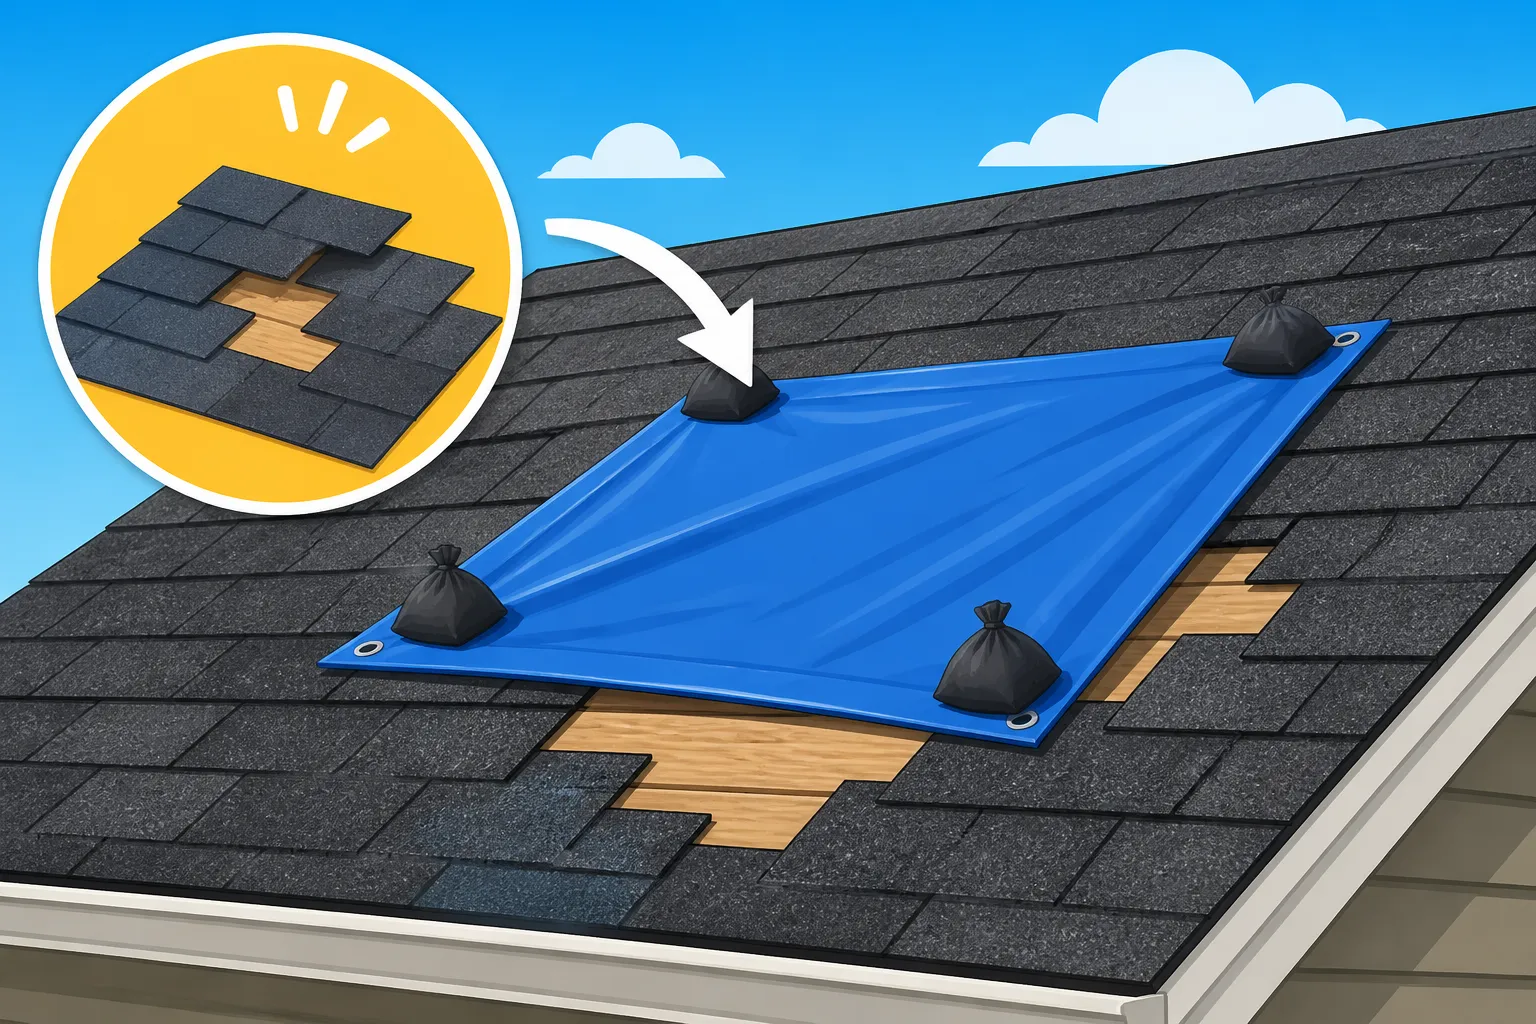
- Position the Tarp: Unfold your heavy-duty tarp and center it over the damaged area. Make sure it extends well beyond the edges of the missing shingles, ideally by at least two to three feet on all sides. For best water shedding, place the top edge of the tarp under the row of shingles above the damaged area, and let the bottom edge extend over the shingles below. This helps mimic the natural water flow of the roof.
- Secure the Edges – Option A (Less Invasive): If the wind isn't too severe and the pitch isn't too steep, you can try securing the tarp without making many new holes in your roof.
- Sandbags or Heavy Objects: Place sandbags, bricks, or heavy rocks along the edges and corners of the tarp, especially the top edge, to hold it down. Ensure these weights are stable and won't roll off.
- Batten Strips: A more secure, yet still relatively easy, method is to use 1×3 or 2×4 lumber strips. Place these strips over the edges of the tarp, ensuring the tarp is taut. Nail or screw the lumber strips through the tarp and into the roof decking. The strips distribute the pressure, making it harder for wind to rip the tarp, and the nails go through the batten, not just the grommet. This is a good technique to temporarily cover Missing Shingles: Repair or Replace until a pro arrives.
- Roofing Cement (Sparse Application): You can apply a few dabs of roofing cement underneath the edges of the tarp, pressing it down firmly. This provides extra adhesion but might make removal slightly messier. Use sparingly.
- Secure the Edges – Option B (More Invasive, for High Wind/Steep Pitches): For very windy conditions or steeper roofs where weights aren't feasible, you may need to nail or screw the tarp directly.
- Use Washers: Place a rubber or plastic washer under the head of each nail or screw. This helps prevent the fastener from tearing through the grommet or the tarp material itself.
- Nail through Grommets: Drive nails or screws with washers through the grommets of the tarp and into the roof decking, around all edges, every 12-18 inches. Ensure you hit solid decking.
- Seal Fasteners: Once secured, apply a dab of roofing cement over the head of each nail or screw to seal the penetration points, preventing water from seeping through.
Method 2: Patching with Roofing Cement and Shingles (or similar material)
This method is better for smaller, isolated areas where only one or two shingles are missing, and you might have a spare shingle lying around (unlikely, I know, but sometimes people do!).
- Clean and Prepare: Clear away any debris. If there are adjacent shingles that are lifting or slightly damaged, you can gently pry them up just enough to work underneath.
- Apply Roofing Cement: Using a caulk gun, apply a generous amount of roofing cement directly onto the exposed underlayment and decking where the shingle is missing. Spread it evenly with a putty knife if needed, ensuring good coverage.
- Place the Patch:
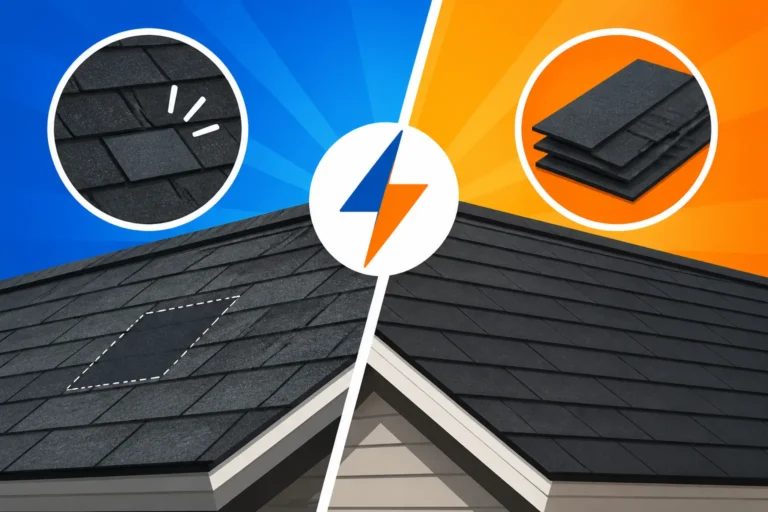
- If you have a spare shingle: Trim it to fit the gap perfectly. Slide it into place, making sure its bottom edge aligns with the existing shingles below and its side edges fit snugly. Press it firmly into the roofing cement. Apply a small bead of roofing cement along the top edge of the new shingle and gently press the overlying shingle (if any) back down.
- If you don't have a spare shingle: Cut a piece of heavy-duty felt paper, thin galvanized flashing, or even a section of your tarp to fit the missing area. Apply roofing cement to the underside of your patch material, press it firmly into place, and then apply another layer of roofing cement around its edges, feathering it out onto the surrounding shingles to create a seal.
- Secure (Optional): For extra security, especially on a sloped roof, you can place a few dabs of roofing cement on the underside of the surrounding shingles where they overlap your patch, pressing them down firmly. You might even use a few small, wide-head roofing nails, driven carefully, and then sealed with more cement.
Method 3: Using Plastic Sheeting and Weights for Smaller Spots
This is a really quick, minimalist approach for a very small, flat area, or if you're truly just trying to get through a light rain shower until you can get proper supplies.
- Clean the Spot: Remove any loose bits.
- Cut Plastic Sheeting: Take a piece of heavy-duty plastic sheeting (like a thick garbage bag or painter's drop cloth) and cut it so it extends at least 1-2 feet beyond the damaged area on all sides.
- Position and Weigh: Lay the plastic sheeting over the missing shingle spot. Place bricks, heavy stones, or sandbags around the edges of the plastic to hold it down. The key here is to ensure the plastic is taut and the weights prevent it from blowing away. This method is the least secure and should only be considered for very short-term, low-wind situations. It's truly a last-ditch effort.
Remember, the goal is always to shed water over the damaged area and away from your home. Overlap is key.
What to Do After Your Temporary Fix
You’ve done the crucial work of preventing immediate water intrusion, and that’s a huge relief! But it’s vital to understand that a temporary fix is exactly that—temporary. It buys you time, but it doesn't solve the underlying problem or provide the long-term protection your home needs.
The Importance of a Professional Assessment
Once your temporary cover-up is in place, your next, most important step is to contact a qualified roofing professional. Seriously, do it right away. Even if the immediate threat of a leak is mitigated, a missing shingle often points to larger issues that only an expert can properly diagnose and repair. A professional roofer will be able to:
- Assess the Full Extent of Damage: What you see from the ground or even from a ladder might only be the tip of the iceberg. A professional will inspect your entire roof, looking for other weak spots, hidden damage from the storm (like hail impact or widespread wind damage), and issues with flashing, valleys, or other critical components. They’ll also check your attic for signs of water intrusion or compromised decking. This is particularly important because often, When a Leak Means Deck Damage, the repair becomes more complex.
- Identify the Root Cause: Was it just an old shingle that blew off, or is there a systemic issue with your roof's installation, ventilation, or general health? Understanding the cause is crucial to preventing future problems.
- Ensure Code Compliance: Roofing repairs and replacements need to adhere to local building codes, which can vary significantly from city to city, and even state to state (e.g., Roofing Codes and Regulations in Florida are often different due to hurricane risks). A reputable contractor will ensure all work meets these standards.
- Provide a Permanent Solution: They'll have the right materials, tools, and expertise to perform a lasting repair or recommend a full replacement if necessary. They can match your existing shingles as closely as possible, ensuring a seamless and durable fix.
- Handle Insurance Claims: If the damage was due to a storm, a professional roofer can often help you navigate the insurance claim process, providing detailed estimates and documentation that your insurance company will need. You should always clarify Does Insurance Cover Roof Replacement with your provider.
When you're looking for a roofer, don't just go with the first name you find. Ask for references, check their licensing and insurance, and get multiple quotes. Services like Modernize can be incredibly helpful in finding trusted local professionals who are vetted and experienced. They can connect you with contractors who understand the nuances of asphalt roofing and can offer reliable service.
Preparing for the Permanent Repair or Replacement
While you wait for your roofer, there are a few things you can do to prepare for their visit and make the process smoother.
- Monitor Your Temporary Fix: Keep an eye on your temporary cover-up, especially during rain or high winds. Make sure it stays in place and isn't showing signs of failing. If it starts to come loose, reinforce it if you can do so safely.
- Clear the Area: When the roofer comes, they'll appreciate a clear path to your roof. Move any outdoor furniture, potted plants, grills, or vehicles that are near your house to prevent them from being damaged by falling debris or tools. Cover delicate shrubs or flower beds with tarps if needed.
- Gather Information: Collect any documentation you have about your current roof, such as installation dates, previous repair records, or warranty information. This can be helpful for the contractor and for any potential insurance claims.
- Ask Questions: Once the roofer arrives, don't hesitate to ask them about their assessment, the proposed solutions, and the timeline. This is your home, and you have every right to understand the scope of the work. Ask about the specifics, like How Much Does It Cost to Fix Missing Shingles or if they recommend a full replacement. A good contractor will be happy to answer all your questions thoroughly.
- Understand Your Options: Depending on the damage, you might be facing a simple repair, a partial re-roof, or a full roof replacement. Your contractor will explain the pros and cons of each. For example, replacing a whole roof might seem daunting, but it often increases your home's value and provides better long-term protection. You should always ask about Roofing Warranty: Workmanship vs Manufacturer to ensure your investment is protected.
Remember, the goal is not just to fix the immediate problem but to ensure your roof is robust and ready to protect your home for years to come. Your temporary patch is a critical first step, but the professional follow-up is where the real security lies.
Disclaimer
Please remember that this article provides general information and recommendations. Roofing work can be dangerous, and conditions can vary significantly. Always prioritize safety, and if you are uncomfortable or unsure about any steps, it is highly recommended to consult with or hire a qualified and licensed roofing professional. We are not liable for any injuries or damages sustained while attempting these temporary repairs.