How to Spot Roof Damage After a Hailstorm
A hailstorm can strike with terrifying speed, leaving behind not just a mess in your yard but also a nagging dread about the condition of your roof. That fear is completely valid; hail damage isn't always obvious from the ground, and overlooking it can lead to costly problems down the line, from leaks to premature roof failure. This comprehensive guide is here to walk you through exactly how to spot roof damage after a hailstorm, helping you understand what to look for, when to call in the pros, and what to do next.
Immediate Actions After a Hailstorm Hits Your Home
When the skies clear after a severe hailstorm, your first instinct might be to rush outside and assess the damage. While that's a natural reaction, it's crucial to approach the situation calmly and systematically. Your safety and careful documentation are paramount in these initial hours.
Prioritizing Safety and Initial Assessments
Before anything else, ensure that it's truly safe to venture outside. Look for downed power lines, significant tree limb damage, or any other immediate hazards. Once it’s clear, start your initial, ground-level assessment. Don't be tempted to climb onto your roof yourself – it can be incredibly dangerous, especially if shingles are loose or the surface is wet and slippery. Plus, you might inadvertently cause more damage or injure yourself, which could complicate insurance claims.
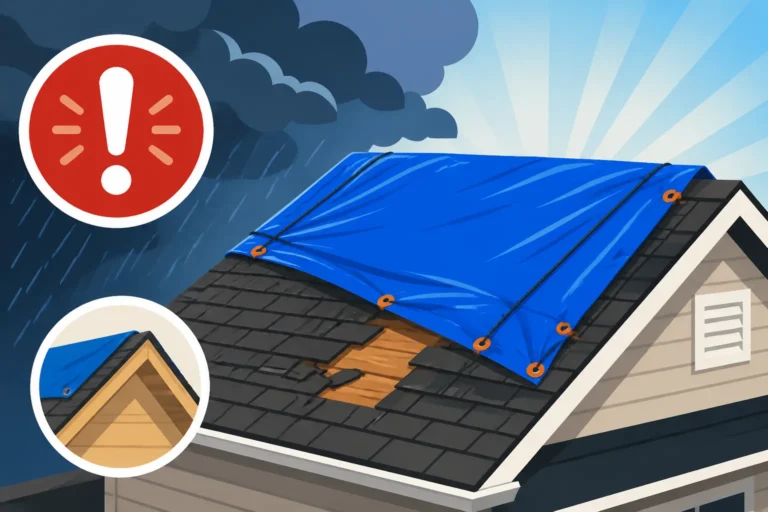
Instead, walk around your property and look for clear, unmistakable signs of impact. Are there broken windows? Dents in your car, garage door, or even your outdoor grill? These are strong indicators that your roof likely took a hit too. Also, step inside your home and check for any signs of water intrusion. Even small leaks, especially around skylights, chimneys, or attic access points, can be immediate red flags that the roof's integrity has been compromised. If you find water, placing buckets can prevent further interior damage, and remember to document everything with photos. For severe issues like large holes or widespread leaks, you might need immediate temporary protection, and you can learn more about services like Emergency Roof Tarping Explained.
Documenting the Scene for Future Claims
Documentation is your best friend after a hailstorm. As soon as it's safe, grab your phone or camera and start taking pictures and videos of everything that looks even remotely damaged on your property. This isn't just about the roof; it's about establishing a pattern of hail impact. Take wide shots of your house, then zoom in on specific areas. Capture damage to:
- Vehicles: Dents on the hood, roof, or trunk.
- Gutters and Downspouts: Look for dents, dings, or cracks in the metal.
- Siding and Trim: Small pockmarks, chipped paint, or cracks.
- Decks and Fences: Scrapes, chips, or splintering.
- Outdoor Furniture and Grills: Dents or broken parts.
- Window Screens: Tears or holes.
- Air Conditioning Units: Dented fins on the condenser coil.
The more evidence you collect, the stronger your case will be with your insurance company. Don't forget to note the exact date and approximate time the hailstorm occurred, along with any relevant details like the size of the hail (e.g., pea-sized, golf-ball sized). This initial round of documentation sets the stage for a smoother insurance claim process, as detailed in our guide on How to Document Roof Damage for Insurance.
Conducting a Thorough Ground-Level Inspection for Hail Damage
While a professional will eventually need to get up on your roof, there's a lot you can glean from a careful ground-level inspection. This initial survey helps you understand the extent of the damage across your property and provides critical clues about what to expect on your roof.
Examining Visible Exterior Components Beyond the Roof
Hail doesn't just hit your roof; it assaults every exposed surface. By examining areas easily visible from the ground, you can build a comprehensive picture of the storm's intensity. Look at your gutters and downspouts closely. Are there small, round indentations or "splatter marks" where the hail struck? Sometimes, the protective coating on metal gutters might be chipped away, revealing the bare metal underneath. Check your siding, whether it's vinyl, aluminum, or wood. Vinyl siding can crack or break, while aluminum can show dents. Even brick can chip. Pay attention to outdoor light fixtures, mailboxes, and even your BBQ grill – any exposed metal or plastic can show impact marks.
Another often-overlooked indicator is your air conditioning unit. The delicate fins on the condenser coil can become bent or flattened by hail, impairing its efficiency. Window screens can be torn or punctured. Even your garden could offer clues: large hail can shred leaves or damage delicate plants. The key is to look for consistent patterns of damage, not just isolated incidents, as this indicates widespread impact. For a broader perspective on assessing different types of damage, check out Roof Damage Assessment: A Homeowner's Guide.
What Hail Damage Looks Like on Asphalt Shingles From Below
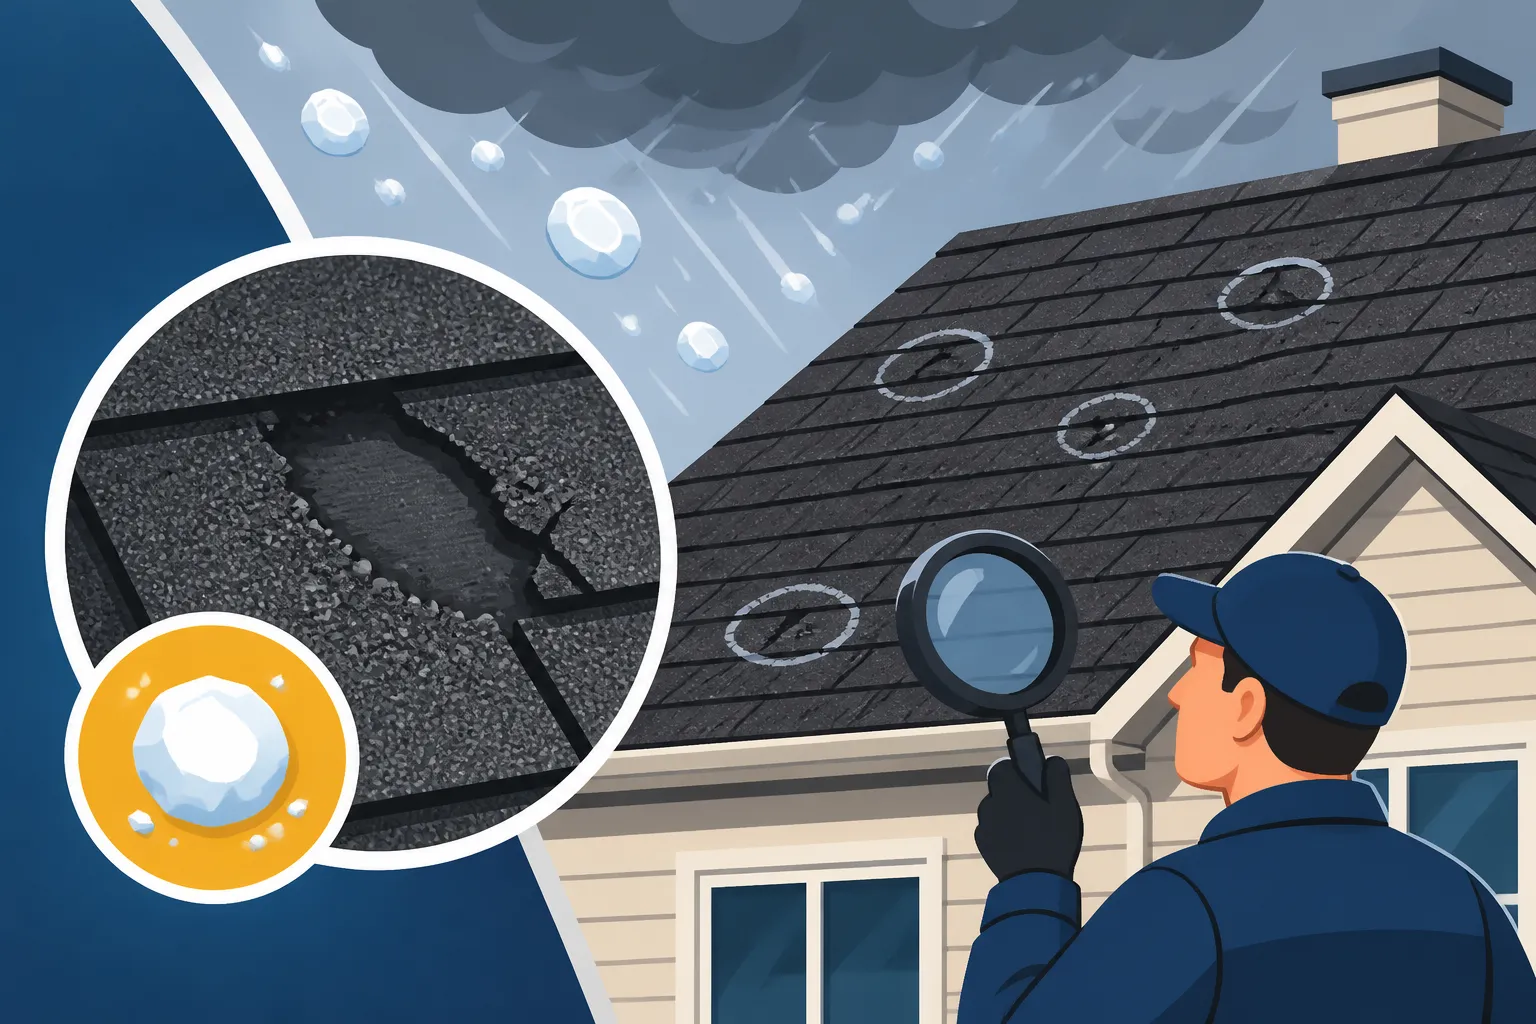
Even from the ground, you might be able to spot some tell-tale signs of hail damage on your asphalt shingles, though often subtle. The most common indicator is granule loss. Asphalt shingles are coated with ceramic granules that protect the asphalt layer from UV rays and provide color. When hail strikes, it dislodges these granules. After a storm, you might see accumulations of granules in your gutters, at the base of your downspouts, or even on your patio or driveway directly beneath the roof eaves. These aren't just a cosmetic issue; granule loss exposes the asphalt to the sun, accelerating its deterioration and shortening your roof's lifespan.
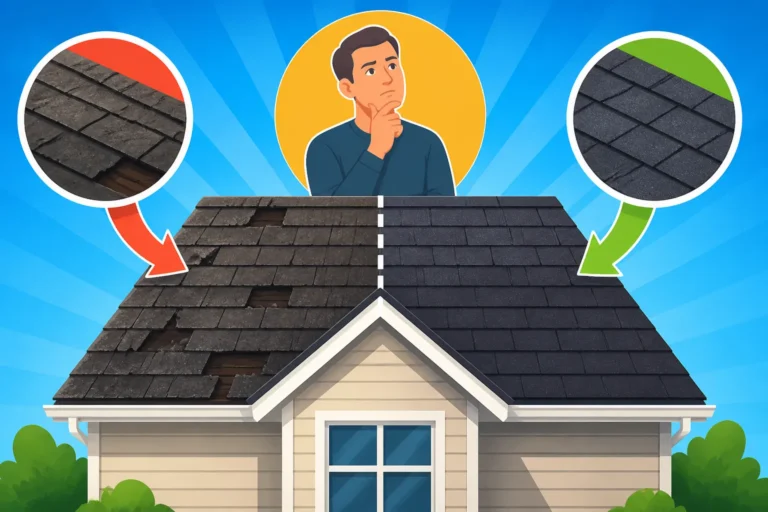
Another sign, though harder to spot, is shingle bruising. Hail impacts can crush the fiberglass mat within the shingle, creating soft spots or depressions. From the ground, these might look like dark, irregular spots. Sometimes, the impact might be severe enough to cause small cracks or tears in the shingle itself, particularly if the shingle was already older and less flexible. If you notice a shingle that looks unusually discolored, a bit softer, or even slightly torn, it could be a hail impact. Keep an eye out for any shingles that appear dislodged or even completely missing, as these are obvious signs of severe wind and hail damage. Understanding these indicators is crucial for identifying Signs of Roof Hail Damage.
Identifying Subtle and Hidden Hail Damage
While obvious signs are helpful, hail damage is often sneaky. It's the subtle, hidden impacts that can cause the most long-term problems, often going unnoticed until a leak suddenly appears months or even years later.
The Elusive Nature of Hail Impacts on Your Roof
One of the biggest frustrations for homeowners after a hailstorm is the difficulty in definitively seeing the damage. Unlike a gaping hole, hail damage to asphalt shingles often manifests as "bruising" or granule displacement, which can be incredibly hard to spot from the ground. The angle of the sun, shadows cast by trees or chimneys, and even the color of your shingles can make these impacts virtually invisible to the untrained eye. Newer shingles tend to be more resilient and flexible, so hail might leave only minor dimples. Older shingles, already brittle from years of sun exposure, are more prone to cracking or more significant granule loss.
The key to identifying hail damage lies in looking for consistent patterns of impacts, not just random scuffs or wear. Hail falls uniformly, so if you find damage in one spot, you're likely to find it elsewhere on the same roof slope. It's not uncommon for different slopes of a roof to experience varying degrees of damage, depending on the direction of the storm and the wind's influence. This subtle nature is precisely why a professional assessment is so vital; they know how to spot these often-missed indicators that can lead to severe issues over time.
The Critical Role of Professional Roofers in Damage Assessment
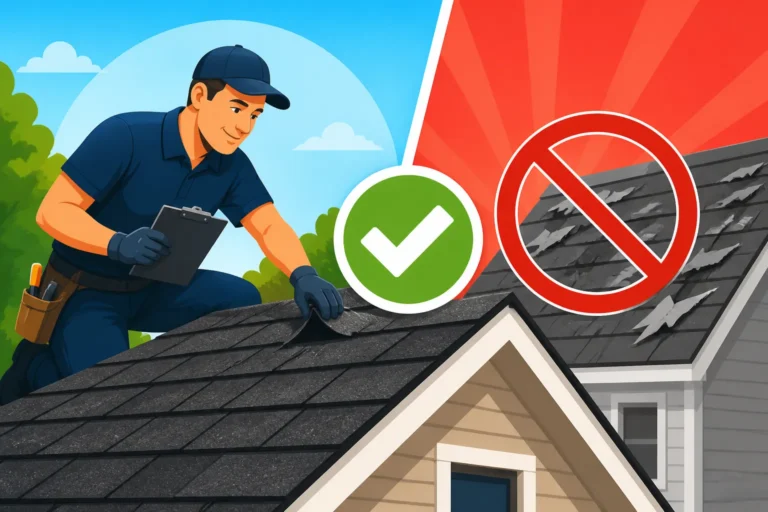
This is where a qualified roofing professional becomes indispensable. While your ground-level inspection is a great start, homeowners should never attempt to climb on their roof to check for damage. It’s too dangerous, and you could easily cause further damage. A professional roofer has the safety equipment, training, and experience to safely inspect your entire roof, including less visible areas like valleys, hips, and around flashing. They're trained to differentiate between actual hail impact and other types of wear and tear, like blistering from heat, manufacturing defects, or scuff marks from tree branches.
A thorough professional inspection will involve walking the entire roof surface, carefully examining each shingle for bruises, cracks, and granule loss. They'll also check all metal components, such as vents, exhaust caps, and flashing around chimneys and skylights, which are highly susceptible to denting from hail. These dents, even if small, can compromise the integrity of these components, leading to leaks. When choosing a roofer for this crucial task, it's wise to look for certified professionals with a strong local reputation. Services like Modernize can help you connect with qualified, pre-vetted roofing contractors in your area who specialize in storm damage assessment and repair. For guidance on selecting the right expert, read our comprehensive guide on How to Choose a Roofing Contractor.
Navigating the Aftermath: Insurance Claims and Repair Decisions
Once you've confirmed hail damage, the next steps involve dealing with your insurance company and making informed decisions about repairs or replacement. This process can feel daunting, but being prepared will help immensely.
Understanding Your Homeowner's Insurance Policy
Before you even call your insurance company, take some time to review your homeowner's insurance policy. Specifically, look for sections related to "wind and hail damage" or "perils covered." Pay close attention to your deductible – this is the amount you'll be responsible for paying out-of-pocket before your insurance coverage kicks in. You'll also want to understand whether your policy covers roof damage on an "Actual Cash Value" (ACV) basis or a "Replacement Cost Value" (RCV) basis.
- Actual Cash Value (ACV): This means your insurance company will pay for the depreciated value of your roof. For example, if your 15-year-old roof had an expected lifespan of 20 years, they might only pay for 25% of the replacement cost, leaving you with a much larger out-of-pocket expense.
- Replacement Cost Value (RCV): This is generally more favorable, as it covers the full cost to replace your roof with new materials of similar quality, without deduction for depreciation. Most RCV policies pay out in two stages: an initial payment (ACV) and a second payment (recoverable depreciation) once the work is completed and proof of payment is submitted.
Be aware of any specific endorsements or limitations related to your roof's age or material type. Some policies, especially for older homes, might have specific clauses about roof coverage. Knowing these details upfront will help you have a more productive conversation with your insurance adjuster. You can also explore our article on Does Insurance Cover Roof Replacement for more details.
Working with Your Insurance Adjuster and Roofing Contractor
After reviewing your policy, contact your insurance company to file a claim. They will typically send an insurance adjuster to inspect your roof. It's highly recommended that your chosen roofing contractor is present during this adjuster's visit. A knowledgeable roofer can point out damage that might be missed, ensure all affected components are included in the assessment, and speak the "language" of roofing with the adjuster. This collaborative approach can significantly impact the outcome of your claim.
Once the damage is assessed, you'll receive a claim estimate from your insurance company. This is where getting multiple detailed quotes from reputable contractors is crucial. Don't automatically go with the lowest bid. Ensure all quotes are comprehensive, detailing materials, labor, and all necessary components like underlayment, flashing, and vents. If the contractor's estimate is higher than the insurance payout, a good contractor can work with your insurance company to submit a "supplemental claim" to cover the additional, necessary costs. This often happens if the adjuster initially missed damage or if building codes require upgrades not accounted for in the original estimate. Many homeowners find it helpful to compare services and costs through platforms like Modernize, especially when juggling multiple quotes. For guidance on this critical stage, our article Roofing Insurance Claim Process Step by Step offers an in-depth look.
The Repair Process and Preventing Future Damage
Depending on the extent of the damage, you might face a decision: repair or full replacement. If the damage is isolated and minor, a repair might suffice. However, if there's widespread granule loss, bruising, or multiple cracked shingles across different slopes, a full roof replacement is often the more economical and long-lasting solution. Remember, even seemingly minor damage compromises the roof's protective layer, accelerating its aging process. Our guide on Storm Damage: Repair or Replace can help you weigh these options.
If a full replacement is deemed necessary, your contractor will begin the process. This typically involves tearing off the old roof, inspecting and potentially repairing the roof decking, installing new underlayment, and finally, installing new shingles along with all necessary flashing and ventilation components. For a better understanding of the overall costs, you might want to look at How Much Does an Asphalt Shingle Roof Cost. As part of this process, consider upgrading to impact-resistant shingles, often rated Class 4 for hail resistance. These shingles are designed to withstand significant impacts and can even lead to insurance premium discounts in some hail-prone areas. You can explore the benefits and costs in articles like Impact-Resistant Shingle Cost. Investing in a stronger roof now can provide peace of mind and potentially save you from another stressful storm claim in the future.
Common Hail Damage Indicators to Watch For
Here's a quick reference table to help you identify common hail damage:
| Item | What to Look For | Why It Matters |
|---|---|---|
| Asphalt Shingles | Granule loss (balding spots), bruising (soft spots/dimples), cracks, displaced or missing shingles | Exposes asphalt to UV, compromises waterproofing, leads to leaks and premature aging |
| Gutters & Downspouts | Dents, dings, chips in paint/coating | Can affect water flow, cosmetic damage |
| Vents, Skylights, Flashing | Dents, cracks, compromised seals | Direct path for water intrusion, critical for roof system integrity |
| Siding & Trim | Cracks (vinyl), dents (aluminum), chips (paint/wood) | Cosmetic, but indicates widespread hail impact strength |
| Outdoor Surfaces | Dents on AC units, mailboxes, light fixtures, cars, outdoor furniture, shredded plant leaves | Provides corroborating evidence of hail size and intensity across your property |
Disclaimer
Please remember that this article is intended for informational purposes only and should not be taken as professional advice. Always consult with a qualified, licensed roofing contractor for a thorough inspection and assessment of your roof's condition, especially after a severe weather event. Additionally, review your specific homeowner's insurance policy or consult with your insurance provider for details regarding your coverage.