What Happens During a Roof Tear-Off
Deciding to replace your roof is a big step, and the thought of tearing off all those old shingles can feel a bit daunting. You might be picturing a chaotic construction zone, wondering what exactly happens up there and how messy it will get. This comprehensive guide is designed to demystify the entire roof tear-off process, walking you through every stage so you know precisely what to expect when it's time for your home's asphalt roofing overhaul.
Why a Full Roof Tear-Off Is Usually the Best Option
When your old asphalt roof has reached the end of its life, or has sustained significant damage, a full tear-off isn't just an option; it's often a crucial step for long-term home health. While some homeowners consider installing new shingles over existing ones – an "overlay" – there are compelling reasons why a complete tear-off is the superior choice for most asphalt roofing projects. It might seem like more work upfront, but the benefits far outweigh the temporary inconvenience.
Uncovering Hidden Problems and Ensuring a Solid Foundation
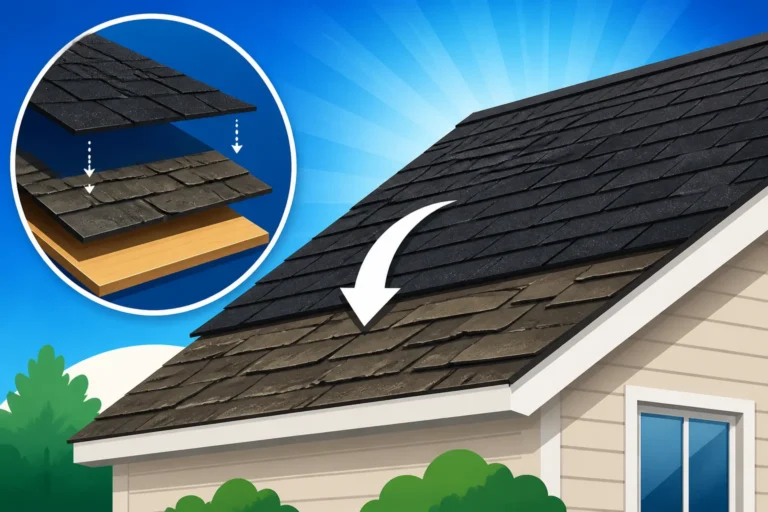
One of the biggest advantages of a full tear-off is the opportunity it provides to inspect the roof deck thoroughly. Think of your roof deck as the foundation for your shingles; if it's compromised, even the best new shingles won't perform optimally or last as long as they should. Old roofs often hide a multitude of sins: rot, soft spots from old leaks, warped sections, or even improperly spaced decking. A tear-off removes all layers, exposing the bare decking so any structural issues can be identified and addressed before the new roof goes on. Without this critical step, you'd simply be covering up problems that could lead to premature failure of your brand-new roof, costing you more in repairs down the line. It's like painting over a crumbling wall instead of repairing the underlying structure – it looks good for a while, but the problem persists.
Avoiding Weight Overload and Warranty Issues
Most local building codes only permit one or, at most, two layers of asphalt shingles on a roof. Adding a third layer can put excessive stress on your home's framing and foundation. Asphalt shingles are surprisingly heavy, and accumulating multiple layers significantly increases that dead load. This added weight can lead to sagging rooflines, structural damage, and can even void your homeowner's insurance policy in some cases, as the roof may no longer meet code requirements for structural integrity. Furthermore, many shingle manufacturers require a full tear-off to activate their extended warranty programs. They want their products installed on a clean, properly prepared deck, free from the inconsistencies and movement that can occur with multiple layers underneath. Skipping the tear-off can mean losing out on valuable long-term protection for your investment. It's worth reading up on your local codes, perhaps by searching for specific details like How Many Layers of Shingles Are Legal in your area.
Maximizing the Performance and Lifespan of Your New Roof
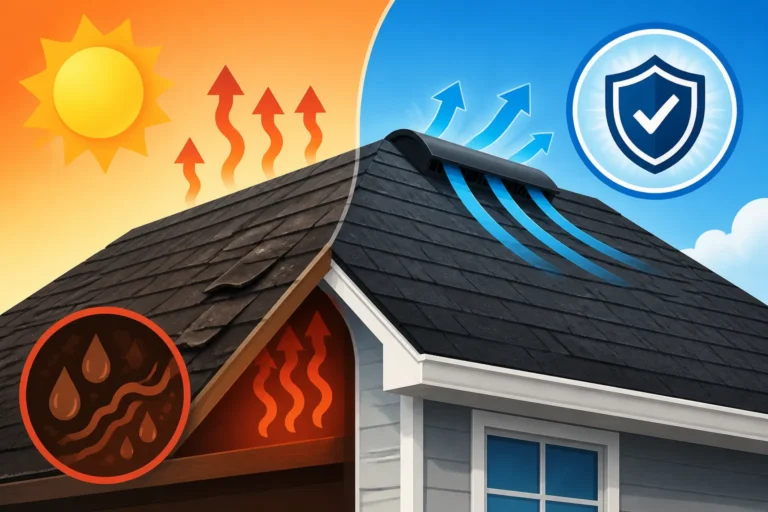
A clean slate allows for optimal installation, which directly translates to better performance and a longer lifespan for your new roof. When roofers install shingles directly onto the existing ones, they can't properly nail the new shingles into solid decking. Nails might go into the spaces between old shingles, creating "nail pops" or weak points that can lead to leaks and shingle blow-offs. A tear-off ensures that every new shingle is nailed directly into the structural decking, providing maximum wind resistance and adhesion. It also ensures that all new components of a complete roofing system – from the Synthetic vs Felt Underlayment Cost to the flashing and ventilation – are integrated correctly and seamlessly, creating a truly watertight and durable barrier against the elements. This meticulous approach ensures that your new roof will live up to its full potential, providing decades of protection and curb appeal.
Getting Ready: Pre-Tear-Off Preparations You Need to Make
The day your roofing crew arrives for the tear-off can be a whirlwind, but a little preparation on your part can go a long way in making the process smoother, safer, and less stressful for everyone involved. This isn't just about clearing a path; it's about safeguarding your property and making life easier for the hardworking folks on your roof.
Clearing the Perimeter and Protecting Your Landscaping
Roof tear-offs are inherently messy. Debris, dust, and old shingle granules will inevitably come down from the roof. Before the crew even thinks about stepping foot on your roof, you should take proactive steps to protect your property. Move anything valuable or fragile away from the house's perimeter. This includes outdoor furniture, planters, grills, toys, and even decorative items. If you have delicate plants or shrubs close to the foundation, consider covering them with tarps. While reputable roofers like those you might find through a platform like Modernize will lay down their own tarps to catch debris, having an extra layer of protection for your prize-winning roses or custom outdoor lighting can prevent accidental damage. It also makes cleanup significantly easier for the crew, allowing them to focus on the roofing rather than being overly cautious around your personal items.
Securing the Interior and Safeguarding Valuables
The exterior isn't the only concern; the interior of your home can also be affected by the tear-off process. The constant pounding and vibration from removing old shingles can shake loose dust, pictures, and even plaster or drywall particles. It's a good idea to remove any pictures, mirrors, or wall hangings from walls, especially those directly below the roofline, to prevent them from falling. If you have an attic, cover any items stored there with tarps to protect them from falling debris or dust. You might also want to temporarily relocate particularly sensitive or valuable items from upper floors. The noise can also be significant, so if you work from home or have small children or pets sensitive to loud noises, consider making alternative arrangements for the day or two of the tear-off. It’s also wise to check your light fixtures, especially recessed ones, as sometimes the vibration can cause dust or even minor drywall bits to fall through.
Informing Neighbors and Managing Logistics
A roof replacement project can impact your neighbors, too. The noise of a tear-off is considerable, with hammers banging, shingles scraping, and debris chutes rumbling. A polite heads-up to your immediate neighbors about the upcoming work can foster good relations and manage expectations. Let them know the approximate dates and times of the loudest activity. Also, consider parking. Roofing crews often bring large trucks and dumpsters, which will need access to your driveway or street. Make sure there's enough space for them and that your vehicles aren't in the way. If you have pets, make sure they are safely secured indoors or at a friend's house during the noisy periods, as the commotion can be quite distressing for them. Discussing these logistical details with your contractor beforehand, perhaps reviewing "What to Expect on Roof Installation Day," can prevent headaches on installation day.
The Main Event: Step-by-Step of the Tear-Off
The tear-off is where the old roof truly comes off, exposing the underlying structure and preparing it for its brand-new protective layer. This isn't a random demolition; it's a systematic process that skilled roofers follow to ensure efficiency, safety, and a clean workspace for the subsequent installation.
Setting Up Safety Measures and Debris Management
Before any shingles are removed, the first priority for any professional roofing crew is safety. They'll install safety equipment, which typically includes fall protection systems like safety harnesses and ropes for workers, and often perimeter warning lines or netting around the eaves to catch stray debris and alert people below. Ground crew members will be assigned to manage the tear-off and ensure the property is safe. Crucially, they’ll strategically place tarps around the entire base of your home and often extend them over driveways, flowerbeds, and other vulnerable areas. A large dumpster or dump trailer will be positioned as close to the house as possible, typically in the driveway, to efficiently collect all the old roofing materials. Sometimes, especially on multi-story homes, a debris chute will be set up to guide the old shingles directly into the dumpster, minimizing mess and increasing safety on the ground. This initial setup is vital for protecting both the workers and your property.
Removing Shingles, Underlayment, and Flashing
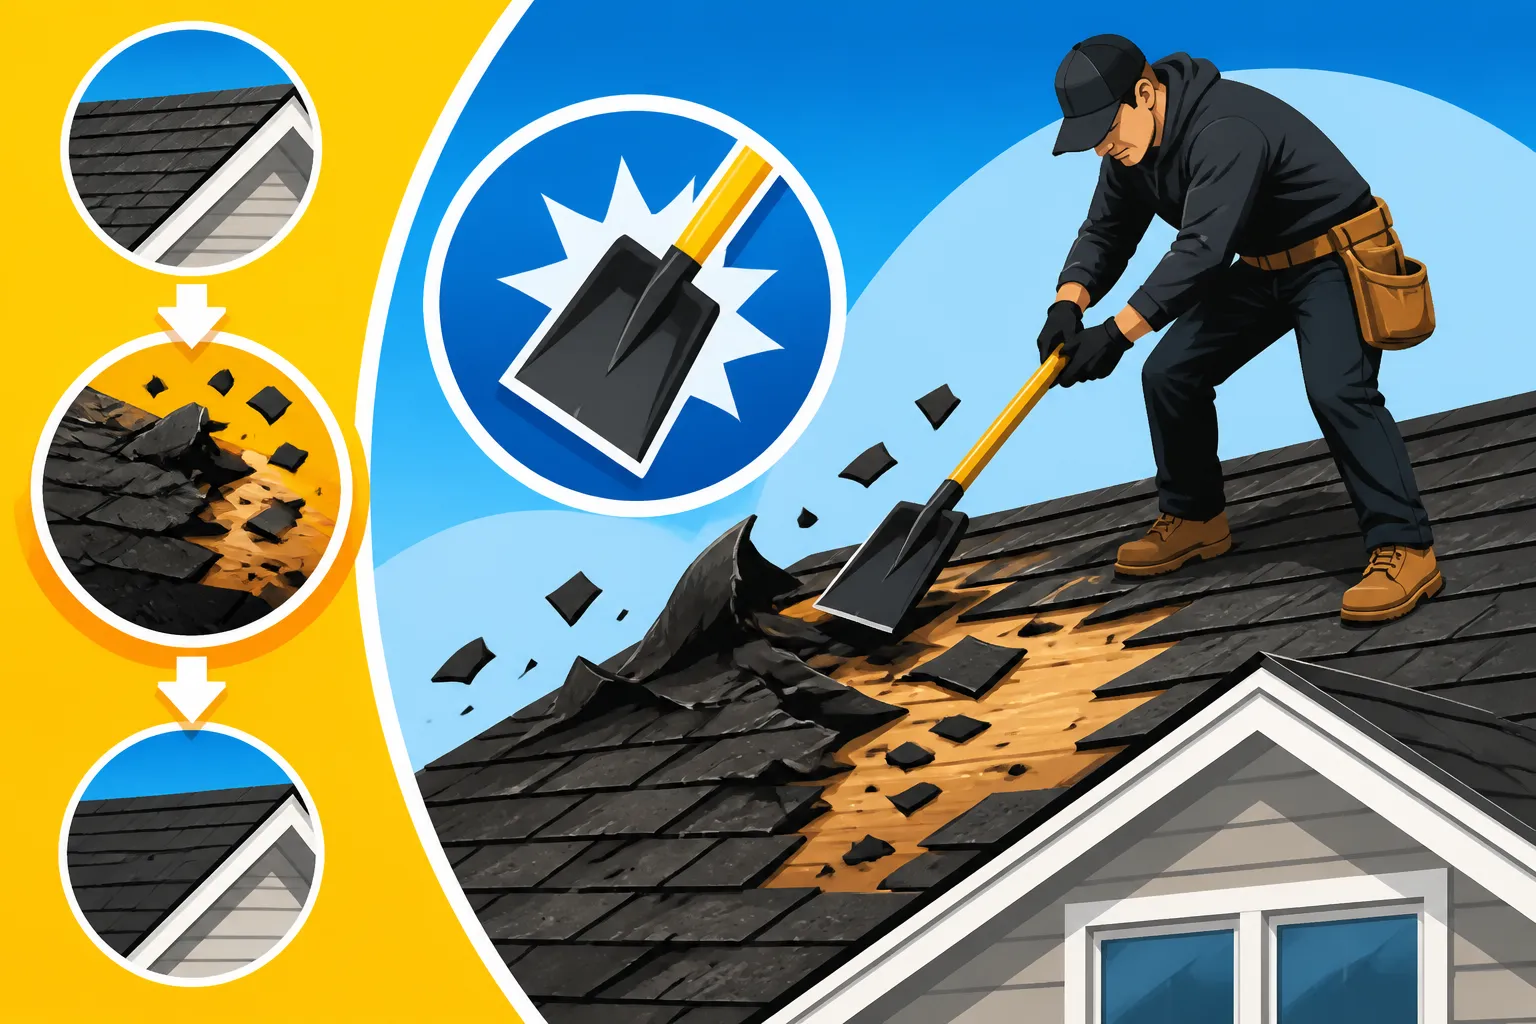
Once the safety and debris management systems are in place, the actual tear-off begins. Roofers typically start at the ridge of the roof and work their way down, or they might tackle one section or slope at a time. Using specialized tools like roof shovels or pry bars, they systematically lift and remove the old shingles. This process is often loud and produces a significant amount of dust and debris, especially if the old shingles are brittle or have been on the roof for many years. As the shingles come off, the underlying roofing felt or synthetic underlayment is also removed. This is a crucial step because the old underlayment might be torn, water-damaged, or simply not up to modern building code standards. All old flashing around chimneys, skylights, vent pipes, and wall intersections is also removed. This ensures that the new flashing, which is essential for preventing leaks, will be installed correctly and provide a continuous, watertight seal. The goal is a completely bare roof deck, ready for inspection and new materials. If you’re curious about how these individual components are installed, you might be interested in reading about What Is Flashing and Why It Matters.
Cleaning the Roof Deck and Preparing for New Installation
After all the old shingles, underlayment, and flashing are removed, the crew performs a thorough cleaning of the roof deck. This involves sweeping or using blowers to remove any remaining nails, shingle fragments, dust, and other small debris. It's not just about aesthetics; a clean deck ensures that the new underlayment lies flat and bonds properly, and that there are no obstacles to impede the nailing of the new shingles. During this cleaning phase, the roofers also inspect the deck for any protruding nails or fasteners that need to be pounded flat. This meticulous prep work ensures a smooth, even surface for the new roofing materials. This entire process, from start to finish, is a major part of How a Roof Replacement Works: The Full Process and sets the stage for a durable, long-lasting roof.
Handling Debris and Protecting Your Property
One of the less glamorous but equally important aspects of a roof tear-off is the meticulous management of debris and the ongoing protection of your property. A good roofing contractor understands that the job isn't truly done until your property looks as clean, or even cleaner, than it did before they started.
Efficient Debris Removal and Disposal
As the old shingles and roofing components are torn off, they're immediately funneled into the strategically placed dumpster or trailer. This continuous cleanup approach helps prevent large piles of debris from accumulating on your lawn, reducing the risk of damage to your landscaping and making the site safer for everyone. Professional roofing crews are incredibly efficient at this. They often have designated ground crew members whose primary job is to gather fallen debris, sweep areas, and ensure a smooth flow of materials into the disposal container. This efficiency is a key factor in keeping the overall project timeline on track, and it’s why understanding the Cost of Roof Tear-Off and Disposal is important when looking at your total project budget. The goal is to keep the work area as contained and tidy as possible, minimizing the spread of dust and shingle granules.
Comprehensive Property Protection Throughout the Process
Beyond the initial tarps, a diligent roofing crew will maintain property protection throughout the tear-off. This includes adjusting tarps as needed, especially if wind shifts them, and being mindful of falling debris. They'll pay close attention to sensitive areas like air conditioning units, windows, and outdoor lighting fixtures, often covering them specifically to prevent damage from falling tools or materials. Sometimes, if the tear-off extends into the evening, they might even secure tarps over exposed sections of the roof deck to protect it from unexpected rain or dew overnight, ensuring the new installation can proceed without delay the next morning. It's this continuous vigilance that distinguishes a truly professional operation. Many homeowners use services like Modernize to find contractors who are known for their professionalism and attention to detail in protecting a homeowner's property.
Final Sweep and Magnet Rollers
Once the entire tear-off is complete and the new roof installation is well underway or finished, the ultimate cleanup begins. This isn't just a quick sweep. The crew will meticulously go over your entire property, often using powerful magnetic rollers to pick up any stray nails or metal fragments that might have fallen into your grass, flowerbeds, or driveway. Missing even a single nail can lead to a flat tire or an injury later on, so this step is taken very seriously. They'll also carefully pick up all tarps, gather any remaining debris, and ensure that your yard, driveway, and surrounding areas are left spotless. This final, thorough cleanup is the last impression a roofing company leaves, and it’s a mark of their commitment to customer satisfaction.
Inspecting the Roof Deck: The Crucial Foundation Check
After the old roof is completely stripped away, revealing the bare roof deck, a critical phase begins: the comprehensive inspection. This step is absolutely non-negotiable for a quality roof replacement. It's where your roofing contractor earns their stripes, identifying and addressing any issues with the underlying structure before laying down the new materials.
Identifying Damaged or Rotted Decking
With the old shingles and underlayment gone, the roof deck—typically made of plywood or OSB—is fully exposed. The roofing crew will carefully walk and visually inspect every square foot of the decking. They're looking for signs of water damage, such as dark stains, discoloration, or soft, spongy spots. These are tell-tale indicators of previous leaks that may have compromised the integrity of the wood. Rotted decking isn't just weak; it won't hold nails properly, which is essential for securing your new shingles against wind uplift. If they find areas that are compromised, these sections will be marked for replacement. It's a bit like getting a cavity filled before you put a crown on a tooth; you want a sound foundation. Sometimes, the damage is localized to a few sheets, but in cases of severe, widespread leaks, a significant portion of the roof decking might need to be replaced. This is often where unexpected costs can arise, which is why a thorough inspection and clear communication about potential Roof Decking Replacement Cost are so vital.
Addressing Structural Issues and Proper Nailing Surface
Beyond rot, the inspection also looks for structural issues. Are there gaps between decking sheets? Are any sheets warped or bowing? Is the decking properly fastened to the rafters? Any of these issues can affect the long-term performance and appearance of your new roof. A professional roofer will ensure that the decking is flat, secure, and provides a uniform, solid surface for the new underlayment and shingles. They'll also check for any protruding nails from previous installations and either remove them or pound them flush to prevent them from damaging the new underlayment or creating an uneven surface for the shingles. This attention to detail ensures that the new shingles will lay flat, seal correctly, and remain securely attached for their intended lifespan. Skipping this inspection and laying new shingles over a problematic deck is a recipe for premature roof failure and costly repairs down the road.
Repairing and Replacing Damaged Sections
Once all problem areas are identified, the team gets to work on repairs. Rotted or damaged sections of the roof deck are carefully cut out and replaced with new, properly sized plywood or OSB. The new decking is then securely fastened to the rafters or trusses, ensuring it's flush with the surrounding panels. This process requires precision and adherence to local building codes to maintain the structural integrity of the roof. For instance, in many areas, specific nailing patterns and fastener types are required for roof decking. This phase might take a few hours or even a full day, depending on the extent of the repairs needed. It’s an essential investment, as a solid deck is paramount to the entire new roof system's performance and warranty. A contractor who performs a thorough deck inspection and makes necessary repairs demonstrates a commitment to quality that will ultimately protect your home for decades.
Potential Challenges and Surprises During a Tear-Off
While a roof tear-off is a standard procedure, it's not always entirely predictable. Homeowners often face unexpected challenges that can impact the timeline and budget. Being aware of these potential surprises can help you prepare mentally and financially for your asphalt roofing project.
Discovering Multiple Layers or Unexpected Materials
One of the most common surprises during a tear-off is discovering more than one layer of existing shingles. While many areas have building codes limiting the number of shingle layers, older homes might have had multiple overlays before such codes were strictly enforced, or before the current homeowner purchased the property. Uncovering a second or even third layer means more material to tear off, more weight to dispose of, and consequently, increased labor and disposal costs. The contractor will usually account for a single layer in their initial bid, but will have a clear clause for additional layers. Another surprise can be encountering unexpected roofing materials underneath the asphalt shingles, such as cedar shakes or old tar and gravel roofs that were simply decked over. These require different removal techniques and disposal, potentially adding to the complexity and cost. It's always best for your roofer to account for these possibilities in their initial How to Read and Compare Roofing Estimates.
Unforeseen Decking Damage or Structural Issues
We've already touched on damaged decking, but it bears repeating that the extent of such issues is often impossible to fully assess until the old roof is completely removed. What looked like a minor soft spot from the attic or a small area of discoloration on the exterior might reveal widespread rot once the shingles are off. This could be due to long-undiagnosed leaks, poor ventilation, or even insect damage. Replacing significant sections of decking, or discovering issues with the underlying rafters or trusses, will definitely add to your project's duration and expense. While no one wants these surprises, it's far better to address them during the tear-off than to cover them up, only to face structural problems or leaks with your brand-new roof a few years down the line. A reputable contractor will communicate these findings immediately, providing clear explanations and options for repair.
Weather Delays and Scheduling Disruptions
Roofing is an outdoor job, and as much as we plan, Mother Nature often has the final say. Unforeseen weather events—sudden thunderstorms, unexpected heavy winds, or even unseasonably cold or hot temperatures—can bring a tear-off to a screeching halt. If rain starts during a tear-off, crews must quickly work to tarp off any exposed sections of the roof deck to prevent water intrusion into your home. This can cause delays, push back the installation schedule, and in some cases, might even require a small amount of water mitigation if rain penetrates before tarps are fully secured. While good contractors plan for weather contingencies, persistent bad weather can significantly extend the project timeline. This is why many people prefer to schedule roof replacements during more predictable seasons, though sometimes storm damage necessitates immediate action regardless of the forecast. It’s a good idea to discuss What Happens If It Rains During Roofing with your contractor upfront.
The Post-Tear-Off Cleanup and Transition to Installation
Once the old roof is off, the deck is inspected and repaired, and the perimeter is cleaned, the project shifts gears from demolition to construction. This transition is crucial, laying the foundation (literally!) for your new, durable asphalt roof system.
Laying the Foundation: Underlayment and Drip Edge
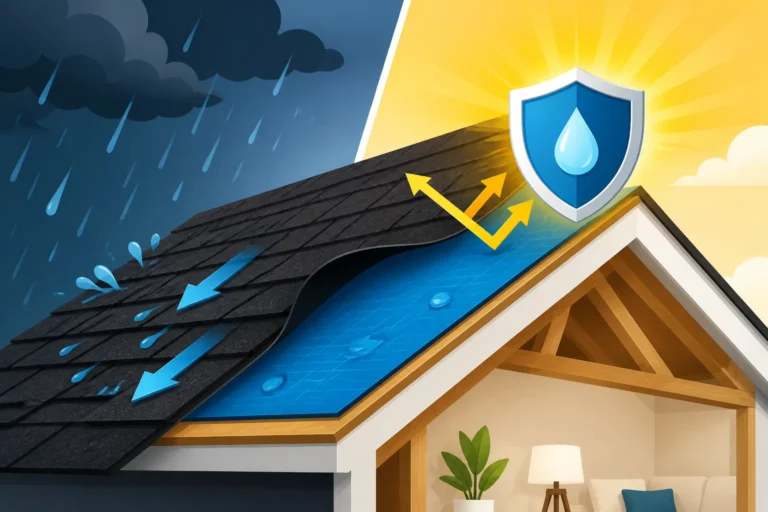
With the bare roof deck exposed and ready, the first new components to be installed are the underlayment and drip edge. The underlayment, typically a synthetic material or felt paper, acts as an additional layer of protection against water intrusion, particularly if wind-driven rain gets beneath your shingles. It’s rolled out smoothly across the entire roof deck, overlapping at seams and securely fastened according to manufacturer specifications and local building codes. In colder climates or areas prone to ice dams, an "ice and water shield" is often applied along the eaves, in valleys, and around penetrations for extra protection. Simultaneously, or just prior, the drip edge is installed along the perimeter of the roof. This metal flashing protects the edges of the roof deck and helps direct water into your gutters, preventing it from running down fascia boards. These components are vital for ensuring a watertight seal for your entire roofing system and preparing the surface for the shingles to come. You can learn more about specific components like How Underlayment Is Installed to understand their importance.
Installing Starter Shingles and Preparing for Main Shingles
After the underlayment and drip edge are in place, the next step is to install starter shingles. These are a special type of shingle or roll product that goes along the eaves and rake edges of the roof. Their primary purpose is to provide a sealed, straight edge for the first course of main shingles to sit upon, preventing water from wicking up underneath the bottom edge of the roof and offering enhanced wind resistance. Proper installation of starter shingles is critical for both the aesthetics and performance of the finished roof. Once the starter shingles are down, the crew meticulously chalk lines across the roof deck, acting as guides to ensure that each subsequent course of main shingles is installed perfectly straight and with the correct exposure. This careful preparation is what ensures a uniform, professional appearance for your new asphalt roof.
Maintaining a Clean Job Site Throughout Installation
Even as the new shingles go on, a good roofing contractor will continue to prioritize site cleanliness. While the bulk of the messy tear-off is over, there will still be shingle wrappers, scraps, and stray nails that accumulate during the installation. Ground crews will regularly patrol the perimeter, picking up trash and scanning for debris. The dumpster remains on-site until the entire project is completed and cleaned up. This continuous attention to cleanliness isn't just about aesthetics; it’s about maintaining a safe work environment for the crew and preventing any new materials from being damaged by old debris. It's a hallmark of a professional operation that respects your property from start to finish.
Tear-Off Versus Overlay: Why the Choice Matters
When facing a roof replacement, homeowners often wonder if they can save money and hassle by simply putting new shingles over their old ones—a process known as an "overlay" or "re-roof." While it sounds appealing, understanding the fundamental differences between an overlay and a full tear-off is crucial for making an informed decision about your home's long-term health and your investment.
Understanding the Overlay Process and Its Limitations
An overlay involves installing new asphalt shingles directly on top of your existing layer of shingles. The process is typically quicker and less labor-intensive since there's no need for a tear-off, debris disposal, or deck inspection/repair. This often translates to a lower upfront cost. However, an overlay comes with significant limitations. First, as discussed earlier, adding a new layer increases the total weight on your roof structure, which can lead to sagging over time and may exceed local building code limits. Second, if there are any issues with the existing roof deck (rot, soft spots, improper fastening), an overlay simply covers them up, allowing them to worsen unnoticed beneath your new shingles. Third, the new shingles might not lay as flat or seal as effectively over an uneven existing roof, potentially compromising their wind resistance and overall lifespan. Finally, many manufacturer warranties are voided if shingles are installed over an existing layer, leaving you without crucial protection for your investment. This is why articles like Overlay vs Tear-Off: Which to Choose often strongly advise against overlays in most situations.
Why a Full Tear-Off Is Almost Always Superior
A full tear-off, while initially more involved and expensive, offers undeniable advantages that contribute to a much longer-lasting and higher-performing roof system. By removing all old layers, your contractor gets a pristine view of your roof deck, allowing for thorough inspection and repair of any underlying issues, such as those that might necessitate Roof Decking Replacement Cost. This ensures a solid, even foundation for your new roof, maximizing the effectiveness of every component, from underlayment to the top layer of shingles.
With a tear-off, new shingles are nailed directly into solid wood, providing superior adhesion and wind resistance, often a key requirement for comprehensive manufacturer warranties. You also get a completely fresh start, allowing for the installation of a modern, integrated roofing system that meets or exceeds current building codes. This means better ventilation, proper flashing, and a clean slate for the full life expectancy of your new asphalt shingles. While the immediate cost might be higher, the enhanced durability, longer lifespan, stronger warranty, and peace of mind a tear-off provides offer superior value in the long run. When homeowners consider the full How Much Does an Asphalt Shingle Roof Cost over the lifetime of the roof, the tear-off investment typically pays off.
Cost and Value Considerations for Both Options
When you're comparing a tear-off to an overlay, the cost difference is usually a significant factor. An overlay might save you 20-30% on upfront labor and disposal costs. However, that saving often comes at the expense of longevity and reliability. A roof installed over an existing layer might only last 60-70% of its intended lifespan because of the underlying issues it can't address. This means you could be facing another roof replacement much sooner than anticipated, effectively doubling your long-term cost.
Moreover, if you ever plan to sell your home, a professional home inspector will almost certainly note an overlay, and it could become a point of negotiation or concern for potential buyers. Most buyers prefer a roof that has been installed on a clean deck, knowing it's a truly new system. So, while the immediate financial appeal of an overlay is strong, the long-term value, peace of mind, and structural integrity provided by a full tear-off make it the unequivocally better investment for almost every homeowner.
The Role of Permits and Inspections in a Tear-Off
When you're embarking on a roof tear-off and replacement project, it's easy to get caught up in the physical work and material choices. However, overlooking the administrative side—specifically permits and inspections—can lead to significant headaches, delays, and even fines down the line. These aren't just bureaucratic hurdles; they're critical steps designed to protect you, your home, and ensure the work meets safety and quality standards.
Understanding Local Permit Requirements
For nearly every roof tear-off and replacement, a building permit is required by your local municipality. This isn't something to take lightly. The permit process ensures that the planned work complies with local building codes, which are in place to guarantee structural integrity, safety, and energy efficiency. These codes can dictate everything from the type of underlayment required in certain climate zones to the nailing pattern for your shingles, especially in high-wind areas. Your roofing contractor is usually responsible for obtaining the necessary permits. They should know the specific requirements in your city or county, whether you're in a hurricane-prone zone in Florida or a hail-prone region in Colorado. Never let a contractor persuade you to skip the permit, as you, the homeowner, would ultimately be liable for any issues or penalties. A contractor who handles permits professionally demonstrates their commitment to legitimate and code-compliant work. You might find it helpful to look into Do You Need a Permit to Replace a Roof in your specific area.
Navigating the Inspection Process
Once the tear-off is complete and specific stages of the new roof installation are underway, your local building department will likely require one or more inspections. Typically, the primary inspection occurs after the old roof has been torn off, and the roof deck is exposed but before any new underlayment or shingles are installed. This allows the inspector to verify the condition of the roof deck, ensuring any necessary repairs have been made and that the decking meets current structural standards. They'll also check for proper ventilation system components and other code-mandated elements.
In some jurisdictions, there might be a final inspection once the entire new roof is installed. This ensures that the shingles are correctly laid, flashing is properly installed, and all components of the roofing system adhere to code. Passing these inspections is not just a formality; it certifies that your roof has been installed safely and correctly, protecting your home and preserving your homeowner's insurance coverage. If your contractor fails an inspection, they are responsible for correcting any deficiencies and rescheduling the inspection at their cost.
The Importance of Code Compliance and Your Home's Value
Adhering to permit and inspection requirements offers several significant benefits to you, the homeowner. Firstly, it ensures the safety and quality of the workmanship. The inspector acts as a third-party oversight, verifying that your contractor is following best practices and code requirements. This can catch potential errors before they become costly problems. Secondly, it protects your home's value. When you sell your home, a clean permit history and documented compliance with building codes provide reassurance to buyers and their inspectors. An unpermitted roof replacement can lead to complications during a home sale, potentially requiring you to obtain retroactive permits, pay fines, or even dismantle portions of the work. Finally, proper permitting can be crucial for insurance claims. If your roof suffers damage in the future, your insurance company may require proof that the previous installation was permitted and inspected. Don't underestimate this administrative side of your project; it's a small investment of time and paperwork for substantial peace of mind and protection.
When to Call a Professional for a Tear-Off
While the temptation to save money by tackling a major home improvement project yourself is understandable, a roof tear-off and replacement is almost always a job best left to experienced professionals. The risks associated with DIY roofing are substantial, and the complexities extend far beyond simply pulling off old shingles.
The Risks of DIY Tear-Offs
Safety is the paramount concern when it comes to roofing work. Falls from roofs are a leading cause of construction-related injuries and fatalities. Professionals have the right safety gear, training, and experience to work securely at heights, navigating steep pitches, slippery surfaces, and unexpected hazards. A DIY tear-off puts you at immense personal risk. Beyond safety, there's the risk of property damage. Improperly removing shingles can damage the underlying roof deck, compromise your home's structural integrity, or even lead to water leaks during the process if the weather turns. Disposal is another major hurdle. Hauling tons of old shingles and debris requires proper equipment and knowledge of local disposal regulations and costs. You can't just toss old shingles in your regular trash. The sheer amount and weight make it a logistical challenge for most homeowners.
The Value of Professional Expertise and Equipment
Professional roofing contractors bring invaluable expertise, efficiency, and specialized equipment to every tear-off. They know the most efficient methods for removal, minimizing disruption and protecting your property. They have the industrial-grade tools—like roof shovels, air compressors, and nail guns—that make the job faster and ensure the new installation is done correctly. Their crews are trained, insured, and experienced in every phase of the project, from safety setup to the final cleanup. They understand Roof Anatomy: Parts of an Asphalt Shingle Roof intimately, knowing what to look for beneath the surface. Moreover, they manage the entire process, including securing permits, coordinating material deliveries, and arranging debris disposal. This seamless coordination saves you time, stress, and prevents costly mistakes.
Finding a Reputable Roofing Contractor
Choosing the right roofing contractor is critical for a successful tear-off and replacement. Start by getting multiple bids and thoroughly vetting each company. Look for contractors who are licensed and insured (general liability and workers' compensation are non-negotiable) and who have a strong track record of quality work and customer satisfaction. Check online reviews, ask for local references, and verify their credentials with your state's licensing board. A reputable contractor will provide a detailed, written estimate that breaks down all costs, including tear-off, disposal, materials, and labor. They should also be transparent about their process, including how they handle unexpected issues like decking damage. Platforms like Modernize can be a great resource for connecting with pre-screened, qualified roofing professionals in your area who understand the intricacies of a tear-off and can guide you through every step of your roof replacement project. Remember, a roof is a significant investment; entrusting it to a qualified professional ensures it's done right the first time.
Checklist for Your Roof Tear-Off Day
To help you visualize and prepare for the big day, here's a quick checklist outlining the key phases and what you can expect during the roof tear-off process. This isn't exhaustive, but it covers the main points to keep in mind.
| Phase | What Happens | Homeowner Action/Observation |
|---|---|---|
| Pre-Arrival | Contractor confirms schedule, permits, material delivery. | Verify permits are secured. Remove valuables from yard and interior. |
| Site Setup | Crew arrives, stages materials, places dumpster, lays down tarps, sets up safety gear. | Ensure clear access for vehicles/dumpster. Keep pets/children inside. |
| Shingle & Underlayment Removal | Old shingles & underlayment are systematically stripped, usually from ridge down. | Expect significant noise, dust, and debris falling into tarps. |
| Flashing Removal | All old flashing around chimneys, vents, skylights is removed. | Observe flashing areas for clean removal. |
| Roof Deck Inspection | Bare deck is thoroughly inspected for rot, damage, soft spots. | Be available for communication about potential decking repairs. |
| Deck Repair/Replacement | Damaged sections of decking are cut out and replaced with new wood. | Confirm contractor communicates scope and cost of repairs. |
| Deck Cleanup | Deck is swept clean of debris, old nails, and fasteners. | Ensure deck is completely clear for new materials. |
| Underlayment & Drip Edge Installation | New underlayment (felt/synthetic) and drip edge are installed. | Observe uniform installation and proper overlap. |
| Starter Shingle Installation | Starter strips are installed along eaves and rake edges. | Note the straightness and proper placement of these critical strips. |
| Ongoing Debris Management | Ground crew continuously clears debris into dumpster. Magnet sweep for nails. | Keep an eye out for cleanliness throughout the day. |
This table provides a useful overview, but remember that every roof and project has its unique characteristics. Open communication with your chosen contractor is always your best tool for managing expectations and ensuring a smooth process.
Disclaimer
Please remember that this article provides general information about asphalt roofing and roof tear-offs. Building codes, regulations, material costs, and best practices can vary significantly based on your specific location, the age and condition of your home, and local climate. Always consult with a qualified, licensed, and insured roofing professional for personalized advice and estimates tailored to your unique situation. Do not attempt complex roofing repairs or replacements without proper training, safety equipment, and expertise.