Failed Roof Inspection: What Next
Oh, the sinking feeling when you get that call or email: "Your roof inspection failed." It's a gut punch, isn't it? After all the effort and anticipation, hearing that your roof, one of the most crucial protectors of your home, didn't pass muster can be incredibly frustrating and confusing. This guide is here to help you navigate exactly what to do next, turning that initial shock into a clear, actionable plan to get your roof up to snuff and your home safe.
Understanding Why Your Roof Inspection Failed
It’s easy to feel disheartened when your roof inspection fails, but the first step is always understanding why. This isn't just about a "fail" sticker; it's about identifying specific issues that need attention. Inspectors aren't trying to make your life difficult; they're ensuring your roof meets safety standards and local building codes, which ultimately protects your investment and your family. Getting granular with the details of the failure is key to moving forward effectively.
Common Reasons for Inspection Failure
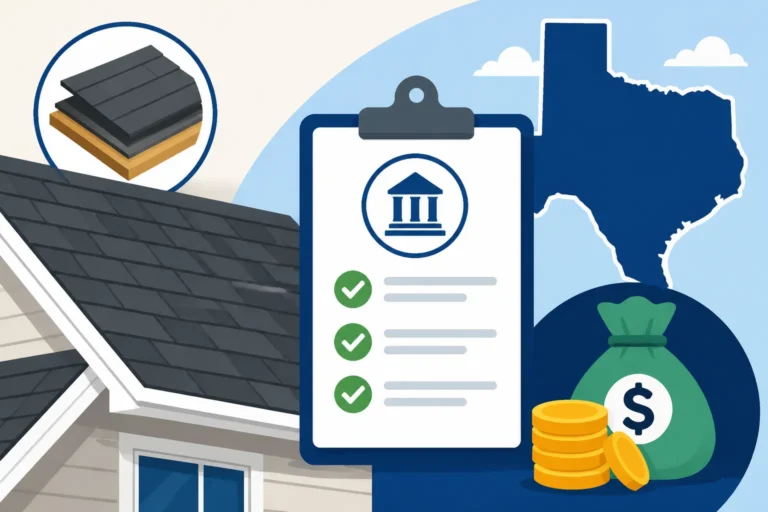
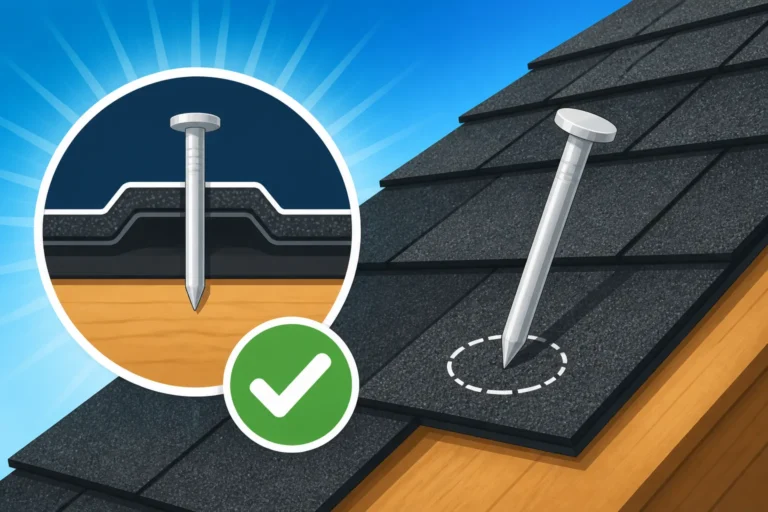
A roof inspection can fail for a variety of reasons, ranging from minor oversights to significant structural concerns. Often, homeowners might not even realize these issues exist until an expert points them out. One common culprit is improper installation techniques. Perhaps the shingles weren't nailed correctly, leading to a risk of them blowing off in a strong wind, or the flashing around chimneys and vents wasn't sealed properly, creating prime spots for leaks. For example, in states like Florida or Texas, where strong winds are common, inspectors are particularly vigilant about proper nailing patterns and adequate wind resistance, which could lead to a failure if these aren't up to current code.
Another frequent issue involves inadequate ventilation in the attic. Without proper airflow, heat and moisture can build up, leading to premature aging of shingles, rot in the roof decking, and even mold growth. An inspector might flag this if they see insufficient soffit or ridge vents, or if existing vents are blocked. Sometimes, the problem might be with the underlying structure itself, such as damaged or rotten roof decking. If the inspector finds soft spots or signs of water damage in the attic, they'll require the decking to be replaced before new shingles can go on. You can learn more about this in our guide on Roof Decking Replacement Cost.
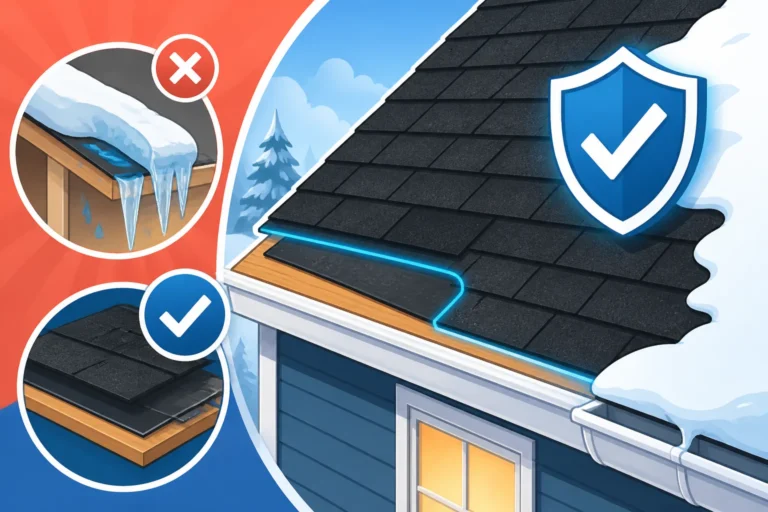
Beyond installation and structural elements, simple maintenance can also be a factor. While a failed inspection usually points to more substantial issues, an accumulation of debris, severe moss or algae growth, or even damaged gutters can contribute to problems that warrant a failure. Finally, one of the biggest reasons for failure can be a discrepancy with local building codes. Codes are constantly updated, and what was acceptable a decade ago might not meet today's standards for things like ice and water shield requirements or drip edge installation.
Deciphering the Inspection Report
The inspection report is your roadmap, not a death sentence. It might seem like a lot of technical jargon, but taking the time to understand each point is crucial. Your report should clearly list the deficiencies found, often accompanied by photos, and reference specific building codes or manufacturer specifications that were not met. Don't be afraid to ask for clarification from the inspector or your roofing contractor if anything is unclear.
Look for sections detailing specific components like the underlayment, flashing, ventilation, and the shingles themselves. For instance, if the report mentions "improperly installed step flashing around chimney," it means the metal pieces designed to waterproof the intersection of your chimney and roof are not correctly placed or sealed, which is a major leak risk. Similarly, a note about "insufficient attic ventilation" might refer to the ratio of intake to exhaust vents not meeting code, leading to heat buildup. Understanding these specifics helps you know exactly what repairs are needed.
A good report will also categorize the issues by severity – some might be minor adjustments, while others could require significant re-work. Pay close attention to any items labeled as "code violations" or "safety hazards" as these will be absolute must-fixes. This detailed understanding will empower you when you start getting quotes and discussing repairs, ensuring you're not just agreeing to work without knowing why it's necessary. It's similar to knowing exactly what to look for when you're trying to figure out What a Roofing Estimate Should Include.
Your Immediate Next Steps After a Failed Inspection
Receiving a failed inspection report can feel overwhelming, but it's important not to panic. Instead, view it as a critical piece of information that will ultimately lead to a safer, more reliable roof over your head. Your immediate actions will set the stage for a smooth resolution.
Communicating with Your Contractor and Inspector
The first thing you should do is schedule a meeting, ideally on-site, with both your roofing contractor (if you had one performing work) and the inspector. This might seem daunting, but it’s the best way to get everyone on the same page. Ask the inspector to walk you through each point of concern directly on the roof, pointing out the exact areas that failed and explaining why they failed in plain language. Bring your inspection report and a notepad to jot down notes and questions.
Then, engage your contractor. If they installed the roof, they should be present to understand the inspector's findings firsthand. Discuss their plan to rectify the issues. A reputable contractor will stand by their work and offer solutions to bring the roof up to code, often at no additional cost if it's due to their workmanship. Ask them to clearly outline the scope of remedial work, the timeline, and how they will ensure compliance for the re-inspection. This proactive communication prevents misunderstandings and demonstrates your commitment to a proper resolution. Remember, open dialogue is key, and it’s important to understand the Roofing Warranty: Workmanship vs Manufacturer aspects.
Getting a Second Opinion or More
Even if you trust your initial contractor, a failed inspection is a significant event, and it's always wise to get a second opinion. This isn't about distrust; it's about due diligence and ensuring you have a comprehensive understanding of the problem and the proposed solutions. Reach out to other reputable roofing companies in your area, explain that your roof failed inspection, and provide them with a copy of the report. Ask them for their assessment of the issues and a detailed quote for the necessary repairs.
This step is especially important if the issues are complex or if the initial contractor's proposed solution seems excessively expensive or vague. Different contractors might approach the repairs in slightly different ways, and getting multiple perspectives can help you identify the most efficient and cost-effective path forward. When obtaining these additional quotes, don't just compare the bottom line; compare the detailed scope of work. What one contractor includes, another might leave out, potentially leading to another failed inspection. This process is similar to How to Get Roofing Quotes and Compare Them for a new roof, but with a specific focus on rectifying identified problems.
Consider asking these potential contractors:
| Aspect | Key Question | Why It Matters |
|---|---|---|
| Problem Diagnosis | Do you agree with the inspector's findings? Are there other issues? | Confirms the validity of the report and identifies any missed problems. |
| Proposed Solution | What specific steps will you take to correct each deficiency? | Ensures a clear, detailed plan that addresses all points of failure. |
| Cost Breakdown | Can you provide a detailed itemized estimate for labor and materials? | Helps you understand where your money is going and compare quotes accurately. |
| Timeline | How long will the repairs take, and when can you start? | Allows you to plan for the re-inspection and minimize disruption. |
| Warranty | What warranty do you offer on the repair work? | Protects your investment in the repair and ensures quality. |
| Permits & Codes | Will you handle any necessary permits, and how do you ensure code compliance? | Critical for legal and safety compliance, and avoiding future issues. |
Getting varied insights will help you make an informed decision and choose the best path to pass that re-inspection with flying colors. It’s about being an empowered homeowner, not a victim of a bad inspection.
Fixing the Issues and Rescheduling Your Inspection
Once you've wrapped your head around the inspection report and gathered any second opinions, it's time to roll up your sleeves and get those repairs underway. This phase is all about precision, proper execution, and ensuring that the work done not only fixes the immediate problems but also guarantees long-term compliance.
Prioritizing Repairs and Gathering Quotes
With a clear understanding of the failed inspection points, your next step is to prioritize the repairs. Usually, code violations and safety hazards should be at the top of your list, as these are non-negotiable for passing a re-inspection. For instance, if the inspector noted significant structural issues with your roof decking or improper flashing that's leading to active leaks, those need immediate attention. Less critical items, like minor cosmetic issues that weren't the direct cause of failure, might be addressed later, though it's often more efficient to tackle everything at once if feasible.
When getting quotes for the remedial work, ensure each contractor is bidding on the exact scope of work outlined in the inspection report. Don't just say "my roof failed inspection"; provide them with the detailed report so they know precisely what needs to be fixed. Ask for itemized quotes that break down labor, materials, and any potential unforeseen costs. This transparency will help you compare different proposals fairly and avoid surprises. A word of caution: if you come across a quote that's significantly lower than all the others, it might be a Roofing Contractor Red Flags to Avoid. There's a fine line between a good deal and a shoddy job that will lead to another failed inspection down the road.
Before you commit, verify that the chosen contractor is licensed and insured. This protects you in case of accidents or further damage during the repair process. Discuss the specific materials they plan to use, especially if certain types of shingles or underlayment were flagged for non-compliance. Sometimes, an issue might be resolved by simply adding more appropriate components, like additional ridge vents, rather than a full system overhaul.
Ensuring Compliance with Building Codes
This is arguably the most crucial aspect of the repair process. The entire point of the inspection is to ensure your roof meets local building codes and safety standards. Therefore, any repairs must explicitly address these codes. Your chosen contractor should be intimately familiar with the specific codes in your municipality – whether that's Seattle, Dallas, or Orlando. Don't hesitate to ask them how they plan to ensure full code compliance for each repair.
For example, if the roof failed due to improper nailing patterns for asphalt shingles, the contractor needs to demonstrate they will use the correct number of nails per shingle, placed in the precise locations specified by the manufacturer and local code. If ventilation was an issue, they should detail how they will calculate and install the appropriate amount of intake and exhaust ventilation to meet the net free area requirements. These details are often covered in discussions about Roofing Building Codes: What to Know.
It's also essential to confirm that your contractor will handle all necessary permits for the repair work. Depending on the extent of the repairs, a new permit might be required. Skipping this step can lead to fines, delays, and future headaches, especially when you go to sell your home. A good contractor will explain the permit process and assure you that they will secure all required documentation. Once the repairs are completed, schedule the re-inspection promptly. Make sure the contractor is available to be present for the re-inspection as well, in case the inspector has any follow-up questions or needs clarification on the work performed.
Navigating the Financial Side of Repairs and Re-Inspections
Let's be real, a failed roof inspection means unexpected costs, and no one likes that. It can feel like another financial burden piled on top of everything else. But understanding these costs and how to manage them is key to making a smart recovery.
Understanding Repair Costs and Budgeting
The cost of fixing a failed roof inspection can vary wildly depending on what exactly caused the failure. Minor issues, like adding a few pieces of flashing or improving some sealant, might only set you back a few hundred dollars. However, if the inspection revealed systemic problems, such as widespread inadequate ventilation requiring new vents and possibly some deck repair, or if large sections of shingles were installed incorrectly and need to be re-laid, the costs could escalate into the thousands. For significant issues, you might even find yourself essentially paying for a partial, or even full, re-installation. This is why a detailed quote is so important, as discussed when considering How Much Does an Asphalt Shingle Roof Cost.
When you're budgeting, don't forget to factor in the re-inspection fee. While often less than the initial inspection, it's still an added expense. You should also consider potential costs for unexpected issues. Sometimes, during the repair process, contractors discover hidden damage, like more extensive rot in the roof decking or damaged insulation, which weren't visible during the initial inspection. It’s always smart to have a contingency fund, perhaps 10-15% above the quoted repair cost, just in case. Discuss with your contractor how they handle such discoveries and what the protocol is for approving additional work.
Insurance Implications and Warranty Considerations
One glimmer of hope could be your homeowner's insurance. If the roof inspection failed due to damage from a sudden, unexpected event like a recent hail storm or strong winds that lifted shingles, your insurance policy might cover a significant portion of the repair costs. However, policies typically don't cover damage resulting from neglect, poor workmanship during original installation, or wear and tear due to age. This is often where homeowners find themselves in a tough spot if their roof is nearing the end of its lifespan, perhaps exhibiting many of the Signs You Need a New Roof.
It's crucial to review your policy carefully and speak with your insurance agent immediately if you believe the cause of failure might be covered. Document everything, including the inspection report, photos, and any communication with your contractor. Remember, there's usually a deductible you'll need to pay, and making a claim could potentially impact your future premiums, so weigh the costs and benefits carefully.
Regarding warranties, if your roof is relatively new and the failure is due to faulty materials or poor installation, you might be covered by either the manufacturer's warranty on the shingles or the contractor's workmanship warranty. For instance, if a specific brand of shingle like GAF, Owens Corning, or CertainTeed failed prematurely due to a defect, the manufacturer's warranty might cover replacement materials. If the issue stems from how the contractor installed the roof, their workmanship warranty should come into play. Always keep your original contract and warranty documents handy, as they will be invaluable in these situations. Understanding the nuances between a manufacturer's warranty and a contractor's warranty, and what constitutes a valid claim, is essential for leveraging these protections.
Disclaimer
Please remember that the information provided in this article is intended for general guidance and informational purposes only, and does not constitute professional advice. Roofing regulations, building codes, and insurance policies vary significantly by location and individual circumstances. Always consult with a qualified, licensed, and insured roofing professional and your insurance provider to discuss your specific situation and ensure compliance with all local requirements.