How Roofs Are Designed for Wind Uplift
The thought of a powerful windstorm ripping through your neighborhood, potentially tearing shingles right off your roof, is enough to keep any homeowner awake at night. It's a terrifying scenario, and rightfully so—wind damage isn't just about a few loose shingles; it can compromise your entire home's protection. This comprehensive guide will walk you through how roofs, particularly asphalt shingle roofs, are meticulously designed and constructed to withstand these incredible forces of nature, giving you peace of mind and the knowledge to ensure your home is well-protected.
Understanding the Forces of Wind Uplift on Your Roof
When we talk about "wind uplift," we're delving into the fascinating, albeit sometimes destructive, science of aerodynamics as it applies to your home. It’s not just the direct push of the wind against your roof that causes damage; often, it’s the sneaky, powerful suction created by differences in air pressure. This is a common source of frustration for homeowners who see seemingly minor winds cause major issues.
How Wind Creates Destructive Uplift
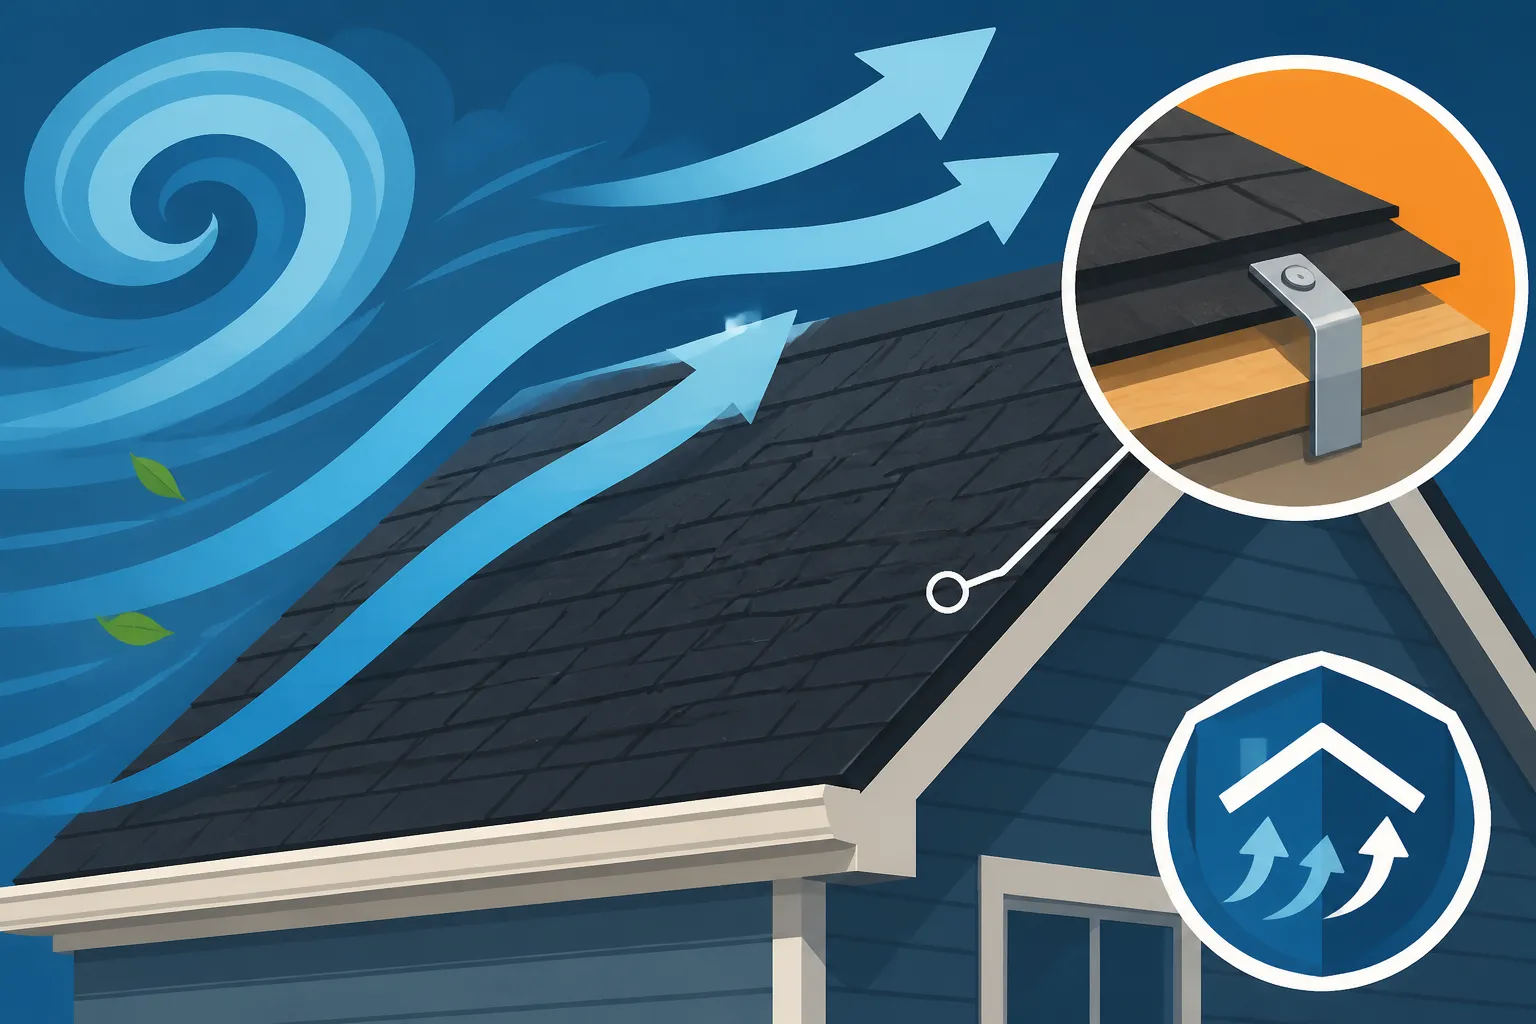
Imagine wind as a fluid flowing over and around an object. When wind hits your home, it doesn't just push down or sideways. As the wind flows up and over your roof, it actually creates a zone of lower pressure above the roof surface, much like how an airplane wing generates lift. Simultaneously, if the wind gets under the eaves or through an open garage door, it can create higher pressure inside your attic or home. This combination of high pressure underneath and low pressure above creates a powerful lifting force—the "uplift."
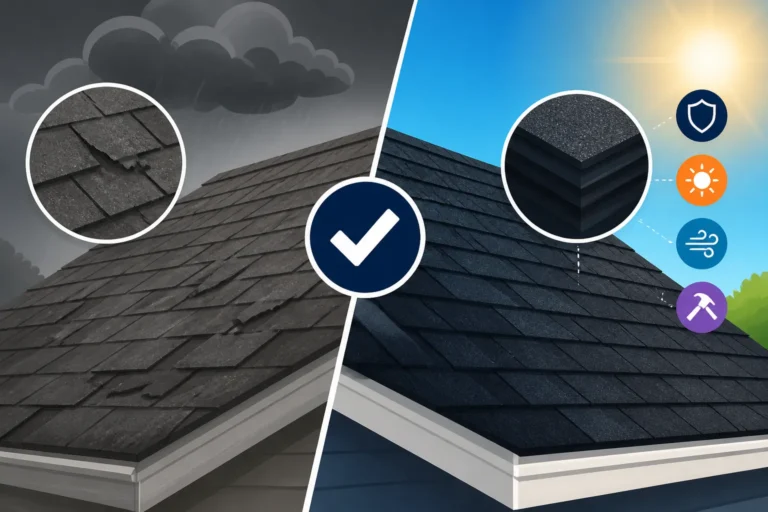
This uplift force is particularly potent at the edges, corners, and ridges of your roof. These are the areas where the airflow accelerates and detaches, leading to the greatest pressure differentials. It's why you often see shingles peel back from the eaves or corners first after a strong gust, leaving your roof vulnerable. The force can be immense, far beyond what you might imagine, and if your roofing system isn't designed to counteract it, those shingles are going to go flying, exposing your valuable roof decking and the interior of your home to the elements.
The Devastating Effects of Unchecked Wind Uplift
The initial loss of a few shingles might seem like a manageable problem, but it’s often just the beginning. Once the first line of defense is breached, your roof system is exposed to further, more severe damage. Missing shingles leave the underlying underlayment exposed to direct sunlight and rain, which can rapidly deteriorate it. If the underlayment fails, water infiltrates the roof decking, leading to rot, mold, and structural compromise.
Beyond water damage, wind uplift can also cause significant structural damage to the roof deck itself. If enough uplift occurs, entire sections of your decking could be pulled away from the rafters or trusses, leading to a catastrophic roof failure. Imagine the nightmare of heavy rain pouring into your living room because a section of your roof deck gave way. The costs associated with repairing interior damage, replacing insulation, and addressing mold can quickly dwarf the cost of a full roof replacement, not to mention the immense disruption and stress for your family. This is precisely why investing in a roof properly designed for wind uplift is not just about protecting your shingles; it's about safeguarding your entire home and everything within it.
Critical Design Elements for Superior Wind Resistance
A roof's ability to stand up to high winds isn't just about the shingles themselves; it's about the entire integrated roofing system working in harmony. Each component plays a vital role in creating a formidable barrier against powerful gusts. For homeowners trying to navigate the complexities of a new roof, understanding these elements is empowering.
The Foundation: Roof Decking and Its Fastening
Before any shingles are laid, the strength of your roof starts with the decking. Typically, this is plywood or OSB (oriented strand board) sheeting securely fastened to the rafters or trusses that form the structural framework of your roof. The type and thickness of the decking material are important, but even more crucial is how it's attached. Building codes in high-wind zones often mandate specific nailing patterns and nail types (e.g., ring-shank nails for better withdrawal resistance) to ensure the decking itself won't be easily lifted off the structure.
Imagine a large sheet of plywood being subjected to intense suction. If it's only weakly attached, it can flex, buckle, or even detach entirely. A robust fastening schedule for your roof decking ensures that this primary layer is locked down tight, preventing movement and providing a solid, unyielding surface for everything that goes on top. This is a foundational step that often goes unnoticed by homeowners but is absolutely critical for the long-term integrity of the roof, especially when facing hurricane-force winds.
The Secondary Barrier: Underlayment and Drip Edge
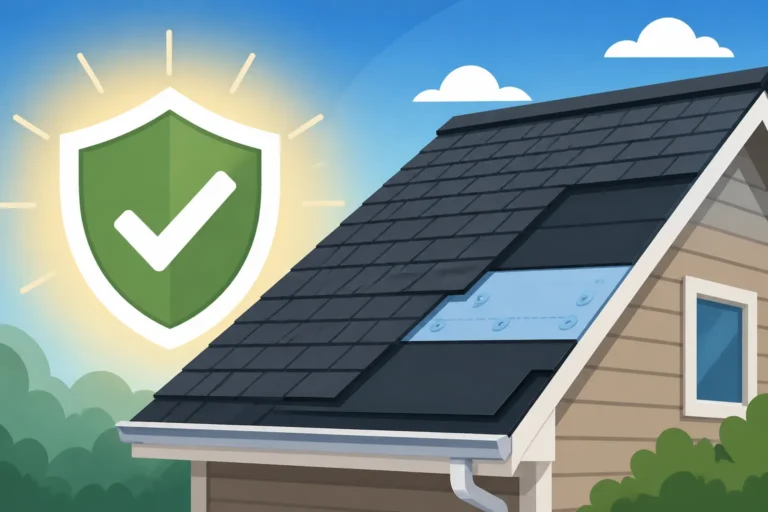
Once the decking is secure, the next layer of defense against wind and water is the underlayment. While traditional felt paper has been used for decades, modern synthetic underlayments offer superior tear resistance, water repellency, and often have higher friction surfaces that help shingles grip better. In high-wind areas, self-adhering modified bitumen underlayments, often referred to as "ice and water shield," are commonly installed along eaves, rakes, and valleys. These self-sealing membranes create a watertight barrier that prevents water from infiltrating even if shingles are blown off, acting as a crucial secondary defense. You can learn more about how different types work in our guide on Underlayment Explained Synthetic vs Felt.
Equally important are the metal flashings, particularly the drip edge installed along the eaves and rake edges of your roof. The drip edge helps direct water off the roof and into the gutters, preventing it from seeping under the edge of the roof deck. Crucially for wind resistance, it also provides a secured edge for the underlayment and starter shingles, locking them down and preventing wind from getting underneath and initiating a peel-back effect. A properly installed drip edge literally creates a sealed edge, making it much harder for wind to gain purchase. Understanding Drip Edge What It Does can highlight its multi-faceted protective role.
Sealing the Vulnerable Points: Flashing and Ventilation
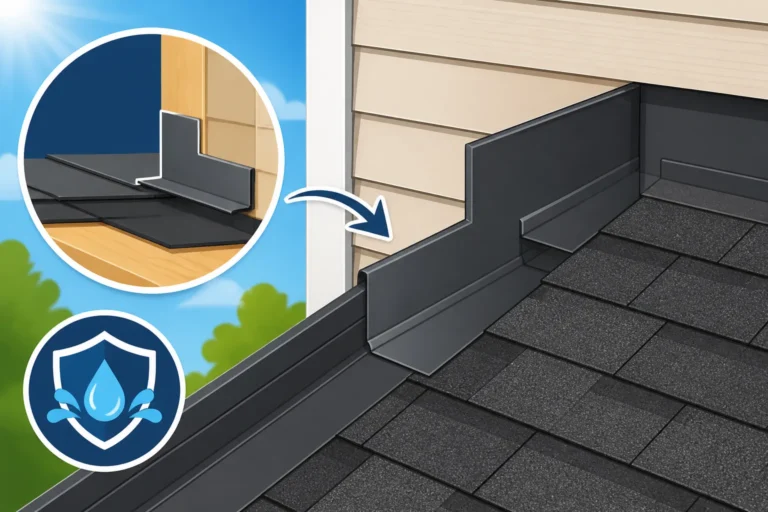
Beyond the main field of the roof, critical areas like valleys, chimneys, skylights, and vent pipes are prime targets for wind and water infiltration if not properly protected. This is where various types of flashing come into play. Metal flashing, correctly integrated with shingles and underlayment, creates a watertight seal around penetrations and changes in roof planes. For instance, step flashing around a chimney diverts water over and around the structure, while valley flashing provides a smooth, durable channel for water runoff. Poorly installed flashing is a leading cause of roof leaks and can be easily compromised by wind, allowing strong gusts to work their way under shingles.
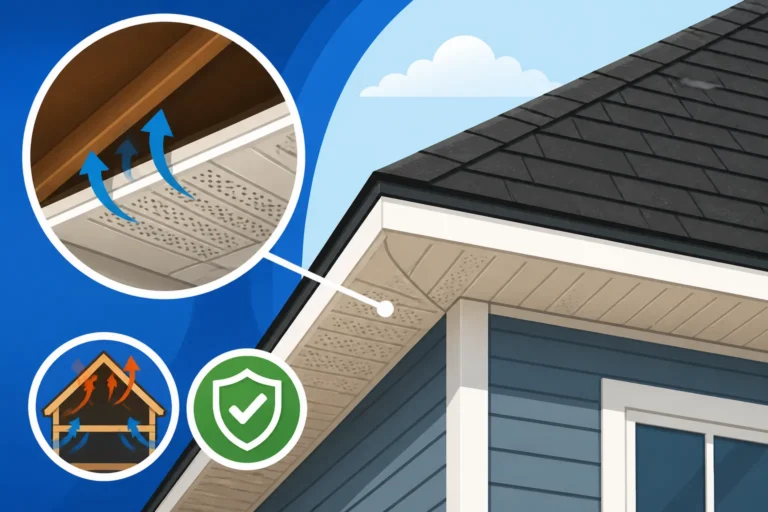
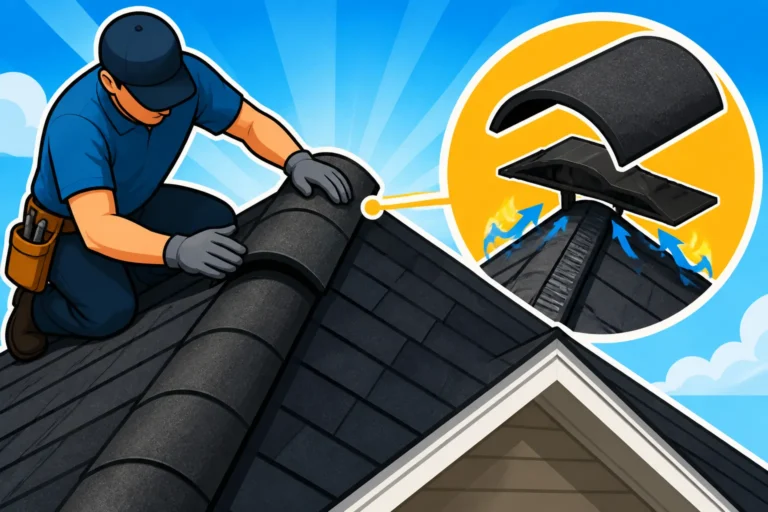
Even roof ventilation components, like ridge vents and exhaust vents, need to be designed and installed with wind resistance in mind. While ensuring proper airflow is essential for a healthy attic, these elements can also become weak points if not robustly secured. Modern ridge vents are designed to withstand high winds while still allowing hot, moist air to escape. Proper attic ventilation is critical not just for energy efficiency but also for the overall longevity of your roof, as explained in our article How Roof Ventilation Works. A reputable contractor will ensure all these components are installed according to manufacturer specifications and local building codes, offering an integrated shield against the elements. If you're looking for trustworthy professionals, platforms like Modernize can help connect you with experienced roofers in your area.
| Component | Primary Wind Resistance Function | Vulnerability if Compromised |
|---|---|---|
| Roof Decking | Provides a rigid, secure base; resists uplift from below when properly fastened. | Flexing, detachment from trusses/rafters. |
| Underlayment | Secondary water barrier if shingles fail; enhances shingle adhesion; tear resistance. | Exposure to elements, water infiltration. |
| Drip Edge | Secures roof edge; prevents wind from getting under starter shingles; directs water. | Shingle peel-off, water damage at eaves. |
| Starter Strip | Provides adhesive bond and full coverage at eaves; strengthens first course of shingles. | First row of shingles lifting and detaching. |
| Field Shingles | Adhere to each other and underlayment; designed for specific wind speeds and nail patterns. | Granule loss, curling, cracking, blow-off. |
| Hip & Ridge Caps | Protect vulnerable ridge lines; offer enhanced wind sealing; critical for a complete system. | Wind infiltration at peak, cap blow-off. |
| Flashing | Seals penetrations (chimneys, vents, skylights) against water and wind entry. | Leaks, shingle detachment around penetrations. |
Advanced Shingle Technology and Nailing Patterns
It's truly impressive how far asphalt shingle technology has come, particularly in its ability to resist fierce winds. What might look like simple pieces of roofing material are actually engineered marvels, designed with intricate features and specific installation methods to stay put when nature rages.
The Science of Shingle Adhesion
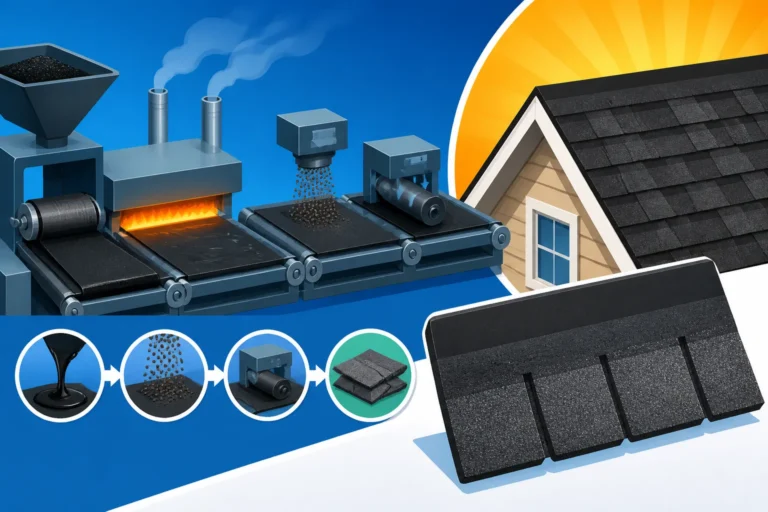
Modern asphalt shingles, especially architectural and designer styles, are much more than just a layer of granules on asphalt. They incorporate advanced features specifically aimed at combating wind uplift. One of the most critical is the self-sealing strip, often called a "sealant strip" or "thermal seal." This strip, made of a specialized asphaltic adhesive, is located on the underside of each shingle. Once installed and exposed to warm sunlight, it softens and bonds tenaciously to the shingle below it. This creates a strong, monolithic layer that resists wind from getting underneath and lifting individual shingles. It's a bit like having thousands of tiny, strong hands gripping your roof.
Different manufacturers, like GAF with their Dura Grip™ Adhesive or Owens Corning with their SureNail® Technology, have developed proprietary versions of these sealant strips that are tested for superior adhesion even in extreme conditions. The effectiveness of this adhesion is paramount, and it's why proper installation in suitable weather conditions is so important—the shingles need time and warmth to properly seal. This is also why choosing quality shingles from reputable brands can make a real difference in your roof's long-term resilience against wind.
High-Wind Nailing: More Than Just Four Nails
Beyond the self-sealing strips, the physical fastening of the shingles to the roof deck is a cornerstone of wind resistance. The industry standard for asphalt shingles typically involves four nails per shingle, placed within a designated nailing strip. However, for homes in areas prone to high winds, such as coastal regions or plains states, this standard is often insufficient. This is where "high-wind nailing" specifications come into play.
High-wind nailing can involve using five or six nails per shingle, or even using specific ring-shank roofing nails that have superior pull-out resistance compared to smooth-shank nails. These extra nails, precisely placed in the manufacturer-specified nailing zone, distribute the stress over a larger area and provide a much stronger mechanical connection to the roof deck. For instance, many premium architectural shingles, like the GAF Timberline HDZ or Owens Corning Duration, are engineered with wider nailing zones and specific instructions for increased nail counts to meet Class F wind ratings, which means they can withstand winds up to 130 mph. Our detailed article on How Shingles Are Nailed and Sealed offers more insight into these critical practices.
When getting estimates, ask your contractor about their nailing schedule, especially if you live in an area prone to severe weather. A skilled roofer from a network like Modernize will be well-versed in these enhanced techniques, and this attention to detail is often what separates a merely adequate roof from a truly wind-resistant one. Don't underestimate the power of proper fastening, as it's the direct mechanical link holding your roof together. Our guide on High-Wind Nailing Explained dives deeper into the specific requirements and benefits.
Building Codes, Regional Regulations, and Certifications
Navigating the world of roofing isn't just about picking pretty shingles; it's also about adhering to a complex web of building codes, local regulations, and manufacturer certifications designed to ensure your roof can truly stand up to the elements. For many homeowners, this can feel like an intimidating bureaucratic maze.
The Role of Building Codes and Local Amendments
At the heart of structural integrity and safety standards are building codes, most notably the International Residential Code (IRC) in the United States. The IRC provides baseline requirements for roofing materials and installation, including provisions for wind resistance. However, these codes are often adapted and supplemented by local municipalities and states to address specific regional hazards.
For instance, in hurricane-prone states like Florida and along the Gulf Coast, local building codes often feature significantly more stringent wind resistance requirements than the national average. These might include mandates for specific shingle wind ratings (e.g., ASTM D3161 Class F or ASTM D7158 Class H), enhanced nailing schedules, the use of peel-and-stick ice and water shield on all eaves and rakes, or even requirements for stronger roof decking and tie-down systems. A home in Miami, Florida, will have far different roofing requirements than one in Denver, Colorado, due to the differing climate and weather threats. It's not uncommon for these codes to be updated regularly in response to major weather events, so staying current is essential. Before any work begins, your contractor should always pull the necessary permits and ensure compliance with all current local codes, as discussed in our article Roofing Building Codes What to Know.
Manufacturer Certifications and Warranty Implications
Beyond local building codes, many shingle manufacturers offer their own certifications for contractors who demonstrate expertise in installing their products according to rigorous standards. Companies like GAF (with their Master Elite® contractors), Owens Corning (Platinum Preferred Contractors), and CertainTeed (SELECT ShingleMasters™) all have programs that train roofers in best practices, especially concerning wind resistance.
Hiring a contractor with such a certification isn't just about getting a "fancy" installer; it often qualifies your roof for enhanced manufacturer warranties. These extended warranties typically cover not only manufacturing defects but also provide superior coverage for wind blow-off for many years, sometimes even for the lifetime of the product. This means if shingles are lost due to wind, even very high winds, the manufacturer might cover the cost of replacement shingles and labor, something a standard warranty often won't. This kind of warranty protection can provide immense peace of mind. It’s a smart question to ask any potential contractor: "Are you certified by the shingle manufacturer, and what enhanced warranties can you offer?" This can significantly impact the long-term value and protection of your investment, especially when considering the Roofing Warranty Workmanship vs Manufacturer.
Insurance Incentives for Wind-Resistant Roofs
It's worth noting that your efforts to install a wind-resistant roof might also pay off in lower insurance premiums. Many homeowners insurance carriers recognize the reduced risk associated with roofs built to higher wind codes or those featuring Class 3 or Class 4 impact-resistant shingles. In states susceptible to hail or hurricanes, insurers might offer discounts for verified wind-resistant roof installations, as these roofs are less likely to incur costly damage and lead to claims.
For example, in many parts of Texas or Florida, an insurer might require a wind mitigation inspection, and if your roof meets certain criteria (e.g., specific roof-to-wall attachment, secondary water barrier, specific shingle wind ratings), you could see noticeable savings. Always check with your insurance provider to understand what discounts might be available and what documentation they require. Investing in a robust, wind-resistant roofing system isn't just about protecting your home; it's also about protecting your wallet over the long haul. When looking for contractors, services like Modernize can help you find professionals who are knowledgeable about these codes and can help you select materials that might qualify for these valuable insurance benefits.
Disclaimer
Please remember that the information provided in this article is intended for general guidance and informational purposes only. Roofing projects are complex, and specific requirements can vary significantly based on your local building codes, climate, and the unique characteristics of your home. Always consult with a qualified and licensed roofing professional for personalized advice and to ensure compliance with all applicable regulations and safety standards for your specific situation.