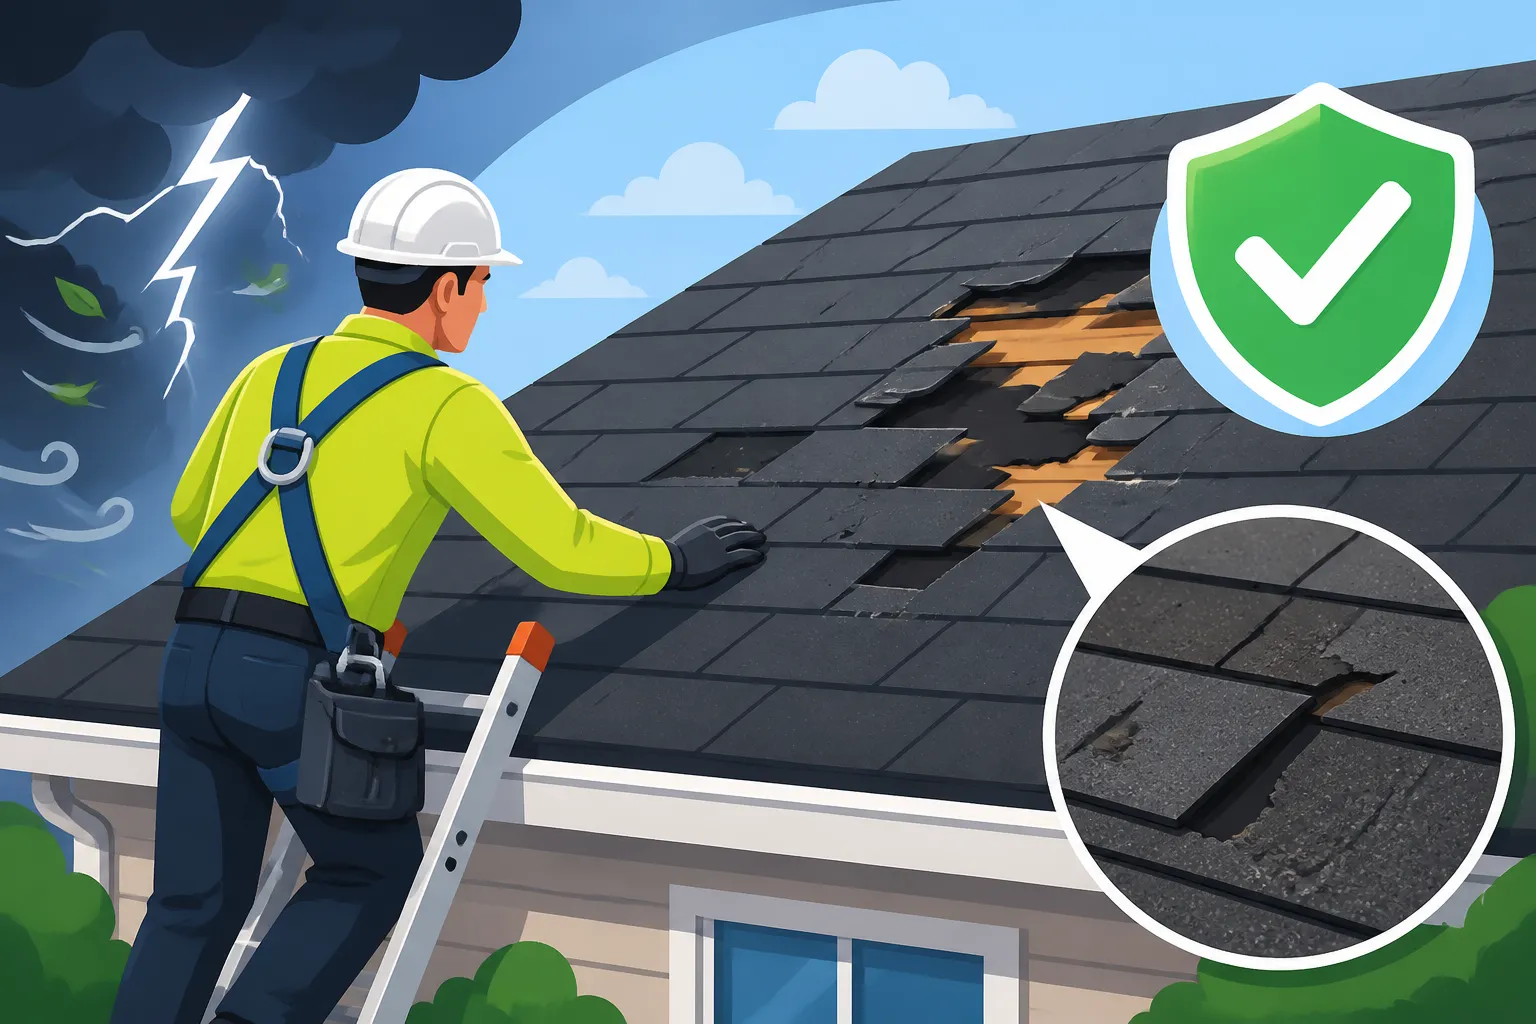
How to Check a Roof for Storm Damage Safely
That sinking feeling when a major storm rolls through, leaving behind a trail of debris and uncertainty, is something no homeowner wants to experience. You're left wondering, "Is my roof okay?" and the urge to scramble up there for a quick look is strong. But rushing onto a potentially damaged roof can be incredibly dangerous. This guide is all about empowering you to safely and effectively check your asphalt roofing for storm damage, ensuring your well-being while gathering the crucial information you'll need.
Why a Safe Storm Damage Assessment is Crucial
After a severe storm, the immediate concern for many homeowners is the integrity of their roof. It's the primary protector of your home, and any damage can lead to costly interior issues if not addressed promptly. However, getting onto a roof, especially one that might be compromised, carries significant risks.
The Dangers of DIY Roof Inspection
I totally get the impulse to grab a ladder and hop up there yourself. It feels like the quickest way to get answers, and hey, you're handy, right? But believe me, the risks far outweigh the benefits of a quick DIY peek. Rooftops are inherently dangerous, even on a sunny, calm day, and storm damage only amplifies those dangers. You could be facing:
- Falls: This is the most obvious and terrifying risk. Wet, damaged, or granule-depleted asphalt shingles are incredibly slippery. Even a seemingly minor fall can result in severe injuries or worse. Ladders, especially if not properly secured or rated for the job, can also be unstable on uneven or soft ground.
- Hidden Structural Damage: What if the storm didn't just damage the shingles, but compromised the underlying roof decking or framing? Stepping onto a weak spot could lead to a collapse, putting you in immediate peril. This isn't just about what you can see; it's about what you can't see.
- Electrical Hazards: If there are downed power lines nearby, or if electrical components like attic fans have been damaged, you could face electrocution. Water and electricity are a deadly combination.
- Further Damage to Your Roof: Walking on a brittle or severely damaged roof can actually worsen existing problems. You might crack already stressed shingles, dislodge loose granules, or inadvertently create new areas for water intrusion. A seemingly harmless step could turn a minor issue into a major repair.
Immediate vs. Delayed Damage Signs
It's a common misconception that storm damage will always be immediately obvious. While a tree limb through the roof or a swath of missing shingles certainly screams "damage," many signs are far more subtle and can take time to manifest. This is why a thorough, safe inspection process is so important.
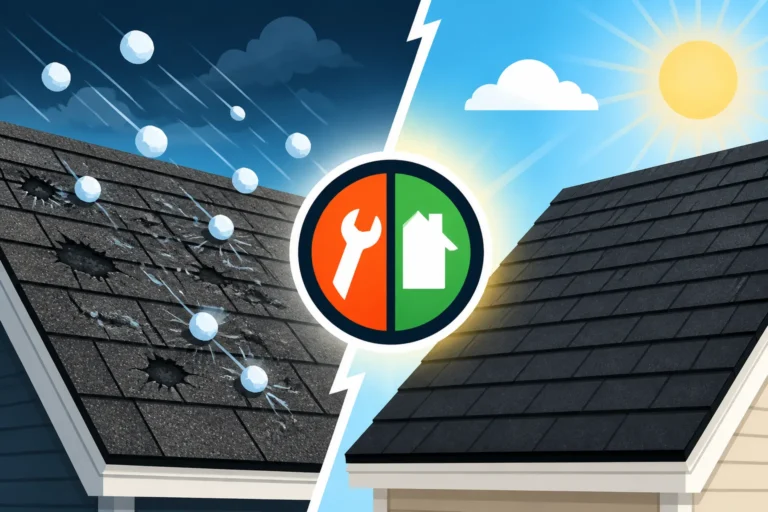
Some damage, like a gaping hole or visible water streaming into your attic, is immediate. You'll know right away that you have a problem. But other issues, particularly hail damage on asphalt roofing, might not be as apparent to the untrained eye. Hail can bruise the shingle's asphalt layer, dislodging protective granules, but leaving the shingle itself seemingly intact. Over time, these bruised spots will erode faster, leading to premature aging, leaks, and a significantly shortened roof lifespan. Similarly, wind can lift and break the sealant on shingles without immediately tearing them off, creating a vulnerability that allows water to seep in during the next heavy rain, not necessarily the storm that caused the initial damage. Understanding these nuances helps you realize that even if you don't see massive damage, it doesn't mean your roof is in the clear.
Preparing for Your Storm Damage Inspection
Before you even step outside, a little preparation can go a long way in ensuring your safety and the effectiveness of your inspection. Remember, safety is always priority number one.
Essential Safety Gear and Tools
Think of yourself as a detective, but one who needs to stay safe! Here’s what you should gather before you begin your ground-level roof assessment:
- Sturdy Footwear: Non-slip, closed-toe shoes with good grip are non-negotiable, even if you’re only walking around the perimeter of your house. Flip-flops or sandals are a definite no-go.
- Gloves: Protect your hands from sharp debris, broken shingle fragments, or errant nails.
- Binoculars: These are your best friend for a safe roof inspection. They allow you to get a close look at your roof without ever leaving the ground or a secure ladder position.
- Digital Camera or Smartphone: For documenting everything. Take clear, well-lit photos and videos of any suspicious areas. Make sure your camera has enough battery and storage!
- Notebook and Pen: To jot down observations, locations of damage, and any other pertinent details.
- Flashlight: Essential for inspecting your attic for interior water damage.
- Long-handled mirror (optional): Sometimes useful for peeking into tight spots in the attic.
- A Reliable, Sturdy Ladder: If you must use a ladder for a slightly elevated view (e.g., to check gutters or fascia), ensure it's in good condition, rated for your weight, and properly secured. Always follow the 4-to-1 rule (for every four feet of height, the base of the ladder should be one foot away from the wall). But seriously, keep ladder use to a minimum for roof inspections.
When to Call a Professional
Sometimes, the best preparation is knowing when not to do it yourself. If you observe certain conditions, or if you simply don't feel comfortable, calling a qualified professional is not just advisable—it's essential.
- Steep Roof Pitch: If your roof is steeply pitched, like those often found on Victorian or A-frame homes, it’s incredibly dangerous for an untrained person to climb. Even professional roofers use specialized safety gear on such roofs.
- Extensive Visible Damage: If you can already see large sections of missing shingles, major holes, or significant structural damage, don't risk it. A professional needs to assess this, and they'll come prepared with the right equipment and expertise to prevent further harm to your property.
- Active Leaks Inside: If you're seeing water actively dripping into your home, especially if it's coming through an electrical fixture, it's a clear sign of immediate danger and a situation for experts.
- Lack of Proper Safety Gear or Experience: If you don't have a reliable ladder, safety harnesses, or experience working at heights, attempting a roof inspection is foolhardy.
- Electrical Components or Trees on the Roof: If power lines are down or tree limbs are entangled with your roof or its components, keep your distance and call emergency services or a professional tree removal service first.
- You Just Don't Feel Safe: Your gut instinct is often right. If you have any reservations about your safety, trust that feeling and call in the pros.
Finding a reputable roofer can feel overwhelming, especially when you're under stress. Resources like Modernize can help connect you with local, qualified roofing contractors who are experienced in storm damage assessments and repairs. They can perform a comprehensive, safe inspection and provide you with a detailed estimate. Checking their credentials and reviews is a crucial step when choosing a roofing contractor.
Step-by-Step Safe Ground-Level Inspection
Your best strategy for a safe storm damage assessment is to start from the ground up. You can learn an incredible amount about your roof's condition without ever setting foot on it.
Inspecting Your Yard and Gutters
The first place to look for clues about your roof's health isn't on the roof, but around it. Walk slowly around your entire property, paying close attention to these tell-tale signs:
- Debris: Are there tree branches, twigs, or other storm-blown debris scattered across your lawn, driveway, or patio? This can indicate the severity of the storm's impact and might suggest that heavier debris also hit your roof. If you find larger pieces, look up in the direction they likely fell from.
- Shingle Granules: This is a big one for asphalt roofing. Do you see a noticeable amount of black, sandy-looking granules in your gutters or washed up on the ground below your downspouts? These granules are the protective top layer of your shingles, shielding them from UV rays and weather. Excessive granule loss, particularly after a storm, is a strong indicator of hail damage or advanced shingle deterioration. Granule Loss: Should You Worry delves deeper into this issue.
- Broken Shingle Pieces: Find any pieces of shingles in your yard? Even small fragments can signal that shingles have been torn off or severely damaged by wind.
- Damage to Other Property: Check your fences, siding, windows, and outdoor furniture for dents or dings. If hail was strong enough to damage these, it certainly hit your roof with force.
- Clogged Gutters: Beyond granules, heavy debris can clog your gutters, preventing proper drainage. This can lead to water backing up under your shingles, causing leaks and fascia damage.
Using Binoculars for a Closer Look
Once you've scanned the ground, it's time to direct your attention to the roof itself, using your binoculars from a safe vantage point. Stand on solid, level ground and slowly scan every section of your roof, looking for specific signs of damage.
- Missing or Lifted Shingles: Wind is notorious for tearing off or lifting shingles. Look for bare spots where shingles should be, especially along ridges, hips, and edges of the roof. Even shingles that are just lifted, with their sealant broken, are vulnerable. You might see a dark line where a shingle once was, or a flap that has been turned upwards. Missing Shingles: Repair or Replace explores what to do in these situations.
- Cracked or Creased Shingles: High winds can cause shingles to bend and crease, even if they don't tear off completely. These creases often look like horizontal lines across the shingle. Hail can also cause star-shaped or random cracks. These cracks compromise the shingle's watertight seal.
- Bruised or Dented Shingles (Hail Damage): With binoculars, you might be able to spot subtle, dark circular indentations or "bruises" on the shingles. These are areas where hail has impacted and compressed the asphalt, dislodging granules. On lighter-colored shingles, these might appear as darker spots. Signs of Roof Hail Damage offers more details on identifying this particular threat.
- Flashing Damage: Pay close attention to the metal flashing around chimneys, skylights, vents, and valleys. Wind can bend, tear, or dislodge flashing, creating open pathways for water. Dents or creases on flashing can also be a sign of hail impact.
- Vent Damage: Look at all your roof vents (plumbing vents, attic vents, turbines). Are they cracked, dented, or missing caps? Damage to these can allow water into your attic and compromise your roof's ventilation system.
- Loose or Damaged Ridge Caps: The caps along your roof's peaks are particularly susceptible to wind damage. See if any are loose, crooked, or missing.
Checking Interior Signs of Damage
Don't forget to check inside your home, especially your attic, if it's safely accessible. Interior signs can be the definitive proof of a problem.
- Attic Inspection: Grab your flashlight and head into the attic. Look for any signs of water intrusion:
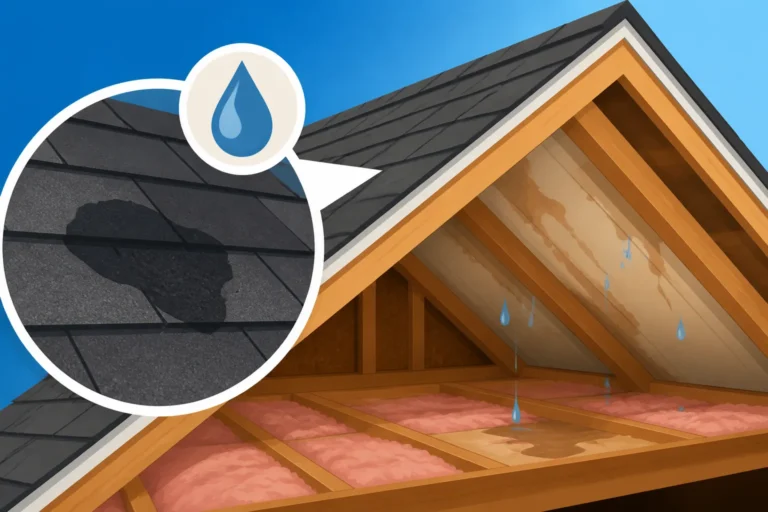
- Water Stains: These can appear as dark, discolored patches on the underside of your roof decking or on insulation. Even dried water stains indicate a past or intermittent leak.
- Dripping Water: If you see active drips, try to trace the source. Be cautious if water is near electrical wiring.
- Mold or Mildew: Any fuzzy, discolored growth suggests prolonged moisture issues.
- Daylight: If you can see sunlight shining through your roof decking, you have a definite hole or gap that needs immediate attention.
- For a deeper dive into what to look for, check out How to Spot a Roof Leak.
- Ceiling Stains: Water stains on your interior ceilings or walls, especially on the top floor, are clear indicators of a roof leak. These often appear as yellowish or brownish rings or streaks.
- Peeling Paint or Wallpaper: In areas directly below your roof, peeling paint or bubbling wallpaper can be a sign of water seepage through the walls or ceiling.
- Musty Odors: A persistent musty or damp smell in your attic or upper floors can signal hidden moisture issues, even if you don't see visible water.
What to Look For: Common Storm Damage Signs
Understanding the different types of storm damage can help you identify specific issues and communicate more effectively with a professional roofer or your insurance company.
Hail Damage Clues
Hail damage is often insidious because it's not always visible to the untrained eye immediately after a storm. It impacts asphalt roofing in a particular way.
- Granule Loss: As mentioned, hail impacts can dislodge the protective mineral granules that cover asphalt shingles. This leaves behind darker, smoother spots where the asphalt is exposed to the elements. These spots will degrade much faster under UV radiation.
- Soft Spots or Bruises: Gently pressing on a hail-damaged shingle might reveal a soft or spongy area where the hailstone crushed the asphalt mat underneath. These 'bruises' weaken the shingle and lead to premature failure. You won't be doing this on the roof yourself, but a professional will check for this.
- Cracked Shingles: Larger hail can cause actual cracks in the shingle itself, sometimes in a random, circular pattern, known as "spiderwebbing."
- Dents on Other Materials: Look for dents in your gutters, downspouts, siding, window frames, or even your air conditioning unit. If these metal and softer surfaces are dented, it's highly probable your roof sustained similar, if not worse, damage. For comprehensive information, refer to Signs of Roof Hail Damage.
Wind Damage Indicators
Wind damage is often more visually dramatic than hail damage, with clear signs of shingles being moved or removed.
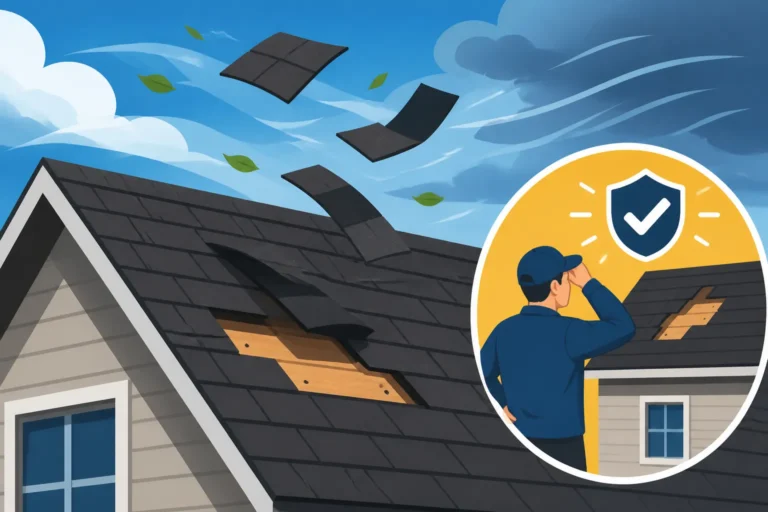
- Missing Shingles: The most obvious sign. High winds can rip entire shingles or sections of shingles off your roof, leaving exposed areas of underlayment or roof decking. These areas are incredibly vulnerable to water intrusion.
- Lifted or Curled Shingles: Wind can get underneath shingles, breaking the sealant strip that holds them down. This causes the shingles to lift, curl, or even crease. Once the seal is broken, they are much more susceptible to being torn off in future winds.
- Creased or Torn Shingles: Shingles might not be completely removed but can be bent sharply upwards or backwards by the wind, causing a permanent crease or tear, especially along the sealing strip. This damage compromises their water-shedding capabilities.
- Damage to Soffit and Fascia: Strong winds can also impact the soffit (the underside of your roof's overhang) and fascia (the trim board along the edge of your roof). Look for loose, cracked, or missing sections. The article Signs of Roof Wind Damage provides a detailed overview of these issues.
Water Damage and Other Issues
Beyond direct shingle damage, storms can cause a cascade of other problems that lead to water infiltration.
- Leaks: Any sign of water inside your home – stains on ceilings, walls, or even dripping into a bucket – means your roof system has been compromised. The source might be obvious, like a visible hole, or very subtle, such as a tiny gap in the flashing.
- Warped or Soft Roof Decking: If you (or a professional) notice spongy areas on the roof surface, it could indicate that water has penetrated the shingles and underlayment, causing the plywood or OSB decking underneath to swell and rot. This is a serious structural issue.
- Damaged or Dislodged Flashing: Flashing, the metal sheets installed around chimneys, skylights, vents, and valleys, is crucial for directing water away from vulnerable points. Storms can bend, lift, or even tear flashing, allowing water to seep into your home.
- Clogged or Damaged Gutters/Downspouts: While not directly roof damage, compromised gutters can lead to water overflowing and pooling around your foundation or backing up onto your roof edge, where it can seep under shingles.
- Compromised Vents: Roof vents (ridge vents, static vents, turbine vents) are vital for attic ventilation. Hail or wind can damage them, leading to leaks or poor attic airflow, which can indirectly contribute to roof deterioration.
Documenting Your Findings and Next Steps
Once you've safely completed your ground-level inspection, the next crucial step is to meticulously document everything you've found. This documentation will be invaluable for your insurance claim and for engaging with roofing contractors.
The Importance of Detailed Documentation
Think of your documentation as your personal evidence kit. The more thorough and clear it is, the better equipped you'll be for the steps ahead.
- Photos, Photos, Photos: Take high-resolution photos and videos from multiple angles.
- Get wide shots showing the general condition of your roof from different sides of your house.
- Get close-up shots of specific damage (missing shingles, hail dents, bent flashing, granule loss in gutters).
- Include photos of any interior damage (ceiling stains, attic leaks).
- Always try to include a reference point in your close-up photos, like a ruler or a familiar object, to give a sense of scale.
- Take photos of any collateral damage in your yard (dented mailbox, damaged patio furniture) as this supports the severity of the storm event.
- Detailed Notes: Don't just rely on photos. Write down:
- The date and time you took the photos and performed the inspection.
- The specific location of each damage point (e.g., "North slope, near the chimney," "West side gutter, 10 feet from downspout").
- A description of the damage.
- The date of the storm.
- Timestamps: Modern digital cameras and smartphones automatically timestamp photos, which is very helpful for establishing the timeline of the damage relative to the storm.
This comprehensive record will be essential when you speak with your insurance adjuster and when you solicit bids from roofing contractors.
Engaging a Qualified Roofing Contractor
With your documentation in hand, it’s time to call in the experts. Even if you don't see obvious major damage, a professional inspection is invaluable, especially for subtle hail damage that might escape your notice.
- Get Multiple Estimates: Don't settle for the first quote you receive. Aim for at least three estimates from different reputable roofing companies. This allows you to compare pricing, proposed repairs, and contractor recommendations. How to Get Roofing Quotes and Compare Them can guide you through this process.
- Look for Licensed and Insured Pros: This is non-negotiable. Always verify that any contractor you consider is fully licensed and insured. General liability insurance protects your property, and worker's compensation insurance protects the roofing crew, shielding you from potential liability if an accident occurs on your property. Read more about why this matters in Licensed and Insured Roofers: Why It Matters.
- Check References and Reviews: Look at online reviews (Google, Yelp, BBB) and ask for local references. A good contractor will be happy to provide them.
- Ask About Storm Damage Experience: Specifically ask if they have experience working with insurance claims and assessing storm damage on asphalt roofing.
- Consider Manufacturer Certified Contractors: Many shingle manufacturers like GAF, Owens Corning, and CertainTeed offer certification programs. Contractors with these certifications often offer enhanced warranties and demonstrate a commitment to quality installation.
Again, if you're feeling overwhelmed, a platform like Modernize can be a helpful starting point to connect with vetted contractors in your area who specialize in storm damage repair and can provide thorough assessments.
Navigating Insurance Claims
Most homeowners' insurance policies cover sudden and accidental damage, which includes storm damage from hail, wind, and falling debris. Navigating the claims process can be daunting, but your detailed documentation will be a huge asset.
- Contact Your Insurer Promptly: Report the damage as soon as you've assessed it. There's often a time limit for filing claims.
- Submit Your Documentation: Provide your photos, videos, and notes to your insurance company. This strong evidence helps substantiate your claim.
- Understand Your Policy: Familiarize yourself with your deductible, and whether your policy covers actual cash value (depreciated value) or replacement cost value for your roof. Roof Replacement and Insurance Claims is an excellent resource for understanding these nuances.
- Meet with the Adjuster: Your insurance company will send an adjuster to inspect your roof. Be present during this inspection. Share your findings and documentation with them. Your contractor can also be present to advocate for a full and fair assessment.
- Review the Settlement: Once the adjuster has completed their assessment, you'll receive a settlement offer. Compare this with the estimates you received from contractors. If there's a significant discrepancy, you may need to negotiate or provide additional information. For a step-by-step guide, check out How to File a Roof Insurance Claim.
Here's a quick overview of common storm damage signs to help you in your initial assessment:
| Damage Type | Common Appearance on Asphalt Shingles | Other Property Clues | Urgency of Repair |
|---|---|---|---|
| Hail Damage | Dark spots (granule loss), soft/spongy areas, small random cracks, "spiderweb" fractures | Dents in gutters, downspouts, siding, AC units, mailboxes, cars | High – leads to premature aging, leaks often appear later |
| Wind Damage | Missing shingles, lifted/curled shingles, creased/bent shingles, torn sealant strips, exposed underlayment | Debris in yard, damage to fences, fascia, soffit | High – immediate leak risk, increased vulnerability to future storms |
| Water Damage | Stains on ceilings/walls, active drips in attic, mold/mildew, warped decking in attic | None directly; usually a consequence of other damage | Immediate – leads to structural rot, health hazards |
| Debris Impact | Punctures, holes, major cracks, shattered shingles | Large tree limbs/debris on roof or around house | Immediate – direct open pathways for water |
| Flashing Damage | Bent, torn, or lifted metal around chimneys, vents, skylights, valleys | None directly; often caused by wind or ice dams | High – common entry point for leaks |
Disclaimer
Please remember that this guide provides general information and recommendations. Every roof and storm damage scenario is unique. Always prioritize your safety and consult with qualified, licensed, and insured roofing professionals for a thorough inspection and accurate assessment of your specific situation. This article is not a substitute for professional advice.