How Shingle Sealant Strips Activate
You've just had new asphalt shingles installed, or maybe you're looking up at your roof and wondering why those seemingly separate pieces of asphalt are supposed to stick together and form a cohesive, protective barrier. It's a valid question, and one many homeowners ponder! That invisible force holding your shingles down, especially against fierce winds and driving rain, comes from something called a shingle sealant strip. But how do these magical strips actually activate and create that robust bond? This guide is here to demystify the process, walking you through the clever science and practical factors that lead to a securely sealed roof.
Understanding Asphalt Shingle Sealant Strips
Before we dive into how they activate, let's get a clear picture of what these sealant strips are and why they play such a pivotal role in the longevity and performance of your asphalt roof. They're often overlooked, but without them, your roof wouldn't stand a chance against the elements.
What They Are and Why They're Crucial
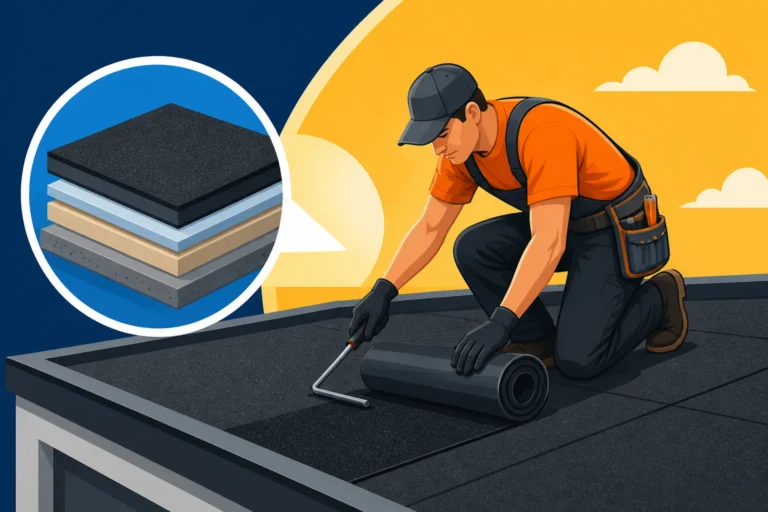
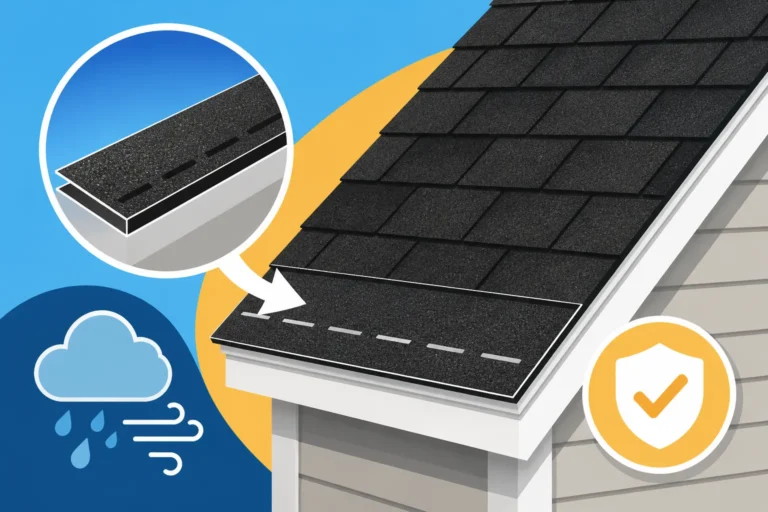
At its most basic, a shingle sealant strip is a factory-applied adhesive located on the underside or face of an asphalt shingle. Most commonly, you'll find it as a thin, continuous line, often dark gray or black, running horizontally near the bottom edge of the shingle's tab. These strips are typically made from a modified asphalt compound, sometimes blended with polymers to enhance their flexibility and adhesive properties. When manufactured, they're designed to be somewhat tacky but not fully bonded, allowing for easy handling and installation.
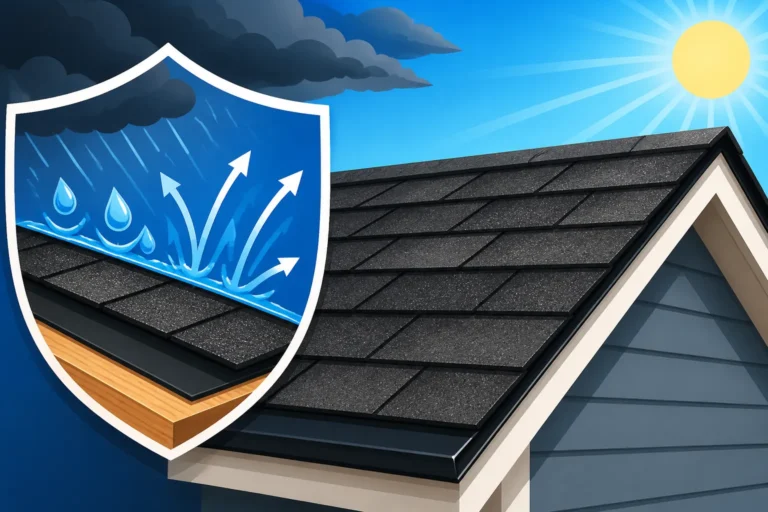
The real magic happens once the shingles are laid on your roof. When properly installed, the sealant strip on one shingle sits directly beneath the bottom edge of the shingle course above it. This strategic placement is no accident. The primary purpose of this strip is to create a strong, wind-resistant seal between successive layers of shingles. Without this seal, individual shingle tabs would remain loose and susceptible to being lifted and torn off by high winds, allowing water to penetrate underneath and compromise the entire roof system. Essentially, these strips transform individual shingles into a unified, waterproof surface, greatly contributing to How Shingles Protect Against Water.
The Anatomy of a Shingle's Bonding System
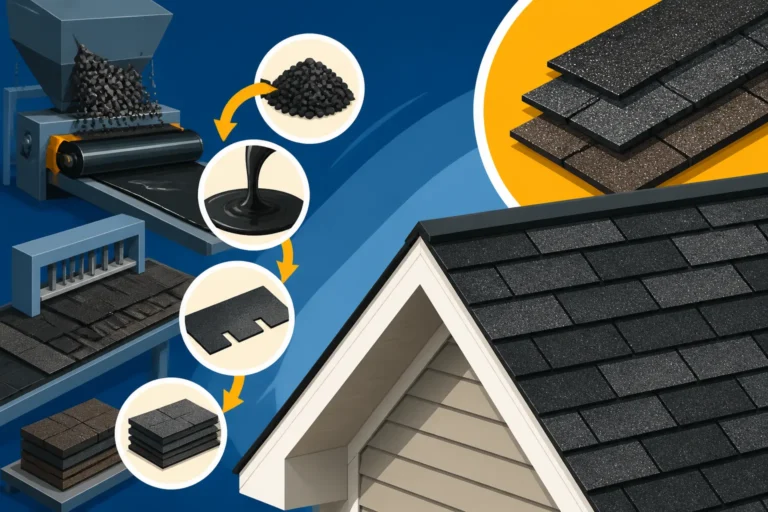
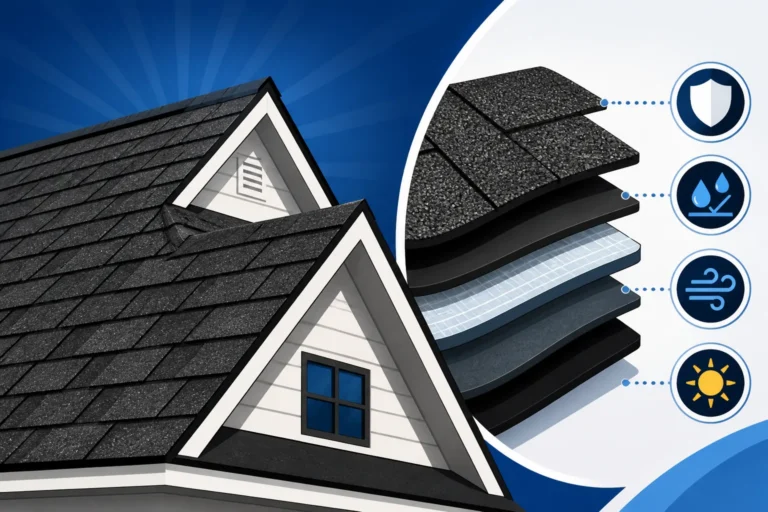
It's helpful to think of the shingle sealant strip not as a standalone component, but as part of a larger, integrated bonding system. The shingle itself is a complex layered material, with an asphalt base, a fiberglass mat for strength, and a top layer of ceramic granules that protect against UV rays and add aesthetic appeal. The sealant strip works in concert with these elements.
When the shingles are installed, the rough texture of the granules on the shingle above provides an ideal surface for the sealant strip to adhere to. This creates a powerful mechanical and chemical bond. The effectiveness of this system is critical, especially when you consider the stress your roof undergoes. From hail and heavy rains to persistent sun exposure and fluctuating temperatures, a roof is constantly battling the elements. The sealant strips are the unsung heroes that keep everything locked down. Whether you have traditional 3-tab shingles or the more robust architectural shingles, this bonding system is fundamental, though its exact design might vary slightly, as seen in Architectural Shingle Construction Explained.
The Science Behind Sealant Activation
Now for the main event: how do these seemingly inert strips transform into such powerful adhesives? It’s a fascinating combination of environmental factors and material science, turning a simple strip of asphalt into a formidable bond.
The Role of Heat and UV Exposure
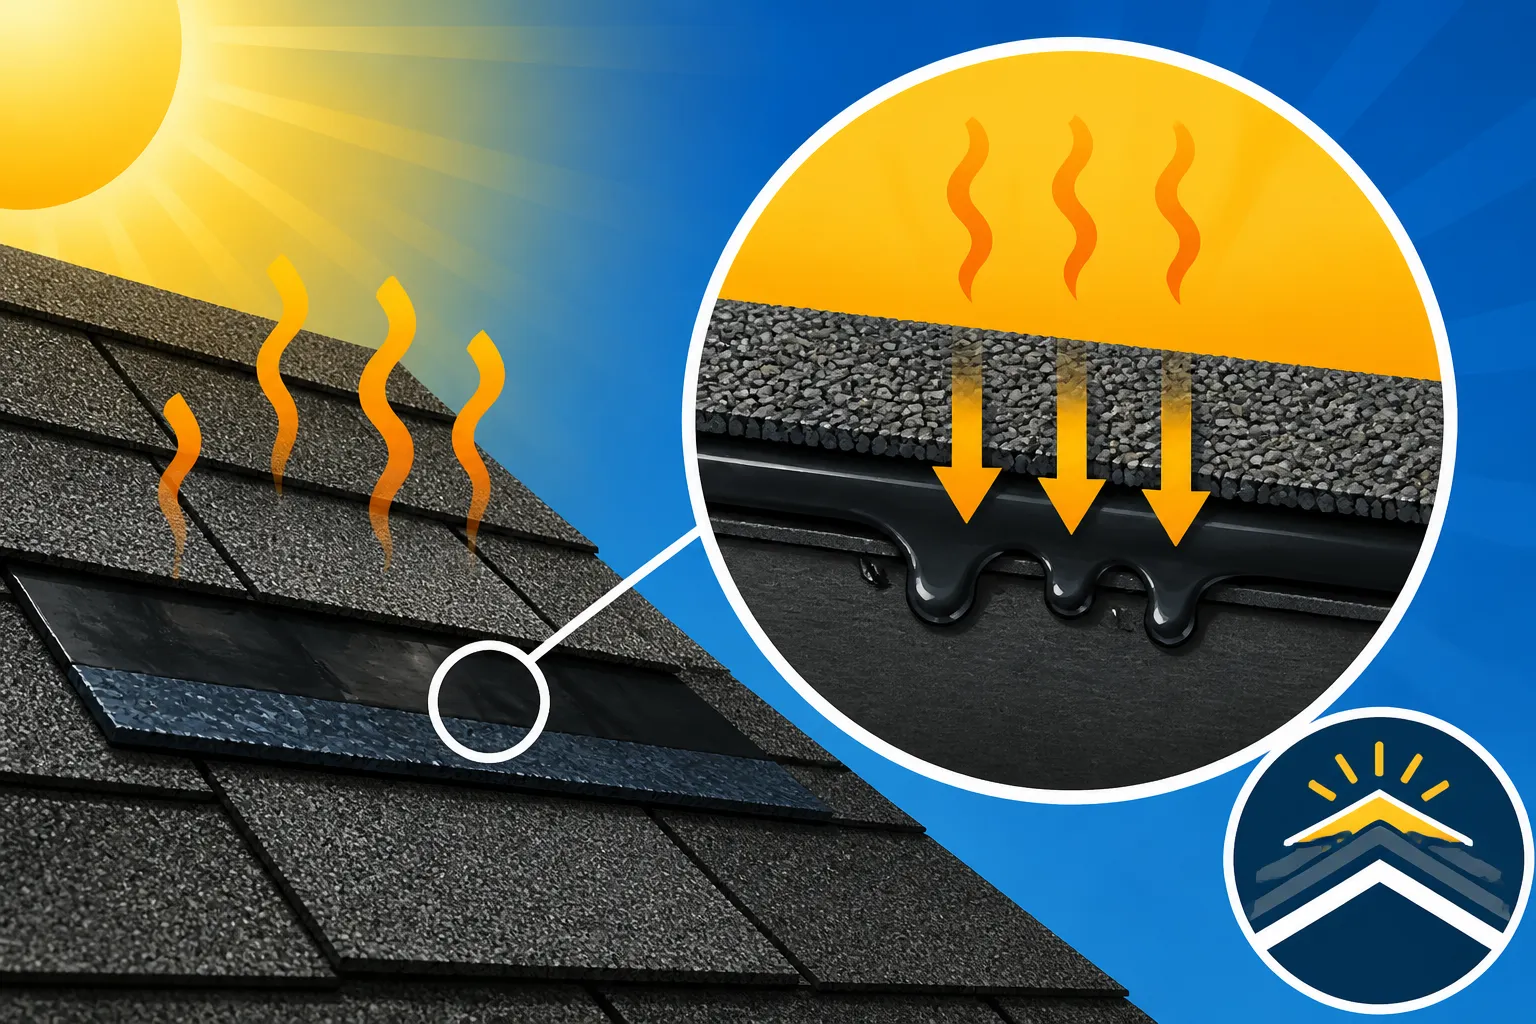
The primary catalyst for shingle sealant activation is heat, specifically from direct sunlight. Asphalt, by its very nature, is a thermoplastic material, meaning its properties change with temperature. When asphalt shingles are exposed to the sun's warmth, the temperature of the shingle surface rises. This increased temperature causes the asphaltic compound in the sealant strip to soften and become more fluid and extremely tacky. Think of it like heating up a piece of tar or a road in the summer—it gets softer and stickier.
As the sealant strip softens, it begins to "melt" slightly and flow into the tiny crevices and spaces between the granules of the shingle above it. This process is often referred to as "thermal bonding." The longer and more consistently the shingles are exposed to adequate sunlight and warmth, the more complete and robust this thermal bond becomes. UV radiation also plays a minor role, contributing to the breakdown of some initial tack-reducing compounds and ensuring the asphalt is responsive to the heat. This is why a brand new roof might take a little time to fully seal; it's waiting for those warm, sunny days to do their work.
Pressure and Time: The Unsung Heroes
While heat is the primary driver, it's not the only factor at play. Pressure is also crucial. As shingles are installed, they are typically laid overlapping one another. The weight of each successive course of shingles, combined with the weight of the roofing crew moving across the roof during installation, provides an initial degree of pressure that helps the sealant strips make contact with the granules below. This initial contact is what gives the shingles some immediate resistance to wind.
However, it's not just about the initial pressure. Time is equally important. The thermal bonding process isn't instantaneous. It's a gradual curing process where the softened asphalt adheres and then hardens again as temperatures cool, creating a tenacious bond. This cycle of heating and cooling, repeated over several days or weeks, allows the sealant to fully embed itself and create a strong, permanent seal. This means that a roof installed in ideal conditions will have its sealant strips fully activated much quicker than one installed during less favorable weather, reinforcing the importance of proper installation methods, including How Shingles Are Nailed and Sealed.
From Tacky to Tenacious: The Curing Process
The journey from a slightly tacky strip to a fully cured, wind-resistant bond is a remarkable feat of engineering. Initially, the sealant strip provides a mechanical "tack" that helps hold the shingles in place. With sufficient heat and pressure, this tack evolves into a strong adhesive bond. Once the sun goes down and the roof cools, the asphaltic material in the sealant strip hardens, essentially "locking" the shingles together.
This hardening and bonding process continues over days, sometimes weeks, depending on local climate conditions. The result is a monolithic roofing surface where individual shingles are fused, greatly reducing the risk of wind uplift and water infiltration. This fully activated and cured state is what allows your asphalt roof to withstand severe weather, from strong thunderstorms to sustained high winds, and effectively protect your home for decades.
Factors Influencing Sealant Activation
While the science of heat and pressure is universal, several practical factors can either assist or hinder the proper activation of your shingle sealant strips. Understanding these can help you appreciate why installation timing and weather matter so much.
Temperature and Sunlight Exposure
This is perhaps the most critical factor. For optimal activation, asphalt shingles generally require prolonged exposure to temperatures typically ranging from 50°F to 80°F (10°C to 27°C) or even warmer, for several days or weeks. This allows the sealant to properly soften and bond.
- Warm, Sunny Days: Ideal conditions for activation. Consistent sunshine ensures the shingle surface reaches the necessary temperature, and the sealant softens and adheres.
- Cool or Cold Weather Installation: If shingles are installed in cooler temperatures, say below 40°F (4°C), the sealant strips may not reach a sufficient temperature to activate properly. This can leave the shingles vulnerable to wind damage. In such cases, roofing contractors might take extra precautions or homeowners might face a longer waiting period for the weather to warm up. This is a common concern addressed in topics like Roof Installation in Cold Weather.
- Overcast or Shady Areas: Roof sections that receive less direct sunlight, such as those on the north side of a house or those shaded by large trees, may take significantly longer to activate, or in extreme cases, might never fully seal without additional intervention.
- Extremely Hot Weather: While heat is needed, excessive heat (over 100°F or 38°C) can also pose challenges. In very hot climates, the sealant might become too fluid, potentially oozing out or becoming sticky prematurely if shingles aren't handled carefully, though this is less common than issues with cold. However, careful installation is still paramount, as discussed in Roof Installation in Hot Weather.
The duration and intensity of sunlight are key. A few hours of weak winter sun won't do the trick as effectively as a full day of strong summer sun. This is why if you get a new roof in the fall or winter, your contractor might warn you that the shingles won't fully seal until the spring.
Shingle Type and Manufacturer Variations
Not all asphalt shingles are created equal, and neither are their sealant strips. Different manufacturers employ proprietary blends and technologies for their sealant compounds. For instance, high-performance architectural shingles, such as those from GAF, like GAF Timberline HDZ Features Explained, often feature wider or multiple sealant strips designed for superior wind resistance and faster activation. Owens Corning and CertainTeed also have their unique sealant technologies.
Some shingles are specifically engineered with "fast-acting" sealants that activate at lower temperatures or over shorter periods, making them more suitable for cooler climates. Others might incorporate thicker, more robust strips for enhanced durability. While the underlying principle of thermal bonding remains the same, the speed and efficacy of activation can vary based on the specific shingle product and its manufacturer. It's always a good idea to discuss these specifics with your roofing contractor to understand what to expect from the particular shingles chosen for your home.
Proper Installation Techniques
Even the best sealant strips are only as effective as their installation. Proper roofing techniques are absolutely critical for successful sealant activation.
- Nailing: Shingles must be nailed correctly, both in terms of quantity and placement, to ensure they lie flat and are held securely against the roof deck. Improper nailing, such as high nails or under-driven nails, can prevent the shingle above from making firm contact with the sealant strip, hindering activation.
- Cleanliness: The roof surface and the shingles themselves should be free of debris, dust, and moisture during installation. Any foreign material between the sealant strip and the shingle granules can act as a barrier, preventing a strong bond.
- Flat Lay: Shingles need to be laid flat and evenly. If shingles are buckled or uneven due to poor installation or inadequate roof decking, the sealant strips may not achieve full contact across their entire length. This is particularly important for the overall integrity of the roof system and its ability to ward off leaks.
- No Premature Disturbances: Once installed, it's best to avoid walking on newly laid shingles, especially on hot days, before the sealant has had a chance to fully activate. This can disturb the nascent bond or embed debris, weakening the seal.
A professional, experienced roofing contractor understands these nuances and employs best practices to maximize sealant activation. When seeking a roofer, consider utilizing a platform like Modernize to connect with reputable contractors who prioritize proper installation to ensure your roof's longevity and performance. They understand that a well-executed installation, as detailed in guides like How Shingles Are Nailed and Sealed, is the foundation for a durable roof.
When Sealant Strips Fail to Activate
Despite the best intentions and professional installation, sometimes shingle sealant strips just don't activate as they should. This can be a concerning issue for homeowners, as it leaves the roof vulnerable. Knowing the causes and potential remedies is key to protecting your investment.
Common Causes of Non-Activation
When you're staring up at your roof and seeing shingle tabs that seem a little too loose, or even lifting, non-activation of sealant strips is often the culprit. Several factors can contribute to this problem:
- Insufficient Heat and Sunlight: As discussed, this is the number one reason. If a roof is installed during a prolonged period of cool, overcast weather, or if it's primarily a north-facing slope in a northern climate, the sealant strips might simply never get warm enough to properly soften and bond. Imagine a new roof put on in December in Michigan – it might not truly seal until late spring.
- Dust or Debris: During installation, fine dust, sawdust, or other small debris can settle on the sealant strip or the shingle surface below, creating a barrier that prevents proper adhesion. Even microscopic particles can disrupt the bonding process.
- Improper Storage: Shingles are typically stored in bundles. If these bundles are stacked incorrectly, stored in excessively hot conditions, or left in the sun for too long before installation, the sealant strips can sometimes pre-activate and stick to the release film or the shingle above, making them ineffective once installed. This is known as "picture framing."
- Manufacturer Defects: While rare, a batch of shingles might have a defective sealant compound or an improperly applied strip. This is usually covered by a manufacturer's warranty, but it can be frustrating to deal with.
- Poor Installation Practices: Nailing issues, installing shingles over an uneven deck, or failing to ensure proper shingle alignment can all lead to sections of the roof where the sealant strips don't make adequate contact. This directly impacts how the shingles adhere.
- Cold Weather Foot Traffic: If someone walks on a newly installed roof in very cold weather before the sealants have activated, the impact can crack the brittle asphalt sealant, rendering it useless.
The Consequences of Poor Sealing
The failure of shingle sealant strips to activate properly can lead to a host of problems, compromising the roof's primary function: protecting your home.
- Wind Damage: This is the most immediate and obvious consequence. Unsealed shingles are highly susceptible to wind uplift. Even moderate winds can lift the shingle tabs, breaking them, creasing them, or tearing them off entirely. This can lead to missing shingles, exposing the underlayment and roof deck to the elements.
- Water Infiltration: When shingles lift or blow off, they create pathways for water to seep underneath, leading to leaks, rot in the roof deck, and potential damage to your attic, ceilings, and interior walls. The integrity of How Shingles Protect Against Water is completely compromised.
- Granule Loss: Persistent flapping of unsealed shingle tabs can accelerate granule loss as the friction wears them away. Granules are vital for UV protection and the longevity of the asphalt mat.
- Premature Aging: The constant movement and exposure of unsealed shingles can cause them to deteriorate faster, leading to a significantly reduced lifespan for your roof, meaning it won't live up to How Long Asphalt Shingles Last.
What to Do If Your Shingles Aren't Sealing
If you suspect your shingle sealant strips haven't activated, or if you're experiencing symptoms like lifting or missing shingles, it's crucial to act quickly.
- Professional Inspection: The first step is to contact a reputable roofing contractor for a thorough inspection. They can assess the extent of the non-activation, identify the underlying causes, and recommend appropriate solutions. A proper Roof Damage Assessment: A Homeowner's Guide will include checking the sealant.
- Hand-Sealing (in some cases): For localized areas of non-activation, especially in cooler climates or shaded spots, a contractor might be able to manually "hand-seal" the shingles using a compatible roofing adhesive. This involves carefully lifting the shingle tab and applying a small bead of sealant underneath, then pressing it firmly into place. This is a labor-intensive solution and typically only feasible for small areas.
- Warranty Claims: If the non-activation is due to a manufacturer defect or improper installation by a certified contractor, you might have grounds for a warranty claim. Understanding your Roofing Warranty: Workmanship vs Manufacturer is important here. Keep all documentation from your roof installation, including the contract and warranty information.
- Weather Waiting Game: If the roof was recently installed in cool weather, sometimes the best solution is simply to wait for warmer, sunnier days. However, you should still have a professional monitor the situation to ensure no immediate damage occurs.
- Consider a Re-roof: In severe cases of widespread non-activation across an entire roof, and especially if damage is already occurring, a partial or full re-roof might be necessary. This is a big decision and should only be made after comprehensive consultation with an expert.
Finding a trustworthy and experienced contractor is paramount when dealing with these issues. Services like Modernize can help you connect with qualified roofing professionals in your area who can accurately diagnose and address problems with shingle sealant activation. They can also help you get How to Get Multiple Roofing Estimates Fast to compare your options. Don't let unsealed shingles compromise the protection and longevity of your home.
Understanding Sealant Activation: A Quick Overview
| Feature | Ideal Conditions for Activation | Less Than Ideal Conditions for Activation |
|---|---|---|
| Temperature | Consistent ambient temperatures between 50°F and 80°F (10-27°C) | Below 40°F (4°C) or prolonged periods above 95°F (35°C) |
| Sunlight | Direct, strong sunlight exposure for several days/weeks | Prolonged overcast skies, heavily shaded roof areas |
| Installation | Clean surfaces, proper nailing, shingles laid flat and even | Dusty surfaces, incorrect nailing, buckled shingles |
| Time | A period of days to weeks, allowing for thermal cycling | Insufficient time in warm weather after installation |
| Consequences | Strong, wind-resistant seal; long-lasting roof | Vulnerability to wind, water leaks, premature shingle deterioration |
Disclaimer
Please remember that this article provides general information and guidance. Roofing work can be complex and dangerous. Always consult with a qualified, licensed, and insured roofing professional for specific advice, inspections, and repairs pertaining to your home and local building codes. Do not attempt roof repairs or inspections yourself unless you are properly trained and equipped, as this can lead to injury or further damage to your property.