Ice and Water Shield Explained
Few things are more frustrating for a homeowner than discovering a water stain creeping across their ceiling, especially when you thought your roof was doing its job. Ice dams, wind-driven rain, and heavy snowmelt can sneak past your shingles, causing unseen damage that leads to costly repairs and headaches. This comprehensive guide will explain the unsung hero that actively defends your home against these persistent water intruders: ice and water shield.
What Exactly Is Ice and Water Shield?
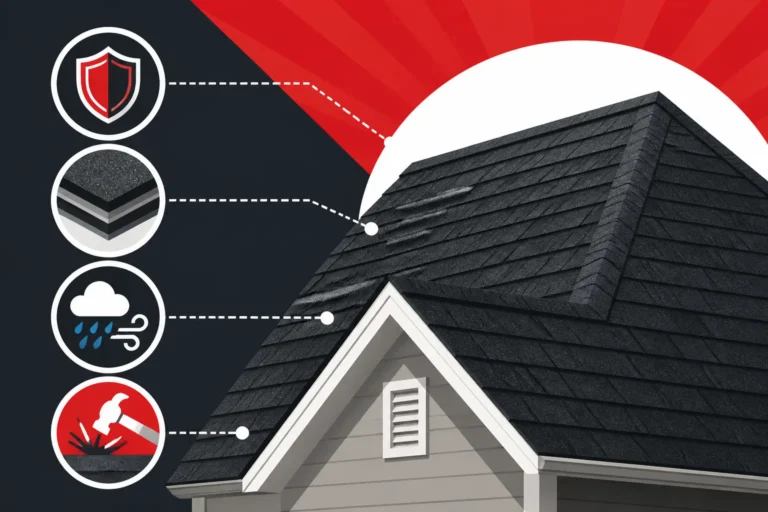
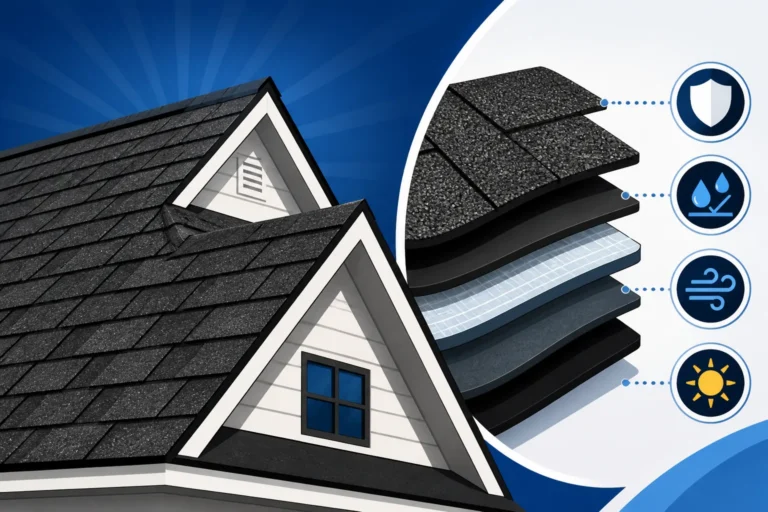
When you're talking about roofing components, "underlayment" is a term you hear often. But ice and water shield is a specific, highly specialized type of underlayment, and it's built to do so much more than just sit there. Think of it as your roof's personal, impenetrable bodyguard, designed to seal out moisture even when Mother Nature is at her absolute worst. It’s a critical layer in the comprehensive system that protects your home.
More Than Just Underlayment
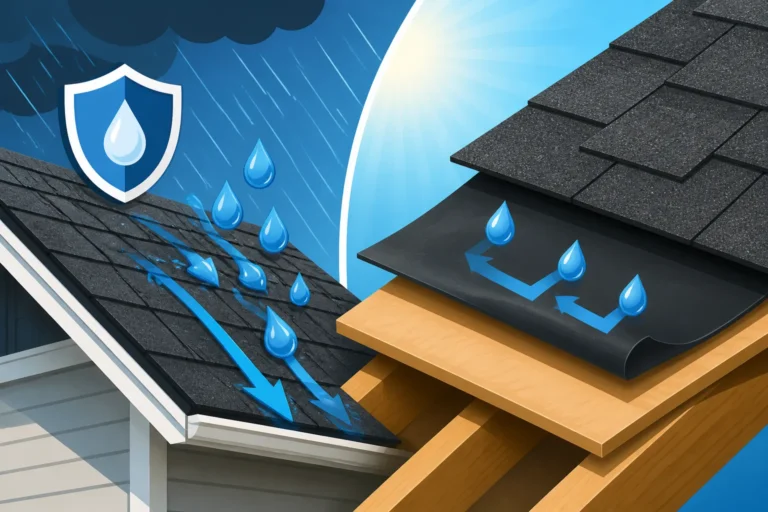
Traditional roofing felt or synthetic underlayment provides a temporary barrier and protection against water that might get past your shingles. It's a good line of defense, but it’s not designed to be waterproof on its own for extended periods, especially when confronted with standing water from ice dams or relentless wind-driven rain. Ice and water shield, on the other hand, is engineered for exactly those extreme conditions. It's a self-adhering, modified bitumen or rubberized asphalt membrane, meaning it literally sticks to your roof deck and creates a watertight seal. This isn't just a physical barrier; it's a chemical and mechanical bond that seals around nails, preventing water from seeping through the tiny penetrations that shingles require.
Unlike typical Underlayment Explained Synthetic vs Felt, which might let water wick through or bypass nail holes under certain pressures, ice and water shield is fully waterproof. It's an indispensable part of a modern asphalt roofing system, offering a level of protection that standard underlayments simply cannot match. Homeowners often underestimate its value until they face the unfortunate consequences of not having it, like water damage in the attic or inside walls from a winter storm.
The Science Behind Its Waterproofing Power
The magic of ice and water shield lies in its composition. Most products feature a sticky, rubberized asphalt adhesive layer on one side, protected by a release liner that's peeled off during installation. The other side is typically a durable, non-slip surface that can sometimes be granulated like shingles for better traction for installers. When applied to the clean, dry roof deck, the adhesive forms a powerful bond, essentially becoming one with the wood.
But the real genius is its self-sealing property. When roofers drive nails through the shingles and into the deck (and thus through the ice and water shield), the rubberized asphalt material flows and seals around the shaft of the nail. This capillary action prevents water from migrating down the nail hole into the roof deck below. This is incredibly important in areas prone to ice dams, where water can pool for days or weeks, seeking any tiny opening to exploit. Without this self-sealing capability, even a perfectly installed shingle could eventually allow water ingress through the thousands of nail penetrations. This innovative technology is a cornerstone of effective waterproofing in challenging climates.
Where Does Ice and Water Shield Go on Your Roof?
While ice and water shield is an amazing product, it's not typically applied over the entire roof deck. It’s strategically placed in specific areas that are most vulnerable to water penetration and the harsh realities of weather. Understanding these critical zones is key to appreciating its role in your overall Roof Anatomy Parts of an Asphalt Shingle Roof.
Critical Areas for Protection
The primary areas where ice and water shield is installed are those most susceptible to water backup and infiltration.
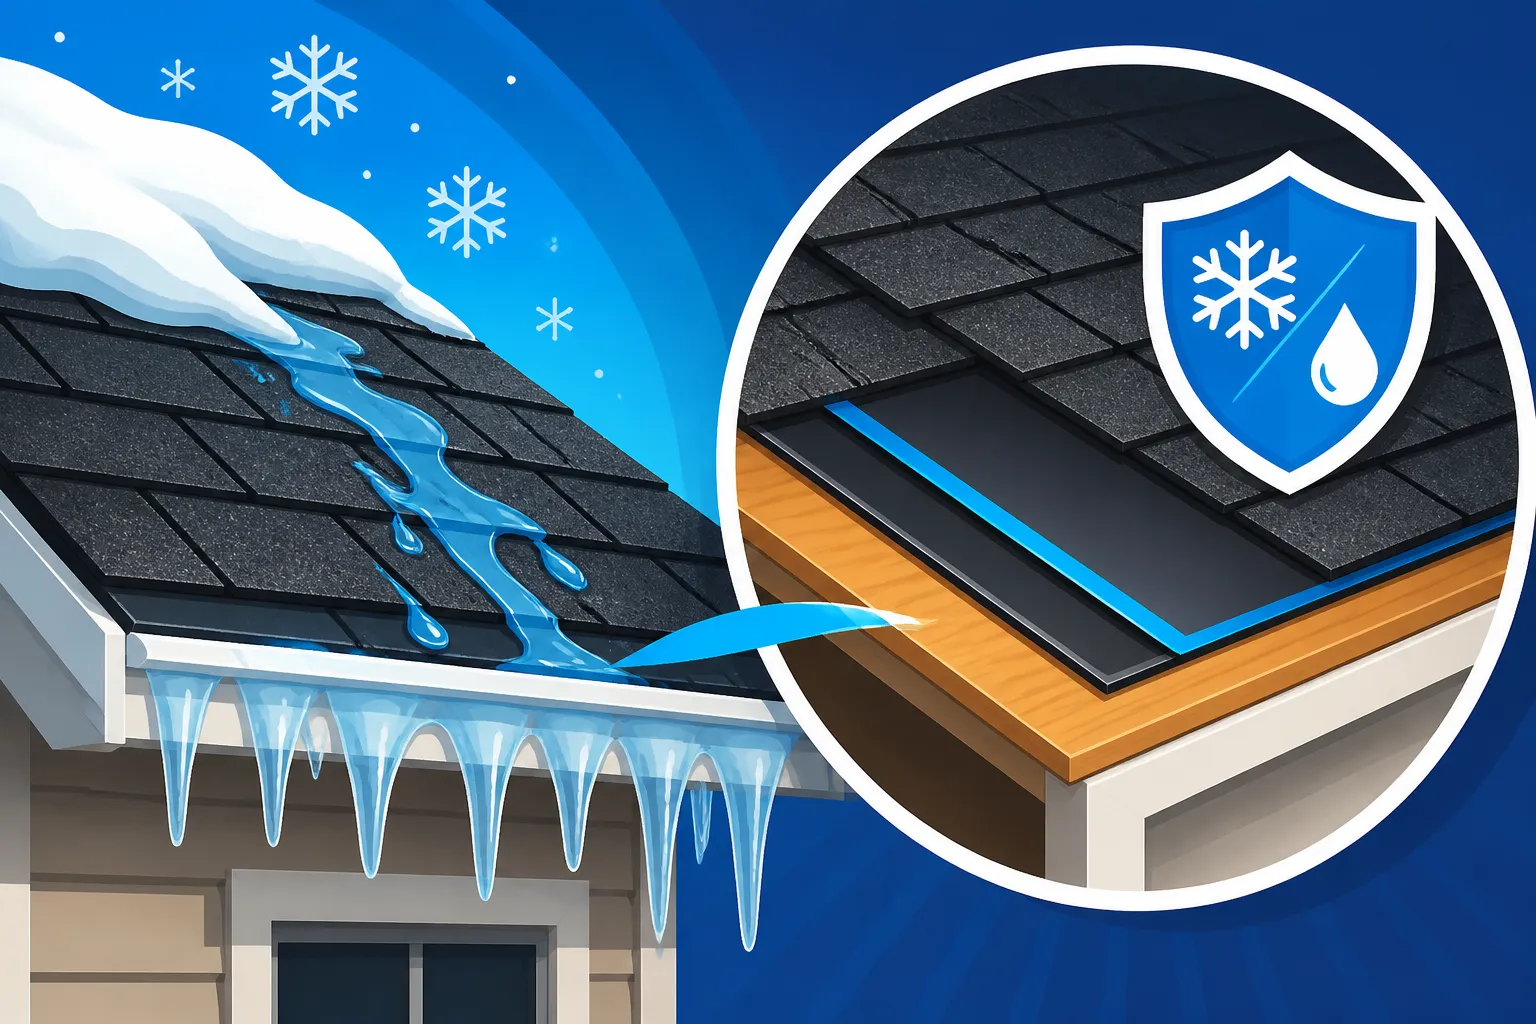
- Eaves (Drip Edge): This is perhaps the most crucial application. Along the lowest edge of your roof, where ice dams typically form, building codes often mandate a certain width of ice and water shield. This membrane extends from the edge of the roof (often overlapping the drip edge) inwards, usually 24 inches beyond the interior wall line, to protect against water backing up under shingles due to ice dams or heavy rain. In colder climates, like those in the Northeast or Midwest, this can be 36 to 72 inches up the roof slope. This application directly addresses the problem of melting snow refreezing at the colder eaves, forming a barrier that prevents subsequent meltwater from penetrating the roof deck.
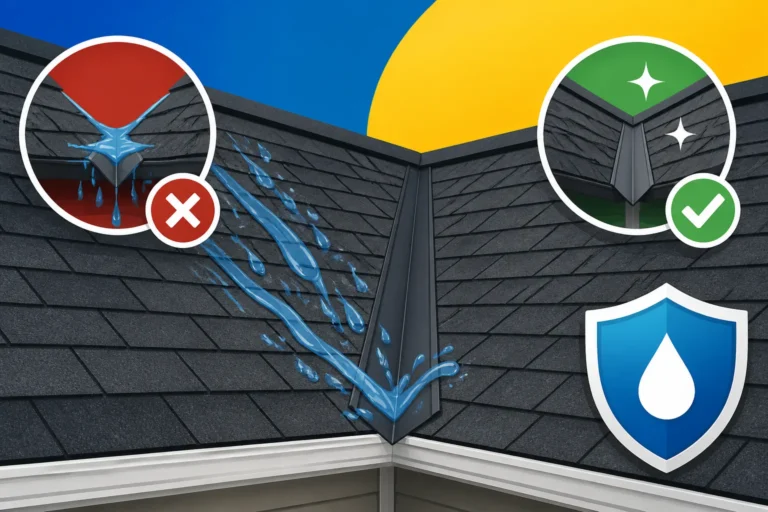
- Valleys: Roof valleys are natural channels where two roof planes meet, funneling large volumes of water down the roof. They are high-risk areas for leaks, making them prime candidates for ice and water shield. The membrane provides a continuous, watertight liner beneath the shingles in the valley, giving an extra layer of defense in these critical flow paths.
- Around Penetrations: Any feature that breaks the continuous surface of your roof is a potential weak spot. This includes chimneys, skylights, vent pipes, and dormer walls. Ice and water shield is often applied around these penetrations, providing an additional sealed layer beneath the flashing. This is especially vital for preventing leaks around complex structures like a large chimney, where proper Chimney Flashing Explained is paramount but can be augmented by the self-adhering membrane.
- Low-Slope Areas: While asphalt shingles are generally designed for certain roof pitches, some sections of a roof might have a lower slope. Water sheds slower on these areas, increasing the chance of it backing up or lingering, making them ideal for ice and water shield application.
Code Requirements and Best Practices
The necessity of ice and water shield isn't just a suggestion; it's often a building code requirement, especially in regions prone to freezing temperatures and heavy snowfall. The International Residential Code (IRC) generally requires an ice barrier at the eaves and rakes in areas where there is a history of ice damming. The specific width of coverage can vary by local municipality, but typically extends from the lowest edge of the roof to a point at least 24 inches inside the exterior wall line of the building. In some states, particularly those with colder climates, the requirements are even stricter, necessitating wider applications or placement further up the roof slope.
A reputable contractor will always be well-versed in the local Roofing Building Codes What to Know and ensure proper installation. For instance, in areas of Michigan or Minnesota, where harsh winters are common, a roofing professional will not only meet but often exceed the minimum Ice Barrier Code Requirements by extending the ice and water shield higher up the roof or covering all valleys, not just the code-mandated ones. This isn't just about passing inspection; it's about providing superior protection for your home. While codes set a minimum, best practices often suggest wider application in high-risk zones, providing homeowners with added peace of mind.
Why Is Ice and Water Shield So Important for Asphalt Roofs?
Choosing to invest in ice and water shield might seem like an added expense when you're looking at your overall How Much Does an Asphalt Shingle Roof Cost, but it's genuinely one of the most critical decisions you can make for the long-term health and integrity of your home. It's a preventative measure that pays dividends by protecting against some of the most common and destructive roofing issues.
Preventing Ice Dams and Water Damage
Ice dams are a homeowner's nightmare in cold climates. They form when heat escapes from your home's attic, warming the roof deck and melting snow. This meltwater then flows down the roof until it hits the colder eaves, where it refreezes, creating a ridge of ice. As more snow melts, the water pools behind this ice dam, with nowhere to go. Without ice and water shield, this trapped water easily backs up under your shingles and seeps into your roof deck, attic, and even the interior walls of your home.
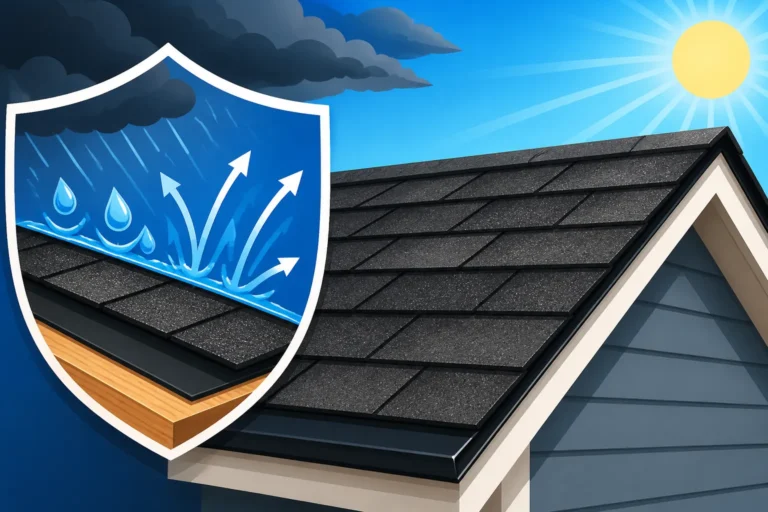
The damage from ice dams can be extensive and costly, ranging from damaged insulation, ruined drywall and paint, to structural rot in your roof decking or framing. An ice and water shield acts as a secondary waterproof barrier, ensuring that even if water gets under your shingles due to an ice dam, it cannot penetrate the roof deck. This protection is invaluable, especially in regions like Colorado or the mountainous parts of New York, where winter storms bring significant snowfall and fluctuating temperatures. It can also help mitigate damage from wind-driven rain, where strong winds can force water sideways or upwards under shingle edges, a scenario traditional underlayment might not fully resist.
Protecting Your Home's Interior
The roof is your home's first line of defense against the elements. When that defense is compromised, the integrity of your entire home is at risk. Water infiltration from a compromised roof can cause a cascade of problems inside your house. Beyond the obvious aesthetic damage to ceilings and walls, persistent moisture can lead to hazardous mold and mildew growth, which can impact indoor air quality and pose health risks.
Structural components like wooden trusses, rafters, and sheathing are also vulnerable. Repeated wetting and drying, or prolonged dampness, can lead to rot, weakening the very bones of your home. Imagine the stress of seeing a water stain grow on your living room ceiling during a heavy rainstorm, knowing that every drop means potential drywall replacement, repainting, and even electrical issues if wiring is affected. Ice and water shield significantly reduces these risks by providing an extra layer of impermeable protection where it's needed most, safeguarding not just your roof, but everything beneath it. This peace of mind is truly priceless.
Extending Your Roof's Lifespan
While shingles bear the brunt of direct weather exposure, the underlying components play a crucial role in the longevity of your entire roofing system. A roof that is consistently subjected to moisture infiltration, even minor leaks, will degrade much faster than one that remains dry. Water can compromise the adhesive strips on shingles, accelerate granule loss, and lead to early deterioration of the organic felt mat within asphalt shingles. More critically, repeated wetting of the roof decking can cause it to warp, swell, or even rot, compromising the surface on which your shingles are laid.
By preventing water from reaching the roof deck and the underside of your shingles, ice and water shield helps maintain the structural integrity of your roof, allowing the shingles themselves to perform optimally for their intended lifespan. When you invest in high-quality materials like CertainTeed Landmark Pro shingles, you want to ensure every component of your roof system supports their performance. A well-protected roof deck means shingles are nailed into solid wood, maintaining their fastening and wind resistance. This preventative measure contributes significantly to your roof lasting its full expected term, whether that's 20, 30, or even 50 years, and ultimately protects your investment.
Different Types of Ice and Water Shield Available
Just like with shingles themselves, not all ice and water shields are created equal. While they all perform a similar function, there are variations in materials and application methods that can influence their performance, durability, and cost. Understanding these differences can help you have a more informed conversation with your roofing contractor.
Modified Bitumen vs. Rubberized Asphalt
The core material of the self-adhering membrane is where the primary differences lie.
- Modified Bitumen: This type uses asphalt that has been modified with polymers (plastics or rubbers) to enhance its flexibility, durability, and waterproofing properties. Styrene-butadiene-styrene (SBS) modified bitumen is a common variety, known for its elasticity, which allows it to expand and contract with the roof deck's movement due to temperature changes. This flexibility is excellent for sealing around nails and accommodating minor structural shifts without cracking. SBS modified bitumen products are often seen in premium ice and water shield options, offering robust protection. They tend to be a bit more expensive but offer superior performance in extreme conditions, making them a popular choice for homeowners in climates with significant temperature fluctuations.
- Rubberized Asphalt: This type utilizes a blend of asphalt and rubber polymers (often synthetic rubber) to achieve its self-sealing and waterproofing characteristics. It's highly adhesive and flexible, providing excellent protection against water intrusion. These are generally very effective and widely used. The specific blend of polymers can influence factors like low-temperature flexibility and high-temperature stability, which are important depending on your climate. Many manufacturers, like GAF and Owens Corning, offer excellent rubberized asphalt ice and water shield products that integrate seamlessly into their full roofing systems.
Both types are designed to be watertight and self-sealing, but the specific formulations can offer varying degrees of flexibility, cold-weather adhesion, and tear resistance. Your contractor can advise on which material best suits your climate and roofing system.
Self-Adhering vs. Mechanically Fastened Options
The method of attachment to the roof deck is another key differentiator.
- Self-Adhering: This is the most common and effective type of ice and water shield. As the name suggests, it has an adhesive backing that sticks directly to the roof deck once the release liner is removed. This creates a continuous, watertight bond across the surface. The self-adhering property is crucial for its ability to seal around nail penetrations, making it superior to traditional underlayments in high-risk areas. The installation requires a clean, dry surface, and proper pressure application to ensure a strong bond, as detailed in guides like How Ice And Water Shield Is Installed.
- Mechanically Fastened: While less common for dedicated ice and water shields that require the self-sealing property, some premium synthetic underlayments might be marketed with enhanced water resistance and are mechanically fastened with cap nails. However, these do not offer the same self-sealing capability around nail penetrations that truly waterproof ice and water shield provides. Mechanically fastened underlayments act primarily as a drainage plane, shedding water that gets past the shingles, rather than forming a sealed, impermeable barrier. For true ice and water protection, the self-adhering, self-sealing variety is almost always the preferred and mandated choice.
When discussing your roofing project, it’s always a good idea to confirm with your contractor that they are indeed installing a self-adhering, self-sealing ice and water shield in the critical areas, not just an enhanced synthetic underlayment. If you're looking for qualified contractors to discuss these options, platforms like Modernize can help connect you with local professionals.
Installation: What to Expect from Your Roofer
Installing ice and water shield correctly is paramount to its effectiveness. A fantastic product installed improperly is as good as no product at all. This is not a DIY job; it requires precision, proper sequencing, and adherence to manufacturer specifications. When you're undertaking a full roof replacement, understanding How a Roof Replacement Works The Full Process means knowing the steps involved in installing this vital layer.
The Step-by-Step Process
When your roofing team starts the installation, they'll follow a careful sequence to ensure your ice and water shield provides maximum protection.
- Roof Deck Preparation: The first and most critical step is ensuring the roof deck is clean, dry, and free of any debris, nails, or old underlayment. Any imperfections on the deck can prevent the ice and water shield from adhering properly. If Roof Decking Replacement Cost is a factor, it means your underlying wood is not sound, which must be addressed before any membrane is laid down. The decking must be sound and smooth.
- Chalk Lines and Alignment: Roofers will snap chalk lines to ensure the membrane is applied straight and consistently, particularly along the eaves. This ensures proper coverage and a neat finish, which is important for the subsequent shingle layers.
- Application Along the Eaves: Starting at the lowest edge (the eaves), the roll of ice and water shield is unrolled. Typically, a portion of the release liner is peeled back, and the adhesive side is carefully pressed onto the deck, usually overlapping the drip edge. The roofer will work upwards, carefully removing the rest of the liner while pressing the membrane firmly to prevent wrinkles or bubbles. Subsequent courses are installed, usually with a minimum 3-inch overlap, working up the roof slope to cover the required distance.
- Valleys and Penetrations: For valleys, the ice and water shield is cut to length and laid centered in the valley, extending a specified distance up each converging roof plane. Around penetrations like vent pipes and chimneys, pieces are cut and applied in a strategic manner to create a watertight seal before any metal flashing is installed.
- Rolling and Sealing: Once the membrane is laid, it's often rolled with a heavy roller to ensure full adhesion and to remove any trapped air. This step is crucial for activating the adhesive and ensuring the self-sealing properties around future nail penetrations work effectively.
Common Installation Mistakes to Avoid
Even with the best materials, poor installation can undermine the effectiveness of ice and water shield. Awareness of these common pitfalls can help you oversee your project or ask the right questions of your contractor.
- Not Preparing the Deck: As mentioned, a dirty, dusty, or wet deck will prevent proper adhesion. If the adhesive doesn't stick fully, water can still migrate underneath the membrane, defeating its purpose. Always confirm with your contractor that the deck will be thoroughly cleaned and dry before installation begins.
- Improper Overlaps: Manufacturer specifications for overlaps between courses of ice and water shield are there for a reason. Too little overlap can create a weak point where water can penetrate. The general rule is to start from the bottom and work up, ensuring upper layers overlap lower ones like shingles, so water flows over, not under.
- Bubbles and Wrinkles: Trapped air or wrinkles in the membrane indicate poor adhesion. These areas can become weak points, susceptible to tearing or lifting over time, creating pathways for water. Skilled installers will take the time to smooth out the membrane carefully.
- Failing to Roll the Membrane: Some contractors might skip the rolling step, especially if they're rushing. But this step is vital for ensuring the adhesive bonds completely to the deck. Without proper rolling, the self-sealing action around nails might not be as effective.
- Incorrect Placement: Not extending the ice and water shield far enough up the roof slope, especially in regions with severe ice damming potential, is a critical error. The "24 inches past the interior wall line" is a key metric, but local codes or climate conditions may dictate more.
- Cutting Corners in Valleys/Penetrations: These are complex areas. Sloppy cuts or inadequate application around chimneys, skylights, or valleys can easily lead to leaks, regardless of how well the field areas are covered. This is where a truly experienced roofer shines.
Cost Considerations and Long-Term Value
When budgeting for a new roof, you’re looking at significant costs, and every line item matters. While adding ice and water shield does increase the initial expense, it’s essential to view it as an investment in your home’s long-term protection and value, not just another cost. It’s part of understanding the full Asphalt Roof Replacement Cost Complete Breakdown.
Breaking Down the Cost
The cost of ice and water shield varies depending on the type of material, the brand, and the amount needed (which is determined by your roof's design and local building codes). On average, you can expect to pay anywhere from $0.75 to $2.00 per square foot for the material alone, with installation adding to that. Considering a roofing square is 100 square feet, this translates to $75 to $200 per square for the material.
Let’s put this into perspective with a typical roof. If you have a 2,000 sq ft roof and need ice and water shield applied to the eaves (say, 3 feet up around the perimeter) and in all valleys, you might cover roughly 20-30% of the total roof area. For a 2,000 square foot roof, covering 25% (5 squares) with ice and water shield at an average of $150 per square for material and labor, you’re looking at an additional $750 to $1,000. This is a relatively small fraction of the total Average Roof Replacement Cost This Year, which could easily range from $8,000 to $20,000 or more, but it provides disproportionately high protection for critical areas.
Here's a simplified breakdown:
| Item | Cost Range (per square foot, installed) | Cost Range (per roofing square, installed) |
|---|---|---|
| Basic Ice & Water Shield | $1.00 – $1.50 | $100 – $150 |
| Premium Ice & Water Shield | $1.50 – $2.50 | $150 – $250 |
| Total Additional Cost for a 20-Square Roof (25% coverage) | Approx. $500 – $1,250 |
The exact figures will depend on your specific roof, contractor pricing, and the local market. Always make sure your roofing estimate clearly itemizes the cost and scope of ice and water shield application.
The ROI of Enhanced Water Protection
While the upfront cost is a consideration, the return on investment (ROI) for ice and water shield is significant, especially in regions prone to heavy weather or extreme cold.
- Preventing Costly Repairs: The cost of repairing interior water damage (drywall, insulation, paint, potential mold remediation) can easily run into thousands of dollars, far exceeding the initial investment in ice and water shield. A single major ice dam event or prolonged leak can quickly justify its expense.
- Extended Roof Lifespan: By protecting the roof deck from moisture, you're preserving the integrity of your entire roof system. A solid, dry deck means your shingles perform better and last longer, potentially delaying the next full roof replacement and saving you future costs.
- Maintaining Home Value: A well-maintained roof free from leaks and water damage is a major selling point for any home. Conversely, a history of leaks or visible interior water damage can significantly detract from your home's value and make it harder to sell.
- Potential Insurance Benefits: In some hail-prone or high-wind areas, certain insurance carriers might offer discounts or more favorable terms if you’ve installed enhanced protective measures, although this is more common for full Class 4 impact-resistant shingles or High-Wind Nailing Cost Premium certifications. However, by preventing claims related to ice dams and leaks, you're indirectly protecting your insurance record and deductible.
- Peace of Mind: Perhaps the greatest ROI is the peace of mind knowing your home is robustly protected against the elements. You won't be constantly worried about the next snowstorm or torrential downpour. This intangible benefit is often invaluable to homeowners.
Ultimately, ice and water shield is a foundational component for a resilient and long-lasting asphalt roof. It’s a smart investment in the enduring protection of your most valuable asset: your home.
Disclaimer
Please remember that the information provided in this guide is for general informational purposes only and does not constitute professional advice. Roofing projects should always be undertaken by qualified and experienced professionals. Local building codes, climate conditions, and specific manufacturer requirements can vary significantly. Always consult with a licensed and insured roofing contractor to assess your specific needs and ensure compliance with all applicable regulations.