How to Temporarily Cover A Roof Leak
There's nothing quite like the heart-stopping moment you discover a roof leak. Whether it's a small drip in the attic or a full-blown cascade into your living room after a sudden storm, that immediate panic is completely valid. It feels like your home's biggest protector has betrayed you. This guide is here to walk you through how to quickly and safely apply a temporary cover to a roof leak, buying you crucial time before professional repairs can begin.
Understanding the Urgency and Risks of a Roof Leak
That little drip might seem innocent enough at first, but a persistent roof leak is a serious problem that can quickly snowball into significant damage if not addressed. It’s not just about a wet spot on your ceiling; it's about protecting the entire structural integrity and indoor environment of your home. The longer water infiltrates your home, the more expensive and complex the repairs become.
Why a Quick Fix Isn't Just for Peace of Mind
Think of a temporary roof repair like a tourniquet for a wound. It stops the immediate bleeding and prevents further harm, giving you the chance to get proper medical attention. In the same way, a temporary roof cover stops water from entering your home, halting the progression of damage that can affect various components.
First off, water damage can compromise your home's structural elements. Persistent moisture can weaken attic trusses, ceiling joists, and even wall studs, leading to sagging ceilings, compromised walls, and an overall unstable structure. This isn't just a cosmetic issue; it's a safety concern. Beyond structural woes, mold and mildew thrive in damp, dark environments, and a leaking roof provides the perfect breeding ground. These insidious fungi can spread rapidly through your attic and walls, leading to unpleasant odors, respiratory issues for your family, and expensive remediation processes. If you find yourself constantly dealing with drips, it might be time to start considering the
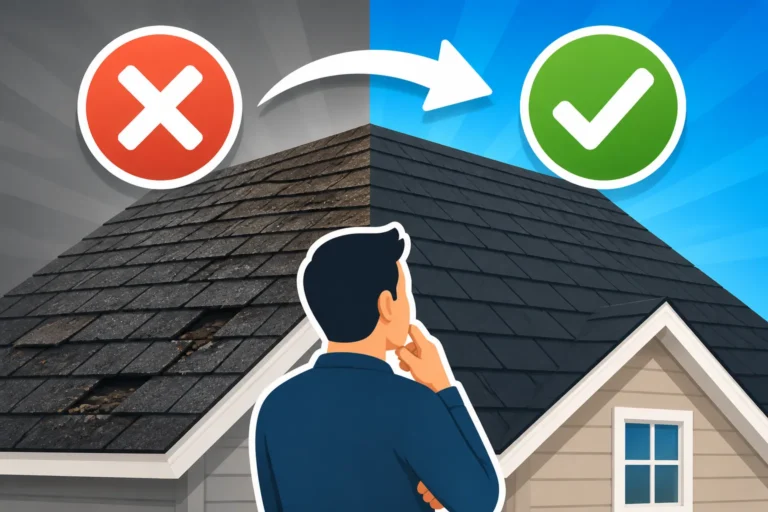
When to Repair a Roof Leak vs Replace the Roof conversation with a professional.
Furthermore, water and electricity don't mix. A leak that reaches electrical wiring or fixtures can create hazardous short circuits, power outages, and even fire risks. Protecting your electrical system is paramount, and a quick temporary fix can prevent these dangerous scenarios. Finally, the longer a leak goes unaddressed, the more expensive the final repair will be. A small leak dealt with promptly might just need a simple patch, but if left to fester, you could be looking at significant roof decking replacement, insulation replacement, and interior drywall repairs, all of which add up quickly. Getting on top of it now is an investment in your home's health and your wallet.
Common Scenarios That Lead to Sudden Leaks
Roof leaks rarely happen without some underlying cause, though sometimes they seem to appear out of nowhere. Often, severe weather events are the most dramatic culprits. A sudden, violent thunderstorm with high winds can rip off shingles, expose the underlayment, or even lift entire sections of your roof. Hailstorms can bruise and crack shingles, creating tiny entry points that become major leaks during the next rain. Even heavy snow loads followed by rapid thaws can cause ice dams, forcing water underneath your shingles and into your attic.
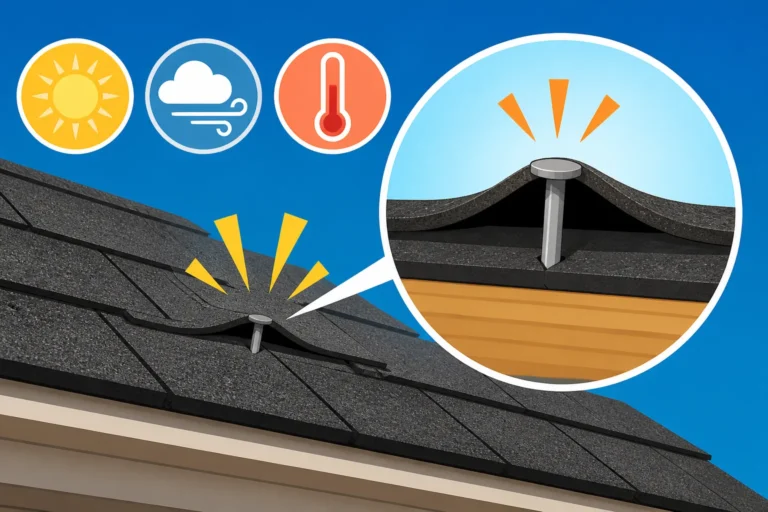
Beyond acute weather events, the natural aging process of your asphalt roof is a primary reason for leaks. Over time, the sun's UV rays, temperature fluctuations, and general wear and tear cause shingles to become brittle, crack, curl, or lose their protective granules. These compromised shingles are no longer an effective barrier against water. You might notice
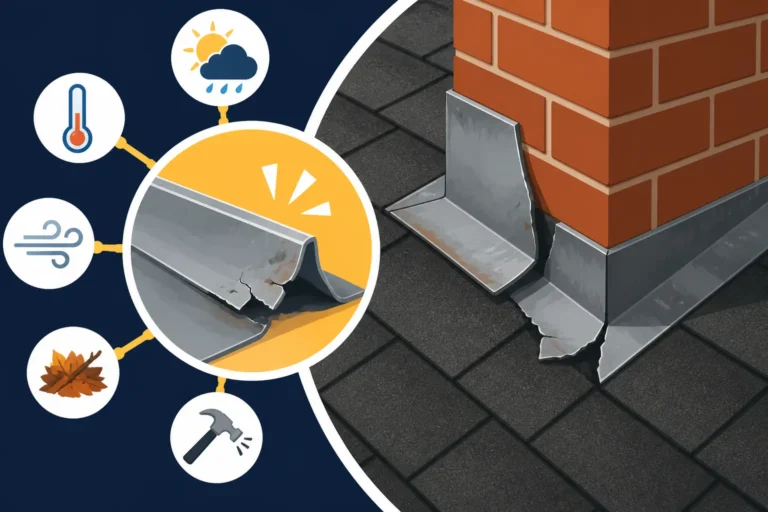
Signs You Need a New Roof long before a leak actually manifests. Faulty or damaged flashing around chimneys, skylights, vents, and valleys is another common source. Flashing is designed to create a watertight seal where the roof meets a vertical surface, and if it's bent, rusted, or improperly installed, water will inevitably find its way in. This is where understanding
What Is Flashing and Why It Matters becomes crucial. Sometimes, a leak can even stem from minor, unaddressed damage like a loose shingle or a small puncture from falling debris that simply wasn't noticed until it became a bigger issue.
Gathering Your Supplies for a Temporary Roof Repair
When that leak appears, you’ll probably feel a rush of adrenaline. Before you rush onto the roof, take a deep breath and ensure you have everything you need. A quick trip to the hardware store, or even rummaging through your garage, can yield the necessary items. Being prepared isn't just about efficiency; it's about safety.
Essential Tools and Materials for Your Toolkit
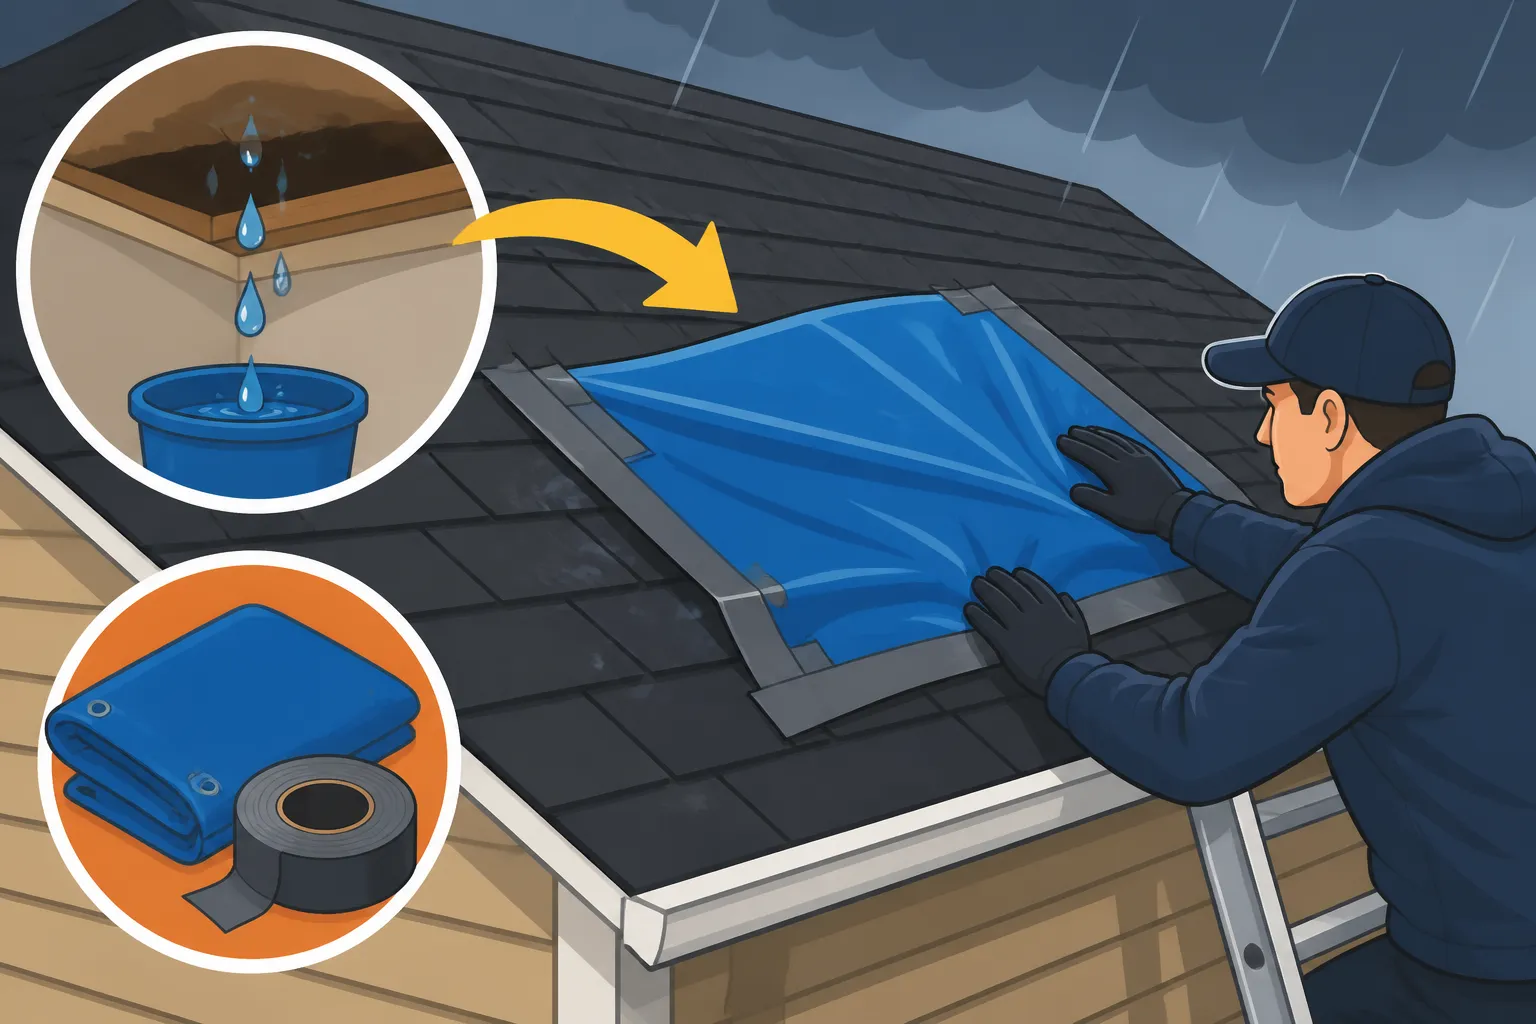
For most temporary roof leak fixes, especially tarping, you'll need a few key items. First and foremost, you'll need a roofing tarp. Look for a heavy-duty, reinforced tarp that is larger than the affected area. It should be big enough to extend several feet beyond the leak in all directions, especially uphill, to effectively divert water. Don't skimp on quality here; a cheap, thin tarp will tear easily and offer minimal protection. Next, you'll need materials to secure the tarp. 2×4 lumber or similar sturdy wooden boards are excellent for creating "tarp sandwiches" over the edges to prevent wind lift. You'll also need nails or screws (long enough to go through the tarp and wood into the roof decking, but not so long they pierce your ceiling), and a hammer or cordless drill to fasten them. Some strong rope or bungee cords can also be handy for extra security, especially if you're draping the tarp over a ridge.
For smaller, more localized leaks or as an extra layer of protection under a tarp, having some roofing cement (also known as roof mastic or flashing cement) and a caulking gun with a tube of high-quality exterior caulk (like polyurethane or siliconized acrylic) can be very useful. A utility knife is good for cutting the tarp if needed, and a measuring tape will help you assess the dimensions. Don't forget proper safety gear: sturdy work gloves, non-slip work boots, and, if you have one, a safety harness are non-negotiable. Finally, a ladder is obviously essential for accessing the roof. Make sure it's in good condition and rated for your weight plus the weight of your tools. Finding a reliable contractor through platforms like Modernize can help you get these tasks done professionally if you're not comfortable with DIY.
Safety First: Preparing for the Task
I cannot stress this enough: your safety is the absolute top priority. A leaking roof is already a stressful situation, and rushing into a dangerous repair can lead to far worse outcomes. Before you even think about climbing that ladder, take a moment to assess the situation and your own capabilities.
First, check the weather conditions. Never, ever attempt a roof repair, even a temporary one, during active rain, strong winds, lightning, or icy conditions. A wet roof is incredibly slippery, and a gust of wind can easily knock you off balance. Wait until the weather clears and the roof surface is dry. Ladder safety is paramount. Ensure your ladder is placed on a firm, level surface, extending at least three feet above the edge of the roof. Have someone "spot" you, holding the base of the ladder, and never overreach. Move the ladder frequently rather than stretching. Wear appropriate footwear – non-slip, closed-toe boots are a must. Avoid sandals or sneakers that offer no grip. If your roof has a steep pitch, consider if it's truly a job you can do safely, or if it's better to call a professional immediately. For instance, if you have a
Steep Roof Cost Premium, it often means the work is more hazardous and requires specialized equipment and expertise.
Never work alone on a roof. Having a partner is crucial for both safety and practical reasons. They can steady the ladder, hand you tools, and, most importantly, call for help if an accident occurs. Be mindful of electrical hazards. If the leak is near electrical lines, satellite dishes, or other components, proceed with extreme caution. If there's any doubt about exposed wiring, cut power to that section of your home at the breaker. Always wear sturdy gloves to protect your hands from rough shingle edges, splinters, or sharp tools. Remember, this is a temporary fix. The goal is to stop the immediate leak, not to perform a perfect, long-lasting repair. If at any point you feel uncomfortable or unsafe, stop and call a professional. Many contractors are available for emergency services and can help you avoid putting yourself at risk.
Step-by-Step Guide to Tarping a Leaking Roof
Tarping is arguably the most common and effective temporary solution for a roof leak, especially after storm damage. It creates an immediate barrier, diverting water over and past the damaged area. The key is proper placement and secure fastening to prevent further intrusion and wind lift.
Locating and Assessing the Leak Area
Before you can cover a leak, you need to know exactly where it is. This can sometimes be trickier than it sounds, as water can travel along rafters and beams before dripping down in a seemingly unrelated spot. Start your investigation indoors, in the attic if possible. Look for water stains on the ceiling, wet insulation, or visible drips. Use a flashlight to trace the water marks upwards. Often, water leaves a trail along the underside of the roof decking, leading you directly to the entry point. Once you've identified the general area inside, you can go outside to pinpoint the exact spot.
From the exterior, look for obvious signs of damage directly above where you found the leak. This could be missing shingles, cracked or curled shingles, exposed underlayment, or damaged flashing around chimneys, vents, or skylights. Pay close attention to any areas where water might pool or where debris has accumulated, as these are common leak origins. If your roof has multiple layers of shingles, it's also worth investigating if the leak is occurring between layers, as this can be a more complex issue. Understanding
Underlayment Explained: Synthetic vs Felt can give you insight into the protective layers beneath your shingles, which might also be compromised. Visually inspecting the entire slope above the interior leak point, and even slightly to the sides, is important, as water can run sideways under shingles before finding an opening.
Securing the Tarp Correctly for Maximum Protection
Once you've identified the leak location, it's time to get that tarp in place. The goal is to extend the tarp significantly above and around the damaged area, allowing gravity to carry water down and off the tarp, bypassing the leak.
- Placement is Key: Lay the tarp over the damaged section, ensuring it extends at least 3-4 feet uphill (towards the ridge) past the leak and at least 2-3 feet to the sides and downhill. The higher up the roof the tarp starts, the better it will divert water. For instance, if your leak is halfway down a slope, your tarp should ideally start near the ridge line and cover the entire path from there down past the leak. This ensures water doesn't sneak underneath the top edge of your tarp.
- Creating a "Tarp Sandwich" for Security: This is the most effective way to secure the tarp against wind. On the uphill edge of the tarp, roll the tarp's edge around a 2×4 piece of lumber several times. This creates a sturdy, rolled edge. Place a second 2×4 on top of the first, sandwiching the rolled tarp between them. Secure these two boards together with nails or screws, making sure to drive them through the wood and the tarp. Repeat this "sandwich" technique along all edges of the tarp that might be exposed to wind, especially the side edges.
- Fastening to the Roof Deck: Once your "tarp sandwiches" are in place, you'll need to fasten them to the roof. Using a cordless drill or hammer, drive nails or screws through the outer 2x4s and into the roof decking. Aim for consistent spacing, about every 12-18 inches, to ensure a strong hold. It's crucial to angle these fasteners away from the immediate leak area to avoid creating new penetrations where water could enter. For example, if the leak is in the middle of a shingle course, make sure your fasteners for the tarp's perimeter are well above or to the side of that specific shingle.
- Additional Anchoring (if necessary): If you're in a particularly windy area, or if the tarp needs to cover a very large section and drape over the ridge, you might consider running ropes from the tarp's grommets down to secure anchors on the ground, such as sturdy fence posts or even heavy sandbags. Ensure these ropes are taut but not so tight they stress the tarp or its grommets excessively. Remember, even a securely tarped roof is only a temporary solution, and you'll still need to bring in a professional for a
Alternative Temporary Fixes for Smaller Leaks
While tarping is fantastic for larger areas or significant storm damage, sometimes a leak is small and localized. For these instances, a targeted temporary repair can be quicker and just as effective at holding off further water intrusion.
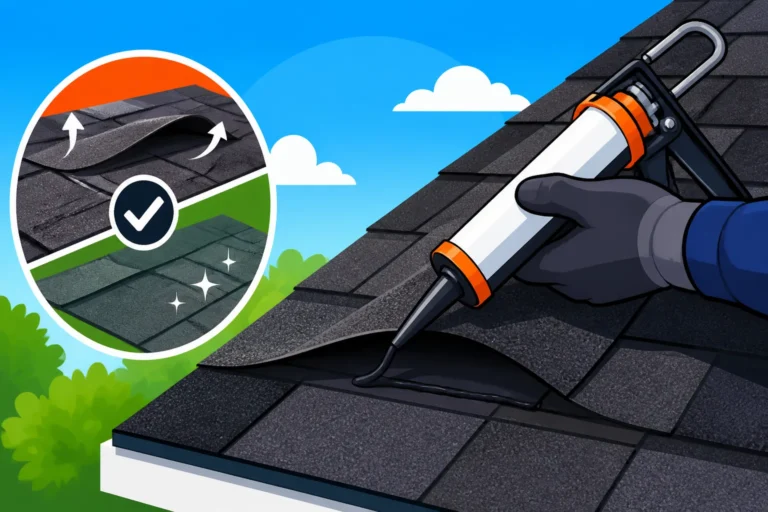
Roofing Cement or Mastic: This thick, asphalt-based compound is a roofer's best friend for minor patches. If you find a small crack in a shingle, a loose shingle, or a tiny hole, a generous dab of roofing cement can seal it temporarily. Make sure the area is clean and dry. Apply the cement with a trowel or putty knife, spreading it evenly over the damaged spot and slightly under any lifted shingle edges. For a lifted shingle, lift it gently, apply cement underneath, and then press it firmly back into place. This is a common method for dealing with
Cracked Shingles: Causes and Fixes or minor flashing issues.
Exterior Caulk: For very small holes or hairline cracks in flashing or around roof penetrations (like vent pipes), a high-quality exterior caulk (polyurethane or siliconized acrylic) can provide a decent seal. Clean the area thoroughly, ensure it's dry, and apply a steady bead of caulk into the crack or gap. Smooth it out with a wet finger or caulking tool. While useful, remember caulk isn't designed for large holes or areas of significant water flow. It's more of a band-aid than a robust temporary patch.
Butyl Tape: This highly adhesive, rubberized tape is another excellent option for quick fixes on flashing or small punctures in membrane roofs (though less common on shingle roofs). It creates an instant, watertight seal. Just clean the surface, cut the tape to size, and press it firmly over the leak. It adheres well to many surfaces and can withstand temperature changes. When using any of these methods, always ensure you apply enough material to cover the problem area completely, overlapping slightly onto healthy, undamaged sections to create a good seal. These fixes are meant to last a few days or weeks, giving you time to consult with a professional.
Here's a quick comparison of temporary leak repair options:
| Method | Best Use Case | Pros | Cons | Estimated Duration |
|---|---|---|---|---|
| Tarping | Large holes, missing shingles, storm damage | Covers large areas, highly effective | Visible, can be labor-intensive, aesthetic impact | Weeks to Months |
| Roofing Cement/Mastic | Small cracks, lifted shingles, minor holes | Quick, easy application, less noticeable | Not for large areas, effectiveness varies with damage | Days to Weeks |
| Exterior Caulk | Hairline cracks, small gaps around pipes/vents | Very quick, easy to apply, precise | Limited to tiny imperfections, less durable | Days to Weeks |
| Butyl Tape | Flashing repairs, small punctures, membrane roofs | Instant seal, strong adhesion | Can be costly for large areas, specific application needs | Weeks to Months |
What to Do After the Temporary Fix
Breathing a sigh of relief after temporarily stopping a leak is completely normal. You've averted an immediate crisis. But remember, "temporary" is the key word. Your next steps are crucial for ensuring a permanent, professional repair and protecting your investment.
Documenting the Damage for Insurance and Professionals
The moment you discover a leak, and especially after you've applied a temporary fix, documenting everything becomes incredibly important. This evidence will be vital for your insurance claim and for communicating the full scope of the problem to any contractors you hire.
Start with photos and videos. Take wide shots that show the overall area of damage, both inside (attic, ceiling, walls, damaged belongings) and outside on the roof. Then, get close-up shots of the specific leak points, damaged shingles, flashing, or other compromised areas. Include photos of the temporary repair you've put in place. Date and time-stamp these images if possible. Create a detailed log of when the leak started, what the weather conditions were like, and what steps you took. If any personal property was damaged, list it out with approximate values and include photos. The more evidence you have, the smoother your insurance claim process is likely to be. If you're wondering
Does Insurance Cover Roof Replacement, documentation is your best friend. Many insurance companies require you to take reasonable steps to prevent further damage, so your temporary fix actually helps your case. Once you have this documentation, contact your homeowners insurance provider immediately to report the damage and begin the claims process. They will likely send an adjuster to assess the situation, so having your own records ready will be invaluable.
The Next Steps: Calling in a Qualified Roofing Contractor
With the immediate crisis managed, your next, most important step is to call in a reputable roofing professional. While your temporary fix bought you time, it's not a substitute for a permanent repair executed by experienced hands. Attempting complex permanent repairs yourself can void warranties, lead to further damage, or, worst case, compromise your roof's integrity.
When looking for a contractor, don't just pick the first name you see. Start by asking friends, family, or neighbors for recommendations. Online reviews on platforms like Google, Yelp, or industry-specific sites can also be a good starting point. Sites like Modernize can help connect you with pre-vetted local roofing professionals, saving you time and giving you peace of mind. Make sure any contractor you consider is fully licensed and insured in your state. This protects you in case of accidents or shoddy workmanship. Ask to see proof of both liability insurance and workers' compensation insurance. A good contractor will be transparent and happy to provide this. It's also wise to get multiple estimates – at least three – for comparison. This helps you understand the average
Average Roof Replacement Cost This Year and what different contractors propose for the repair. Don't simply choose the cheapest bid; evaluate the contractor's reputation, experience, proposed materials, and warranty. You're looking for quality and reliability, not just a low price. Consider asking for references from previous clients and follow up on them. Look for contractors who are certified by major shingle manufacturers like GAF or Owens Corning, as this often indicates a higher level of training and adherence to best practices. You can learn more about
How to Choose a Roofing Contractor to make an informed decision.
Planning for a Permanent Solution
Once you have a few estimates from qualified contractors, it's time to evaluate the proposals and plan for the permanent solution. This is where you'll make critical decisions that impact your home's long-term protection and value.
Your contractors will assess not just the leak but the overall condition of your roof. They might recommend a localized repair if the roof is relatively new and the damage is minor, or a full replacement if the roof is old, has widespread damage, or is showing
Signs You Need a New Roof. Be prepared to discuss the details of their inspection, including the condition of your shingles, underlayment, and roof decking. Ask them to explain why they recommend a repair versus a full replacement. For example, if your roof is already 20 years old and has significant granule loss across multiple slopes, a repair might be a waste of money when a full replacement is imminent anyway. This is an important consideration when comparing the
Cost to Replace vs Repair an Old Roof.
Consider the cost implications. A full roof replacement, while a larger upfront investment, can offer significant
Roof Replacement ROI Explained and superior long-term protection compared to repeated repairs. Look into financing options if needed, and confirm how your insurance payout will factor into the total cost. Discuss timelines for the work to be completed, especially if the leak has caused interior damage that needs to be addressed after the roof is fixed. A good contractor will provide a detailed contract outlining the scope of work, materials, costs, payment schedule, and warranty information. Read this carefully and ask questions about anything unclear. Ultimately, planning for a permanent solution involves making an informed decision that protects your home for years to come.
Disclaimer
Please remember that this guide provides general information for temporary roof leak fixes. While comprehensive, it is not a substitute for professional advice. Always prioritize safety and consult with a qualified, licensed, and insured roofing contractor for any permanent repairs or if you are uncomfortable performing temporary fixes yourself. Local building codes and regulations may vary.