How to Get Insurance to Pay for a Roof
Seeing significant damage to your roof can be incredibly stressful, immediately followed by the daunting question: "Will my insurance company actually pay for this?" Many homeowners feel overwhelmed and unsure where to even begin, fearing a long, drawn-out battle. This comprehensive guide is here to demystify the process, walking you through the steps to successfully navigate an insurance claim for your asphalt roof, from understanding your policy to appealing a denied claim.
Understanding Your Homeowners Insurance Policy
Before a single shingle flies off your roof, the most powerful tool you have is knowledge of your insurance policy. This isn't just a dry document; it's the blueprint that dictates what your insurer will and won't cover, and how much they'll pay. Far too often, homeowners only crack it open after a disaster, which can lead to unwelcome surprises.
Actual Cash Value vs. Replacement Cost Value
This is perhaps the single most critical distinction in your policy when it comes to roof claims. It determines whether you'll get enough money to truly restore your roof to its pre-damage condition, or if you'll be left paying a significant portion out of pocket.
- Actual Cash Value (ACV): If your policy pays out based on ACV, it means the insurance company will factor in depreciation for the age and condition of your roof. Think of it like this: if your 15-year-old asphalt roof gets damaged, and a new roof costs $20,000, your insurer might say that your old roof had already "lived" half its life. They'd pay you the current market value of that 15-year-old roof, which could be significantly less than $20,000, leaving you to cover the difference. This can be a huge shock for homeowners expecting a full replacement.
- Replacement Cost Value (RCV): With an RCV policy, the insurer agrees to pay the full cost to repair or replace your roof with new materials of similar quality, without deducting for depreciation. This is generally the gold standard for homeowners. However, it often comes with a two-payment system: you receive an initial payment based on ACV, complete the repairs, and then submit proof of completion and payment to get the remaining "depreciation" amount released. It’s important to understand the nuances of how these policies impact your finances when you’re looking at your total Asphalt Roof Replacement Cost: Complete Breakdown.
Always check your policy’s declarations page or talk to your agent to confirm whether you have ACV or RCV coverage for your roof. Many homeowners in hail-prone states like Colorado or Texas have seen their policies quietly switch to ACV for roofs over a certain age, so it pays to stay informed.
Deductibles and Specific Exclusions
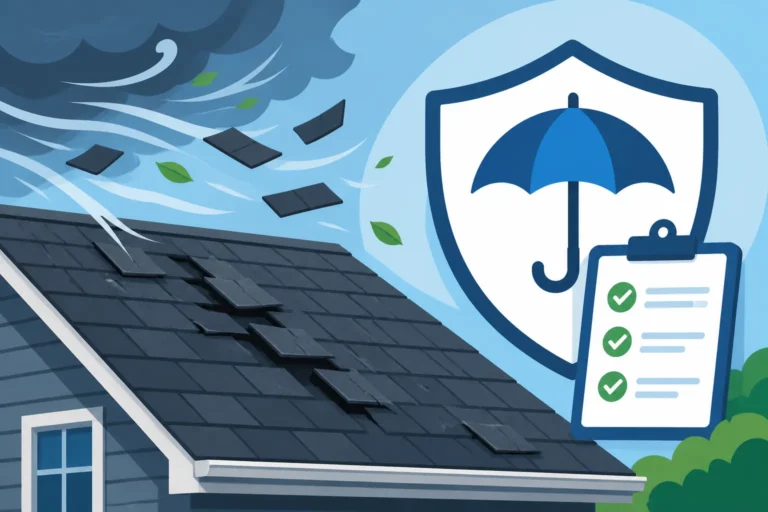
Your deductible is the amount you're responsible for paying before your insurance coverage kicks in. For roofing claims, especially storm-related ones, you might find a separate, higher deductible than your standard policy deductible. This is common in areas prone to hurricanes or hail, where insurers might have a "wind/hail deductible" that's a percentage of your home's insured value (e.g., 1% or 2%). If your home is insured for $300,000, a 1% wind/hail deductible means you'd pay $3,000 before your insurer pays anything.
It's also crucial to be aware of any specific exclusions. For instance, some policies might exclude damage from certain types of natural disasters if you live in a high-risk flood zone (which would typically require separate flood insurance) or earthquake-prone areas. Damage due to long-term neglect or lack of maintenance, such as severe moss growth or issues from uncleaned gutters leading to rot, is almost always excluded.
Documenting Damage and Filing Your Claim
The moment you suspect roof damage, your immediate actions are vital. The more thorough you are, the smoother your claims process will likely be. This isn't the time to procrastinate; prompt and meticulous documentation is your best friend.
Assessing and Documenting the Damage
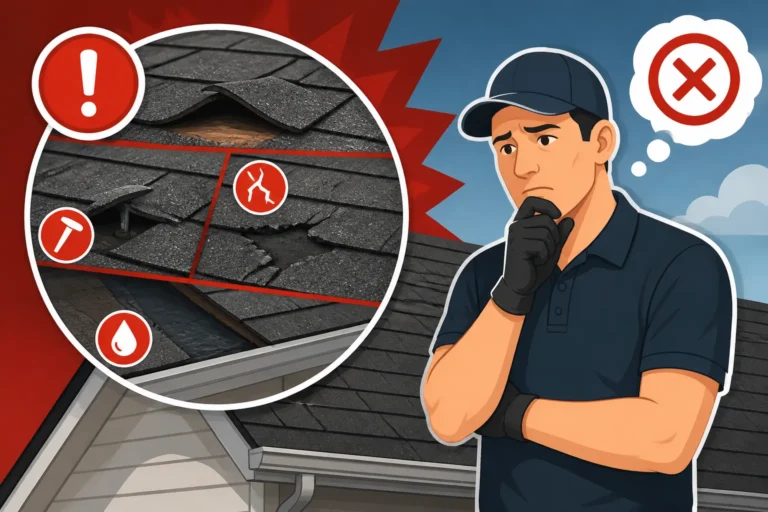
The first step after ensuring your safety is to carefully assess the damage. While you might be tempted to climb up there yourself, never compromise your safety. If you’re not comfortable or equipped, stay on the ground and use a good camera with a zoom lens.
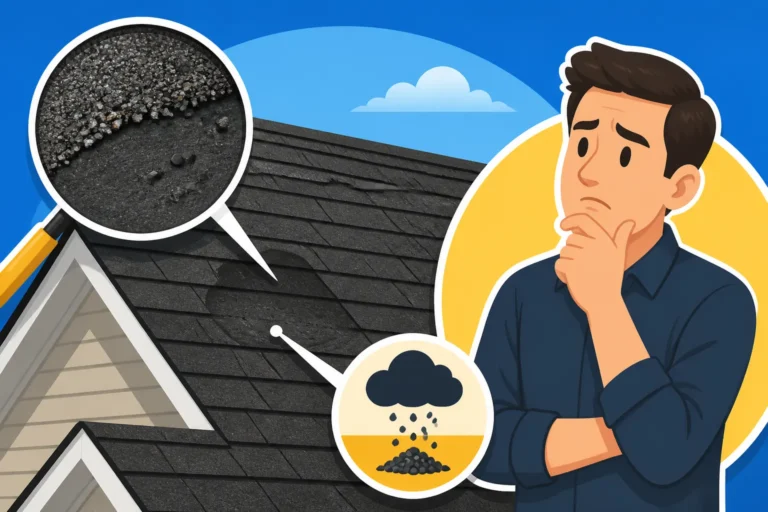
- Initial Observation: Look for obvious signs of damage from the ground. This includes missing shingles, shingles that are visibly lifted or torn, granule loss (often seen as dark spots on shingles or granules in gutters), or even damage to your gutters, fascia, or siding. Don't forget to check your yard for debris like fallen branches or shingle pieces. If you notice any Signs You Need a New Roof beyond isolated damage, it could strengthen your claim.
- Photography and Videography: Take a multitude of clear, well-lit photos and videos from various angles.
- Wide Shots: Capture the overall context of the damage on your roof and home.
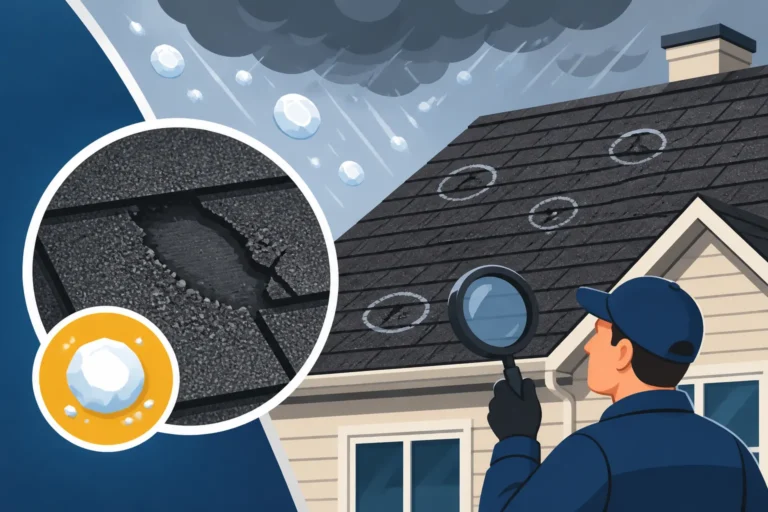
- Close-Ups: Zoom in on specific damaged shingles, dents from hail, cracks, or other affected areas.
- Interior Shots: If you have leaks inside your home, document water stains on ceilings, walls, or damage to flooring and personal belongings.
- Date and Time Stamp: Ensure your camera or phone automatically records the date and time, or note it manually. This helps establish the timeline of the damage.
- Detailed Notes: Keep a detailed log of everything you observe.
- Date and Time of Incident: When did the storm or event occur?
- Specific Damage: Describe each area of damage precisely.
- Affected Areas: Note which slopes of the roof are damaged, if it's localized or widespread.
- Weather Report: If applicable, obtain local weather reports from the time of the incident (e.g., wind speeds, hail size). Many weather services offer historical data that can corroborate your claims.
This meticulous Roof Damage Assessment: A Homeowner's Guide will be invaluable when you formally file your claim and speak with the insurance adjuster.
Contacting Your Insurance Company
Once you have your documentation, it's time to reach out to your insurer. Don't delay; most policies require you to report damage "promptly" or within a specific timeframe, usually 30-60 days.
- Initial Notification: Call your insurance provider's claims department or use their online portal to initiate a claim. Be prepared to provide:
- Your policy number.
- The date and cause of the damage (e.g., "wind storm on October 15th").
- A brief description of the damage you've observed.
- Claim Number: You'll be assigned a claim number. Write it down and keep it handy, as you'll refer to it often.
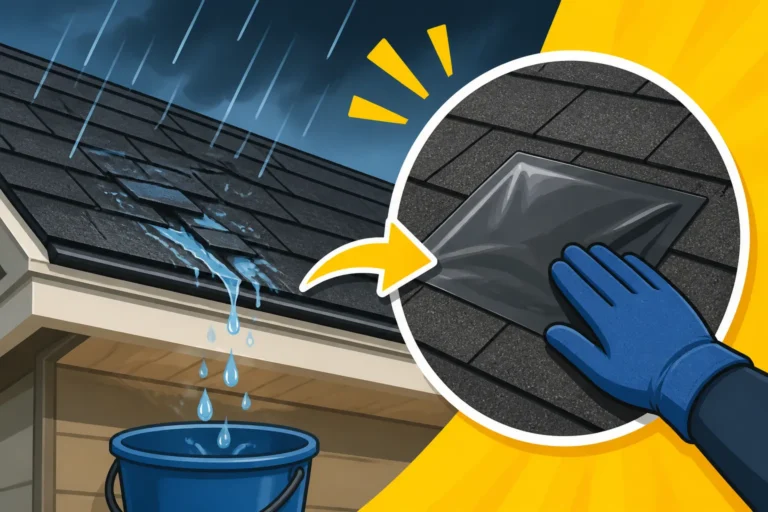
- First Point of Contact: An insurance representative will typically guide you through the initial steps. They might ask if the damage is ongoing (e.g., a current leak) or if you've taken any steps to mitigate further damage (like placing a tarp). This is a good time to mention your detailed documentation.
- Finding a Contractor (Optional but Recommended): While your insurer will send an adjuster, it's often wise to have your own professional assessment. Reach out to reputable local roofing contractors. Many will offer a free inspection and can help you understand the extent of the damage. They often have experience dealing with insurance claims and can provide an objective estimate. Platforms like Modernize can be incredibly helpful here, connecting you with pre-vetted roofing companies in your area who understand the claims process. You’ll want to know How to Choose a Roofing Contractor who is experienced with insurance claims.
Table: Insurance Claim Documentation Checklist
| Item to Document | Description | Why it's Important |
|---|---|---|
| Date of Loss | Exact date/time of storm or event. | Establishes timeline, links to weather data. |
| Photos/Videos | Wide shots & close-ups of exterior/interior damage. | Visual proof, shows scope and severity. |
| Detailed Notes | Specific descriptions of damage, affected areas. | Supports visual evidence, ensures nothing is missed. |
| Weather Report | Official reports for the date of loss in your area. | Corroborates storm claims, confirms severity. |
| Roofing Estimate | From a reputable contractor detailing repairs/replacement. | Provides professional scope of work and cost. |
| Receipts | For any temporary repairs (tarps, emergency services). | Shows mitigation efforts, potential for reimbursement. |
| Policy Details | ACV/RCV, deductible, specific endorsements. | Guides claim expectations and financial responsibility. |
Navigating the Adjuster's Visit and Outcome
The insurance adjuster is the person assigned by your insurer to physically inspect the damage and determine the official "scope of loss." This visit is a critical part of the process, and being prepared can significantly impact the outcome.
Preparing for the Adjuster's Inspection
Think of this as your opportunity to present your case. You've done your homework, now it's time to communicate it effectively.
- Be Present and Available: Try to be home during the inspection. This allows you to point out specific areas of concern and ask questions directly.
- Share Your Documentation: Have all your photos, videos, and notes readily available. Offer them to the adjuster. Don't just assume they'll find everything; guide them if necessary. For instance, if you saw hail damage on a particular side of the house, mention it.
- Consider a Contractor's Presence: If you’ve already had a roofing contractor perform an inspection and provide an estimate, ask if they can be present during the adjuster’s visit. A reputable contractor can speak the "language" of roofing, ensuring the adjuster doesn't miss anything and that the damage assessment is comprehensive. They can often point out subtle damage that a less experienced adjuster might overlook.
- Don't Rush: Allow the adjuster to do their job thoroughly. They might spend a considerable amount of time on your roof, in your attic, and around your property.
After the inspection, the adjuster will prepare a report detailing their findings. This report will form the basis of your insurance company's offer.
Understanding the Claim Decision
Once the adjuster's report is complete, you'll receive a claim decision from your insurance company. This will typically outline what they've approved for repairs or replacement and the estimated payout.
- Scope of Work: The decision will include a "scope of work" document. This is crucial as it details exactly what the insurer agrees to cover – e.g., "replace 3 squares of shingles on the north slope" or "full roof replacement." Carefully compare this to any estimates you've received from contractors. Are there discrepancies? Does it cover all the damage you documented? A comprehensive Roofing Insurance Claim Process Step by Step will highlight the importance of reviewing this scope carefully.
- The Payout: If your claim is approved, you'll receive a payment breakdown.
- ACV Policies: You'll typically get a single check for the depreciated value of the repairs or replacement.
- RCV Policies: You'll likely receive an initial check for the ACV portion. Once the work is done and you provide proof (invoices, photos of completed work), the remaining depreciation amount will be released. This "holdback" of depreciation is standard.
- Negotiating the Scope and Price: It's not uncommon for the initial adjuster's estimate to be lower than what your chosen contractor quotes. This isn't necessarily malicious; adjusters use general pricing guidelines, and a contractor provides a quote specific to your property's needs, including current material and labor costs in your area. This is where your contractor's detailed estimate becomes invaluable. If there's a significant difference, your contractor can work with the adjuster, providing supplemental documentation or explaining why their costs are higher. This back-and-forth is known as "supplementing the claim" and is a normal part of the process. Remember, the goal is to get your roof back to pre-damage condition, not just the cheapest fix.
What to Do if Your Claim is Denied or Underpaid
Receiving a denial or a surprisingly low offer can be incredibly frustrating, but it's not always the end of the road. Many homeowners successfully appeal initial decisions. The key is to understand why the claim was denied or underpaid and to present a strong counter-argument. If you believe your Roof Replacement Cost by House Size isn't being fully addressed, it’s time to act.
Common Reasons for Denial or Underpayment
Understanding the root cause of the insurer's decision will help you formulate your appeal.
- Damage Not Meeting Deductible: The insurer might acknowledge damage but determine that the cost to repair it is less than your deductible. For example, if you have a $2,000 deductible and the damage is estimated at $1,500, they won't pay anything.
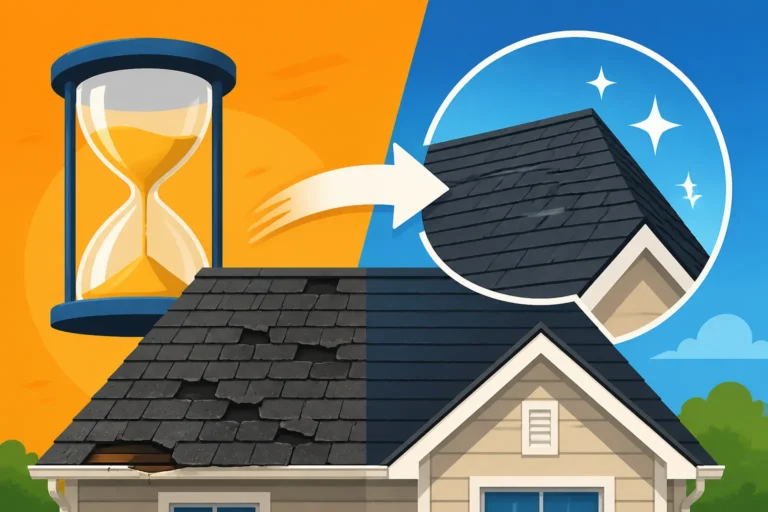
- Wear and Tear/Lack of Maintenance: This is a common denial reason, especially for older roofs. Insurers argue that the damage is due to the natural aging of the roof, not a sudden, covered peril. They might say your 20-year-old roof was already nearing its end of life, and any minor storm damage is just accelerating an inevitable replacement. This often brings up questions about How Long an Asphalt Roof Lasts and if the damage truly exceeds its expected lifespan.
- Improper Installation: If the original roof was installed incorrectly, leading to premature failure, the insurer may deny the claim, stating it's not a covered peril.
- Non-Covered Peril: The damage might be caused by something not specifically covered in your policy, like gradual water damage or certain types of mold.
- Insufficient Documentation: If you didn't provide enough evidence of the damage or its direct cause, the insurer might have an easier time denying your claim.
- Adjuster Discrepancy: The adjuster might simply not have seen all the damage, or they might have interpreted it differently than you or your contractor. This is particularly common with subtle hail damage or wind damage where shingles are lifted but not completely missing.
Appealing the Decision
If you receive a denial or an unsatisfactory offer, don't give up immediately. You have options.
- Review the Denial Letter Carefully: The letter should state the specific reasons for the denial, often citing sections of your policy. Understand these reasons fully.
- Gather More Evidence: This is where a trusted, experienced roofing contractor truly shines. They can provide a more detailed inspection report, sometimes identifying damage that the adjuster missed. They can also offer expert opinions on whether the damage is indeed storm-related and not just wear and tear. A good contractor will document specific instances of hail impacts, wind creasing, or other clear signs of peril-related damage. They might even use drone footage or specialized tools to highlight issues.
- Submit a Formal Appeal Letter: Write a clear, concise letter to your insurance company.
- Reference Your Claim Number: Always include this.
- State Your Disagreement: Clearly explain why you believe the decision is incorrect, referencing sections of your policy and the new evidence you've gathered (e.g., "The denial states 'wear and tear,' but our contractor's report shows clear signs of recent hail impact, not aging.")
- Attach Supporting Documents: Include your contractor's detailed estimate, additional photos, weather reports, and any other relevant information.
- Request a Re-inspection: Ask for a different adjuster to conduct a re-inspection, preferably with your contractor present.
- Consider a Public Adjuster: If your claim is substantial and you're struggling to make headway, you might consider hiring a public adjuster. Unlike the adjuster employed by your insurance company, a public adjuster works solely for you, the homeowner. They are experts in policy language and damage assessment, and their goal is to maximize your payout. They typically work on a contingency basis, taking a percentage of the final settlement. While they can be very effective, remember they come at a cost.
- Contact Your State's Department of Insurance: If all else fails, and you still feel unfairly treated, you can file a complaint with your state's Department of Insurance. They regulate insurance companies and can mediate disputes. While they won't force an insurer to pay, they can ensure the company is adhering to regulations and acting in good faith. This is a final step when you've exhausted all other avenues.
Remember, getting insurance to pay for a roof can be a process, not a single event. With proper preparation, thorough documentation, and a willingness to advocate for yourself, you significantly increase your chances of a successful outcome. Platforms like Modernize can help you find reputable contractors who are well-versed in navigating insurance claims, giving you a valuable partner in the process.
Disclaimer
The information provided in this guide is for general informational purposes only and does not constitute professional advice. Roofing and insurance claim situations are highly specific and depend on individual circumstances, policy details, and local regulations. Always consult with a qualified roofing contractor and your insurance provider for advice tailored to your specific situation.