Signs a Roof Repair Was Done Wrong
It's incredibly frustrating, isn't it? You hire a professional, spend good money on a roof repair, and expect the problem to be solved, only to find yourself still dealing with leaks, unsightly patches, or worse, entirely new issues. It feels like a punch to the gut when you suspect a repair wasn't done right. This guide is here to help you understand the common signs of a botched roofing job so you can confidently address them and ensure your home is truly protected.
Immediate Visual Red Flags After a Repair
Sometimes, the signs of a poor repair are staring you right in the face as soon as the crew packs up. These aren't just aesthetic annoyances; they're often indicators of underlying problems that will lead to bigger headaches down the road. It pays to do a careful inspection yourself shortly after the work is completed.
Mismatched Shingles or Sloppy Appearance
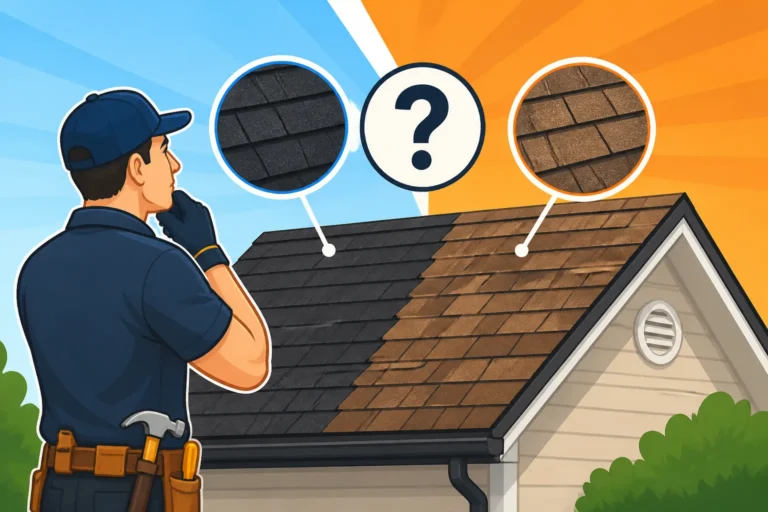
One of the most immediate and glaring signs that something isn't quite right is a noticeable discrepancy in the roof's appearance. We're not talking about minor color variations due to sun exposure on older shingles – that's expected. We're talking about entirely different shades, styles, or even textures of shingles used in the repaired area compared to the rest of your roof. Imagine looking up at your roof and seeing a jarring, checkerboard pattern where a seamless repair should be.
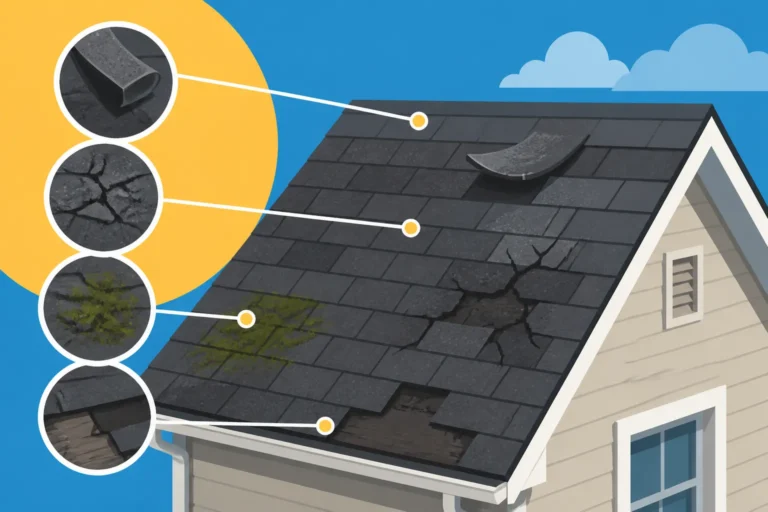
Beyond just color, look at the overall "flow" of the shingles. Are they lined up neatly, or do they look haphazardly slapped on? A professional roofer takes pride in their work, ensuring that new shingles blend as much as possible with existing ones, or if a larger section was replaced, that the new section is uniformly installed. Sloppy cuts, uneven edges, or shingles that don't lay flat can indicate a rushed job or a lack of attention to detail. This isn't just about curb appeal; incorrectly cut or laid shingles can create weak points where water can seep in, or wind can catch and lift them. While it's nearly impossible to perfectly match new shingles to an aged roof, especially if the existing roof has faded over time, a reputable contractor will always discuss these aesthetic expectations with you upfront and strive for the best possible blend.
Visible Gaps, Exposed Nails, or Lifted Edges
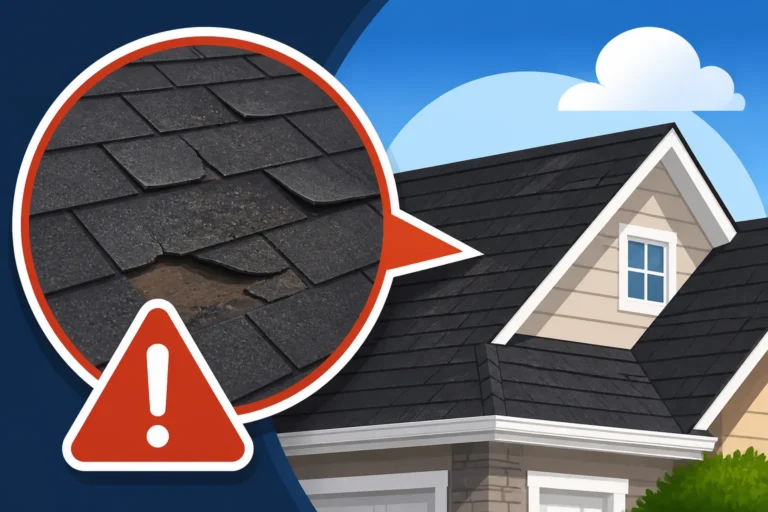
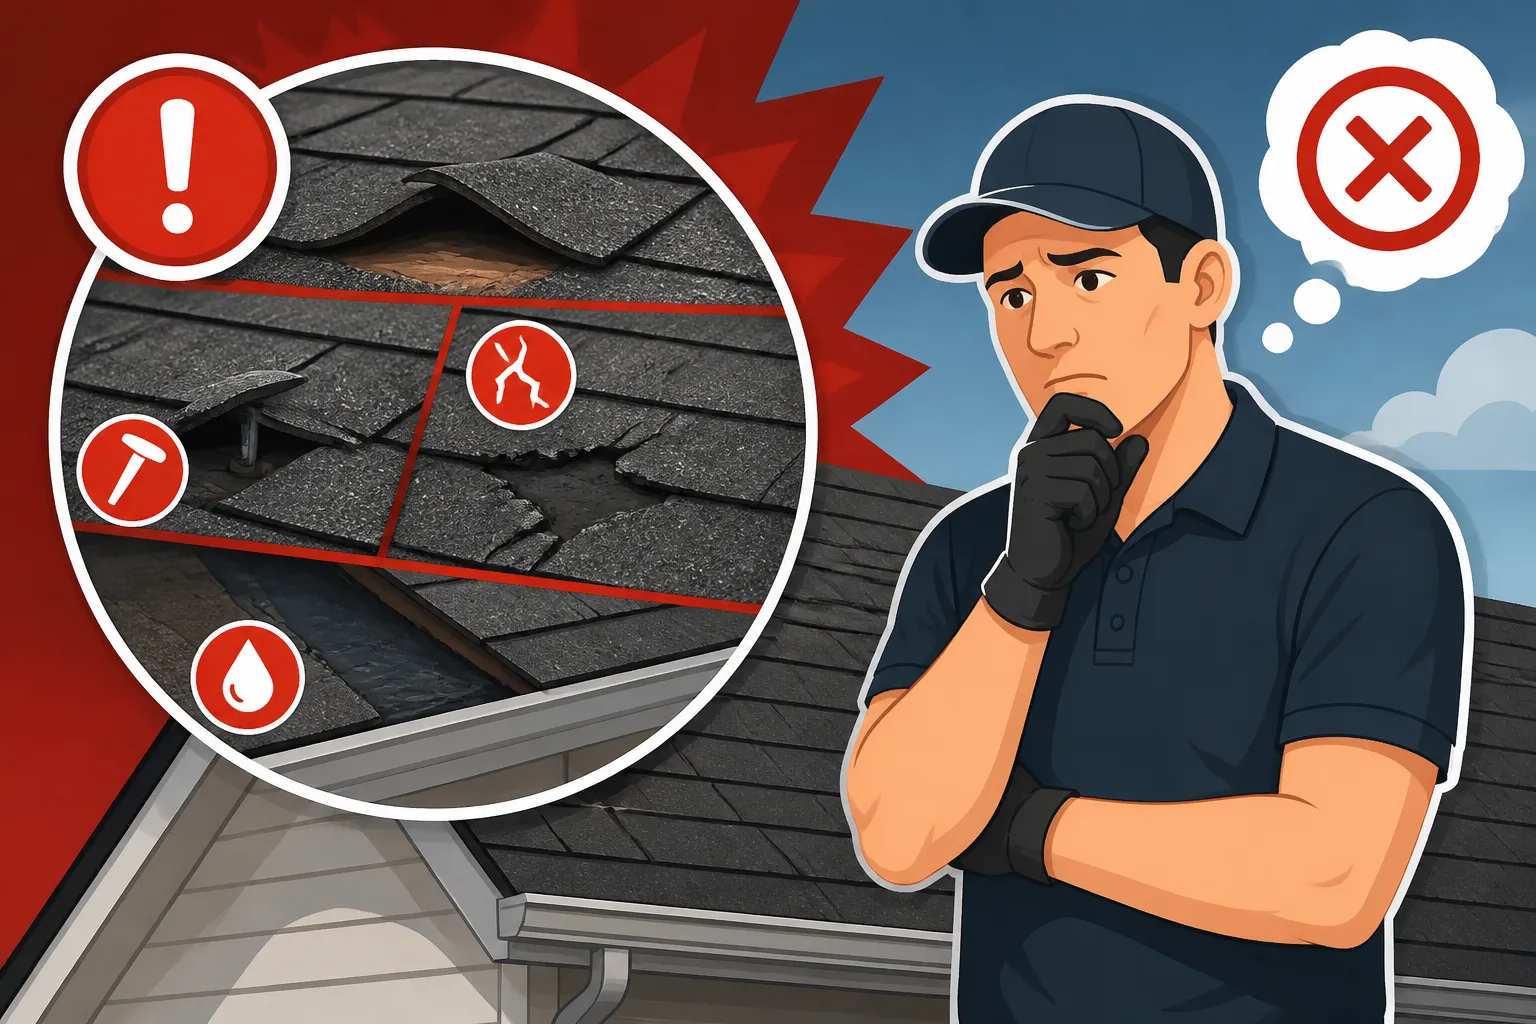
Take a closer look at the repaired area, perhaps from a ladder if it's safe to do so, or even through binoculars. What you're looking for here are structural tell-tale signs of improper installation. Gaps between shingles, for instance, are a huge red flag. Shingles are designed to overlap and interlock, creating a protective barrier against the elements. If you see gaps, it means that crucial barrier is compromised, leaving your roof decking vulnerable to rain, snow, and even pests.
Exposed nails are another serious issue. While some nails are visible on specific types of roofing, generally, asphalt shingle nails should be driven flush and hidden by the overlapping shingle course above them. An exposed nail is an open invitation for water intrusion. Think about it: every time it rains, water will funnel directly into that tiny hole, eventually leading to a leak in your attic or ceiling. Similarly, if the edges of the newly installed shingles aren't securely sealed down and appear lifted, they're highly susceptible to wind uplift. A strong gust can easily catch underneath and rip them right off, undoing the "repair" in an instant. This is a common issue when sealants aren't given enough time to bond or if the repair was done in cold weather without proper precautions.
Debris Left Behind on the Roof or Gutters
This might seem like a minor point, but the cleanup process speaks volumes about a contractor's professionalism and attention to detail. A truly competent roofing crew will meticulously clean up after themselves, leaving your property as tidy as or tidier than they found it. If you find old shingle pieces, discarded nails, wrappers, or other construction debris scattered across your lawn, driveway, or even worse, still on your roof or clogged in your gutters, it's a huge red flag.
Debris left on the roof isn't just an eyesore; it can cause damage. Old nails can puncture new shingles or tires, and shingle granules left behind can wash into your gutters, contributing to blockages. Clogged gutters prevent proper drainage, causing water to back up and potentially seep under your roof's eaves, leading to rot and leaks. It's not uncommon for less scrupulous contractors to rush the cleanup, thinking homeowners won't notice or won't complain. But a thorough cleanup is part of a complete, professional job, and its absence can often be an indicator of other corners cut during the actual repair work. When you're assessing a potential contractor, consider asking about their cleanup process and how they protect your property.
Performance Problems and Recurring Issues
The real test of a roof repair comes with time and weather. If your "fixed" roof isn't holding up when it truly matters, then the repair was fundamentally flawed. These performance issues often indicate that the root cause of the problem wasn't properly identified or addressed, or that the repair itself introduced new vulnerabilities.
Persistent or New Leaks
This is arguably the most frustrating sign of a bad repair. You hired someone to fix a leak, you paid them, and now you're still dealing with water intrusion. What a nightmare! If water continues to drip, stain, or pool in the same area as before, it's a clear indication that the original source of the leak was either misidentified or improperly sealed. Perhaps the repair only patched a symptom, not the underlying cause.
Even more concerning is if you find a new leak in a different part of the house after a repair. This could mean a few things: either the original leak was so extensive that it masked another area of damage, or, more likely, the repair work itself inadvertently created a new pathway for water. Perhaps a shingle was improperly installed, flashing was disturbed, or a seal was broken during the process. It's crucial to document exactly where and when these leaks occur, especially after rain or snowmelt. A good roofing contractor will often offer a workmanship warranty that covers recurring leaks in the repaired area, so make sure you understand your rights and the terms of your contract. This situation often leads homeowners to wonder if it's more cost-effective to repair or replace an old roof entirely.
Poor Drainage or Water Ponding
Your roof is designed to shed water efficiently, guiding it down and away from your home. If you notice water pooling or draining poorly in the repaired section or an adjacent area, it's a significant problem. A proper repair should maintain or even improve the roof's ability to shed water, not hinder it. Water ponding, even for short periods, can accelerate the deterioration of asphalt shingles, leading to granule loss, cracking, and eventual leaks.
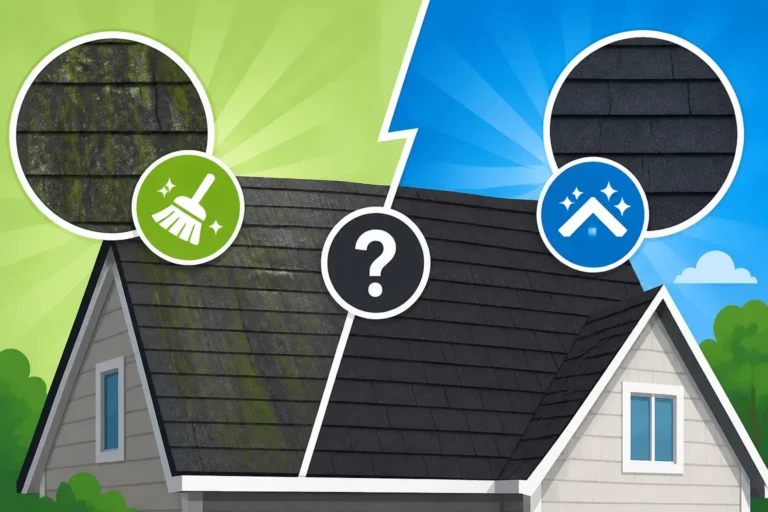
This issue can stem from improper shingle layering, inadequate slope reconstruction, or even debris left to accumulate in valleys or near flashings. For instance, if a valley was repaired, but the new shingles weren't properly cut or sealed, water might not flow down the valley correctly, causing it to back up. Similarly, if repairs were made near a chimney or vent, and the flashing wasn't correctly integrated, water could collect there. Over time, this standing water can encourage moss and algae growth, further compromising your roofing materials. Keeping an eye on how water behaves on your roof during a rainstorm can give you valuable insights into the quality of the repair.
Shingles Lifting, Curling, or Blowing Off Prematurely
Asphalt shingles are designed to lay flat and bond together, especially in warmer weather, thanks to their self-sealing adhesive strips. If you observe newly installed or repaired shingles lifting, curling, or, worse yet, blowing off in relatively mild wind conditions shortly after the repair, it's a huge red flag. This points directly to improper installation techniques.
Common culprits include inadequate nailing (too few nails, nails driven too deep or too shallow, or nails placed in the wrong spot), failure to use starter strips, or installation during cold weather without supplementary hand-sealing. For example, if a roofer didn't use the correct nailing pattern or failed to activate the sealant strips, the shingles wouldn't be adequately secured against wind uplift. In areas prone to high winds, like coastal regions or open plains, adherence to high-wind nailing requirements is absolutely critical. If you're experiencing this, it's a clear sign that the repair did not provide the intended protection and you might need to reconsider who performed the work. This premature failure significantly shortens the lifespan of the repair and potentially your entire roof.
Less Obvious Indicators of Substandard Work
Some issues with a bad roof repair aren't immediately visible from the ground, or even from a quick glance. These "hidden" problems can slowly but surely undermine your roof's integrity, leading to costly damage down the line. It takes a more discerning eye or an expert assessment to spot these critical flaws.
Inadequate or Missing Flashing
Flashing is the unsung hero of your roof, a thin material, typically metal, installed around critical areas where the roof meets a vertical surface. Think chimneys, skylights, vent pipes, and wall intersections. Its entire job is to create a watertight seal in these vulnerable spots, diverting water away. If a repair involved any of these areas and the flashing was inadequately installed, damaged, or even entirely omitted, you've got a hidden time bomb waiting to leak.
Poor flashing might not cause a leak immediately, but give it a few rainstorms, and water will inevitably find its way in. Signs of improper flashing include visibly exposed sealant (which deteriorates faster than metal), gaps where the flashing meets the roof or vertical surface, or flashing that's not integrated properly with the shingles. For instance, step flashing needs to be layered correctly with each shingle course to be effective. If your roofer simply caulked over an existing flashing issue instead of replacing or properly installing it, that caulk will crack and fail within a year or two, leaving you with a leak right where you thought you were safe. Understanding what flashing is and why it matters can help you inspect these crucial areas.
Improper Ventilation or Blocked Vents
Your attic's ventilation system is critical for your roof's health and your home's energy efficiency. It helps regulate attic temperature and moisture, preventing heat buildup in summer and ice dams in winter. A roof repair, especially one that's extensive, should never compromise your existing ventilation, and sometimes, a good repair might even involve addressing pre-existing ventilation issues.
If a contractor carelessly repairs around roof vents (like ridge vents, box vents, or turbine vents) or soffit vents, they could inadvertently block them with shingles, underlayment, or debris. A blocked vent means poor airflow, which can lead to a host of problems:
- Excessive heat buildup: This can cook your shingles from the underside, accelerating their aging and causing them to curl or crack prematurely.
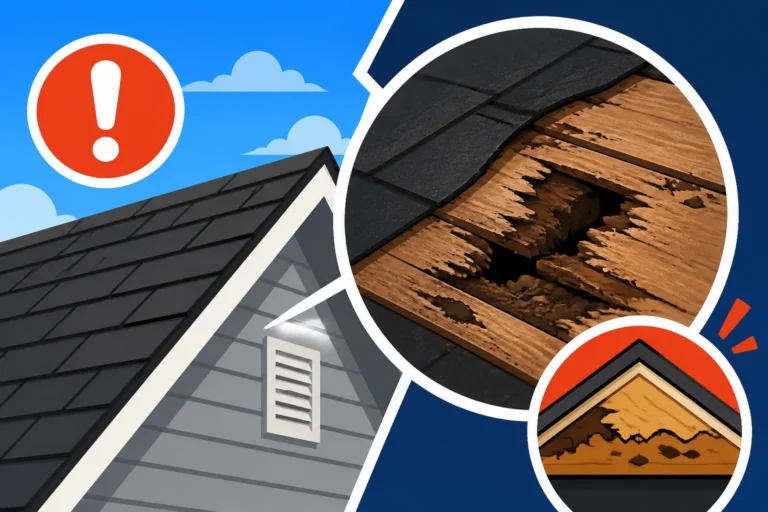
- Moisture accumulation: Without proper ventilation, humid air gets trapped in the attic, leading to condensation, mold growth on your rafters, and even rot in your roof decking.
- Ice dam formation: In colder climates, warm, moist air escaping from the living space into the attic melts snow on the roof. If the eaves are cold (due to lack of ventilation or insulation), the meltwater refreezes, forming ice dams that can force water under your shingles and into your home.
It's a sneaky problem because you won't see it until the damage is done. A quick look in your attic on a hot day or after a snowfall can sometimes reveal signs, but often, it requires a professional eye to check for proper airflow.
Damaged Underlying Structure (Decking, Underlayment)
The shingles are just one layer of your roof system. Beneath them lies the underlayment (a waterproof or water-resistant barrier) and the roof decking (the plywood or OSB sheathing that forms the roof's structural base). A truly effective repair addresses issues not just on the surface, but also those lurking beneath. If your original problem was a leak, there's a good chance the underlying decking or underlayment sustained some water damage.
A bad repair might involve a contractor simply slapping new shingles over rotted decking or compromised underlayment. This is akin to putting a band-aid on a gaping wound. Rotted decking is structurally weak and won't hold nails properly, making the new shingles prone to loosening and blowing off. Damaged underlayment means an immediate pathway for any water that bypasses the shingles to reach your attic. A professional roofing contractor will always inspect the decking and underlayment when performing a repair, especially if water damage is evident, and replace any compromised sections. Ignoring these foundational elements means your repair is built on a weak foundation and will almost certainly fail prematurely. For more on this, you might want to learn about roof decking replacement cost if you suspect significant underlying damage.
What to Do When You Suspect a Bad Repair
Discovering that your roof repair was done improperly is incredibly stressful, but you're not powerless. Taking the right steps can help you rectify the situation and protect your home and your investment. It’s about being informed and assertive.
Document Everything and Contact the Contractor
Your first and most crucial step is to meticulously document every issue you've identified. Take clear, well-lit photographs or even videos of every problem area – mismatched shingles, lifted edges, exposed nails, debris, new leaks, and any other visual evidence. Note the dates when you discovered these issues, particularly for leaks that occur after specific weather events. Keep a detailed log of all communication with the original contractor: dates of calls, who you spoke with, what was discussed, and any promises made. Save all contracts, invoices, and payment records. This documentation is your strongest tool.
Once you have your evidence, contact the original roofing contractor immediately. Do so in writing (email is great as it creates a record) and follow up with a phone call. Clearly articulate the problems you've observed and refer back to your contract and any warranty information. Give them a reasonable opportunity to come back and inspect the work, and then rectify the issues at no additional cost to you. Most reputable contractors will want to protect their reputation and will return to make things right. However, be prepared to present your documentation if they initially dismiss your concerns or claim the work was done correctly. For insights into contractor expectations, consider reading what a roofing estimate should include for future projects.
Get a Second Opinion from Another Professional
If the original contractor is unresponsive, uncooperative, or attempts to make a "fix" that doesn't solve the problem, it's time to bring in an impartial third party. Seek out another reputable, licensed, and insured roofing company in your area for a professional inspection and a second opinion. They can provide an objective assessment of the repair work, identify the underlying causes of the ongoing issues, and often provide a written report detailing the deficiencies. Many platforms like Modernize can help you find local contractors who are highly rated and vetted.
When choosing this new contractor, make sure they are not affiliated with the original company. Ask them about their certifications – for example, some contractors are GAF Master Elite Contractors or Owens Corning Platinum Preferred Contractors, which indicates they've met stringent requirements and received specialized training. This second opinion is vital for several reasons: it confirms whether your suspicions are valid, provides an expert assessment of the required fixes, and gives you leverage if you need to pursue further action against the original contractor. Learning how to choose a roofing contractor is crucial to avoid repeating past mistakes.
Understand Your Warranty and Consumer Rights
Before you proceed with any further repairs or legal action, thoroughly review your original contract to understand the warranty terms. Most reputable roofing companies offer a workmanship warranty, which covers issues arising directly from the installation or repair for a specific period (often 1-5 years, but sometimes longer). Separately, the shingles themselves come with a manufacturer's warranty. Improper installation, however, can sometimes void the manufacturer's warranty, leaving you in a difficult spot.
If the original contractor refuses to honor their warranty or resolve the issues, you have several avenues. You can file a complaint with your state's contractor licensing board, your local Better Business Bureau, or consumer protection agencies. For more significant disputes, you might need to consult with an attorney specializing in construction law. This is where your detailed documentation becomes invaluable. Understanding the nuances of a roofing warranty: workmanship vs manufacturer will empower you to advocate for yourself effectively. Don't be afraid to stand up for your rights – you paid for a service, and you deserve a properly executed roof repair that protects your home.
Comparison of Good vs. Bad Repair Characteristics
To help you quickly identify potential issues, here's a table summarizing the characteristics of a properly done repair versus one that's fallen short.
| Characteristic | Sign of a Quality Repair | Sign of a Bad Repair | Potential Consequences |
|---|---|---|---|
| Appearance | Shingles blend well, lay flat, even lines | Mismatched colors/styles, uneven, visible gaps | Reduced curb appeal, vulnerable to elements |
| Nail Placement | Nails are hidden by overlapping shingles, driven flush | Exposed nails, crooked nails, over/under-driven | Water leaks, shingle blow-offs |
| Shingle Adhesion | Shingles are sealed down, no lifted edges | Edges lifted, shingles feel loose, not bonded | Wind damage, leaks, granule loss |
| Flashing | New flashing installed, properly layered, sealed | Old flashing reused, caulk-only repair, gaps | Leaks around chimneys, vents, walls |
| Drainage | Water flows freely, no ponding in repaired area | Water pools, slow drainage, new puddles | Accelerated shingle deterioration, mold, leaks |
| Underlying Issues | Rotted decking/underlayment replaced if present | Shingles installed over damaged decking/underlayment | Structural weakness, premature shingle failure |
| Cleanliness | All debris removed from roof, gutters, property | Old nails, shingle scraps left on roof/yard, clogged gutters | Damage to new shingles, vehicle tires, poor drainage |
| Ventilation | Vents remain clear and functional | Vents blocked by materials, reduced airflow | Attic heat buildup, moisture issues, premature roof aging |
| Leaks | Original leak stopped, no new leaks | Persistent leaks, new leaks appear elsewhere | Interior damage, mold, structural rot |
Disclaimer
The information provided in this article is intended for general guidance and informational purposes only. It does not constitute professional roofing advice. Always consult with a qualified and licensed roofing contractor for specific advice regarding your roof's condition and repair needs. Roofing work can be dangerous, and inspections should only be performed by trained professionals or by homeowners taking appropriate safety precautions.