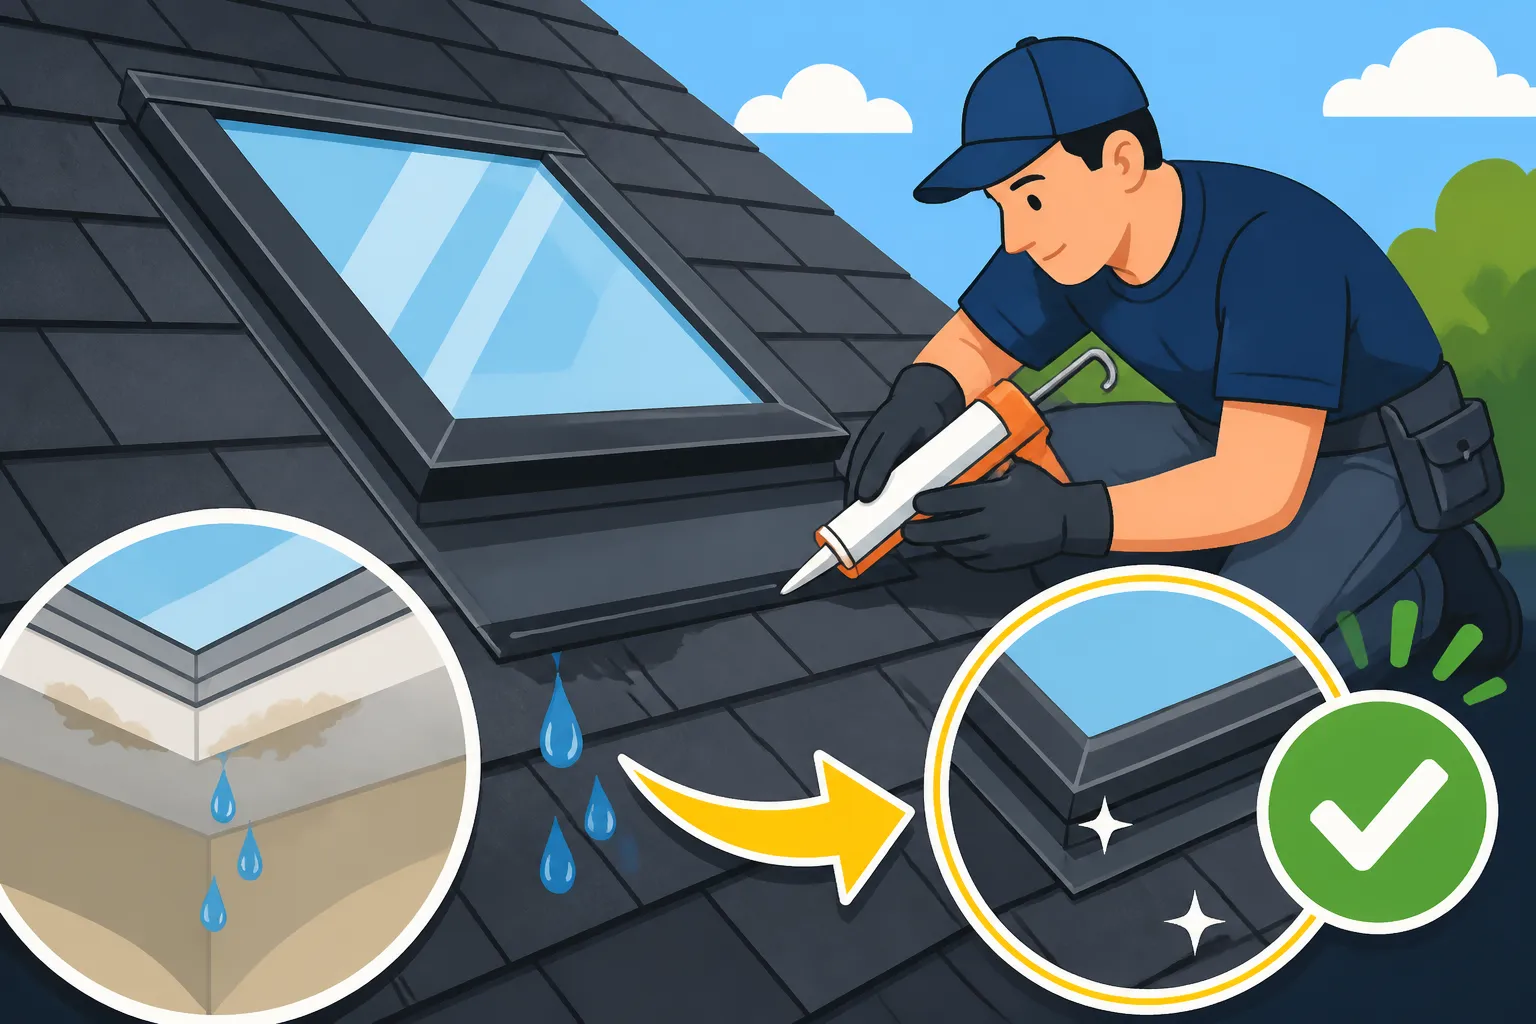
Roof Leak Near a Skylight: Fixes
There’s almost nothing more disheartening than looking up at your beautiful skylight, meant to bring sunshine into your home, and seeing a tell-tale water stain or, worse, an active drip. You might feel a pang of dread, wondering if this means a full roof replacement, or just a simple fix. This guide is here to unravel the mystery of why your skylight might be leaking and walk you through the most common solutions, helping you pinpoint the problem and get it resolved.
Why Skylights Leak It's Not Always the Skylight Itself!
It's natural to assume that if water is coming from around your skylight, the skylight itself is the problem. While sometimes that's true, often the culprit lies in the surrounding roofing materials or how the skylight integrates with your roof system. Understanding these common failure points is the first step toward a lasting repair.
Flashing Failure: The Most Common Culprit
Without a doubt, flashing issues are responsible for a huge percentage of skylight leaks. Flashing refers to the thin strips of metal (or sometimes plastic) that are installed around the perimeter of the skylight to create a watertight seal between the skylight unit and the roofing materials. These pieces are designed to direct water away from the skylight and down the roof.
There are several types of flashing involved with a skylight installation: step flashing, head flashing, and sill flashing, each strategically placed. Step flashing, for instance, is layered with shingles on the sides, directing water over each shingle below it. If any of these flashing components are installed incorrectly, become bent, rusted, or if the sealant used around them fails over time due to sun exposure and temperature shifts, water can easily find its way underneath and into your home. Imagine a scenario where an old skylight, maybe 15-20 years old, has had its caulk seal around the flashing completely dry out and crack. During a heavy rain, water that should flow harmlessly past the skylight now seeps directly into those cracks, making its way down into your ceiling.
Seal and Gasket Deterioration
Beyond the external flashing, skylights also have internal seals and gaskets that can fail. These are typically found where the glass meets the frame and where the skylight frame itself meets the roof opening. These seals, often made of rubber, foam, or silicone, are constantly exposed to UV rays, extreme temperatures (scorching summers, freezing winters), and constant expansion and contraction. Over time, this takes a toll, causing them to dry out, crack, or lose their elasticity.
When these internal seals degrade, you might notice different symptoms than a flashing leak. Instead of water staining the drywall around the skylight, you might see condensation forming inside the skylight unit between panes, or water actually dripping from the skylight's frame itself, directly onto the sill or floor below. This indicates the integrity of the unit itself is compromised, rather than just the perimeter seal to the roof. A good example is a dual-pane skylight where the inert gas between the panes has escaped due to a failed seal, leading to persistent fogging or even water collection within the glass unit.
Cracked or Damaged Skylight Frame or Glass
Sometimes, the leak is as straightforward as physical damage to the skylight unit itself. This could be a crack in the glass from hail, a falling branch, or even thermal stress over many years. Even a tiny hairline crack can eventually allow water to seep through. The frame, usually made of vinyl, aluminum, or wood, can also crack or warp due to age, impact, or prolonged moisture exposure if a leak has gone unnoticed for a while.
Consider a situation after a severe hailstorm in a place like Dallas, Texas. Even if your shingles appear okay, a larger hailstone could have struck the skylight glass directly, creating a small, almost invisible impact point that allows water to penetrate. Similarly, an older wooden-framed skylight might begin to rot and warp around the edges due to years of moisture exposure, creating gaps where water can easily enter. In these cases, the damage is often visible upon closer inspection, confirming that the skylight unit itself has sustained a breach.
Identifying the Source of Your Skylight Leak
Pinpointing the exact entry point of water can be incredibly frustrating. Water has a sneaky way of traveling along rafters, electrical conduits, and insulation before it makes its grand appearance on your ceiling. What seems like a leak directly above your skylight might actually originate several feet uphill. A systematic approach is key to accurate diagnosis.
The Water Test: Your Best Friend
When trying to find a roof leak, especially around a skylight, a targeted water test is often the most effective method. You'll need a helper inside the house and a garden hose. Start by going onto your roof (safely, of course!) and using the hose to spray water directly onto the roof above the skylight. Don't spray the skylight itself yet. Have your helper watch inside for any signs of water. Let the water run for several minutes, or even up to 15-20 minutes, giving it time to penetrate if there's a small, slow leak.
If no leak appears after soaking the area above, move the hose to one side of the skylight, focusing on the step flashing and the shingles adjacent to it. Again, wait. If still no leak, move to the other side, and then finally, spray water directly onto the skylight glass and frame. The idea is to isolate each section and apply water systematically. If water appears when you spray the side flashing, you know the issue is likely with that flashing or the seals on that side. This method can save you a lot of guesswork and prevent unnecessary repairs. Remember, patience is crucial here; don't rush between sections.
Internal Clues and Visual Inspections
While the water test confirms where the leak is, internal clues can often give you a head start. Inside your home, carefully examine the drywall, paint, or plaster around the skylight. Are there discolored water stains? Is the paint bubbling or peeling? Are there any visible signs of mold or mildew, which indicate prolonged moisture exposure? These visual cues can often point you towards the general direction of the leak.
Next, if you have attic access, go into your attic directly above or around the skylight. Bring a flashlight and look for water stains on the rafters, ceiling joists, and roof decking. Pay close attention to the insulation in that area; wet or compressed insulation is a dead giveaway of a leak. Often, you'll see a distinct trail or "run" mark on the wood leading down to where the water is entering the living space. This direct view from the attic can often reveal a compromised area of the roof decking, a gap in the flashing, or a deteriorated seal on the skylight frame that you might not be able to spot from the outside.
Professional Assessment: When to Call in the Experts
While a diligent homeowner can often perform preliminary inspections, there are times when calling a professional roofer is not just recommended, but essential. Firstly, if you're uncomfortable or unable to safely get onto your roof, don't risk it. Falls from roofs are a serious hazard. Beyond safety, persistent leaks where the source is difficult to identify, or situations involving extensive damage, warrant expert intervention.
A reputable roofing contractor, especially one experienced with skylight installations and repairs, has specialized tools and knowledge to diagnose complex leaks. They can often spot subtle signs of flashing failure, sealant degradation, or structural issues that might elude an untrained eye. For example, a roofer might identify that the issue isn't just the skylight, but part of a larger problem with your roof's ventilation or the age of your shingles. Services like Modernize can help homeowners connect with experienced, vetted roofing professionals who can provide thorough inspections and accurate diagnoses. Remember, a professional assessment could save you from repeat repairs and potentially more costly damage down the line. If you're wondering How to Choose a Roofing Contractor, look for certifications and strong local references.
Common Fixes for Skylight Leaks
Once you've identified the source of your skylight leak, the next step is to implement the right fix. Depending on whether the issue is with the flashing, the internal seals, or the unit itself, the approach will vary significantly. Some fixes are straightforward for the handy homeowner, while others definitely call for a professional.
Repairing or Replacing Flashing
If your water test or visual inspection points to compromised flashing as the source of the leak, you have a few options. For minor issues, like small gaps where old caulk has dried and cracked, you might be able to clean the area thoroughly and apply a high-quality, exterior-grade sealant, like a durable silicone or urethane caulk specifically designed for roofing. Make sure the surface is completely dry and free of debris for proper adhesion. This can be a good temporary or even long-term fix for superficial cracks.
However, if the flashing itself is rusted, bent, corroded, or was improperly installed from the start, a full replacement of the affected flashing pieces is usually the best long-term solution. This involves carefully removing the surrounding shingles, detaching the old flashing, installing new metal flashing pieces (often custom-bent to fit), and then re-shingling over them, ensuring proper layering and sealing. This job requires precision and knowledge of how different types of flashing, like step flashing or head flashing, are integrated with the roof system to create a truly watertight barrier. It's a task that many homeowners prefer to leave to professionals, as improper flashing installation will inevitably lead to future leaks.
Resealing and Replacing Gaskets
When the leak originates from within the skylight unit itself, typically where the glass meets the frame or the frame meets the curb, you're dealing with seal or gasket deterioration. For visible gaps around the perimeter of the glass or where the frame meets the curb, carefully remove any old, brittle sealant with a utility knife or scraper. Clean the area thoroughly with a suitable cleaner to ensure no residue remains. Then, apply a continuous bead of high-quality, UV-resistant exterior sealant. Ensure full coverage without gaps, allowing it to cure according to manufacturer instructions.
If the seals are integral to the skylight's construction and are failing (e.g., fogging between panes), attempting to repair them can be challenging and often fruitless. In such cases, replacing the glass unit or even the entire skylight might be more economical and effective in the long run. Some skylight manufacturers offer replacement glass units for certain models, which can be less costly than a full skylight replacement. When looking for a pro, you can use services like Modernize to find local specialists who can help with skylight-specific repairs or replacements.
Addressing Frame or Glass Damage
Cracked glass or a damaged frame is usually quite apparent. For very small, non-structural cracks in the glass, a temporary repair with a clear, waterproof sealant or specialized glass repair kit might hold off a leak for a short period. However, for any significant crack or chip, especially those compromising the integrity of the glass, replacement of the glass pane is the safest and most effective solution. This often requires the assistance of a glass professional or a skylight installer, as the glass is usually sealed into the frame.
If the skylight frame itself is cracked, warped, or showing signs of significant rot (especially with wooden frames), patching it is often just a temporary band-aid. A damaged frame typically means the entire skylight unit has reached the end of its lifespan and needs to be replaced. While this is a bigger investment, a new skylight can offer improved energy efficiency, better seals, and a fresh look. When considering replacement, think about upgrading to a more durable model or one with a better warranty, especially if your area experiences harsh weather. Knowing How Long Asphalt Shingles Last can also help you determine if a full roof-and-skylight overhaul is a better choice.
Preventing Future Skylight Leaks and Maintenance Tips
Once you've tackled a skylight leak, the last thing you want is for it to happen again. Proactive maintenance and understanding preventative measures are crucial to extending the life of your skylight and keeping your home dry. A little bit of attention now can save you a lot of headache and expense later.
Regular Inspections and Cleaning
The easiest and most effective way to prevent future leaks is to regularly inspect your skylight and the surrounding roof area. At least twice a year—ideally in the spring and fall—take a moment to visually check the exterior of your skylight from the ground or, if safe, from a ladder. Look for any accumulated debris like leaves, pine needles, or branches that could be damming water around the edges. Clear these away promptly, as standing water is a prime cause of leaks.
Pay close attention to the flashing around the skylight. Are there any signs of rust, corrosion, or lifting? Check the seals and caulk joints for cracks, shrinkage, or deterioration. From the inside, look for any new water stains on the ceiling or visible condensation within the glass panes. Early detection of minor issues allows for simple repairs before they escalate into major leaks. This kind of routine check is similar to the general principle of How Often to Inspect Your Roof to catch problems before they become critical.
Ensuring Proper Drainage and Ventilation
Good water drainage and adequate attic ventilation play a significant role in preventing skylight leaks. Ensure that your gutters are clean and free-flowing, especially in the sections below or adjacent to your skylight. Clogged gutters can cause water to back up, potentially overflowing and pooling against the side of your skylight, forcing its way in. This is particularly true if your skylight is located near a valley, which already sees a higher concentration of water flow.
Inside your home, proper attic ventilation is crucial to prevent condensation. If your attic is poorly ventilated, warm, moist air from your home can rise, hit the cold surface of your skylight, and condense, mimicking a leak. This isn't a structural leak but a humidity problem that can lead to mold and rot. Ensure your roof and attic have a balanced ventilation system, which might involve components like a Cost of Ridge Vent Installation or soffit vents, to keep air circulating and moisture levels down.
Choosing the Right Skylight for Longevity
When it's time for a new skylight, either as a replacement for a failing unit or for a new installation, making an informed choice can significantly impact its longevity and leak resistance. Not all skylights are created equal. Opt for reputable brands known for quality and durability, such as Velux or Andersen. These manufacturers often use advanced sealing technologies, durable frame materials (like vinyl or aluminum-clad wood), and offer longer warranties.
Consider the type of skylight that best suits your climate. For homes in hail-prone regions like Colorado, investing in impact-resistant skylights (often rated Class 4 for hail resistance) can provide superior protection against storm damage. If you're in a hurricane-prone area, certain models are designed for high-wind uplift. Also, ensure that the skylight comes with a comprehensive flashing system designed to integrate seamlessly with your specific roofing material. A certified installer for brands like Velux will ensure the skylight and its flashing are installed precisely according to manufacturer specifications, which is often a requirement for maintaining the warranty. This expert installation, facilitated by connecting with professionals through platforms like Modernize, is paramount.
Summary of Skylight Leak Issues and Fixes
Understanding the potential weak points of a skylight and how to address them is crucial for maintaining a dry and healthy home.
| Leak Source | Common Symptoms | Recommended Fixes | When to Call a Pro |
|---|---|---|---|
| Flashing Failure | Water stains on ceiling around skylight; leak appears during heavy rain. | Clean area, apply high-quality exterior sealant for minor gaps. Replace rusted, bent, or improperly installed flashing components. | Any significant flashing damage; if you're uncomfortable on the roof. |
| Seal/Gasket Deterioration | Condensation between glass panes; water dripping from skylight frame. | Remove old sealant, apply new UV-resistant sealant around glass/frame. Replace glass unit or entire skylight for internal fogging. | Fogging between panes; if replacing glass unit is complex. |
| Cracked Glass/Frame | Visible crack in glass; water dripping directly through crack; warped frame. | Temporarily seal small glass cracks. Replace glass pane for larger cracks. Replace entire skylight unit for damaged/rotted frame. | Any major glass or frame damage requiring unit replacement. |
| Poor Drainage | Water pooling around skylight exterior; debris buildup. | Regularly clear debris from around skylight and gutters. | If structural drainage issues are suspected (e.g., roof pitch). |
| Insufficient Ventilation | Condensation/moisture inside the home, especially in cold weather, unrelated to rain. | Improve attic ventilation (soffit/ridge vents). | For persistent condensation issues or evaluating roof ventilation needs. |
Disclaimer
Please remember that roofing work, especially on a sloped roof or near skylights, can be dangerous. Always prioritize your safety. If you are not comfortable or experienced with working on a roof, it is highly recommended to hire a qualified and insured roofing professional to inspect and repair your skylight and roof. This article provides general information and should not be considered a substitute for professional advice. Always consult local building codes and regulations before undertaking any significant home repairs.