What a Roofing Site Visit Should Cover
The thought of replacing your roof can be overwhelming, filled with worries about costs, choosing the right contractor, and ensuring a quality job. A crucial, often overlooked, step in this process is the initial roofing site visit. This guide will walk you through exactly what a thorough and professional roofing contractor should cover during their visit, empowering you to ask informed questions and ensure you get an accurate assessment for your home.
The Foundation of a Great Roof: Why a Site Visit Matters
It’s easy to feel like just another number when you're getting estimates for a major home project like a roof replacement. You might worry that a contractor will just give your roof a quick glance from the ground, offer a ballpark figure, and move on. But a truly professional roofing company knows that a detailed, on-site assessment is the absolute bedrock of a successful project. It’s not just about looking at the shingles; it's about understanding your entire roofing system, your home's unique characteristics, and your specific needs.
Beyond the Obvious: What a Good Roofer Looks For
A drive-by estimate simply won’t cut it. Your roof isn't just the visible layer of shingles; it's a complex system that protects your most valuable asset. During a proper site visit, an expert contractor will go beyond the obvious. They'll actively search for underlying issues that might not be visible from the curb. This could include checking the attic for ventilation problems, inspecting the condition of the roof decking, or identifying subtle signs of water intrusion that only an interior view can reveal. For instance, a contractor might notice a slight dip in the roofline from the outside, which could indicate compromised roof decking needing attention. They should also meticulously inspect areas around chimneys, skylights, and vents – common spots for leaks that are easily missed during a superficial assessment.
Setting Expectations: Why It Prevents Headaches Later
One of the biggest frustrations for homeowners is getting hit with unexpected costs or delays mid-project. A comprehensive site visit directly addresses this by setting clear and realistic expectations from the very beginning. When a contractor takes the time to thoroughly assess your roof and discuss potential issues, they can provide a much more accurate and transparent estimate. This means fewer surprises down the line, a more predictable budget, and a smoother overall experience. It also allows you and the contractor to align on the scope of work, material choices, and timeline, ensuring everyone is on the same page. If they find rotten decking, for example, they can discuss the potential Roof Decking Replacement Cost upfront, rather than surprising you with it once the old shingles are torn off.
Comprehensive Assessment: What Every Contractor Should Inspect
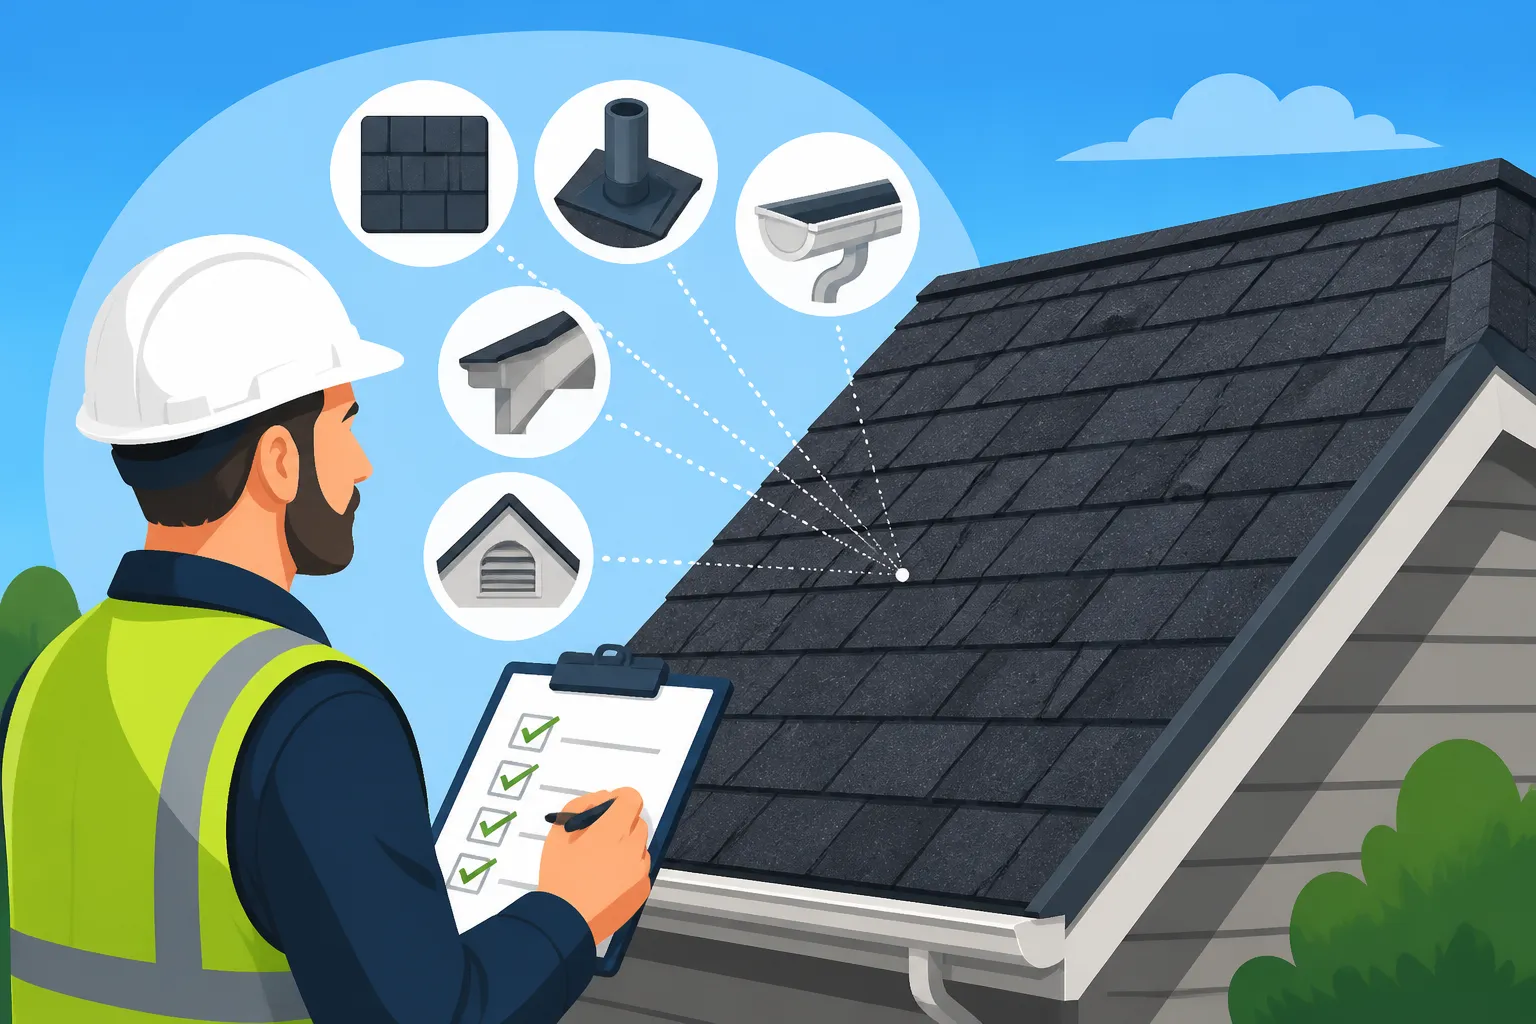
A reputable roofing contractor will conduct a multi-point inspection, leaving no stone unturned. They're not just looking for obvious leaks; they're diagnosing the overall health of your roof and identifying potential vulnerabilities.
Exterior Roof Components
This is where most of the visible wear and tear manifests. Your contractor should meticulously examine every aspect of the outer roof system.
- Shingles: This is often the first thing homeowners notice, but a professional will look deeper than just missing pieces. They'll check for Granule Loss: Should You Worry, which indicates the protective layer of your shingles is eroding, leaving them vulnerable to UV rays. They'll also inspect for Curling Shingles: What They Mean, which can point to aging, improper installation, or excessive heat. Cracked, brittle, or blistering shingles are also key indicators of an aging roof or material defects. The contractor should also determine if the existing shingles show signs of storm damage, like those tell-tale dimples from hail or lifted edges from strong winds – these are critical Signs of Roof Hail Damage and Signs of Roof Wind Damage that might impact an insurance claim.
- Flashing and Sealants: These are the unsung heroes of your roof, directing water away from vulnerable areas. The contractor should examine the flashing around chimneys, skylights, vents, and wall intersections. Look for signs of rust, cracks, loose pieces, or improper sealing. Deteriorated sealants are common culprits for leaks, and a good inspection will catch them before they become a problem.
- Valleys and Hips/Ridges: Valleys, where two roof planes meet, are crucial water channels. They should be inspected for proper sealing, secure flashing, and signs of wear. Similarly, the cap shingles on hips and ridges should be checked for damage, as they are often exposed to high winds and weather extremes.
- Gutters and Downspouts: While not strictly part of the roof, the gutters play a vital role in directing water away from your home's foundation. A contractor should note their condition, ensuring they aren't clogged, bent, or pulling away from the fascia. Clogged gutters can cause water to back up, leading to fascia rot and even ice damming in colder climates.
- Soffits and Fascia: These components, located under the eaves, are often overlooked but are essential for both aesthetics and proper ventilation. The contractor should check for rot, holes, or signs of animal intrusion, especially if you live in an area with squirrels or raccoons.
Interior and Structural Elements
A comprehensive site visit isn't complete without an inspection of your attic space. This gives the contractor an invaluable perspective on your roof's underlying structure and ventilation.
- Attic Inspection: With your permission, the contractor should enter your attic to look for signs of leaks that aren't visible from the outside. Water stains on the ceiling joists or insulation are clear indicators. They should also assess the existing insulation for moisture damage or inadequacy. This is also a perfect opportunity to examine the How Roof Ventilation Works system. Poor attic ventilation can lead to excessive heat buildup, prematurely aging your shingles, and contributing to moisture problems that can encourage mold growth and wood rot.
- Roof Decking: The structural sheathing underneath your underlayment and shingles is vital. The contractor will check for sagging, soft spots, or water damage on the decking (typically plywood or OSB). If there are multiple layers of shingles, they might note that removal of all layers is necessary to properly inspect the decking, as local codes often restrict How Many Layers of Shingles Are Legal.
- Structural Integrity: Beyond the decking, the contractor will assess the overall structural integrity of the roof framing, looking for any signs of movement, bowing, or damage that could impact the roof's ability to support new materials, especially if you're considering heavier options like certain designer shingles.
Your Role in the Site Visit: Asking the Right Questions
Remember, this isn't just about the contractor telling you what's wrong; it's an opportunity for you to gather crucial information, build trust, and ensure they understand your priorities. Don't be afraid to ask questions. In fact, you should have a list ready!
Essential Questions to Ask Your Contractor
Coming prepared with a list of questions shows you're engaged and helps you vet the contractor. Many homeowners find Modernize helpful for identifying qualified professionals who are prepared to answer these questions thoroughly.
- Licensing and Insurance: Always verify their credentials. Ask to see proof of their current business license and, more importantly, their general liability and workers' compensation insurance. This is non-negotiable. If a contractor isn't properly insured, you could be held liable if an accident occurs on your property. This is why it's crucial to insist on Licensed and Insured Roofers: Why It Matters.
- Experience and References: How long have they been in business? Can they provide references from recent clients in your area? A reputable contractor should be proud to showcase their work and satisfied customers.
- Manufacturer Certifications: Are they certified by major shingle manufacturers like GAF, Owens Corning, or CertainTeed? These certifications often mean they can offer enhanced warranties, which can be a significant benefit. Understanding the nuances of Roofing Warranty: Workmanship vs Manufacturer is also key, as manufacturer certifications often unlock better material warranties.
- Project Timeline: What's their typical timeline for a project of your scope, from start to finish? Are there any potential delays they foresee?
- Cleanup Process: How will they protect your landscaping and property during the tear-off and installation? What is their cleanup protocol, and what steps do they take to ensure all debris and nails are removed?
- Payment Schedule: What is their payment structure? How much is required as a deposit? Be wary of contractors who demand full payment upfront. A typical deposit might range from 10-30%. Understanding Roofing Deposit: How Much Is Normal can help you recognize red flags.
- Permits: Will they handle all necessary roofing permits? Who is responsible for pulling the permit – you or them? In most areas, the contractor should handle this.
- Warranty Details: Go beyond just asking if there's a warranty. Ask for details on both the workmanship warranty (from the contractor) and the manufacturer's warranty on the materials. What do they cover? How long do they last?
- Subcontractors: Will they be using subcontractors? If so, what is their vetting process for these subcontractors, and are they also insured?
Discussing Your Specific Needs and Concerns
Every homeowner's situation is unique. Use the site visit to discuss what truly matters to you.
- Budget Considerations: Be transparent about your budget. A good contractor can often present options that fit your financial parameters, whether it's discussing various shingle types like Architectural Shingle Roof Cost versus standard 3-tab, or exploring different warranty levels.
- Aesthetic Preferences: If you have a particular look in mind for your home, discuss shingle colors, styles, and textures. A professional can offer advice on what will complement your home's architecture and local HOA guidelines.
- Energy Efficiency: If energy efficiency is a priority, ask about cool-roof shingles or ventilation upgrades that could reduce your energy bills.
- Previous Issues: Have you had any persistent leaks, ice dams, or other problems with your current roof? Pointing these out to the contractor ensures they pay extra attention to those areas during their assessment. For example, if you've always had problems with ice dams in winter, they should discuss appropriate ice and water shield installation and proper ventilation.
- Future Plans: Are you planning to install solar panels in the future? Do you need a roof that can handle heavy snow loads? Communicating these plans will help the contractor recommend the most suitable roofing system.
After the Visit: What Happens Next
The site visit is just the first step. The real work of comparing options and making an informed decision comes next.
Understanding the Estimate
Within a reasonable timeframe after the site visit, the contractor should provide you with a detailed written estimate. This isn't just a single number; it should be a comprehensive breakdown of all costs. A clear estimate will detail the cost of materials (shingles, underlayment, flashing, vents, etc.), labor, permit fees, tear-off and disposal of old materials, and any additional services like gutter work or decking replacement. Pay close attention to how they itemize each component. This is where you really need to apply the skills for How to Read and Compare Roofing Estimates. Don't hesitate to ask for clarification on anything you don't understand. Watch out for any vaguely worded line items or excessive "miscellaneous" charges, as these could be Hidden Costs in a Roof Replacement.
A good estimate will typically include:
| Component | Description |
|---|---|
| Material Costs | Shingles (type, brand, color), underlayment, drip edge, flashing, vents, nails |
| Labor Costs | Hourly rate or per-square cost, tear-off, installation, cleanup |
| Permit Fees | Cost of local building permits |
| Disposal Fees | Cost for removing and disposing of old roofing materials |
| Contingency/Add-ons | Allowance for unforeseen issues (e.g., rotten decking, damaged fascia) |
| Warranty Information | Details of material and workmanship warranties |
| Payment Schedule | Breakdown of deposit and progress payments |
Making an Informed Decision
Once you have received estimates from several reputable contractors (ideally 3-5), it's time to compare them. Don't automatically choose the lowest bid; the cheapest option isn't always the best value in the long run. Look for comprehensive proposals, transparent pricing, and contractors who instilled confidence during their visit. Check online reviews and references. Services like Modernize can connect you with pre-vetted local contractors and help you compare their offerings, ensuring you’re getting multiple, well-explained bids from reliable sources. Once you've chosen a contractor, make sure every detail, including the scope of work, materials, timeline, and payment schedule, is clearly outlined in a written contract. Understanding Roofing Contract: What to Look For is your final safeguard before the project begins.
Disclaimer
Please note that this content is intended for informational purposes only and does not constitute professional advice. Always consult with a qualified and licensed roofing contractor for specific recommendations regarding your home's roofing needs. Local building codes and regulations can vary significantly, so always verify requirements with your local authorities.