Roof Deck Nailing Code
Navigating the world of roof replacement can feel like deciphering a secret language, especially when terms like "roof deck nailing code" pop up. It’s easy to feel overwhelmed, wondering if you're truly getting a roof that's not just beautiful, but structurally sound and up to snuff. This comprehensive guide is here to demystify those crucial nailing codes, helping you understand why they matter, what they entail, and how to ensure your new asphalt roof is installed to the highest standards, protecting your home for years to come.
Understanding the Foundation of Roof Deck Nailing Codes
When you decide to replace your roof, you're not just getting new shingles; you're investing in a complex system designed to protect your most valuable asset. The humble nail might seem like a small detail, but its proper application, as dictated by roof deck nailing codes, is absolutely critical to the entire system's performance.
Why Nailing Codes are Crucial for Your Roof's Integrity
Imagine your roof as a giant umbrella over your home. If that umbrella isn't secured properly, the first strong gust of wind will simply flip it inside out, leaving everything underneath exposed. That's essentially what happens if your roof decking isn't adequately nailed down or if the shingles themselves aren't fastened correctly. Nailing codes exist precisely to prevent this kind of failure. They ensure that every component, from the structural sheathing (the roof deck) to each individual shingle, is robustly attached, capable of withstanding the forces of nature like wind, rain, and snow.
Without adherence to these codes, your roof's structural stability is compromised from day one. A roof isn't just a covering; it's an integral part of your home's overall structural envelope. Proper nailing means the roof deck can effectively transfer loads to the underlying rafters, preventing sagging or catastrophic collapse in extreme weather. Moreover, it's the first line of defense against wind uplift, which can rip shingles right off your roof, leading to extensive water damage and costly repairs. Homeowners often underestimate the sheer force that high winds can exert on a roof, and proper nailing is the unsung hero that keeps everything in place.
Who Sets These Rules? The Role of IRC and Local Amendments
So, where do these rules come from? It's not some arbitrary suggestion from your roofer. The primary source for most building codes across the United States is the International Residential Code (IRC). This comprehensive model code provides baseline standards for residential construction, including roofing. However, here's where it gets a little tricky: the IRC is a model code, meaning states and local jurisdictions adopt it, often with their own amendments and additions.
For instance, a state prone to hurricanes, like Florida, might have significantly stricter wind resistance requirements baked into its state-specific building code (e.g., the Florida Building Code) than what the general IRC might stipulate. Similarly, counties or cities might add their own local amendments to address specific regional concerns, such as heavy snow loads in mountainous areas or extreme temperature fluctuations. This patchwork of regulations means that what's acceptable in one town might not be in another, even a short drive away. This is why when you're considering a roof replacement, it's so vital to work with a contractor who is intimately familiar with the specific codes in your area. They should know the ins and outs of local requirements, preventing potential issues down the line with inspections or even insurance claims.
The Nitty-Gritty of Nailing: Key Code Requirements
When we talk about roof deck nailing code, we're not just talking about putting nails into wood. There's a science and a set of standards that govern every aspect of fastening, from the type of nail to its spacing and depth. Getting these details right is paramount for a long-lasting, resilient roof.
Fastener Type and Size: Beyond the Basic Nail
You might think "a nail is a nail," but in roofing, that couldn't be further from the truth. The type and size of the fasteners used are critical and explicitly detailed in building codes. For asphalt shingles, roofing nails are the standard. These aren't your typical framing nails; they feature a wider head for better shingle retention and are specifically designed to resist corrosion.
Most codes require galvanized steel roofing nails, which are treated to prevent rust, a huge factor in the longevity of your roof, especially in humid climates. While smooth shank nails are common, many professionals and codes, especially in high-wind areas, prefer or even mandate ring shank nails. These have annular rings on the shank that act like tiny barbs, providing superior withdrawal resistance and a much tighter grip on the wood decking. Staples are generally not recommended or permitted for asphalt shingle installation by most manufacturers and codes, as they offer less holding power and are more prone to tearing through shingles over time.
As for size, the nail's length is determined by the thickness of your roof decking. Generally, a nail should penetrate at least 3/4 inch into the roof sheathing. For typical 1/2-inch or 5/8-inch plywood or OSB decking, 1 1/4-inch to 1 3/4-inch nails are often sufficient. However, if you have thicker decking or are installing over an existing layer of shingles (a "roof over," which has its own considerations, though generally a tear-off is recommended), longer nails will be required to ensure proper penetration. Using nails that are too short means they won't adequately anchor the shingles or the underlying deck, making your roof vulnerable.
Nailing Pattern and Spacing: The Science of Security
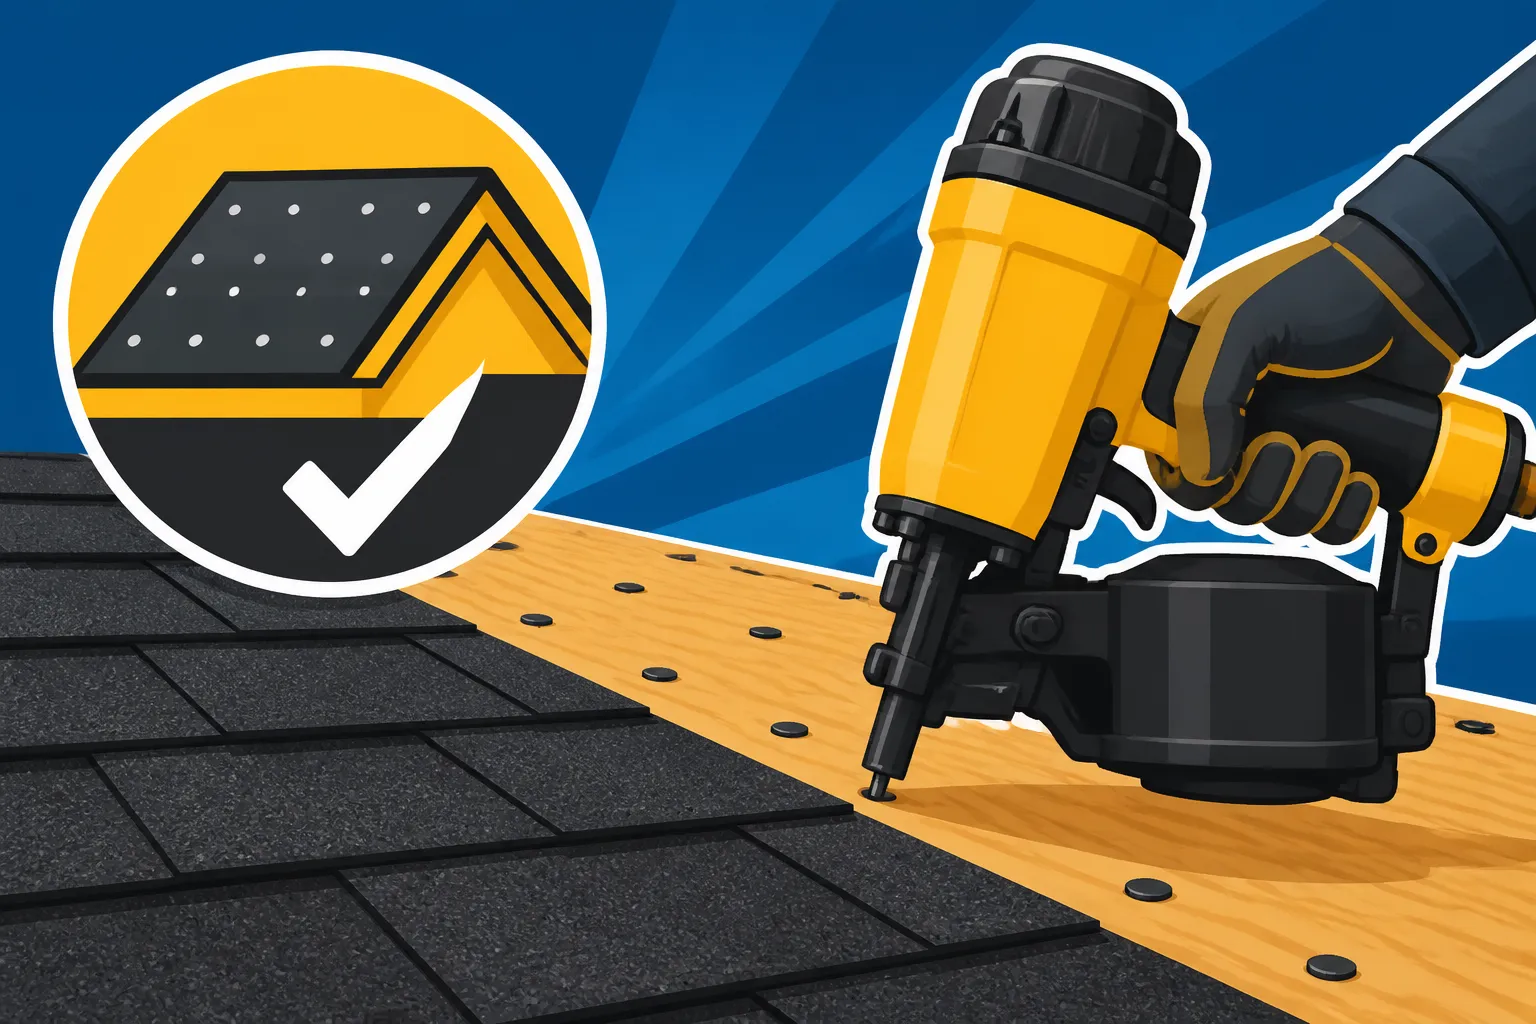
The placement and number of nails per shingle are equally as important as the nail type. This is often the first thing an inspector will look for during a mid-roofing inspection. For standard asphalt shingles, the most common code requirement is a four-nail pattern per shingle. These nails are strategically placed in a specific "nailing zone" – usually about 5/8 to 1 inch above the cutout (or "keyway") and directly below the shingle's self-seal strip. This placement ensures that the nail passes through both the shingle being installed and the top edge of the shingle in the course below it, securing two layers simultaneously.
In areas prone to high winds, such as coastal regions or plains states that experience frequent severe storms, codes often mandate an enhanced six-nail pattern. This means two additional nails per shingle, typically placed further towards the ends of the shingle, providing even greater resistance against wind uplift. Beyond the shingle itself, codes also specify proper spacing for the roof deck sheathing. Plywood or OSB panels need to be nailed every 6 inches along the edges and every 12 inches in the field (the middle of the panel), using specific fastener types and sizes to ensure the deck itself is securely fastened to the rafters and trusses below. This foundational nailing of the deck contributes significantly to the overall structural integrity before any shingles even go on.
Remember, the goal is to create a secure, interlocking system. Improper nailing patterns, whether too few nails or nails placed outside the designated zone, severely diminish the shingle's ability to resist wind and can even void your manufacturer's warranty. This attention to detail is part of what separates a truly professional installation from a shoddy one. You can learn more about how a full roof replacement works: How a Roof Replacement Works: The Full Process.
Penetration Depth and Decking Attachment
Correct nail penetration is a non-negotiable aspect of roof deck nailing code. It’s not enough to just put the nail through the shingle; it needs to go into the roof decking to achieve its holding power. The general rule of thumb, as mentioned, is that the nail should penetrate the roof sheathing (plywood or OSB) by at least 3/4 inch. This ensures a strong, reliable connection.
Problems arise when nails are either under-driven or over-driven. An under-driven nail, where the nail head isn't flush with the shingle surface, leaves the shingle loose and vulnerable. It can snag on debris, be lifted by wind, or even puncture subsequent layers of shingles. On the other hand, an over-driven nail, typically caused by excessive air pressure in a pneumatic nail gun, can cut right through the shingle's asphalt layer. This crushes the shingle, creating a tiny, vulnerable hole that compromises its waterproofing and reduces its ability to hold. Both scenarios lead to premature roof failure and potential leaks.
Furthermore, the nails must properly engage the roof decking itself. This means hitting solid wood, not just thin air between framing members. During the initial roof tear-off, any damaged or rotten roof decking must be replaced to ensure that new fasteners have a solid substrate to hold onto. Ignoring damaged decking is a critical error that can undermine even the most diligent nailing efforts. Contractors should always inspect the roof decking thoroughly after removing old shingles, identifying and addressing any issues like rot or structural weakness before proceeding. This attention to the underlying structure is often where homeowners can distinguish a quality roofer.
High-Wind Zones and Enhanced Nailing Requirements
Living in an area prone to strong winds means your roof needs extra protection. Standard nailing practices might suffice for calm climates, but for high-wind zones, building codes mandate more robust installation methods to ensure your roof stands a chance against nature's fury.
When Standard Nailing Isn't Enough: Understanding Wind Uplift
Think about what happens to an airplane wing – it's designed to create lift. Your roof, especially one with a significant pitch, can experience a similar phenomenon during high winds. As wind flows over and around your home, it creates areas of lower pressure above the roof surface and higher pressure underneath, particularly at the edges, corners, and ridges. This differential pressure creates an upward force called wind uplift, which can literally try to pull your roof structure apart and peel shingles right off like a banana.
The standard four-nail pattern per shingle, while adequate for many regions, often isn't enough to counteract these powerful forces in areas designated as high-wind zones. These zones typically include coastal regions susceptible to hurricanes, tornado alleys in the Midwest, and areas with frequent strong gale-force winds. In such locations, the risk of catastrophic roof failure, leading to massive property damage and safety hazards, is significantly higher. Therefore, building codes in these regions go above and beyond the baseline IRC requirements, specifying enhanced nailing methods and often mandating specific shingle types with higher wind resistance ratings. You might also encounter a High-Wind Nailing Cost Premium in these areas due to the extra labor and materials involved.
Specific Requirements for High-Wind Installations
For homes in high-wind zones, the rules for nailing become much more stringent. One of the most common requirements is the shift from a four-nail pattern to a six-nail pattern per asphalt shingle. These additional nails are usually spaced to provide more consistent holding power across the shingle, making it harder for wind to get underneath and pry it loose.
Beyond just the number of nails, codes in these areas often specify:
- Ring Shank Nails: These provide superior pull-out resistance compared to smooth shank nails, gripping the wood decking more securely. Many codes in hurricane-prone states explicitly require them.
- Increased Fasteners at Eaves and Rakes: The edges of your roof (eaves and rake edges) are particularly vulnerable to wind uplift. Codes may require additional nails or special fastening patterns for the first courses of shingles and for any starter strips along these edges.
- Adhesive Enhancement: In conjunction with enhanced nailing, many codes and manufacturers require or recommend the use of roofing cement or other approved adhesives under the first course of shingles and along vulnerable edges to create an even stronger bond.
- Peel-and-Stick Underlayment: While not directly a nailing requirement, the use of self-adhering (peel-and-stick) underlayment, often mandated in high-wind and ice-dam-prone areas, contributes significantly to the overall wind resistance by creating a secondary water barrier and helping to seal the roof deck. This underlayment itself also requires specific nailing patterns to secure it to the deck before shingles are applied.
These enhanced requirements aren't just suggestions; they are code mandates designed to increase the roof system's ability to resist wind forces and maintain its integrity during severe weather events.
The Importance of a Full Roofing System for Wind Resistance
While proper nailing is undeniably crucial, it's vital to understand that wind resistance is a function of the entire roofing system, not just the shingles and their nails. Think of it like a chain: it's only as strong as its weakest link. A truly wind-resistant roof integrates multiple components, all working in harmony to withstand extreme conditions.
This includes features like:
- Starter Strips: These specially designed shingles are installed along the eaves and rake edges, providing a sealed and securely fastened foundation for the first course of main shingles. They often have factory-applied adhesive to create a strong bond and prevent wind uplift at the vulnerable edge.
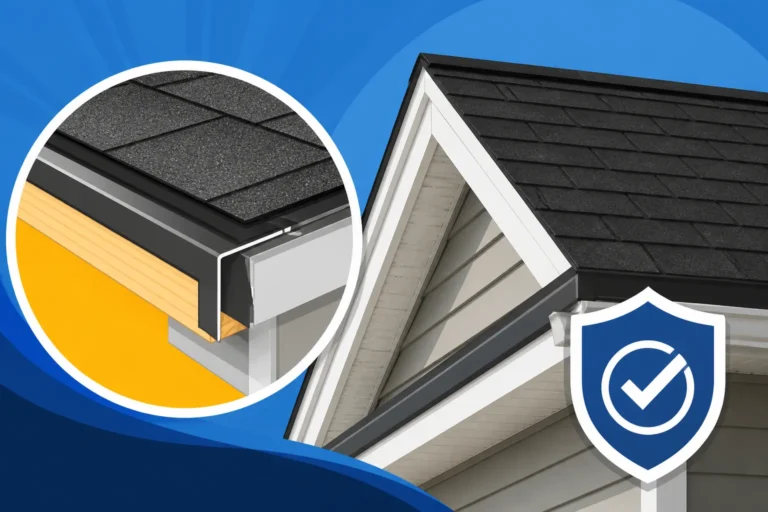
- Drip Edge: This metal flashing is installed along the eaves and rake edges, directing water away from the fascia and providing a clean, finished look. It also helps to secure the edges of the underlayment and starter strips, reducing the chance of wind getting underneath.
- Underlayment: Whether traditional felt or modern synthetic, underlayment provides a critical layer of protection beneath the shingles. In high-wind areas, specialized synthetic underlayments are often preferred for their tear resistance and ability to hold fasteners securely.
- Ridge Vents and Other Ventilation: While seemingly unrelated to wind resistance, proper roof ventilation helps to equalize pressure in the attic, which can actually reduce the severity of wind uplift forces by preventing a vacuum effect.
When a roofing manufacturer offers a high-wind warranty, it's typically contingent upon the installation of a complete system using their approved components and adherence to their specific installation instructions, which often go hand-in-hand with local building codes. Brands like Owens Corning with their SureNail Technology or GAF with DuraGrip Adhesive specifically design their shingles and systems for enhanced wind resistance, but these features only perform as intended if the underlying nailing and full system installation are done correctly.
Common Nailing Mistakes and Their Consequences
Even with the best intentions and quality materials, mistakes in nailing can occur. Unfortunately, these seemingly minor errors can have significant, long-term consequences for your roof's performance and longevity, often leading to premature failure or voided warranties.
Over-Driven and Under-Driven Nails: Silent Roof Killers
These are perhaps two of the most insidious and common nailing errors, often going unnoticed by the untrained eye but quietly compromising your roof.
- Over-Driven Nails: This happens when a nail gun's air pressure is set too high, or the installer presses too hard, causing the nail head to punch through the shingle's top layer. The visible result is often a small, crushed divot in the shingle. While it might look minor, this creates a breach in the shingle's waterproof asphalt layer. Over time, moisture can seep into these tiny holes, leading to rot in the shingle itself, or worse, making its way to the roof decking. It also reduces the shingle's adhesion and can cause it to crack around the nail head prematurely. This is a common cause of leaks that can be frustratingly hard to trace, as the initial damage is so small.
- Under-Driven Nails: The opposite problem, an under-driven nail, occurs when the nail head isn't fully flush with the shingle surface. This leaves a portion of the nail head exposed or creates a slight hump in the shingle. The immediate consequence is that the shingle isn't securely fastened. It can lift in the wind, catch debris, or even snag on foot traffic, leading to tears. Over time, the exposed nail head can rust, and the repeated movement of the loose shingle around the nail can enlarge the hole, creating a pathway for water. Worse, if a subsequent course of shingles is laid over an under-driven nail, that nail head can rub against the underside of the upper shingle, causing abrasion and wear that leads to premature damage.
Both over-driven and under-driven nails are clear indicators of improper installation technique, whether due to rushing, inexperience, or poorly calibrated equipment. They might not cause an immediate leak, but they drastically shorten your roof's lifespan and can lead to costly repairs down the road.
Improper Nail Placement: High Nailing and Edge Nailing
Beyond the force of driving the nail, where the nail goes is equally critical. Improper placement is another major cause of roof failure and warranty issues.
- High Nailing: This is arguably the most common and damaging placement error. High nailing occurs when the nail is placed too high on the shingle, above the manufacturer-designated nailing line (often called the common bond area). When this happens, the nail might only pass through the shingle being installed, failing to penetrate the underlying shingle effectively. This means that only one layer of shingle is secured, rather than the intended two. The result? Greatly reduced wind resistance. The shingle is far more likely to be lifted and ripped off by even moderate winds, exposing the roof deck to the elements. High nailing is a prime reason for many manufacturer warranty claims being denied, as it's a direct violation of installation instructions.
- Edge Nailing (Too Close to the Edge): Placing nails too close to the edges of a shingle, either along the sides or too close to the bottom, can also be problematic. Shingles need some room to expand and contract with temperature changes. Nailing too close to the edge can cause the shingle to crack or tear, especially around the fastener, compromising its integrity. It also makes the shingle more susceptible to wind damage at its vulnerable points. The general rule is to keep nails a safe distance from shingle edges and cutouts, ensuring they are firmly embedded in the thickest, strongest part of the shingle.
These placement errors are usually a sign of an installer who is either inexperienced, rushing the job, or simply not paying attention to the manufacturer's specific guidelines, which are always outlined in detail on shingle packaging and installation guides.
Using the Wrong Fasteners or Tools
Sometimes, the error isn't in the how but the what. Using incorrect fasteners or improperly adjusted tools can wreak havoc on an otherwise well-planned roof replacement.
- Wrong Fasteners: As discussed earlier, not all nails are created equal. Using non-galvanized nails means they will rust and eventually fail, staining your roof and creating weak points. Using staples instead of nails, which is often faster but provides significantly less holding power, is a common shortcut taken by unscrupulous roofers. Most shingle manufacturers will explicitly void their warranty if staples are used for shingle installation. Additionally, using nails that are too short won't provide the necessary penetration into the roof deck, while nails that are too long can puncture through the attic side of the decking, creating potential injury hazards or allowing conditioned air to escape.
- Improperly Adjusted Tools: Modern roofing relies heavily on pneumatic nail guns for efficiency. However, these tools require proper calibration. If the air pressure is too high, you get over-driven nails. If it's too low, you get under-driven nails. An experienced installer will constantly monitor and adjust the pressure, especially as they move between different areas of the roof or as temperatures fluctuate. A nail gun that's not held perpendicular to the roof plane can also result in crooked nails that don't penetrate squarely, leading to weak connections.
These errors underscore the importance of hiring a reputable, experienced, and certified roofing contractor. They have the knowledge, training, and properly maintained equipment to avoid these common yet critical mistakes. Choosing a good contractor is essential, and guides like How to Choose a Roofing Contractor can help you vet potential candidates.
Ensuring Code Compliance: What Homeowners Need to Know
For homeowners, ensuring your roof meets all the necessary nailing codes can feel like a daunting task. You're not expected to be a roofing expert, but understanding the process and knowing what questions to ask can empower you to get a high-quality, compliant roof.
The Role of Permits and Inspections in Nailing Code Enforcement
When you undertake a significant home improvement project like a roof replacement, a building permit is often required. This isn't just bureaucratic red tape; it's a crucial safeguard designed to protect homeowners and ensure that work is performed safely and to code. You can read more about it in our guide, Roofing Permits Explained.
The permit process typically involves:
- Application: Your contractor (or sometimes you, the homeowner, though it's best handled by the pro) applies for a permit with your local building department.
- Pre-Roofing Inspection: In some jurisdictions, an inspector might check the existing roof or attic structure before work begins to identify any underlying issues.
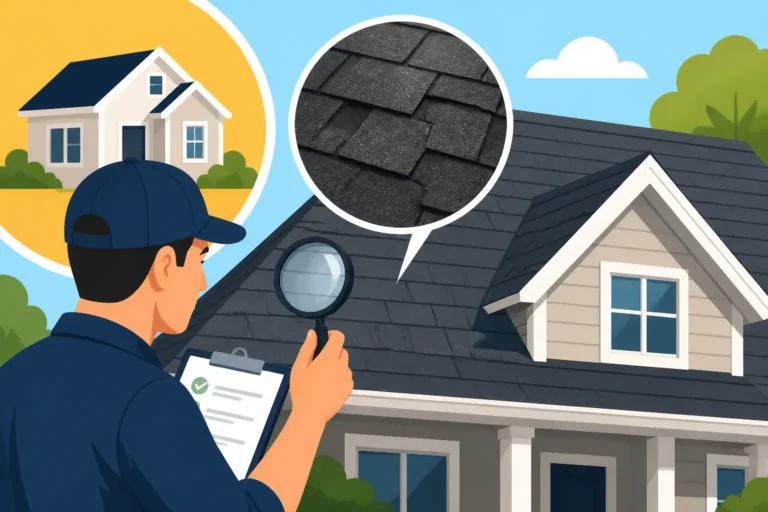
- Mid-Roofing Inspection: This is often the most critical inspection for nailing code compliance. Once the old shingles are torn off and the new underlayment is installed, but before the new shingles are fully laid down, an inspector may come to verify that the roof deck nailing is correct, that the underlayment is properly installed, and that the starter shingles and initial courses are nailed to code. This allows the inspector to see the crucial nailing patterns before they're covered up. Without passing this inspection, work cannot proceed.
- Final Inspection: After the entire roof is installed and all work is complete, a final inspection ensures everything meets code, including proper flashing, ventilation, and overall aesthetic.
Skipping the permit process might save a little money upfront, but it’s a huge gamble. If code violations are discovered later (e.g., during a home sale inspection), you could be forced to tear off portions of your roof to correct the issues, leading to far greater expense and hassle. Moreover, work done without a permit might not be covered by your homeowner's insurance if a problem arises.
Working with a Reputable, Certified Contractor
The single best way to ensure your roof deck nailing code is met, along with all other aspects of a quality installation, is to hire a reputable and experienced roofing contractor. A truly professional roofer understands that compliance isn't optional; it's fundamental to their reputation and the long-term performance of your roof.
Look for contractors who:
- Are Licensed and Insured: This protects you from liability if accidents occur on your property and ensures they meet professional standards.
- Are Manufacturer-Certified: Many leading shingle manufacturers, like GAF, Owens Corning, and CertainTeed, offer certification programs for contractors (e.g., GAF Master Elite Contractors Explained or Owens Corning Platinum Preferred Explained). These certifications mean the contractor has undergone specific training, adheres to strict installation guidelines (which often exceed baseline code), and can offer enhanced manufacturer warranties that extend beyond the standard coverage.
- Provide a Detailed Contract: A clear contract will outline the scope of work, materials used, warranties, and confirmation that all work will meet local building codes.
- Are Familiar with Local Codes: Ask them directly about the specific nailing and other code requirements for your municipality. A good contractor will be able to rattle them off or easily access them.
- Have Positive References and Reviews: Check online reviews and ask for references from previous clients.
An experienced contractor will take pride in their work and understand the nuances of proper nailing, ensuring everything from the nail type to the spacing and penetration is executed perfectly. They know that cutting corners on nailing isn't worth the risk to your home or their business.
Verifying Nailing Practices During Installation
While you're not expected to supervise every nail, being an informed homeowner means you can discreetly observe and ask pertinent questions during the installation process.
- Observe Safely: From the ground, you can often see the general pace and precision of the work. If you notice installers rushing or using inappropriate tools, it might be a red flag. If possible, a quick, safe glance at partially installed sections (from a ladder, if you're comfortable, or with your contractor's permission) might reveal obvious issues like under-driven nails or visible nail heads.
- Ask Questions: Don't hesitate to ask your contractor or crew foreman about their nailing practices. For example, you could ask, "Are you using six nails per shingle for enhanced wind resistance, as per our agreement?" or "What kind of nails are you using?" A good contractor will be happy to explain their process and reassure you.
- Post-Installation Checks (from the attic): After the roofing is complete, if you have attic access, you can do a quick check from inside. Look up at the underside of your roof deck. You should see the tips of the nails protruding through, evenly spaced. If you see nails that are barely poking through, bent over, or completely missing in spots, it could indicate improper nailing and warrant further investigation by your contractor. This isn't about distrust, but about informed oversight.
Ultimately, your peace of mind comes from knowing your roof is installed correctly. Understanding the basics of roof deck nailing code and choosing the right professional can make all the difference in the long-term performance and durability of your asphalt roof.
Nailing Codes and Your Roof Warranty
It might sound dramatic, but improper nailing can be the silent saboteur of your roof warranty. Manufacturers are very clear about their installation requirements, and when those are not met, the consequences can be significant, especially if you ever need to file a claim.
How Improper Nailing Can Void Your Shingle Warranty
Imagine this scenario: a few years after your new roof is installed, a severe windstorm hits, and some shingles get blown off. You file a warranty claim with the shingle manufacturer, only for it to be denied. The reason? An inspector found evidence of high nailing or over-driven fasteners, which are direct violations of the manufacturer's installation instructions. This is a homeowner's nightmare, and it happens more often than you'd think.
Shingle manufacturers spend millions on research and development to create durable products and then provide detailed specifications on how those products must be installed to perform as intended. These specifications nearly always include explicit instructions on:
- Nail Type: Galvanized, ring shank, specific diameters.
- Nail Length: Ensuring adequate penetration.
- Number of Nails: Typically 4 or 6 per shingle, depending on the product and wind rating.
- Nail Placement: The exact "nailing zone" on the shingle to ensure proper bond and wind resistance.
- Nail Driving Force: Avoiding over-driving or under-driving.
If your roofing contractor deviates from these guidelines, even subtly, the manufacturer has grounds to deny a claim related to product failure, particularly if the failure can be linked to the installation error. This can leave you on the hook for expensive repairs or even a full roof replacement, even if the shingles themselves were high quality. Always discuss Roofing Warranty: Workmanship vs Manufacturer with your contractor.
The Advantage of Enhanced Manufacturer Warranties
This is where the concept of "full roofing systems" and "certified contractors" really shines. Leading manufacturers understand that their products perform best when installed correctly, using all compatible components. To encourage this, they offer enhanced or extended warranties that go beyond the basic material-only coverage.
These premium warranties typically cover both material defects and the cost of labor for repairs or replacement for a longer period, sometimes even for the lifetime of the homeowner. However, to qualify for these warranties, a few conditions must usually be met:
- Use of a Manufacturer-Certified Contractor: Only contractors who have met the manufacturer's stringent training, certification, and business requirements can offer these extended warranties.
- Installation of a Complete System: This means using not just the manufacturer's shingles, but also their starter strips, hip and ridge caps, underlayment, and often their ventilation products.
- Adherence to Specific Installation Practices: This includes, critically, following all nailing codes and manufacturer guidelines to the letter.
When you invest in an enhanced warranty through a certified contractor, you're buying extra peace of mind. It means the manufacturer stands behind not just their product, but also the quality of the installation, largely due to the rigorous standards that include proper nailing techniques. This makes a strong case for not just looking at the initial How Much Does an Asphalt Shingle Roof Cost, but also the long-term protection.
Understanding Different Warranty Types and Their Nailing Clauses
When evaluating roofing estimates, always pay close attention to the warranty details. There are generally two main types of warranties you'll encounter:
- Standard Manufacturer's Warranty: This typically comes with the shingles themselves and covers manufacturing defects for a set period (e.g., 25-50 years, often prorated after an initial non-prorated period). However, these warranties almost universally have clauses that state the warranty is voided if the shingles are not installed according to the manufacturer's published instructions, which always include strict nailing requirements. If a claim arises and improper nailing is identified as the cause, this standard warranty will likely not cover the damage.
- Enhanced or System Warranty: As discussed, these are offered through certified contractors who install a complete roofing system. They provide broader coverage, often including material and labor, and may be non-prorated for a longer duration. While more comprehensive, even these warranties still hinge on proper installation. The difference is that a certified contractor is much more likely to know and follow those strict nailing requirements, making a successful claim far more probable should a manufacturing defect occur.
Before you sign any contract, ensure you understand the warranty being offered, what it covers, and what specific installation practices (especially concerning nailing) are required to keep it valid. Ask your contractor about the specific nailing patterns they plan to use and how they ensure adherence to manufacturer guidelines to protect your investment for decades to come.
Here's a quick reference table for common nailing requirements:
| Aspect | Standard Nailing (General) | High-Wind Nailing (Specific Regions) |
|---|---|---|
| Nail Type | 1.25" – 1.75" Galvanized Steel Roofing Nails | 1.25" – 2" Ring Shank Galvanized Steel Roofing Nails |
| Nail Length | 3/4" penetration into roof deck | 3/4" – 1" penetration into roof deck |
| Nails Per Shingle | 4 nails per shingle | 6 nails per shingle (or as specified by local code/mfr) |
| Nail Placement | In manufacturer's designated nailing zone | In manufacturer's designated nailing zone, often wider spread |
| Deck Sheathing Nails | 6" at edges, 12" in field | 4" at edges, 6" in field (stronger fastening of deck) |
| Fastener Condition | Flush with shingle, not over or under-driven | Flush with shingle, not over or under-driven |
| Underlayment | Felt or Synthetic (nailed/stapled) | Self-Adhering (Peel & Stick) or mechanically fastened heavy synthetic, with enhanced nailing of product |
| Additional Measures | None typically required | Sealant beneath starter strips, enhanced edge fastening |
Disclaimer
Please remember that this information is intended for general guidance only and should not replace professional advice. Building codes, permit requirements, and manufacturer specifications can vary significantly by location and product. Always consult with a qualified, licensed, and insured roofing contractor and your local building authority to ensure full compliance with all applicable codes and regulations for your specific project.