How to Pull a Roofing Permit
Thinking about replacing your roof can bring a mix of excitement for a fresh look and dread about the process. One of the biggest hurdles homeowners often face is navigating the seemingly complex world of roofing permits. It feels like a bureaucratic headache, but understanding why and how to pull a roofing permit is crucial for a smooth project, ensuring your home remains safe and sound. This guide will walk you through everything you need to know about securing that all-important permit.
Understanding the "Why" Behind Roofing Permits
Let's be honest, the idea of getting a permit for anything can feel like just another hoop to jump through, an added expense, and more paperwork. Many homeowners wonder why they even need one for something as straightforward as a roof replacement. But permits aren't just red tape; they're a vital layer of protection for you, your home, and even your community. They ensure that work is done correctly and safely, according to established standards.
Safety and Structural Integrity
Your roof is more than just shingles; it's a complex system that protects your entire home from the elements. When you undertake a major project like a roof replacement, there are serious safety implications, both for the workers on your property and for the long-term structural integrity of your house. Permits act as a checkpoint, requiring a professional review of the proposed work to ensure it meets safety standards. This might involve checking for proper load distribution, ensuring the roof decking is sound, or verifying that ventilation systems are adequate.
Imagine a scenario where a contractor cuts corners, installing shingles improperly or failing to address underlying structural issues with the roof deck. Without a permit and subsequent inspections, these critical flaws might go unnoticed until they lead to leaks, mold, or even structural collapse down the line. A permit application forces everyone involved to consider these essential safety elements before work begins, protecting your family and your biggest investment. It's not about making things difficult; it's about making sure your roof is built to last and to protect.
Code Compliance and Quality Assurance
Every municipality has a set of building codes designed to ensure that construction and renovation projects meet minimum standards for quality, durability, and safety. These codes cover everything from the type of materials that can be used to how they must be installed. For asphalt roofing, this could mean specific nailing patterns, requirements for ice and water shield in certain climates, or mandates for proper ventilation to prevent premature roof failure.
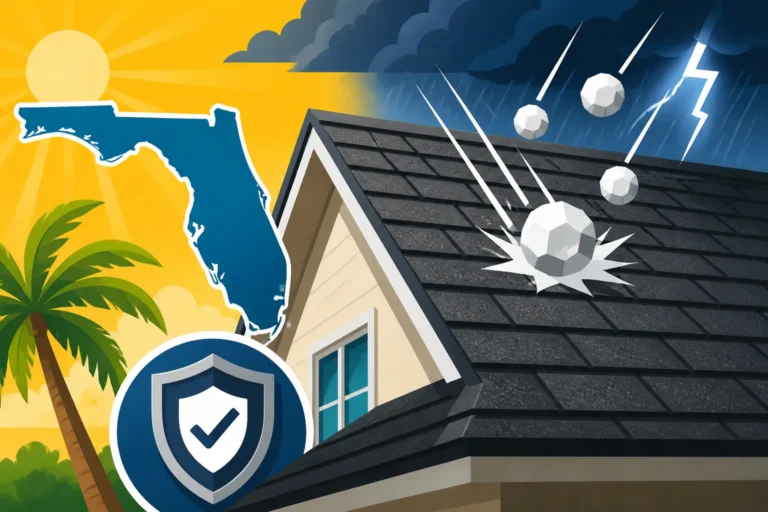
When you obtain a roofing permit, you're essentially agreeing that the work will adhere to these local building codes. This compliance is then verified through inspections by municipal officials, acting as an impartial third party. This process significantly reduces the likelihood of shoddy workmanship or a contractor using substandard materials. For instance, in areas prone to hurricanes like Florida, specific wind resistance codes often dictate shingle types and installation methods. Your local permit ensures that the new roof can withstand the forces it might encounter. Without a permit, there's no official oversight, leaving you vulnerable to potential problems that could surface years later.
Protecting Your Investment and Liability
Beyond immediate safety and quality, pulling a permit protects your long-term investment. Should you decide to sell your home in the future, many potential buyers or their inspectors will inquire about permits for major renovations, especially roof replacements. An unpermitted roof job can raise red flags during a home inspection, potentially delaying or even derailing a sale. It might signal to buyers that other work on the house was also done without proper oversight, leading to concerns about hidden issues.
Moreover, permits play a role in insurance claims. If your unpermitted roof suffers damage from a storm, your insurance company might deny or reduce your claim, arguing that the work was not done to code. This could leave you on the hook for thousands of dollars in repairs or a full replacement. From a liability standpoint, if an unpermitted roofing job causes damage to a neighbor's property or injures a worker (even if they're uninsured), you, as the homeowner, could face significant legal and financial repercussions. A permit and the associated inspections help ensure the work is done properly, mitigating these risks and protecting your personal liability.
When a Roofing Permit is Absolutely Necessary
The question of "Do You Need a Permit to Replace a Roof?" often causes confusion, especially because the rules can vary so much from one place to another. While some minor repairs might get a pass, major roofing projects almost universally require one. It’s always best to check with your local building department, but there are some clear indicators that you’ll need to secure a permit.
Full Roof Replacements vs. Minor Repairs
Generally speaking, if you're undertaking a full roof replacement, tearing off old shingles and installing a new system, you will absolutely need a permit. This is considered a major alteration to your home's structural envelope, involving significant work that impacts safety, water protection, and structural integrity. This type of project touches on nearly all aspects covered by building codes, from roof decking integrity to proper flashing and ventilation. The process for a full replacement typically involves multiple inspections, verifying that each stage of the work meets local standards.
On the other hand, minor repairs, such as replacing a few missing shingles or patching a small leak, often do not require a permit. The key distinction usually lies in the scope of the work. If the repair covers a small percentage of the total roof area (often defined as less than 100 square feet or a specific percentage like 10-25% of a single slope), and doesn't involve changes to the roof's structure or significant tear-off, you might be exempt. However, even for minor repairs, it’s always prudent to confirm with your local building department, as some jurisdictions are stricter than others. For example, replacing a whole section of damaged shingles after a severe storm might still necessitate a permit, even if it's not the entire roof.
Overlaying vs. Tear-Off Projects
The method of roof replacement—whether you're doing an overlay (roofing over existing shingles) or a full tear-off—can sometimes influence permit requirements, but it's important to be clear: both usually require a permit. A full tear-off, where all existing layers of roofing material are removed down to the roof deck, invariably requires a permit. This process allows for a thorough inspection of the roof deck for rot or damage, ensuring a solid foundation for the new roof. It's often considered the best practice for a new roof and typically leads to a longer-lasting installation.
Overlaying, which involves installing new shingles directly over one existing layer, also typically requires a permit. While it might seem less invasive, it still represents a significant change to the roof system. Many building codes have strict regulations on how many layers of shingles are legal, often limiting it to two layers to prevent excessive weight on the roof structure. Some regions, particularly those prone to heavy snow loads or high winds, may even prohibit overlays entirely or require a structural engineer's approval. The permit process for an overlay would confirm compliance with these layer limits and ensure the existing roof is stable enough to support the added weight. Always remember, the permit is less about how you replace the roof and more about ensuring the new roof, regardless of method, meets safety and code standards.
Regional and Local Variations
Here's where things can get a bit tricky: roofing permit requirements are not universal. What's mandatory in Atlanta, Georgia, might be different from what's required in Denver, Colorado, or even a neighboring county. These variations are driven by local climate, specific building codes (which can be adopted at state, county, and municipal levels), and historical precedents. For instance, coastal areas prone to hurricanes, like those in Florida or Texas, often have more stringent requirements for wind resistance and specific fastening methods, which are verified through the permit process.
Similarly, states in colder climates might have strict requirements for ice and water shield installation to prevent ice dams. Even within the same state, a large city might have a dedicated building department with robust permitting processes, while a rural county might have a more streamlined or less prescriptive approach. Before you even think about starting your roofing project, your first step should always be to contact your local municipal building department or planning office. A quick call or a visit to their website can clarify the exact requirements, fees, and application process for your specific location. Don't assume anything; an informed approach saves you time, money, and headaches down the road.
The Step-by-Step Process to Obtain a Roofing Permit
Once you understand why a permit is necessary, the next logical step is figuring out how to actually get one. It can feel like a labyrinth of paperwork, but by breaking it down into manageable steps, it becomes much clearer. The good news is that if you're working with a reputable roofing contractor, they often handle much of this process for you. However, it's always smart to understand the process yourself to ensure everything is above board. After all, the permit is ultimately tied to your property.
Researching Local Requirements
This is arguably the most crucial first step. As we've discussed, requirements can vary significantly. You'll need to identify the specific governing authority for your property – whether it's a city, county, or even a smaller township. Start by visiting their official website or calling their building department directly. Look for a section on "permits," "building permits," or "roofing permits." They often have downloadable forms and checklists detailing exactly what you need.
During your research, pay close attention to:
- Application Forms: These are usually standard forms that collect property owner information, contractor details, and a description of the work.
- Required Documentation: This might include a plot plan (showing your house on the property), a scope of work description, and sometimes even material specifications.
- Fees: Permit fees vary widely but are a necessary part of the process.
- Inspection Schedule: Understand when inspections will occur (e.g., after tear-off but before new shingles, and a final inspection).
- Specific Building Codes: While you don't need to be an expert, knowing if there are unique local codes for roofing (like high-wind nailing requirements or certain underlayment types) can be helpful.
It's also a good idea to confirm if your chosen contractor is properly licensed and insured in your area, as this is often a prerequisite for obtaining a permit. Many jurisdictions will not issue a permit to an unlicensed contractor. If your contractor is handling the permit, they should be well-versed in these local nuances.
Preparing Your Application Materials
Once you know what's required, it's time to gather everything. This preparation stage is where your roofing contractor typically shines, as they'll have much of the technical information ready. However, if you're pulling the permit yourself or want to verify everything, here's a typical rundown of what you might need:
| Document Type | Description | Who Provides It |
|---|---|---|
| Application Form | Official form from your local building department with project details. | Homeowner/Contractor |
| Property Owner Info | Name, address, contact details of the homeowner. | Homeowner |
| Contractor Info | Company name, license number, insurance details, contact info. | Roofing Contractor |
| Scope of Work | Detailed description of the project (e.g., "tear off one layer of existing asphalt shingles, inspect deck, install new synthetic underlayment, install GAF Timberline HDZ architectural shingles"). | Roofing Contractor |
| Site Plan/Sketch | Simple drawing showing your house on the property, clearly indicating the roof area to be worked on. | Homeowner/Contractor (sometimes not required for roofs) |
| Material Specs | Sometimes, details about the specific shingles, underlayment, and other components being used. | Roofing Contractor (brochures, data sheets) |
| Payment for Fees | Check, credit card, or money order for the permit fee. | Homeowner/Contractor (often included in bid) |
Your contractor will be instrumental here, as they can provide accurate descriptions of materials, installation methods, and their licensing details. For instance, they'll know if your area requires Ice and Water Shield Explained or specific Drip Edge: What It Does. Make sure everything is filled out completely and accurately. Incomplete applications are a primary cause of delays, pushing back your project start date. Double-checking every detail before submission will save you a lot of grief.
Submitting Your Application and Awaiting Approval
With all your materials meticulously prepared, the next step is submission. In many localities, especially larger cities, you might be able to submit your application online. Other areas may require an in-person visit to the building department or even mail-in applications. Your contractor might handle the submission, or they might provide you with all the documents to submit yourself. Always ask for a copy of the submitted application and any receipts or tracking numbers.
Once submitted, the application enters a review process. This typically involves a plans examiner reviewing your submitted documents to ensure they comply with local Roofing Building Codes: What to Know. The timeline for approval can vary wildly, from a few days in less busy departments to several weeks in larger, overwhelmed jurisdictions. Factors like the completeness of your application, the complexity of your project, and the current workload of the building department all play a role. During this waiting period, resist the urge to start work! Beginning a roofing project without a valid permit can lead to stop-work orders, fines, and potentially requiring you to undo work already completed. Patience here is key, and communication with the building department or your contractor about the status of your application can help manage expectations.
What to Expect During the Roofing Inspection
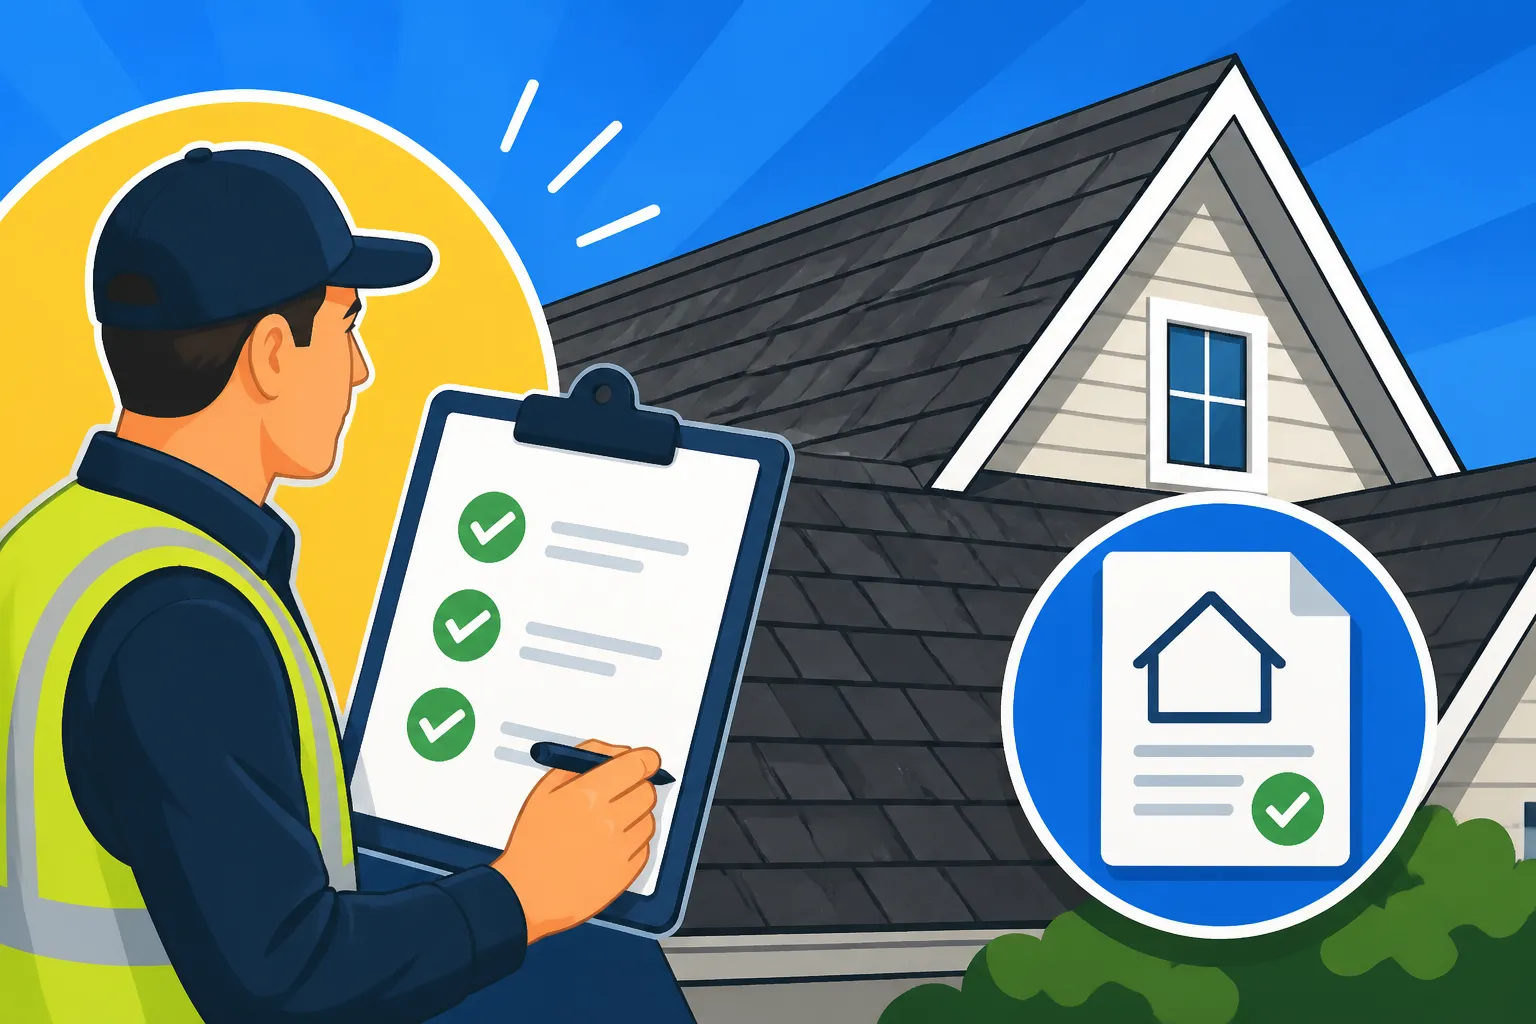
The permit isn't just a piece of paper; it's an agreement that your work will be inspected to ensure it meets safety and code standards. Inspections are a critical part of the process, providing an objective review of your new roof's quality. While they might feel like another hurdle, think of them as quality assurance checks that protect your investment.
Pre-Installation Inspection
Depending on your local regulations and the scope of your roofing project, you might have more than one inspection. A common one is the pre-installation, or "decking," inspection. This inspection typically occurs after the old roofing materials have been completely torn off, but before any new underlayment or shingles are installed. This is the inspector's golden opportunity to examine the exposed roof deck. They'll be looking for several key things:
- Decking Condition: Are there any signs of rot, water damage, or structural issues with the plywood or OSB? If so, the inspector will require these sections to be replaced. Roof Decking Replacement Cost might factor in here if significant repairs are needed.
- Proper Fastening: Is the existing decking adequately fastened to the trusses or rafters?
- Flashing and Penetrations: Are chimney flashing, skylight flashing, and vent pipe flashing areas prepared correctly? This is where potential leaks often originate, so proper attention here is critical.
- Ventilation: Is the existing attic ventilation system adequate, or are there code requirements for upgrades?
This inspection is vital because any issues with the roof deck or underlying structure would be impossible to fix once new shingles are in place. If the inspector finds deficiencies, they will issue a correction notice, and work cannot proceed until those issues are resolved and potentially re-inspected. Your contractor should be fully aware of this inspection and coordinate its timing to avoid delays.
Final Inspection and Approval
Once all the roofing work is completed—all new shingles, flashing, vents, and accessories are installed—it's time for the final inspection. This is the moment of truth where the inspector confirms that the entire job complies with the permit and local building codes. Your contractor will typically schedule this inspection once they are confident the work is finished to standard.
During the final inspection, the inspector will visually examine the entire roof from the ground, and often from a ladder or even walking the roof itself (though this depends on the inspector and roof pitch). They'll be checking for:
- Proper Shingle Installation: Are shingles laid evenly, with correct overlap and nailing patterns? Are hip and ridge caps installed correctly?
- Flashing Integrity: Is all new flashing properly installed around chimneys, vents, skylights, and in valleys to prevent water intrusion?
- Drip Edge and Underlayment: While much of the underlayment won't be visible, the inspector will check for visible drip edge and proper installation where accessible.
- Ventilation: Is the roof ventilation system (ridge vents, soffit vents, etc.) installed and functioning as required by code?
- Overall Workmanship: The general quality and finish of the job.
If the inspection passes, you'll receive a final approval, and the permit will be closed. This is a huge milestone, signifying that your new roof meets all legal and safety standards. Keep a copy of this final approval for your records.
Common Reasons for Inspection Failure
While the goal is always a smooth pass, inspections can sometimes fail. It's not the end of the world, but it does mean delays and additional work. Understanding common reasons for failure can help you and your contractor proactively avoid them.
- Substandard Decking: As mentioned, inspectors frequently find rotten or damaged roof decking that wasn't properly replaced during the tear-off phase. This is a common point of failure for the pre-installation inspection.
- Improper Nailing: Shingles need to be nailed in specific locations and with a certain number of nails to achieve their rated wind resistance. Incorrect nailing, or "nail pops," is a frequent culprit for failed final inspections. Your contractor should be aware of High-Wind Nailing Cost Premium requirements in your area.
- Flashing Errors: Flashing is crucial for waterproofing vulnerable areas. Improperly installed or missing flashing around chimneys, skylights, or vent pipes is a leading cause of leaks and a common reason for inspection failure.
- Ventilation Issues: Not meeting minimum attic ventilation requirements or incorrect installation of ventilation components can lead to moisture buildup and premature roof deterioration, flagging an inspection.
- Unlicensed Work: If a homeowner tries to pull a permit themselves and then hires an unlicensed contractor, or if a contractor's license lapses, this can void the permit or lead to immediate failure.
- Code Violations: Sometimes, contractors use materials or methods that simply don't align with current local building codes, especially if they're not familiar with the specific regulations of your area. This is why choosing a reputable contractor who understands Roofing Building Codes: What to Know is so important.
If an inspection fails, the inspector will issue a detailed report outlining the deficiencies. Your contractor will then need to correct these issues and schedule a re-inspection. This adds time and cost to the project, so aiming for a perfect job the first time is always the best approach.
Common Challenges and How to Overcome Them
Even with the best planning, navigating the permit process can sometimes throw unexpected curveballs. From frustrating delays to confusing regulations, it's not always a straight path. Knowing what common challenges you might encounter and how to tackle them can save you a lot of stress.
Dealing with Permit Delays
Permit delays are a common source of frustration for homeowners. You've got your new shingles ordered, the contractor is ready to go, and then… crickets. The building department is backed up, a plans examiner is on vacation, or there's a minor detail missing from your application that sends it back to the bottom of the pile. These delays can push your project back by days or even weeks, especially during peak roofing season or after major storms when departments are swamped.
To mitigate delays:
- Submit Early: Don't wait until the last minute. Submit your permit application as far in advance as possible.
- Complete Application: Double-check every field, every signature, and every required attachment. An incomplete application will cause delays.
- Follow Up Politely: If you haven't heard anything after a reasonable timeframe (e.g., a week or two), a polite follow-up call to the building department can be helpful. Have your application number ready.
- Communicate with Contractor: Ensure your contractor is aware of potential delays and has contingency plans in place. They might have a better pulse on the local department's current turnaround times.
- Digital Submission: If available, online submission systems can sometimes expedite the process and provide better tracking.
While some delays are unavoidable, being proactive and meticulous with your application can significantly reduce your chances of experiencing prolonged waits.
The Role of Your Roofing Contractor
Your roofing contractor is your best ally in the permit process. In most cases, a good contractor will handle the entire permit application process on your behalf. This is one of the many reasons why How to Choose a Roofing Contractor is so important. They typically have established relationships with the local building department, understand the specific requirements, and know how to fill out the paperwork correctly to avoid common pitfalls.
A reputable contractor will:
- Advise on Requirements: Inform you if a permit is needed and what that entails for your project.
- Prepare and Submit Application: Gather all necessary project details, fill out the forms, and submit them to the appropriate department.
- Schedule Inspections: Coordinate with the building department to schedule pre-installation and final inspections at the correct times.
- Address Corrections: If an inspection requires corrections, they will perform the necessary work and arrange for re-inspection.
- Keep You Informed: Provide updates on the permit status and inspection results.
When reviewing How to Read and Compare Roofing Estimates, make sure the estimate explicitly states whether the contractor will handle the permit process and if the permit fees are included in the overall cost. Never assume this is part of the package; always clarify it upfront. If they expect you to pull the permit yourself, that could be a Roofing Contractor Red Flags to Avoid unless you are comfortable doing all the legwork and assuming the associated liability.
What Happens If You Skip a Permit?
Thinking about sidestepping the permit process to save time or money? While it might seem like a shortcut, it's a risky gamble with potentially serious consequences. Ignoring the requirement for a permit can lead to a host of problems that far outweigh any perceived initial savings. This is definitely one of those "penny wise, pound foolish" situations.
Here's what can happen if you proceed with an unpermitted roof replacement:
- Stop-Work Orders and Fines: If your municipality discovers unpermitted work (and neighbors are often the first to report, or an observant city employee passes by), they will issue a stop-work order. This means all work must cease immediately, often leaving your roof exposed. You'll then be required to obtain a permit, which can involve significant fines in addition to the standard permit fees. Some cities, like many in California, can impose fines daily until compliance.
- Required Demolition and Re-installation: If the work was done incorrectly or doesn't meet current codes, the city might demand that you tear off the new, unpermitted roof and re-install it correctly, under a valid permit. This means paying for the job twice and enduring the stress and disruption all over again.
- Resale Difficulties: As mentioned earlier, an unpermitted roof can be a huge red flag during a home inspection when you go to sell your house. Potential buyers might demand that you retroactively obtain a permit (which can be complicated or even impossible) or offer a significantly lower price. In some cases, it can scare buyers away entirely.
- Insurance Problems: If your unpermitted roof suffers damage, your homeowners' insurance policy might deny coverage for the claim. They could argue that because the work wasn't done to code or inspected, it's not their responsibility. This could leave you on the hook for a full roof replacement out of pocket.
- Liability Issues: If an unpermitted roof causes damage to another property or, worse, if a worker is injured on an unpermitted job, you could face severe legal and financial liability because the work wasn't properly sanctioned and inspected.
Simply put, the risks of skipping a permit are far too great. It's almost always more costly and stressful in the long run than simply doing things the right way from the start. Understand What Happens If You Skip a Roofing Permit before making any choices.
Costs Associated with Roofing Permits
While the permit process is a necessary evil for your roof replacement, it does come with a cost. These fees are usually a small fraction of the overall project cost, but it’s important to understand what you’re paying for and why. They contribute to funding the building department’s operations, including the salaries of the plans examiners and inspectors who ensure your home’s safety and compliance.
Typical Permit Fees
The cost of a roofing permit can vary significantly based on your location and the scope of your project. There isn't a single national price, and even within the same state, a permit in a large metropolitan area like New York City will likely be more expensive than one in a smaller rural town in upstate New York. Permit fees are often calculated based on a few factors:
- Flat Fee: Some municipalities charge a straightforward flat fee for a residential roof replacement, regardless of the size or complexity. This is common in smaller towns.
- Project Value: Many jurisdictions calculate the permit fee as a percentage of the total estimated cost of the roofing project. So, a more expensive, larger roof will naturally incur a higher permit fee.
- Roofing Squares: Some areas might base fees on the number of "squares" (a roofing square is 100 square feet) of roofing material being installed.
- Additional Fees: You might also encounter separate fees for plan review, inspection services, or administrative overhead.
For a typical residential asphalt roof replacement, you can expect permit fees to range anywhere from $75 to $500, though in some high-cost-of-living areas or for very large, complex roofs, it could potentially be higher. For example, a homeowner in a suburban area of Phoenix, Arizona might pay around $150-$250, while someone in a densely populated area of Los Angeles, California could see fees closer to $300-$500. This is usually a line item your contractor will include in your overall Asphalt Roof Replacement Cost: Complete Breakdown. Always ask your contractor for a clear breakdown of the permit fees, and confirm they are passed through to the city without markup.
Potential Fines for Non-Compliance
While paying the permit fee is an upfront cost, the potential fines for not obtaining a permit or for failing to comply with codes can be exponentially higher. As discussed, undertaking unpermitted work is a serious offense that can lead to costly penalties. Local governments don't take unpermitted construction lightly because it bypasses safety checks and potentially undermines community standards.
Fines for non-compliance often include:
- Doubled Permit Fees: Many municipalities will charge double or even triple the standard permit fee if they discover work being done without a permit. This is an immediate financial hit.
- Daily Penalties: Some jurisdictions can levy daily fines until the unpermitted work is corrected or a valid permit is obtained. These daily charges can quickly accumulate, turning a relatively small permit fee into thousands of dollars in penalties.
- Court Costs and Legal Fees: In severe or persistent cases, the city might take legal action, leading to court costs and attorney fees in addition to the fines.
- Mandatory Demolition and Reconstruction: The most drastic and expensive penalty is being forced to tear down the unpermitted work and rebuild it to code with a proper permit. This effectively means paying for the entire roof replacement twice, plus the fines.
Considering these potential fines, the upfront cost of a roofing permit is a small, necessary investment in peace of mind and legal compliance. It’s far more economical to factor in the permit fee from the start than to risk the severe financial repercussions of trying to cut corners. Always discuss the full scope, including permits and fees, with your chosen contractor to avoid any surprises.
Disclaimer
This article is for general informational purposes only and does not constitute professional advice. Laws, prices and regulations vary by location and change over time. Consult a qualified professional for guidance on your specific situation.