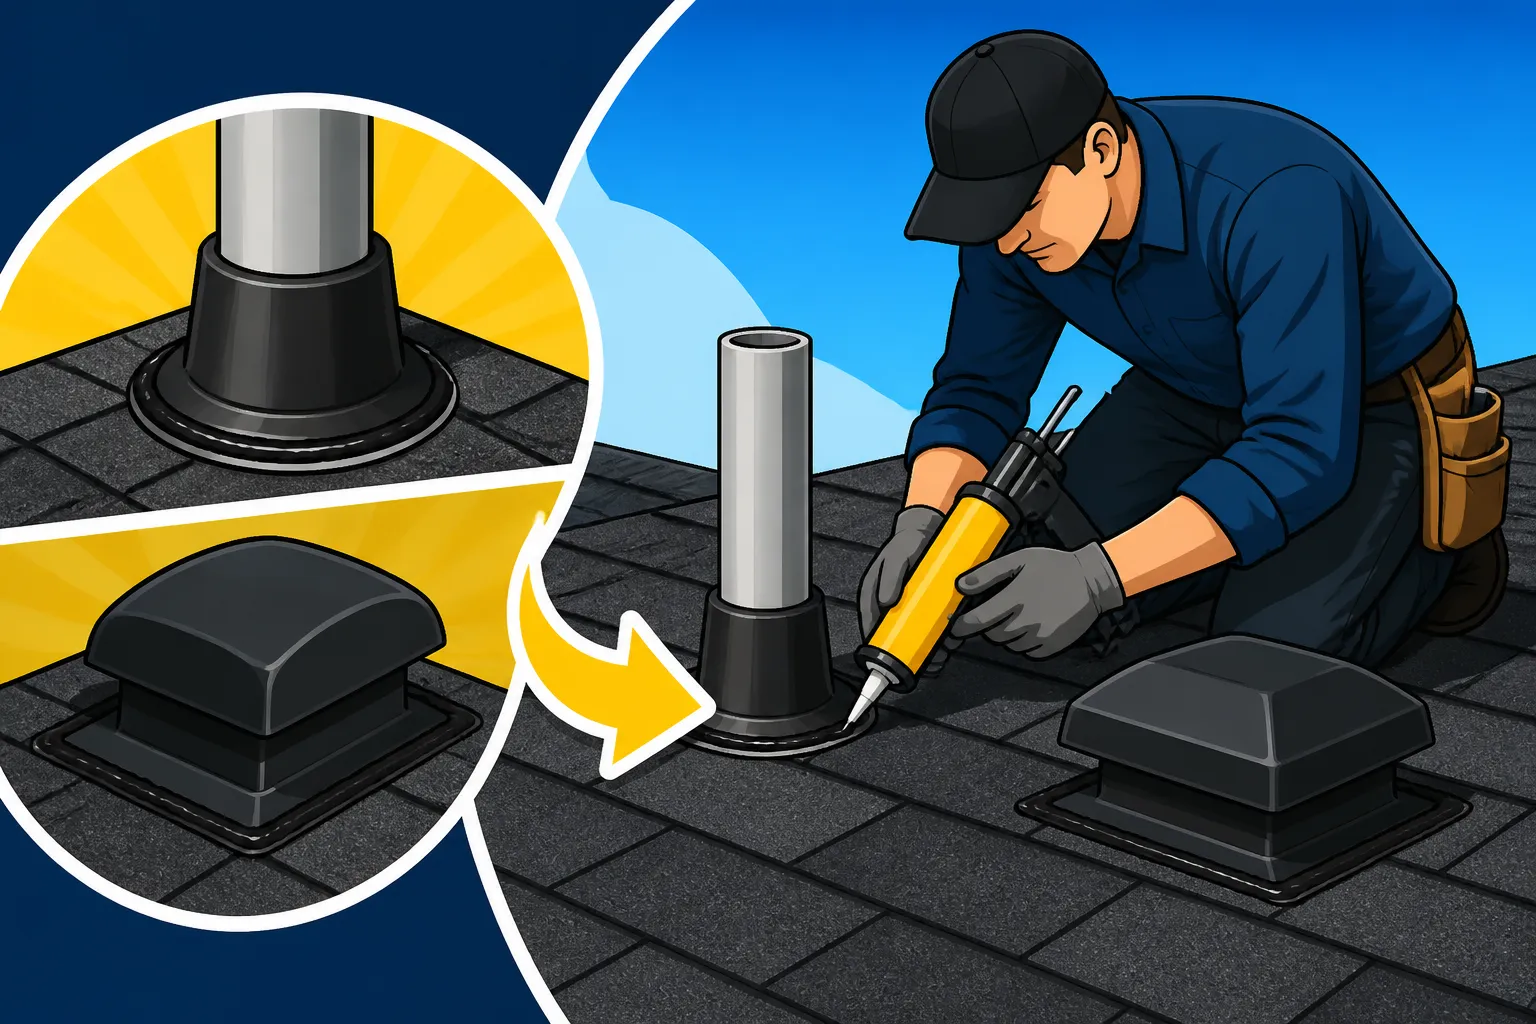
How Roofers Seal Around Vents and Pipes
That tell-tale drip, drip, drip during a heavy rain, often appearing right around a bathroom exhaust vent or a plumbing stack pipe, is one of the most infuriating discoveries a homeowner can make. It’s a stark reminder that your roof, the primary shield protecting your home, is only as strong as its weakest points. Properly sealing these essential roof penetrations is absolutely critical for preventing water damage, and this guide will walk you through exactly how experienced roofers ensure these vulnerable spots are watertight.
The Critical Importance of Watertight Roof Penetrations
When it comes to your roof, the flat, uninterrupted surfaces of shingles are generally quite effective at shedding water. It’s where the roof's continuous surface is broken – by chimneys, skylights, and especially by vent pipes and exhaust vents – that the real challenges and vulnerabilities arise. These penetrations are like little holes in your umbrella, and if not meticulously sealed, they become direct pathways for water to sneak into your attic, ceiling, and even your living spaces.
Why Roof Vents and Pipes are Leak Hotspots
Think about it: every time a plumbing vent pipe pokes through your roof, or a bathroom fan vents warm, moist air outside, it creates a break in the shingle system. These are not minor details; they are major architectural challenges for preventing leaks. Water, driven by gravity, wind, or even capillary action, will exploit the tiniest gap. If the sealing around these elements is compromised, whether by improper installation, old age, or storm damage, it's not a matter of if you'll get a leak, but when.
Often, homeowners might assume a brand-new roof means no more worries, but if these critical points aren't addressed with precision during installation, you could find yourself dealing with water stains far sooner than you'd ever expect. This is why understanding How a Roof Replacement Works: The Full Process is so valuable, as it highlights the detailed steps beyond just laying shingles.
The Real Cost of Neglecting Proper Sealing
A small leak around a vent pipe might seem like a minor nuisance at first – maybe just a discolored ceiling tile in the attic or a faint drip. However, these seemingly small issues can quickly escalate into significant and costly problems.
- Structural Damage: Persistent moisture can lead to rot in your roof decking, rafters, and even the framing of your home. This compromises the structural integrity of your house over time. You might be interested in learning about Roof Decking Replacement Cost if this has become an issue.
- Mold and Mildew Growth: Dark, damp attic spaces are prime breeding grounds for mold and mildew. Not only can this cause unpleasant odors, but it can also pose serious health risks, especially for individuals with allergies or respiratory issues.
- Damaged Insulation: Wet insulation loses its effectiveness dramatically, leading to higher energy bills as your HVAC system works harder to maintain comfortable indoor temperatures.
- Interior Damage: Beyond the attic, water can seep into ceilings, walls, and flooring, damaging drywall, paint, wallpaper, and even expensive finishes.
Neglecting these spots isn't just about a potential drip; it's about safeguarding the entire investment you've made in your home. Finding a reputable contractor through a service like Modernize can ensure these critical details are handled correctly from the start, saving you heartache and money down the road.
Understanding the Anatomy of Roof Penetrations
Before roofers can effectively seal around vents and pipes, they need a thorough understanding of the components involved. It's not just about slapping some caulk on; it's about a layered, integrated system designed to shed water. Each type of penetration presents its own set of considerations, from the material of the pipe itself to the specific flashing used.
Common Types of Roof Vents and Pipes
Your roof isn't just one big expanse; it's dotted with various elements that serve essential functions for your home's systems.
- Plumbing Vent Pipes: These are typically PVC or cast-iron pipes that extend through the roof to allow sewer gases to escape and ensure proper drainage in your plumbing system. They are usually round and vary in diameter.
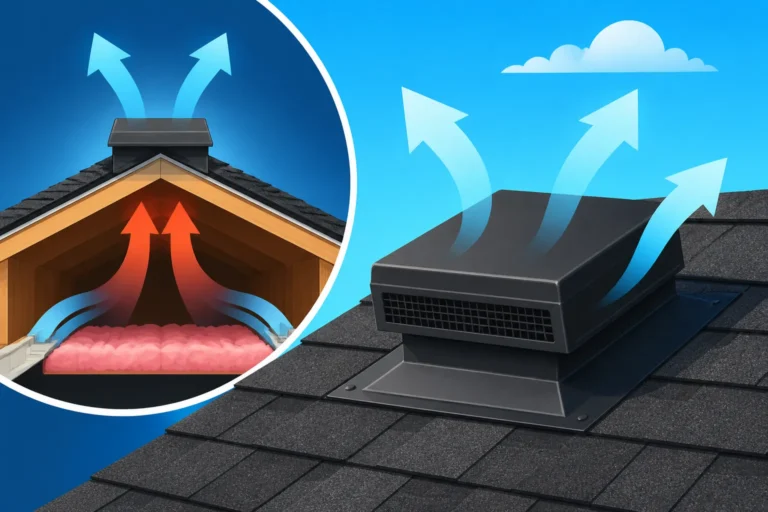
- Exhaust Vents: These can come in several forms, including bathroom fan exhausts (often plastic or metal hoods), kitchen range hood exhausts (larger, sometimes rectangular), and dryer vents. They often have covers or grates to prevent critter entry.
- Furnace/Water Heater Flues: These are metal pipes, usually double-walled, designed to safely vent combustion gases from your heating appliances. They operate at higher temperatures and require specialized high-temperature flashing.
- Attic Ventilation: While not typically "pipes," static vents, box vents, and turbines are other penetrations that require careful sealing. Understanding Roof Ventilation Code Requirements is key for proper airflow.
Each of these serves a different purpose and, consequently, requires specific treatment and materials to ensure a durable, watertight seal.
The Role of Flashing and Sealants
The primary line of defense against water intrusion around any roof penetration is the flashing. Flashing is a material, typically metal, designed to direct water away from the vulnerable joints and transitions.
- Pipe Boots/Collars: For round plumbing vents, the most common type of flashing is a pre-formed "pipe boot" or "pipe collar." These usually consist of a metal base (galvanized steel, aluminum, or copper) with a flexible rubber or neoprene gasket molded around a pipe opening. The base slides under the upper shingles and over the lower ones, integrating seamlessly into the roof system.
- Step Flashing: While more commonly associated with walls and chimneys, step flashing can also be used in conjunction with other types of vents, particularly if they are custom-built or unusually shaped. These are individual pieces of flashing installed in layers with the shingles.
- Base Flashing: For larger, often square or rectangular vents like some kitchen exhaust or attic vents, a flat base flashing is used, similar to the base of a pipe boot but without the circular collar.
- Sealants: While flashing does the heavy lifting, sealants provide an extra layer of protection and ensure tight integration. These are typically high-quality, durable caulks or mastics specifically designed for roofing applications. They are used where the flashing meets the pipe itself and occasionally around the edges of the flashing where it meets the shingles, though proper shingle overlap is paramount.
A quality roofer understands that these components must work together as a system. Relying solely on a bead of caulk will inevitably lead to failure. What Is Flashing and Why It Matters dives deeper into the different types and applications, but for vents and pipes, the pipe boot is your best friend.
| Flashing Type | Application | Material Examples | Key Benefit |
|---|---|---|---|
| Pipe Boot/Collar | Round plumbing vents (PVC, cast iron) | Galvanized steel, aluminum, copper with neoprene/rubber | Pre-formed for easy, snug fit around pipe |
| Base Flashing | Square/rectangular vents (e.g., attic, kitchen exhaust) | Galvanized steel, aluminum, plastic | Creates a flat, water-shedding barrier |
| High-Temp Flue | Furnace/water heater flues | Galvanized steel, copper, often lead base | Withstands high temperatures, often lead for malleability |
| Rubber Vent Pipe Sealant | Top seal for pipe boots | EPDM, silicone | Provides flexible, watertight seal directly to pipe |
The Professional Process for Sealing Vents and Pipes
You might think sealing a vent pipe is a simple task, but for professional roofers, it's a multi-step process that prioritizes durability and integration with the surrounding roofing system. This isn't a quick fix with a tube of caulk; it's about building a lasting defense against the elements.
Preparation: The Foundation of a Watertight Seal
Any good roofer knows that preparation is paramount. You can have the best materials in the world, but if the surface isn't ready, the seal won't hold.
- Clear the Area: First, the roofer will carefully remove any old, worn-out flashing, sealant, and surrounding shingles. This often involves prying up nails and gently detaching shingles without damaging the underlying ones. Any debris, nails, or old tar must be completely cleared.
- Inspect the Decking: Once the old components are removed, the roof decking around the penetration is thoroughly inspected. Water damage might have already compromised the plywood or OSB. If the decking is soft, rotted, or damaged, it must be replaced. Ignoring this step is a recipe for future failure and is one of the most common Hidden Costs in a Roof Replacement.
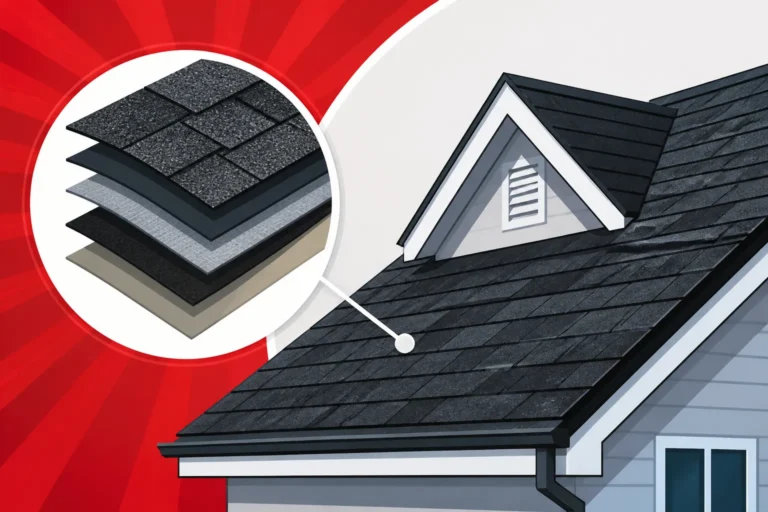
- Apply Underlayment and Ice & Water Shield: Before new shingles go down, a high-quality What Is Underlayment and Why It Matters is installed over the clean decking. Around penetrations, roofers often apply an additional layer of self-adhering ice and water shield. This rubberized asphalt membrane creates a secondary, redundant seal directly to the roof deck, providing crucial protection against ice dams and wind-driven rain, especially in colder climates. It wraps around the pipe and adheres firmly to the decking.
Step-by-Step Flashing Installation
With the base prepared, the actual flashing and shingle integration begins. This is where precision really matters.
- Slide in the New Pipe Boot: For a typical plumbing vent, a new pipe boot is slid down over the vent pipe. The base of the boot is carefully positioned so that its lower edge lies over the shingles below the penetration, and its upper portion extends under the shingles above the penetration. This creates an overlapping, shingling effect that directs water down and away from the pipe.
- Nail the Flashing Securely: The pipe boot's base is then securely nailed to the roof deck. Crucially, these nails are strategically placed outside the water flow path and are always covered by the overlapping shingles above. No nails should ever be exposed where water can directly hit them.
- Integrate with Shingles: The surrounding asphalt shingles are meticulously installed, overlapping the flashing in the same manner they overlap each other. Shingles below the pipe boot will be installed first, with the boot sitting on top. Then, shingles above the boot will be cut and fitted to lay over the upper portion of the boot's base, ensuring that gravity guides water over the flashing rather than underneath it. This intricate process is part of How Asphalt Shingles Are Installed: Step by Step.
- Seal the Pipe Collar: Once the shingles are in place, the roofer applies a generous bead of high-quality, roofing-grade sealant (often a specialized caulk or asphaltic mastic) around the top edge of the rubber or neoprene collar where it meets the pipe. This creates a flexible, watertight seal directly to the pipe itself, accommodating any minor pipe movement due to thermal expansion or contraction. This sealant should be robust and designed for outdoor exposure.
For larger, square vents, the process is similar but uses a flat base flashing, often combined with custom-cut shingles or continuous flashing pieces to ensure complete coverage. The principles of gravity-fed water diversion remain the same: anything above must overlap anything below.
Avoiding Common Pitfalls in Roof Penetration Sealing
Even with the best intentions, it's easy to make mistakes when sealing roof penetrations, and these errors can lead to frustrating and costly leaks down the line. A truly seasoned roofer understands not just how to do it right, but also what not to do.
The Dangers of Improper Flashing Placement
The most critical error when dealing with roof penetrations is incorrect flashing placement. Flashing is designed to be part of a layered system, working in conjunction with gravity to shed water.
- Underlapping Flashing: If the upper edge of the flashing is installed over the shingles above it, instead of under, water will flow directly into the seam and under the flashing. This is an immediate recipe for disaster. Think of it like putting your shirt collar over your raincoat – completely ineffective.
- Exposed Nails: Nailing through the exposed part of the flashing, especially in areas directly hit by rainfall, creates tiny holes that water can exploit. All flashing nails should be covered by subsequent shingle layers or sealed meticulously with roofing cement if they absolutely cannot be hidden.
- Insufficient Overlap: The flashing needs adequate overlap with both the pipe and the surrounding shingles to function properly. A flashing that's too short or not wide enough won't provide a continuous barrier, leaving gaps for water penetration.
These types of mistakes often lead to leaks that appear relatively quickly after a new roof installation, leaving homeowners to wonder What Voids a Shingle Warranty or why their new roof is already failing.
Choosing the Wrong Sealant or Technique
While flashing is the main defense, sealants play a crucial supporting role. However, not all sealants are created equal, and their application matters just as much as their quality.
- Using Non-Roofing Grade Sealants: Standard silicone caulk or household sealants are often not formulated to withstand the harsh UV exposure, extreme temperature fluctuations, and constant expansion and contraction that a roof endures. They can crack, dry out, or lose adhesion quickly. Always insist on professional-grade asphaltic mastic, elastomeric roof sealant, or specialized urethane sealants designed for roofing.
- Over-Reliance on Caulk: Some contractors might try to "caulk away" poor flashing installation. While sealant is important for the interface between the pipe and the rubber collar, it should never be the primary water barrier between the flashing and the roof deck or shingles. If a roofer is slathering large amounts of caulk around a vent pipe instead of properly layering the flashing and shingles, that's a significant red flag.
- Improper Surface Preparation for Sealant: For sealant to adhere properly, the surfaces must be clean, dry, and free of dust, oil, or loose debris. Applying sealant to a dirty or wet pipe will result in poor adhesion and a short-lived seal.
Here's a quick comparison of common roofing sealants:
| Sealant Type | Description | Longevity | Best Use Cases | Pros | Cons |
|---|---|---|---|---|---|
| Asphaltic Mastic | Tar-based, thick, adheres well to asphalt | 5-10 years | Sealing shingle tabs, small flashing gaps | Good adhesion to asphalt, affordable | Can dry out and crack over time, less flexible, messy |
| Elastomeric Sealant | Rubberized, very flexible, durable | 10-20 years | Pipe boot collars, flashing-to-pipe seals | Excellent flexibility, UV resistant, long-lasting | Higher cost, specific application requirements |
| Polyurethane Sealant | Strong adhesion, very durable, flexible | 15-25 years | High-stress areas, critical seals, metal flashing | Exceptional strength, weather resistance | Can be harder to work with, cures slower, higher cost |
| Silicone (Roofing Grade) | Non-corrosive, good flexibility, UV stable | 10-20 years | Metal roofs, some flashing types, very specific uses | Excellent flexibility, temperature stable | Can be hard to paint, not compatible with all materials |
Neglecting Manufacturer Guidelines
Every roofing material manufacturer, whether it's GAF, Owens Corning, or CertainTeed, provides specific installation guidelines for their products, including how to handle penetrations. Certified roofers, particularly those with distinctions like GAF Master Elite Contractors Explained or Owens Corning Platinum Preferred Explained, are trained to follow these specifications to the letter. Deviating from these guidelines can not only compromise the integrity of your roof but also potentially What Voids a Shingle Warranty, leaving you without coverage if a problem arises. This includes proper nailing patterns for the shingles around the flashing, the type of underlayment required, and the specific sealants recommended.
Maintaining the Integrity of Your Sealed Roof
A properly sealed roof penetration should last for many years, but nothing lasts forever, especially when exposed to the relentless forces of nature. Regular vigilance and timely maintenance are key to extending the life of your roof and preventing small issues from becoming major headaches.
Routine Inspections and What to Look For
The best defense is a good offense, and that means inspecting your roof regularly. You don't need to climb up there yourself every month, but a thorough visual check from the ground with binoculars, and an occasional professional roof inspection, can catch problems early. Consider getting a professional Roof Inspection: What They Check every few years, especially after severe weather.
- Check the Pipe Boots and Collars: Look for any cracking, tearing, or deterioration of the rubber or neoprene around the pipe. Sunlight and temperature extremes can cause these materials to break down over time. Even the most robust materials like those from Malarkey or Atlas can show wear eventually.
- Inspect Sealant: Examine the sealant where the pipe meets the collar. Are there any visible cracks, gaps, or signs of detachment? If the sealant looks dry, brittle, or has pulled away, it's time for reapplication.
- Look for Loose or Damaged Shingles: Check the shingles immediately surrounding the penetration. Are any missing, curling, cracked, or showing excessive granule loss? Damaged shingles can expose the flashing to direct sunlight and impact, accelerating its degradation. Learn more about Signs You Need a New Roof if you notice widespread shingle issues.
- Signs of Water Stains in the Attic: The most obvious sign of a problem inside is water stains on your attic ceiling, rafters, or insulation, especially directly below a vent pipe. Don't ignore these! They indicate an active leak.
Spring and fall are generally excellent times for these checks, as the weather is milder and you can identify any damage from winter storms or prepare for upcoming rainy seasons.
When to Reapply Sealant or Replace Flashing
Knowing when to act is crucial. Don't wait until you have an active leak to address these issues.
- Proactive Sealant Reapplication: If your sealant looks aged, cracked, or is starting to pull away, it's often a simple matter to scrape away the old, failing sealant and apply a new bead of high-quality roofing mastic or elastomeric sealant. This is a much less invasive (and less costly) fix than dealing with water damage. The lifespan of most sealants is between 5-15 years, so consider it part of your long-term roof maintenance plan.
- Flashing Replacement: If the rubber or neoprene boot itself is cracked, torn, or has completely deteriorated, simply adding more caulk won't solve the problem. In this scenario, the entire pipe boot will need to be replaced. This involves carefully removing the surrounding shingles, detaching the old boot, installing a new one, and then re-integrating the shingles, similar to the initial installation process. If you find yourself needing to address multiple issues, it may be time to consider Roof Repair vs Replacement: How to Decide for your entire roof.
- Post-Storm Assessment: After a significant weather event like a hailstorm or high winds, it's always wise to conduct a quick visual inspection. High winds can lift or damage pipe boots, and hail can cause cracks in the rubber or metal components. Knowing How to Document Roof Damage for Insurance is important if you suspect storm-related issues.
Proactive maintenance and prompt repairs of these vulnerable areas can significantly extend the lifespan of your asphalt roof and protect your home from costly water damage. If you're unsure, it's always best to call a trusted roofing professional who can assess the situation accurately. Services like Modernize can connect you with experienced roofers in your area, ensuring you get expert advice and reliable service for these critical repairs.
Disclaimer
Please remember that this guide provides general information for educational purposes only and should not be considered a substitute for professional advice. Roofing work can be dangerous and complex. Always consult with a qualified, licensed, and insured roofing contractor for specific recommendations and services for your home.