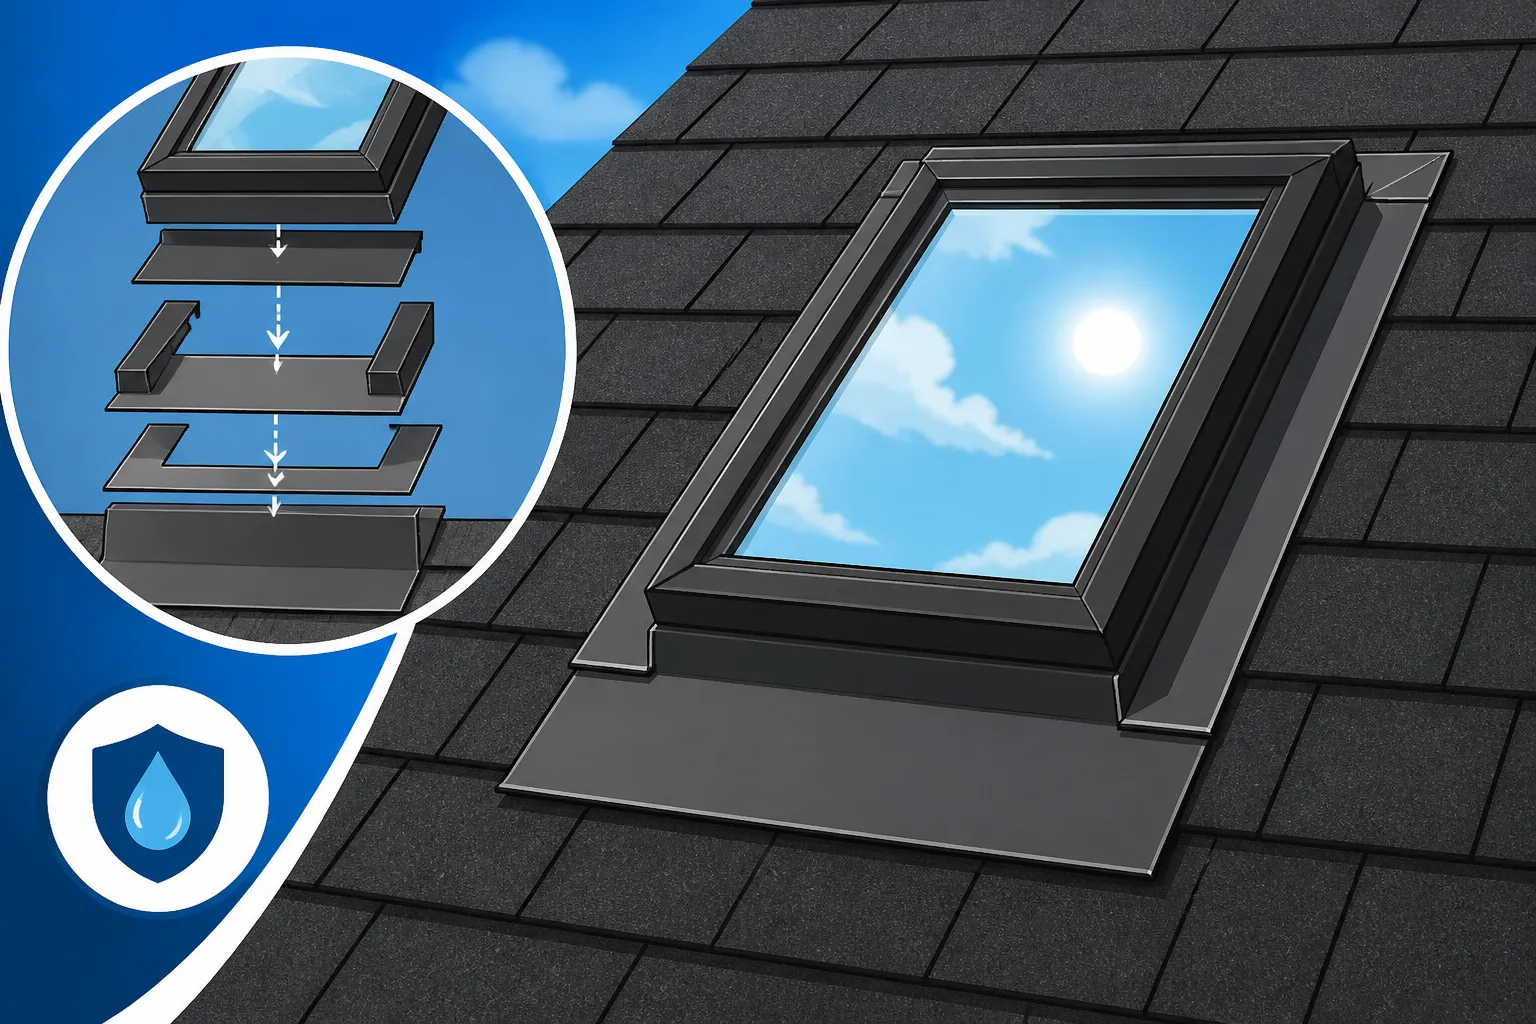
How Skylights Are Flashed
There are few things more disheartening for a homeowner than discovering a water stain on the ceiling, especially when it originates from a skylight. These beautiful architectural features, designed to bring natural light into your home, can quickly become a source of immense frustration and costly damage if they aren't installed and, more importantly, flashed correctly. This guide will walk you through the intricate process of how skylights are flashed on an asphalt shingle roof, ensuring you understand what it takes to achieve a watertight, long-lasting seal.
The Critical Role of Skylight Flashing in Roof Integrity
Skylights, by their very nature, are intentional interruptions in the continuous, protective surface of your roof. Every single break in that surface—be it a chimney, a vent pipe, or a skylight—creates a potential entry point for water. This is why the method of sealing around these penetrations, known as flashing, isn't just important; it's absolutely critical for the longevity and integrity of your entire roofing system.
Why Skylights Are Leak Magnets Without Proper Flashing
Imagine your roof as a giant, protective shield against the elements. A skylight is essentially a window cut into that shield. While the skylight unit itself might be watertight, the point where it meets the roof plane is where the real vulnerability lies. Water, driven by wind or gravity, will exploit any tiny gap, crack, or improperly sealed seam. It's not just rain; melting snow and ice dams can also find their way into your home if the flashing isn't absolutely perfect.
The challenges with skylights are numerous. They are often made of different materials (glass, metal, wood, vinyl) than the asphalt shingles, meaning they expand and contract at different rates with temperature changes. This constant movement can stress sealants and lead to gaps over time. Additionally, the four sides of a skylight opening present unique challenges: water flows down from above, collects on the sides, and can wick up from below. Without a multi-layered, meticulously installed flashing system, you're essentially inviting moisture into your attic and living space.
Understanding the Layers of Protection
A truly robust skylight flashing system isn't just one piece of metal; it's a carefully orchestrated assembly of components, each playing a vital role in diverting water. Think of it as a series of overlapping defenses, much like a knight's armor. These layers typically include specialized underlayment, individual pieces of metal flashing for each side, and often a top layer of counter flashing. The goal is to create a pathway for water to flow around and off the skylight, directing it safely onto the shingle courses below, rather than allowing it to penetrate the roof deck.
Many homeowners might only see the exposed metal around their skylight, but the true work happens beneath the surface. The hidden layers of Ice and Water Shield Explained and precisely installed step flashing are what provide the enduring protection. Skipping any of these steps, or installing them incorrectly, can lead to subtle leaks that go unnoticed for months or even years, causing significant damage to insulation, drywall, and structural components.
Decoding the Components of a Skylight Flashing System
When a professional roofing crew sets out to install or replace a skylight, they're not just slapping it in and sealing it with caulk. They're constructing a sophisticated water management system. Understanding these components is key to appreciating the craftsmanship involved and knowing what to look for when assessing an installation.
The Essential Materials: Ice & Water Shield, Flashing, and Sealants
At the core of a watertight skylight installation are several critical materials:
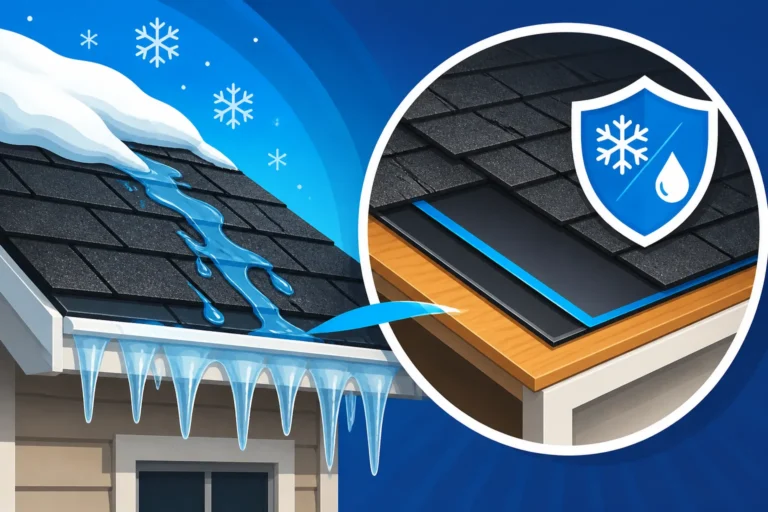
- Ice and Water Shield: This self-adhering, waterproof membrane is your first line of defense directly on the roof deck around the skylight opening. It's essentially a sticky rubberized asphalt sheet that seals itself around fasteners and prevents water from penetrating, even if it gets past the shingles and metal flashing. This material is particularly crucial in areas prone to heavy snow and ice, as it prevents ice dams from backing up under shingles and leaking into the home. It adheres directly to the roof deck, creating a continuous seal.
- Metal Flashing: This is the heart of the flashing system. Typically made from aluminum, copper, or galvanized steel, these pre-formed or custom-bent metal pieces are designed to direct water away. Aluminum is common due to its cost-effectiveness and durability, while copper offers a premium, long-lasting, and aesthetically pleasing option. These metals are bent and shaped to fit snugly around the skylight frame.
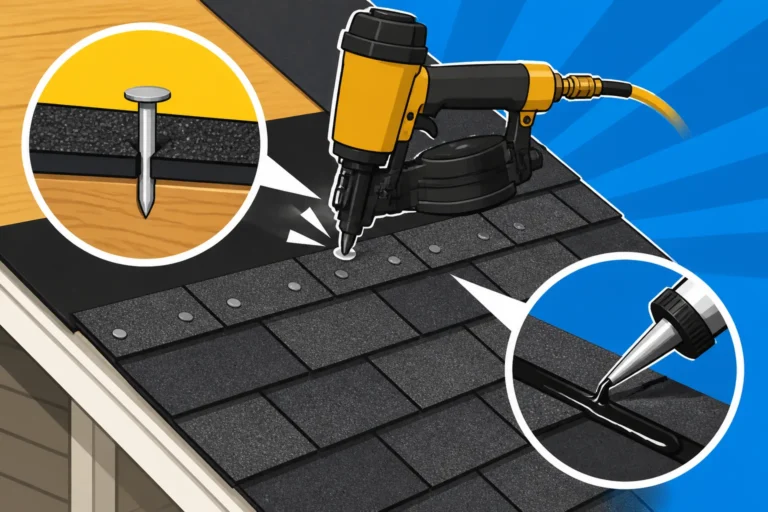
- Roofing Cement/Sealants: While not the primary waterproofing solution, high-quality roofing cement or specialized sealants are used as secondary lines of defense. They seal small gaps, ensure tight adhesion of certain flashing pieces, and provide an extra barrier against wind-driven rain. It's crucial that these are applied sparingly and correctly, as over-reliance on caulk is a common sign of a poor flashing job. The flashing itself, when properly installed, does the heavy lifting of shedding water.
Different Types of Flashing for Various Skylight Designs
Skylights come in many forms, from deck-mounted to curb-mounted, and the flashing components adapt to these designs. However, the principles remain consistent. Here are the main types you'll encounter:
- Sill/Apron Flashing: This is the piece of metal that sits at the bottom (or "sill") of the skylight, extending down over the shingles. It's designed to catch any water that runs down the skylight glass and divert it onto the shingle course below. It often has a kick-out or a hem to ensure water sheds cleanly.
- Step Flashing: These are individual L-shaped pieces of metal, roughly 10-12 inches long, that are "stepped" or woven in with each course of shingles along the sides of the skylight. Each piece is installed under the shingle above it and over the shingle below it, creating a cascading, watertight path that literally steps water down the roof. You can learn more about how different types of flashing work, including step flashing, in our guide on Roof Flashing Explained.
- Head Flashing: Located at the top of the skylight, this piece of metal extends under the shingles above the unit and wraps down over the top edge of the skylight frame. It's designed to direct water flowing down the roof over the skylight and onto the adjacent step flashing or shingles.
- Counter Flashing: This is the final, exposed layer of flashing, often installed over the step flashing on the sides. It's typically recessed into a groove in the skylight frame or attached to the frame itself, covering the upper edge of the step flashing. Its purpose is to protect the top edge of the step flashing from water intrusion and to provide a clean, finished look. Many modern skylights come with integrated flashing kits that include these components, such as those from VELUX or Fakro.
Here's a quick overview of the main components and their functions:
| Flashing Component | Location | Primary Function | Material Examples |
|---|---|---|---|
| Ice & Water Shield | Directly on roof deck | Primary waterproof barrier, self-seals around nails | Rubberized asphalt |
| Sill/Apron Flashing | Bottom (sill) | Collects water from skylight, directs it onto shingles | Aluminum, copper, steel |
| Step Flashing | Sides | Individual pieces woven with shingles to shed water laterally | Aluminum, copper, steel |
| Head Flashing | Top | Directs water from roof over skylight's top edge | Aluminum, copper, steel |
| Counter Flashing | Over step flashing | Protects upper edge of step flashing, aesthetic finish | Aluminum, PVC (integrated) |
A Step-by-Step Guide to Flashing a Skylight with Asphalt Shingles
Properly flashing a skylight is a meticulous process that demands attention to detail at every turn. It's not a job for the faint of heart or the inexperienced DIYer. Many homeowners opt for a certified professional through services like Modernize to ensure this critical work is done right the first time, protecting their investment.
Preparing the Roof Deck and Skylight Opening
Before any flashing can be installed, the roof deck and the skylight opening must be in perfect condition. If you're replacing an old skylight, this might involve repairing Roof Decking Replacement Cost or damaged wood around the opening. For a new installation, the opening must be precisely cut to fit the skylight unit, typically with a slight gap for expansion and contraction.
First, any old roofing materials, including existing shingles and underlayment, need to be cleared from the area immediately surrounding the opening. The roof deck should be clean, dry, and structurally sound. Once the opening is prepared, the skylight unit itself is carefully set into place and securely fastened to the roof framing according to the manufacturer's instructions. This stability is paramount; a wobbly skylight will inevitably lead to flashing failures down the line. Next, a layer of self-adhering ice and water shield is applied directly to the roof deck, wrapping up the sides of the skylight curb (for curb-mounted units) or directly onto the frame (for deck-mounted units). This membrane should extend several inches beyond the skylight on all sides, effectively creating a waterproof pan beneath the metal flashing and shingles.
Installing the Base and Step Flashing
With the ice and water shield in place, the shingle installation for the bottom (sill) of the skylight can begin. The shingle courses below the skylight are laid first, extending right up to the bottom edge of the unit. This is where the sill or apron flashing comes in. This specially shaped metal piece is placed over the shingles at the bottom of the skylight, with its bottom edge overlapping the course below. It's then secured, typically with nails that are concealed by subsequent shingle courses or sealed with roofing cement.
Next comes the intricate work of the step flashing along the sides. As you lay each course of asphalt shingles moving up the roof, a new piece of step flashing is installed. Each L-shaped piece of step flashing slides under the new shingle you're laying and over the shingle course immediately below it. Crucially, the vertical leg of the L-shape extends up alongside the skylight frame. Nails used to secure the step flashing should only be placed through the part that will be covered by the next shingle, or into the side of the skylight frame itself, to prevent direct penetration through the waterproofing plane. This weaving technique is crucial, as it creates a continuous, overlapping path for water to shed laterally down the roof, rather than trying to flow straight down the side of the skylight where it could get trapped. Our guide on How Asphalt Shingles Are Installed: Step by Step delves deeper into the general shingle laying process.
Applying Head and Counter Flashing for a Watertight Seal
As the shingle courses progress past the sides of the skylight, you'll reach the top. Here, the head flashing is installed. This larger piece of flashing goes over the top edge of the skylight unit and extends upwards, tucked under the shingle courses above it. It acts as an umbrella, directing any water flowing down the roof over the top of the skylight. Like the sill flashing, its edges should overlap existing shingle courses to maintain that critical water-shedding path.
Finally, the counter flashing is installed. For many modern skylights, this is an integral part of the manufactured flashing kit, which snaps or screws onto the skylight frame, covering the vertical leg of the step flashing. If not integrated, separate pieces of counter flashing are installed over the step flashing, often "cut-in" or surface-mounted, ensuring their bottom edge extends down over the step flashing to prevent water from running behind it. All exposed nail heads or seams should be sealed with a high-quality, UV-resistant roofing sealant. The key takeaway here is that every piece of flashing works in concert, creating redundant layers of protection against water intrusion, much like a well-designed Full Roofing System Explained.
Common Skylight Flashing Mistakes and How to Prevent Them
Even with the best intentions, improper skylight flashing is a leading cause of roof leaks. Recognizing common mistakes and understanding how to avoid them can save homeowners countless headaches and expensive repairs down the line. It's often difficult to identify problems from the ground, which is why a professional Roof Damage Assessment: A Homeowner's Guide is so important.
Overlooking the Importance of Proper Installation Techniques
One of the most frequent errors is treating flashing as an afterthought or a simple aesthetic trim piece. Contractors who cut corners might:
- Over-rely on Sealant: Using excessive caulk or roofing cement as a substitute for properly installed metal flashing. Sealants have a finite lifespan; they crack, dry out, and fail, especially under constant exposure to UV rays and temperature fluctuations. The metal flashing should do the primary work of water diversion, with sealants providing secondary reinforcement in specific areas.
- Improper Overlaps: Not weaving step flashing correctly with shingle courses, or not ensuring adequate overlap between different flashing components. If the top edge of a flashing piece isn't adequately covered by the material above it, water can easily get underneath.
- Incorrect Nailing: Nailing through the face of flashing where water can directly enter, rather than through areas that will be covered by subsequent layers of shingles or sealed properly. Every nail hole is a potential leak point if not properly sealed or covered.
- Skipping Components: Omitting crucial elements like ice and water shield, or using a single continuous piece of metal instead of individual step flashing pieces. Continuous flashing on the sides doesn't allow for the necessary expansion and contraction with temperature changes, making it more prone to buckling and cracking.
- Using Mismatched Materials: Combining dissimilar metals can lead to galvanic corrosion over time, weakening the flashing and causing premature failure. This is less common with modern flashing kits but can occur with custom work.
These seemingly small oversights can lead to major water intrusion, damaging not just the roof deck and structural components, but also insulation, ceilings, and interior finishes. If you suspect Signs of a Bad Roofing Job, it's vital to get a second opinion quickly.
The Perils of Inadequate Maintenance and Repair
Even a perfectly installed skylight flashing system needs some basic attention over its lifespan. Neglecting simple maintenance can lead to issues that mimic installation flaws.
- Accumulation of Debris: Leaves, twigs, and other debris can collect around the base and sides of a skylight, especially in valleys or lower sloped areas. This debris can hold moisture against the flashing and shingles, accelerate deterioration, and impede proper water flow, essentially creating a mini-dam that allows water to back up and find weak points.
- Cracked or Deteriorated Sealants: While sealants shouldn't be the primary barrier, they do play a role in sealing small gaps and maintaining a tight finish. Over time, these can crack, peel, or shrink. Regular visual inspections can help identify these issues early, allowing for re-sealing before a leak develops.
- Bent or Damaged Flashing: Strong winds, falling branches, or even curious animals can bend or dislodge flashing pieces. A bent piece of flashing can lift an edge, creating a direct path for water. If you notice any bent or loose metal around your skylight, it's crucial to have it inspected and repaired promptly. Sometimes, a When to Call a Pro for Roof Repair is all that's needed, but neglecting it can escalate to a full replacement.
- Ignoring Granule Loss on Adjacent Shingles: As shingles age, they lose their protective granules. If the shingles immediately surrounding the skylight show significant granule loss or other signs of wear like curling or cracking, it indicates that the entire area's water protection is compromised, making the skylight more vulnerable. Our guide on How Many Years Left on Your Roof can help you determine if your roof is nearing its end-of-life.
Preventative maintenance, including clearing debris and visually checking sealants, can significantly extend the life of your skylight flashing. If issues are spotted, addressing them quickly is far more cost-effective than waiting until a leak has caused extensive interior damage.
Disclaimer
Please note that the information provided in this article is intended for general guidance and informational purposes only, and does not constitute professional advice. Roofing work, especially involving skylight installation and flashing, can be complex and dangerous. Always consult with a qualified and licensed roofing contractor for specific recommendations and to perform any work on your roof. Improper installation can lead to severe property damage and void product warranties.