Repairing Shingles After a Fallen Branch
That sickening thud you hear when a branch crashes onto your roof can instantly send a wave of dread through any homeowner. Suddenly, your cozy sanctuary feels vulnerable, and the immediate worry about leaks, costly repairs, and potential insurance headaches sets in. This guide is here to walk you through exactly what to do when your asphalt shingles bear the brunt of a fallen branch, from assessing the damage safely to navigating repairs and insurance claims.
The Immediate Aftermath: Assessing the Damage from a Fallen Branch
The moment you realize a branch has hit your roof, your mind probably races. It's a stressful situation, but taking a calm, systematic approach to assessing the damage will save you a lot of grief and potential further problems. Don't rush into anything without proper precautions.
Initial Safety Checks and What to Look For
First and foremost, your safety and the safety of your family are paramount. Before you even think about stepping outside or climbing a ladder, take a deep breath.
- Look for immediate hazards: Is the branch still on the roof, or has it fallen completely? Are there any downed power lines nearby? If the branch is large and still precarious, or if power lines are involved, keep everyone away and immediately call emergency services or a tree removal professional. Do not approach the area.
- Check from a safe distance: Once you've confirmed there are no immediate electrical dangers, step outside and get a good look at your roof from the ground. Use binoculars if you have them. What do you see? Are shingles clearly missing, torn, or severely creased? Can you spot any holes or punctures in the roof deck itself? Even smaller branches can cause surprising damage.
- Inspect your home's interior: This is crucial. Go inside and check your attic, ceilings, and walls directly below where you suspect the impact occurred. Look for water stains, drips, or sagging drywall. Even a tiny crack in a shingle can let water trickle in, and the branch might have jarred flashing or created a less obvious entry point. Water damage isn't always immediate; sometimes it takes a day or two, especially if the impact compromised the underlying structure. Remember, a quick leak check can save you from far more extensive repairs down the line. If you notice signs of water, you might need to find the source of a roof leak quickly.
Documenting the Damage for Insurance and Repairs
In a stressful situation like this, it's easy to just want the problem fixed. However, proper documentation is your best friend when dealing with contractors and, especially, your insurance company. Think of yourself as a detective gathering evidence.
- Take photos and videos: Grab your smartphone and start snapping pictures and recording videos. Get wide shots of the entire damaged area, then zoom in for close-ups of every torn shingle, crack, puncture, and any signs of structural damage. Don't forget to get interior photos of any leaks, water stains, or damaged ceilings. The more detailed your documentation, the better. Photos from different angles and distances will paint a comprehensive picture.
- Note the date and time: Write down when the incident occurred. This detail is important for your insurance claim and for recalling specifics later.
- Keep records of communication: As you start contacting tree removal services, roofing contractors, and your insurance provider, keep a log of who you spoke with, when, and what was discussed. Email is great for this, as it creates a paper trail.
- Separate the branch from the roof: If the branch is still on your roof and it's safe to do so, carefully remove it, but make sure to photograph its position before moving it. Sometimes, the tree service can help with this, and they can properly dispose of the debris. Keeping a small piece of the branch for your records (if relevant to showing its size or type) isn't a bad idea either, though usually not strictly necessary for a roofing claim.
Understanding the Types of Shingle Damage from Impact
When a branch hits your roof, it's rarely a clean incident. The impact can manifest in several ways, and understanding these different types of damage will help you communicate effectively with professionals and your insurance adjuster. It's more than just a missing shingle here or there.
Cracked, Punctured, and Severed Shingles
The most obvious damage from a fallen branch often involves the shingles themselves. The force of impact can be incredible, leading to various types of shingle compromise:
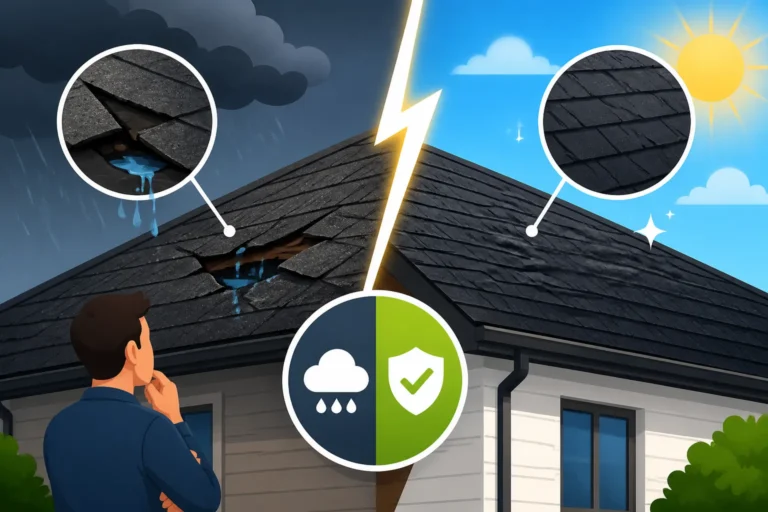
- Cracked shingles: Even if a branch doesn't completely tear a shingle off, it can cause hairline or deep cracks in the asphalt. These cracks might not look severe at first glance, but they compromise the shingle's watertight seal, allowing water to seep underneath. Over time, this seemingly minor damage can lead to significant leaks and widespread rot in the underlying roof decking. It's often harder to spot these cracks from the ground, especially on older roofs, making a professional inspection essential.
- Punctured shingles: This happens when a sharp or heavy part of the branch pierces directly through the shingle. A puncture creates an immediate entry point for water. Even a small puncture can lead to a substantial leak, especially during a heavy rain. These often look like small holes or tears, and you might even see the underlying felt or roof deck if the impact was strong enough.
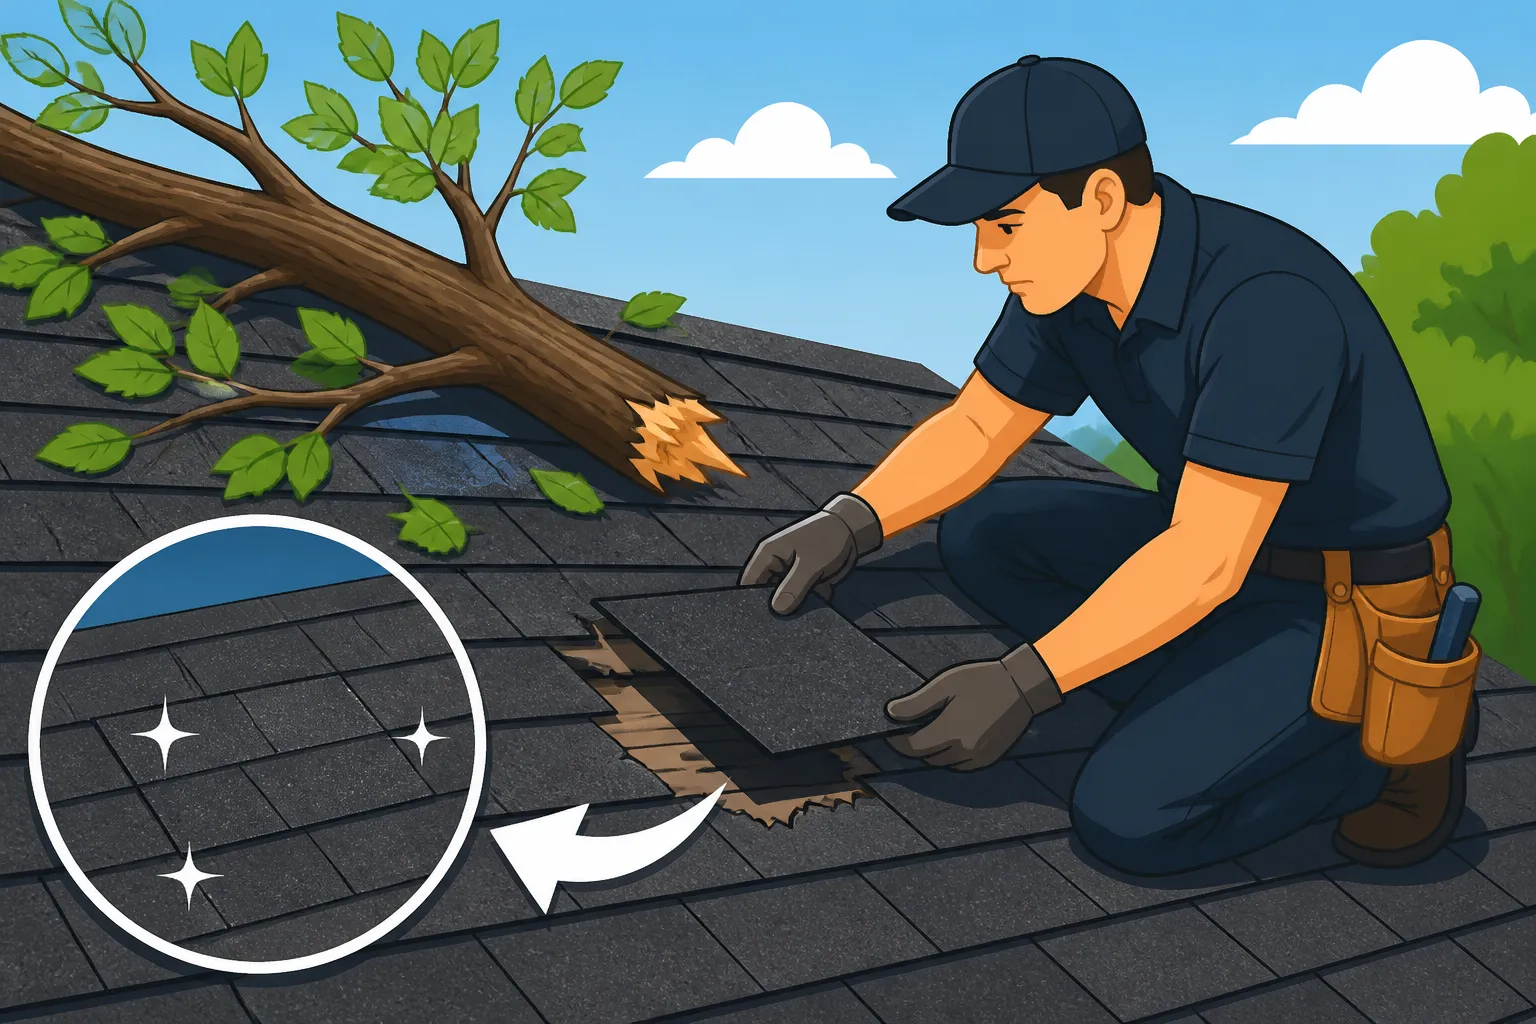
- Severed or missing shingles: If the branch was large or fell with significant force, it could completely rip away sections of shingles, leaving exposed areas of your roof. This is perhaps the most visually alarming type of damage and indicates an urgent need for repair. The edges of the remaining shingles around the missing section might also be bruised or lifted, weakening their ability to protect your home. Thinking about how to fix missing shingles quickly is a priority in this scenario.
Granule Loss and Underlying Decking Concerns
Beyond the visible tears and punctures in the shingles, there are often hidden issues that can be just as, if not more, problematic.
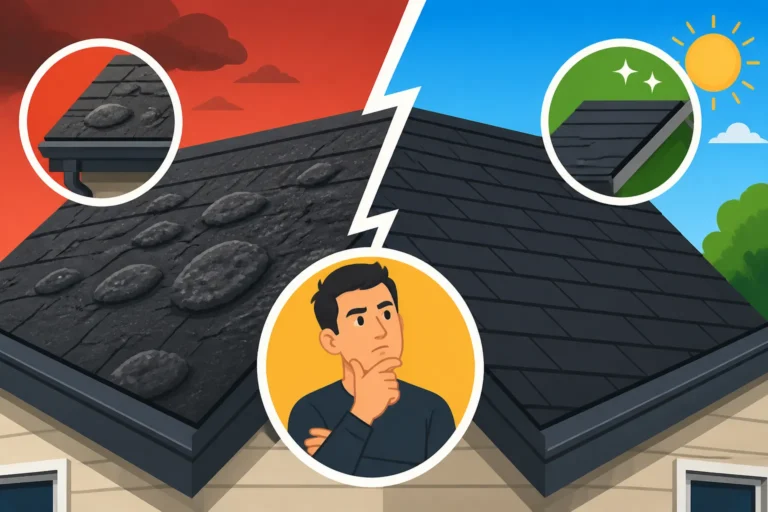
- Granule loss: Asphalt shingles are coated with ceramic granules that protect the asphalt layer from UV rays and provide color. A branch impact can scrape these granules off, leaving bare patches of asphalt. While some granule loss is normal over a roof's lifespan, significant, localized loss from an impact dramatically reduces the shingle's protective qualities and accelerates its deterioration. These areas become vulnerable to sun damage and can degrade rapidly. This type of damage can also be indicative of hail damage, which, while different, highlights the need for a thorough inspection to ensure full coverage by insurance.
- Underlying decking and structural damage: This is the most serious potential damage. A heavy branch can do more than just ding your shingles; it can crack, dent, or even break through the roof decking (the plywood or OSB sheathing beneath the shingles). If the impact was severe enough, it could even damage the rafters or trusses that support the roof. Signs of decking damage include visible sagging from the attic, a soft spot when walking on the roof (though never walk on a damaged roof!), or a visible depression from the exterior. If your roof decking is compromised, a simple shingle repair won't cut it. You're looking at a more complex structural repair, potentially including roof decking replacement cost. Ignoring this can lead to serious safety hazards and extensive water infiltration.
The Repair Process: Can You DIY or Do You Need a Pro?
Once you've assessed the damage, the next big question is: can I fix this myself, or do I need to call in the experts? The decision largely hinges on the extent and complexity of the damage. While a small, cosmetic fix might be within your capabilities, anything that compromises the roof's integrity really should be handled by a professional.
When DIY Repair Might Be Feasible
For very minor, superficial damage, you might be able to tackle it yourself, but proceed with extreme caution and a full understanding of the risks.
- Minor granule loss without structural compromise: If the impact only resulted in a small area of granule loss on an otherwise intact shingle, and there's no cracking, puncturing, or underlying damage, you could attempt to apply a roofing sealant or asphalt cement over the bare spot to re-seal it. This is really more of a temporary patch than a true repair, and its effectiveness will vary.
- One or two slightly lifted or curled shingles: If a small branch grazed your roof and only lifted a shingle or two without tearing or creasing them, you might be able to carefully re-adhere them using roofing cement. This falls under very specific circumstances where the shingle's integrity is otherwise sound. Remember, you'll need a roofing utility knife, a caulk gun for the cement, and the patience to work carefully without damaging adjacent shingles. You can learn more about DIY shingle repair: when it's safe, but always err on the side of caution.
- Safety considerations for DIY: Anytime you're on a ladder or on your roof, safety is paramount. Make sure you have a stable ladder, a partner to spot you, and appropriate fall protection. Never attempt DIY roof repairs if you're uncomfortable with heights, if the roof pitch is steep, or if the weather conditions are anything but ideal (dry, calm, and not too hot or cold). Wet or icy roofs are incredibly dangerous.
Why Professional Help is Often Essential
Let's be realistic: most homeowners aren't roofing experts, and a fallen branch often creates damage that goes beyond a simple patch.
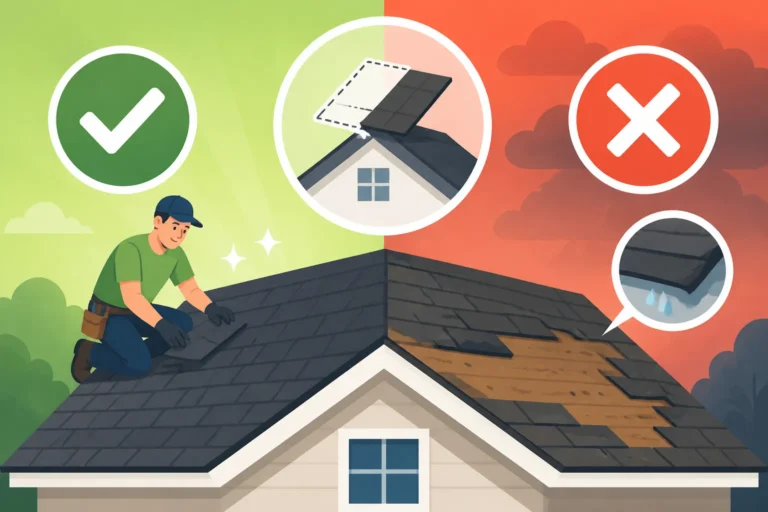
- Complex shingle damage: If shingles are cracked, punctured, severely torn, or missing in multiple areas, it’s almost always a job for a professional. They have the right tools, materials, and experience to seamlessly replace damaged shingles, ensure proper sealing, and maintain the roof's aesthetic appeal. Trying to replace several shingles yourself can lead to improper installation, leaving your home vulnerable to future leaks.
- Underlying decking or structural damage: If there's any suspicion of damage to the roof decking, rafters, or trusses, a professional roofing contractor is indispensable. They can accurately assess the structural integrity, remove and replace damaged decking panels, and ensure that the repair is sound and meets local building codes. This type of repair is complex and critical for your home's safety and longevity.
- Matching existing shingles: Finding an exact match for your existing shingles can be tricky, especially if your roof is older. Professionals often have access to a wider range of suppliers and can recommend the best options for color and texture match, minimizing the "patchwork" look. They also know how many squares of shingles for a 2,000 sq ft roof, for example, to estimate materials needed for larger repairs.
- Warranty implications: Many shingle manufacturers' warranties can be voided if repairs are not performed by a certified professional. Using a reputable, licensed contractor, like one you might find through a service like Modernize, ensures that your repairs are done correctly and often preserves your existing warranty coverage. They can also advise on how much roofers charge per hour for these specialized repairs.
- Insurance claims assistance: Professional contractors are experienced in working with insurance companies. They can provide detailed estimates, document the damage properly, and help you navigate the claims process, ensuring you receive a fair settlement for all necessary repairs. If you're wondering when to call a pro for roof repair, a fallen branch is usually a good indicator.
Navigating Insurance Claims for Branch Damage
Dealing with insurance after a roof emergency can feel like navigating a maze. But understanding your policy and the claims process can make a world of difference. Most homeowner's insurance policies do cover damage from fallen trees or branches, but the specifics can vary.
Understanding Your Homeowner's Policy
Before you even call your insurance agent, take a moment to review your policy documents. It’s not the most exciting reading, but it’s crucial.
- Perils covered: Most standard HO-3 homeowner's policies include coverage for damage caused by falling objects, which typically includes trees or branches. However, there are nuances. Was the tree healthy or already dead/diseased? If you knew the tree was a hazard and did nothing, your claim could be denied.
- Deductible: Understand your deductible, which is the amount you'll have to pay out of pocket before your insurance coverage kicks in. This amount can vary widely, from a few hundred dollars to several thousand, especially if you have a separate wind/hail deductible, though fallen tree damage is generally not subject to that.
- Actual Cash Value (ACV) vs. Replacement Cost Value (RCV): This is a huge distinction.
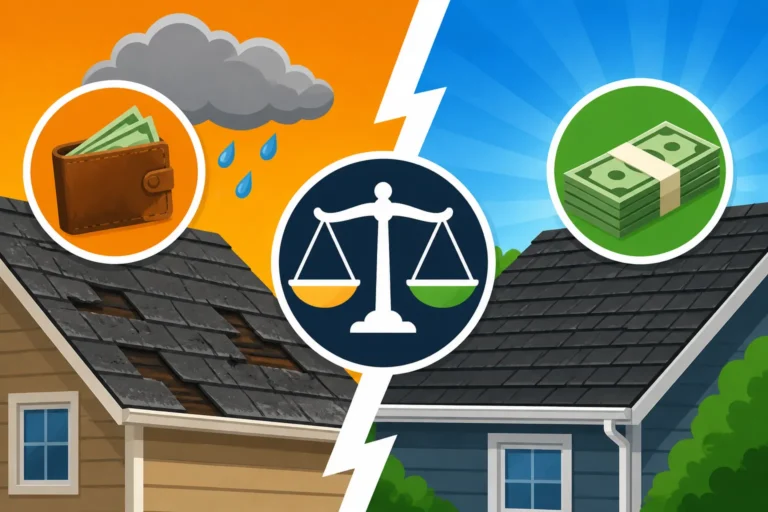
- Actual Cash Value (ACV): If your policy pays out ACV, it means they'll pay for the depreciated value of your roof. For example, if your roof is 15 years old and had a 20-year lifespan, they might only pay for 25% of a new roof. This can leave you with a substantial out-of-pocket expense.
- Replacement Cost Value (RCV): An RCV policy, on the other hand, pays for the full cost of replacing your damaged property with new materials of similar quality, up to your policy limits, without deducting for depreciation. You might initially receive an ACV payment and then the recoverable depreciation once the work is completed and proof of payment is submitted. Knowing this difference is vital when assessing if your insurance covers roof replacement.
- Coverage for tree removal: Check if your policy covers the cost of removing the fallen tree or branch. Often, removal costs are covered only if the tree or branch caused damage to a covered structure. If it just fell in your yard without hitting anything, removal might not be covered.
- Additional living expenses: If the damage is so severe that your home is uninhabitable during repairs, your policy might cover additional living expenses (ALE) for temporary housing, food, and other necessities.
Working with Your Adjuster and Contractor
Once you've reported the claim, you'll work with an insurance adjuster. This is where your detailed documentation really pays off.
- Be prepared for the adjuster's visit: Have all your photos, videos, and notes ready. Walk the adjuster through the damage, pointing out everything you've documented. Don't minimize anything; be thorough. Show them any interior damage first. They might use tools like drones or satellite imagery, but a direct inspection is still key.
- Get multiple estimates: Your insurance company will likely want you to get at least one, if not several, detailed estimates from licensed roofing contractors. These estimates should clearly itemize all costs, including materials, labor, and any necessary permits. A service like Modernize can help connect you with reputable local contractors who are experienced in insurance claims. It's smart to compare several estimates to ensure you're getting a fair price and comprehensive scope of work, as detailed in our guide on How to Read and Compare Roofing Estimates.
- Understand the scope of work: Ensure that the contractor's estimate covers all the damage, including potential hidden issues like damaged roof decking. The insurance payout will be based on this scope. Don't be afraid to ask questions if something isn't clear.
- Communicate between all parties: Keep lines of communication open between yourself, your contractor, and your insurance adjuster. If the contractor discovers additional damage once work begins (which happens often, especially with decking), they should immediately inform you and the insurance company to request a "supplement" to the claim.
- Final payment: Once the repairs are completed, your insurance company will usually issue the final payment. Make sure you are satisfied with the work before releasing final payments to your contractor. Remember to save all receipts for repairs, temporary tarps, and any other related expenses.
When a branch falls on your roof, it's a stressful event, but by understanding the types of damage, knowing when to call a professional, and preparing for the insurance process, you can navigate it effectively and get your home back in top shape.
| Aspect of Repair | DIY Considerations | Professional Contractor Considerations |
|---|---|---|
| Damage Type | Minor granule loss, slightly lifted shingles. | Cracked, punctured, missing shingles, decking/structural damage. |
| Safety | High risk; requires proper ladder, fall protection. | Trained, insured crews with safety equipment. |
| Expertise | Basic roofing knowledge, careful attention to detail. | Extensive experience, knowledge of codes and best practices. |
| Tools/Materials | Basic utility knife, roofing cement, caulk gun. | Specialized tools, access to specific shingle types. |
| Warranty Impact | Can void manufacturer's warranty. | Preserves or extends warranties through certified installation. |
| Insurance Claim | Requires meticulous personal documentation and negotiation. | Assists with documentation, estimates, and adjuster communication. |
| Time/Effort | Can be time-consuming for non-experts. | Efficient completion, often within a day or two for repairs. |
| Cost (Out-of-pocket) | Materials cost (low), but potential for re-do if incorrect. | Higher initial cost, but long-term savings from proper repair. |
Disclaimer
Please remember that the information provided in this guide is for general informational purposes only and does not constitute professional advice. Roofing work can be dangerous and complex. Always consult with a qualified, licensed, and insured roofing professional for specific advice regarding your roof's condition and any necessary repairs or replacements. Never attempt roof repairs if you are uncomfortable with heights or lack the proper safety equipment and training. Always prioritize safety.