How Roofers Handle Chimneys and Dormers
It's incredibly frustrating when you start seeing signs of wear and tear on your roof, especially around those tricky spots like chimneys and dormers. These architectural features, while adding character to your home, are notorious for being the most vulnerable areas for leaks and damage. Dealing with a leaky roof or visible deterioration can be stressful, leaving you wondering if a repair is even possible or if a full replacement is in order. This guide is here to demystify how experienced roofers tackle these challenging areas, ensuring your home stays dry and protected.
Understanding the Challenges Chimneys and Dormers Present
When it comes to the integrity of your roof, chimneys and dormers are often the first places to show signs of trouble. It's not because they're inherently flawed, but simply because they interrupt the continuous surface of your roof, creating seams and junctions that require meticulous attention to detail during installation.
The Anatomy of Vulnerability
Think of your roof as a giant umbrella, perfectly designed to shed water. When a chimney or dormer pops up, it's like a pole sticking through that umbrella. Without proper sealing and construction, water will find its way in. These areas are prone to leaks because they create multiple transitions where roofing materials meet vertical surfaces.
- Chimneys: A chimney isn't just a brick stack; it's a complex intersection. It requires several layers of protection. The main culprits for leaks are usually the flashing components – the metal pieces designed to create a watertight seal. If the flashing is improperly installed, made of inadequate material, or simply old and corroded, water will seep behind it and into your home. You'd be surprised how often a seemingly solid chimney is actually letting water in. For a deeper dive into the specific issues, check out our guide on how to address a Roof Leak Around a Chimney: Fixes.
- Dormers: Dormers introduce a whole new set of angles and valleys, especially where their walls meet the main roof plane. These intersections are prime candidates for water infiltration. The eaves and rake edges of dormers also need careful attention. Much like chimneys, proper flashing and underlayment application are critical for long-term performance.
Common Issues and Why They Occur
Years of exposure to the elements take a toll on all roofing materials, but particularly on the components around chimneys and dormers.
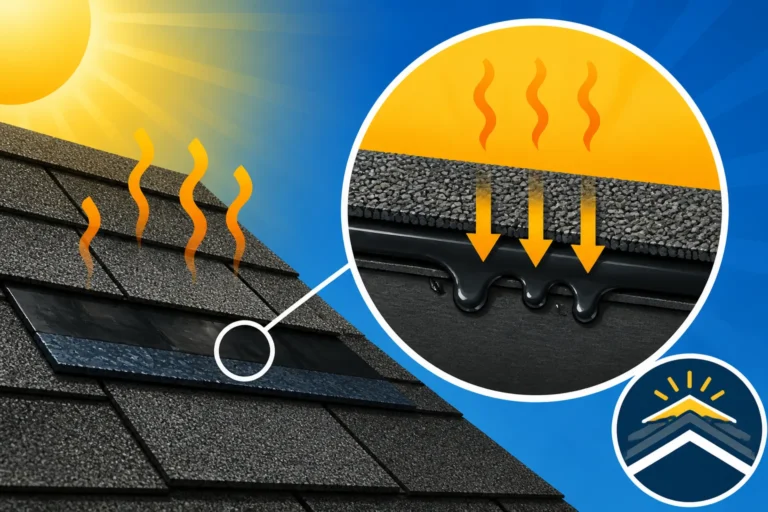
- Material Degradation: Over time, the sealants and flashing materials around these structures can dry out, crack, or corrode. For example, old tar or caulk, often used as a quick fix, will inevitably fail. Metal flashing, even if properly installed, can rust or become fatigued by repeated expansion and contraction with temperature changes.
- Poor Installation: This is probably the number one reason for leaks around chimneys and dormers. If the roofer cut corners, used the wrong type of flashing, or didn't follow the manufacturer's specific guidelines, you're looking at potential problems down the road. Common installation errors include insufficient overlap of flashing, improper nailing, or failing to integrate proper underlayment.
- Settling and Movement: Houses naturally settle over time, and even minor shifts can compromise the seals around rigid structures like chimneys. Extreme weather, particularly strong winds and hail, can also loosen or damage flashing, making your home vulnerable. This is why thorough Roof Damage Assessment: A Homeowner's Guide is so important after a storm.
The Roofer's Process for Chimneys
When a professional roofer approaches a chimney, they know it's a critical juncture that demands precision. It's not just about slapping on some new shingles; it's about building a robust, multi-layered defense against water.
Detailed Flashing Installation Steps
The key to a leak-proof chimney lies in its flashing system. It’s a multi-component dance that diverts water away from the chimney and down the roof.
- Old Flashing Removal and Deck Inspection: The first step, and a crucial one, is to completely remove all existing shingles and flashing around the chimney. This allows the roofer to inspect the roof decking for any signs of rot or damage. If the wood is compromised, it must be replaced before any new materials go down. You can learn more about this process in our guide on Roof Decking Replacement Cost.
- Ice and Water Shield Application: After the decking is prepped, a high-quality ice and water shield is applied directly to the decking around the base of the chimney. This self-adhering membrane acts as a secondary waterproof barrier, sealing around nails and providing an extra layer of protection against water intrusion, especially crucial in colder climates where ice dams can form. Want to know more? Read about Ice and Water Shield Explained.
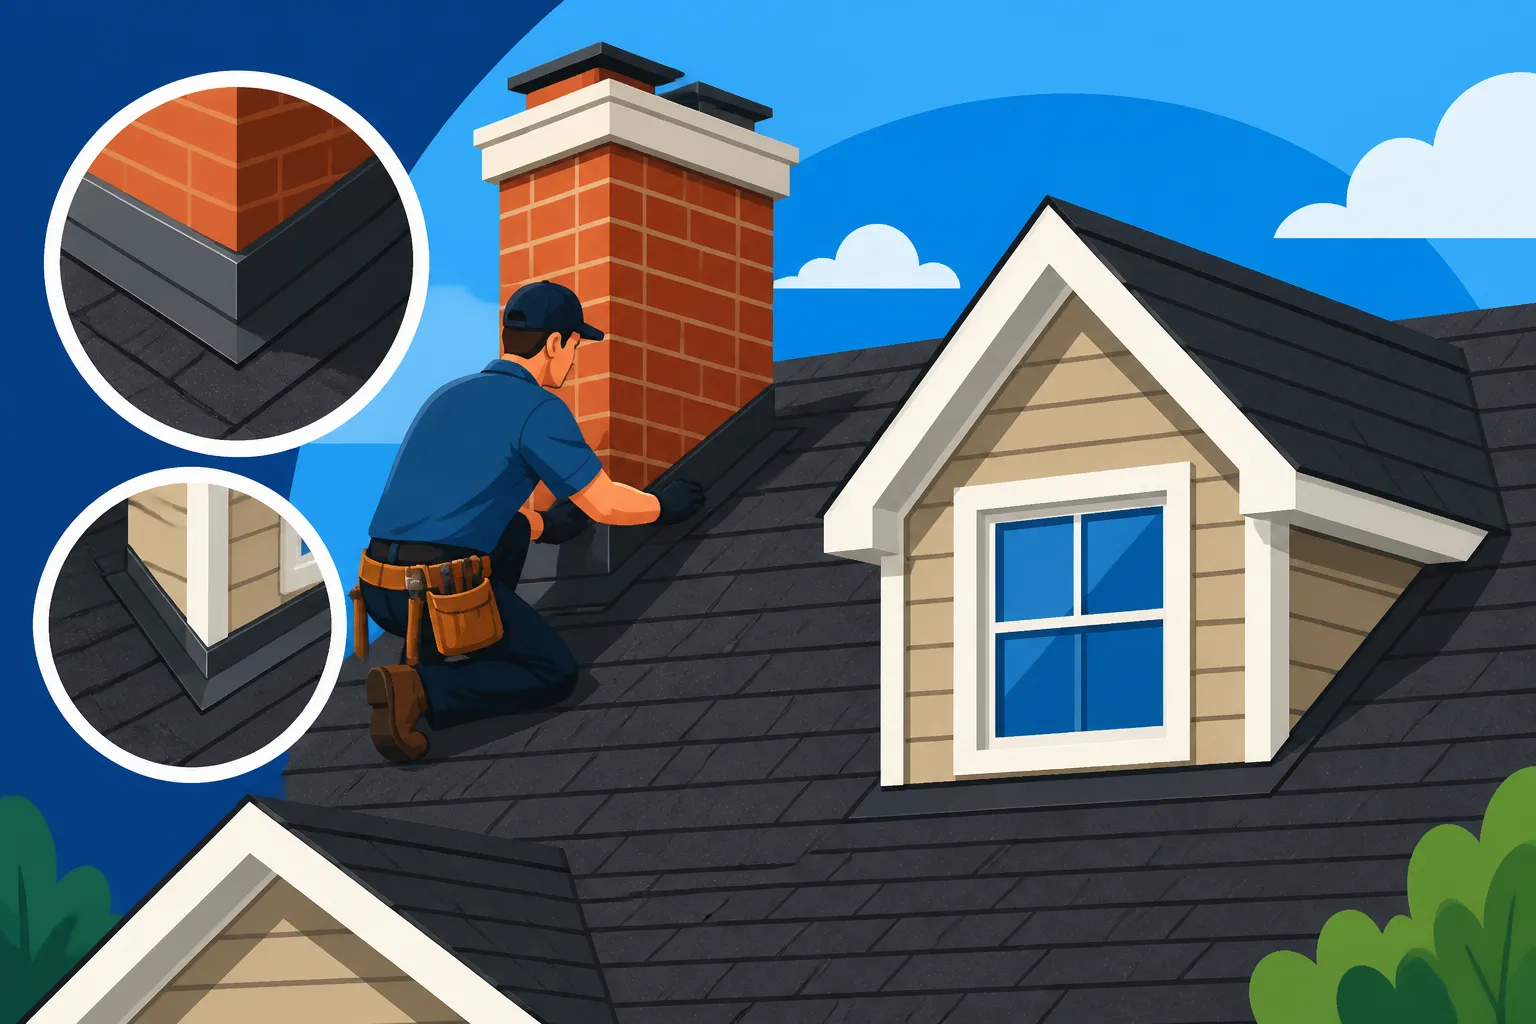
- Base Flashing Installation: Next comes the base flashing. These L-shaped metal pieces are installed on the low side (apron flashing), the high side (head flashing), and the side walls of the chimney. They are woven into the shingle courses, meaning each piece of base flashing is installed under the shingle above it and over the shingle below it, ensuring water flows over the flashing, not under it.
- Step Flashing: Along the sides of the chimney where the roof slope is steeper, individual pieces of L-shaped metal, called step flashing, are installed. Each piece of step flashing is placed under a shingle course and bent up against the chimney wall. This "stepping" action ensures continuous water protection as the roof angles up.
- Counter Flashing (or Cap Flashing): This is the crucial top layer that protects the step and base flashing. Counter flashing is usually embedded into the mortar joints of the chimney bricks (or secured to the stucco/siding), then bent downwards to overlap the top edge of the base and step flashing. The goal is that water running down the chimney face hits the counter flashing, then flows over the base/step flashing, and finally onto the shingles. Proper counter flashing is critical; if it’s just surface-mounted, it won’t last.
- The Cricket (for Wider Chimneys): For chimneys wider than 24-30 inches on the slope, a "cricket" is often installed on the high side (uphill side) of the chimney. A cricket is a small, peaked diversionary roof structure that sits behind the chimney. It helps shed water and snow around the chimney, preventing accumulation that could lead to leaks and extending the life of your roof. Without a cricket, water and debris can pool against the back of the chimney, causing significant problems.
Ensuring a Watertight Seal
Beyond the metal flashing, a few other elements are critical for a truly watertight and long-lasting chimney seal.
- Sealants and Mortar: While metal flashing does most of the heavy lifting, high-quality, flexible sealant (like polyurethane or silicone specifically designed for roofing) is often used to seal the top edge of the counter flashing where it meets the chimney. If the counter flashing is embedded into mortar joints, those joints are repointed for a tight seal. This adds an extra layer of protection, preventing wind-driven rain from penetrating.
- Proper Nailing: Every piece of flashing, from the base to the step flashing, must be securely fastened. However, these fasteners should be strategically placed to minimize exposure to water. Nailing into the side of the chimney or directly through the face of the flashing is generally avoided where possible, as each nail hole is a potential entry point for water. Instead, flashing is often secured with clips or nails placed in areas that will be covered by subsequent layers of material.
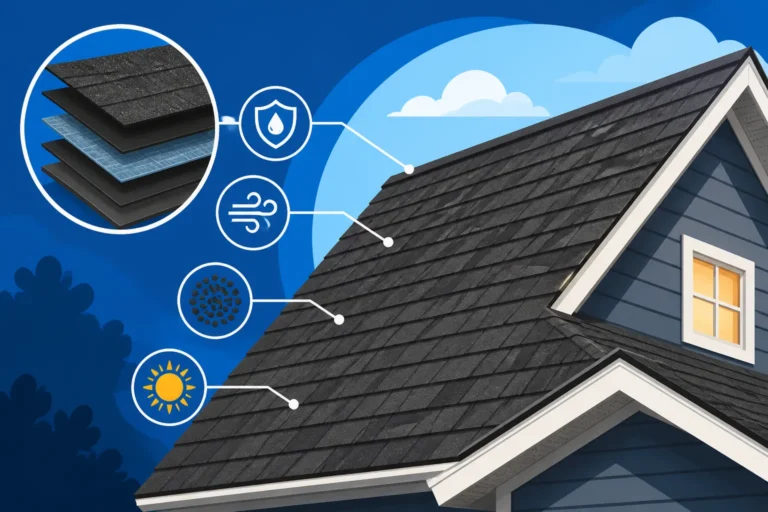
- Integrated Roofing System: A good roofer understands that the chimney is part of a larger system. The underlayment beneath the shingles, the shingles themselves, and the flashing all work in concert. A comprehensive approach, rather than just treating the chimney as an isolated component, is what ensures lasting protection. You can learn more about the various components in our guide, Roof Anatomy: Parts of an Asphalt Shingle Roof. For a comprehensive overview of the entire process, consider reading How a Roof Replacement Works: The Full Process.
Addressing Dormers with Precision
Dormers, like chimneys, are architectural interruptions that require specialized roofing techniques. They add complexity with their own mini-roofs, vertical walls, and valleys.
Integrating Dormers into the Main Roof System
The primary challenge with dormers is managing the multiple intersections where the dormer meets the main roof.
- Valleys Where Dormers Meet: When a gable dormer, for instance, projects from the main roof, it creates two valleys where its roof slopes meet the main roof. These valleys are critical water channels. Professional roofers install specialized valley flashing – often metal or a woven shingle technique – that is meticulously integrated with the underlayment and shingles to ensure water flows freely without seeping in. Improper valley installation is a common source of leaks. Our article, How Valleys Are Flashed, delves deeper into this.
- Side Wall Flashing: Just like with chimneys, dormer side walls that run parallel to the main roof slope require step flashing. Each piece is woven into the shingle courses of the main roof and bent up against the dormer's vertical wall. This is then covered by counter flashing or siding on the dormer wall itself, ensuring that water running down the dormer wall sheds over the step flashing and onto the main roof shingles.
- Headwall Flashing: The section of the dormer wall that sits on the main roof, at the top of the dormer's "roof," is called the headwall. This area also needs dedicated flashing, often an apron-style piece, to direct water away from the wall and down the main roof. Again, proper layering with underlayment and shingles is crucial here.
- Underlayment Integration: For dormers, the ice and water shield and synthetic underlayment are extended up the vertical walls of the dormer by at least 6-12 inches, then covered by the dormer's siding or trim. This ensures that even if water gets past the exterior siding, it hits a secondary waterproof barrier. This is why What Is Underlayment and Why It Matters is essential knowledge for any homeowner.
Specific Considerations for Dormer Types
While the principles of flashing remain consistent, the exact application can vary slightly depending on the dormer style.
- Gable Dormers: These are perhaps the most common, featuring a small gabled roof. They present typical valley and sidewall flashing challenges.
- Shed Dormers: These have a single-sloped roof that extends from the main roof. They primarily require headwall and sidewall flashing, often on a much longer run than a gable dormer. The transition where the shed dormer roof meets its vertical wall can also be a unique flashing challenge.
- Eyebrow Dormers: These are curved and typically don't have vertical walls where they meet the roof, but rather a gradual curve. Flashing here involves very precise, often custom-bent, metal work and careful shingle cutting to accommodate the unique shape.
- Material Compatibility: Just like with chimneys, the roofer must ensure that all flashing materials are compatible with the roofing shingles and other components. For example, some metals can react with certain shingle types, leading to premature corrosion. Choosing the right materials is part of the expertise a good contractor brings. Many contractors, like those found through platforms such as Modernize, emphasize the use of high-quality, compatible materials for these intricate jobs.
Quality Assurance and Long-Term Protection
Knowing the process is one thing, but ensuring it's executed flawlessly is another. Quality assurance, both during and after the installation, is vital for peace of mind.
What to Expect During and After Installation
A responsible roofing crew doesn't just show up and nail shingles; they follow a systematic approach to ensure every detail, especially around critical areas like chimneys and dormers, is perfect.
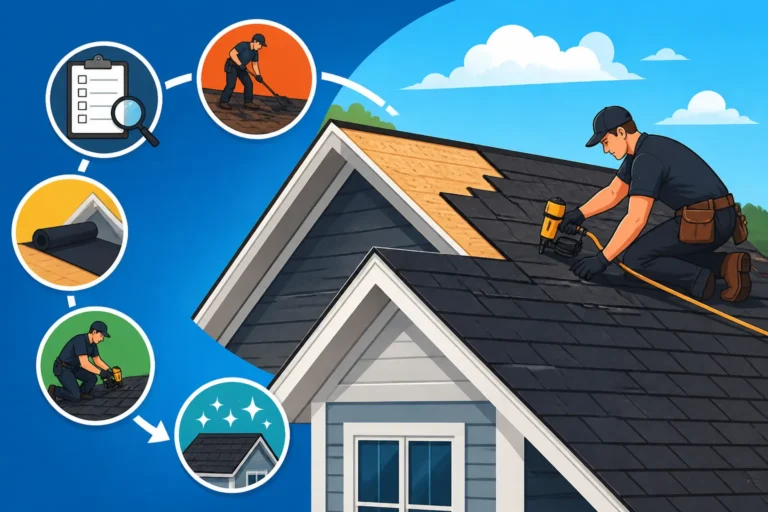
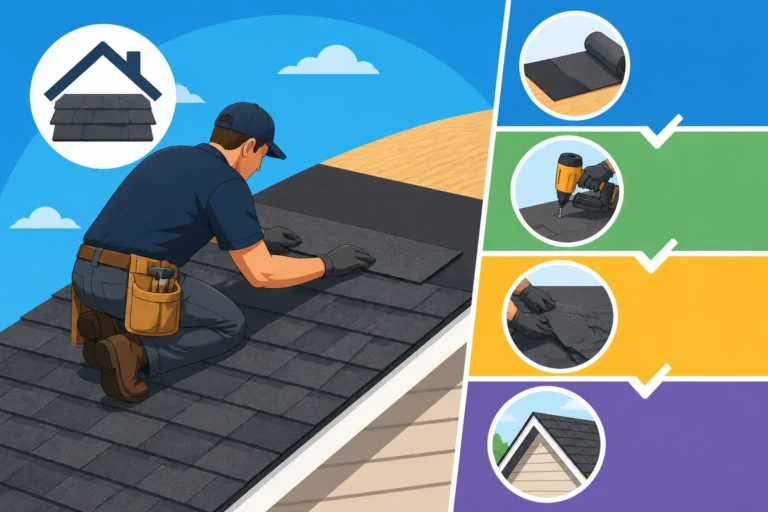
- During Installation: You should expect the roofers to meticulously remove all old materials, check the decking thoroughly, and install underlayment, drip edge, and flashing components before the main shingle courses begin. Around chimneys and dormers, you'll see careful cutting and fitting of metal flashing. Don't be afraid to ask your contractor questions about the specific steps they are taking around these areas. Reputable contractors, like those often recommended on Modernize, will be transparent about their process.
- Cleanup and Final Inspection: After the installation, a thorough cleanup is essential. This includes removing all debris, old materials, and stray nails from your yard, driveway, and flowerbeds. Many roofers use large magnets to catch nails. The contractor should then perform a final walk-around inspection with you, allowing you to examine the finished work, especially around the chimney and dormers, and ask any lingering questions. They should point out the new flashing and explain how it's designed to protect your home.
- Post-Installation Check-up: It's a good idea to inspect your attic after the first heavy rain following a new roof installation. Look for any signs of moisture, drips, or damp spots, particularly around the chimney and dormer areas. If you spot anything concerning, contact your roofer immediately under your Roofing Warranty: Workmanship vs Manufacturer.
The Importance of Professional Expertise
Hiring the right roofing contractor is paramount, especially when dealing with complex features like chimneys and dormers. This isn't a DIY job, or a task for just any handyman.
- Manufacturer Certification: Look for roofers who are certified by leading shingle manufacturers like GAF, Owens Corning, or CertainTeed. These certifications mean the contractors have undergone training and meet strict standards for installation, often allowing them to offer enhanced warranties that cover both materials and workmanship. They understand the nuances of how these components, especially flashing, interact with the overall roofing system. For instance, a GAF Master Elite Contractor has specific training on best practices for roof penetration flashing.
- Experience with Complex Rooflines: Ask potential contractors about their experience specifically with homes that have numerous dormers, chimneys, or other penetrations. A contractor who primarily works on simple, open roofs might lack the specialized skills needed for intricate flashing work. Our guide on Questions to Ask a Roofing Contractor Before Hiring can help you prepare for these conversations.
- Clear Contracts and Warranties: Ensure your contract clearly outlines the scope of work, including details about flashing around chimneys and dormers. A good contract will specify the materials to be used (e.g., gauge of metal for flashing) and include comprehensive warranties covering both the materials and the installer's workmanship. If you're comparing estimates, make sure they all detail these critical aspects, as explored in How to Read and Compare Roofing Estimates.
Ultimately, a well-executed roof replacement or repair around chimneys and dormers by a seasoned professional provides the best defense against leaks and ensures the longevity of your asphalt roof.
Common Flashing Components and Their Purpose
| Component | Description | Key Function |
|---|---|---|
| Base Flashing | Metal pieces installed at the base of the chimney, woven into shingle courses. | Directs water flowing down the roof around the base of the chimney. |
| Step Flashing | Individual L-shaped metal pieces installed along the sides of chimneys/dormers. | Each piece covers a shingle course, preventing water from entering at sidewalls. |
| Counter Flashing | Metal strips installed over base/step flashing, often embedded in mortar. | Protects the top edge of base/step flashing from water running down the wall. |
| Apron Flashing | A single, larger piece of base flashing used on the lower side of a chimney. | Forms a continuous barrier to divert water away from the chimney front. |
| Head Flashing | Similar to apron, used on the upper side (back) of a chimney. | Directs water from the high side of the chimney onto the roof. |
| Cricket | Small, peaked diversionary roof structure installed behind wide chimneys. | Prevents water and snow accumulation, diverting it around the chimney. |
| Valley Flashing | Metal or woven shingle system in roof valleys created by dormers. | Ensures water flows freely down the valley without penetrating the roof. |
| Ice & Water Shield | Self-adhering modified bitumen membrane. | Secondary waterproof barrier, especially critical around penetrations. |
Disclaimer
Please remember that this article provides general information and best practices in asphalt roofing. Local building codes, specific roof designs, and individual property conditions can vary widely. Always consult with a qualified, licensed, and insured roofing professional for a thorough assessment and personalized recommendations for your home. They can provide the most accurate advice and ensure compliance with all relevant regulations.