How Fascia Is Installed
That old, peeling fascia board might seem like a minor cosmetic issue, but ignoring it can lead to a whole host of headaches, from gutter problems to serious structural damage to your roof's edge. It's frustrating when you know something needs to be done but aren't sure how to tackle it, or what exactly is involved. This comprehensive guide will walk you through everything you need to know about how fascia is installed, ensuring your home is protected and looks its best.
Understanding Your Fascia and Its Essential Role
Before we dive into the nitty-gritty of installation, let's get clear on what fascia actually is and why it's such a critical component of your home's exterior, especially when it comes to your roof system. It’s more than just a decorative trim piece.
What Exactly Is Fascia?
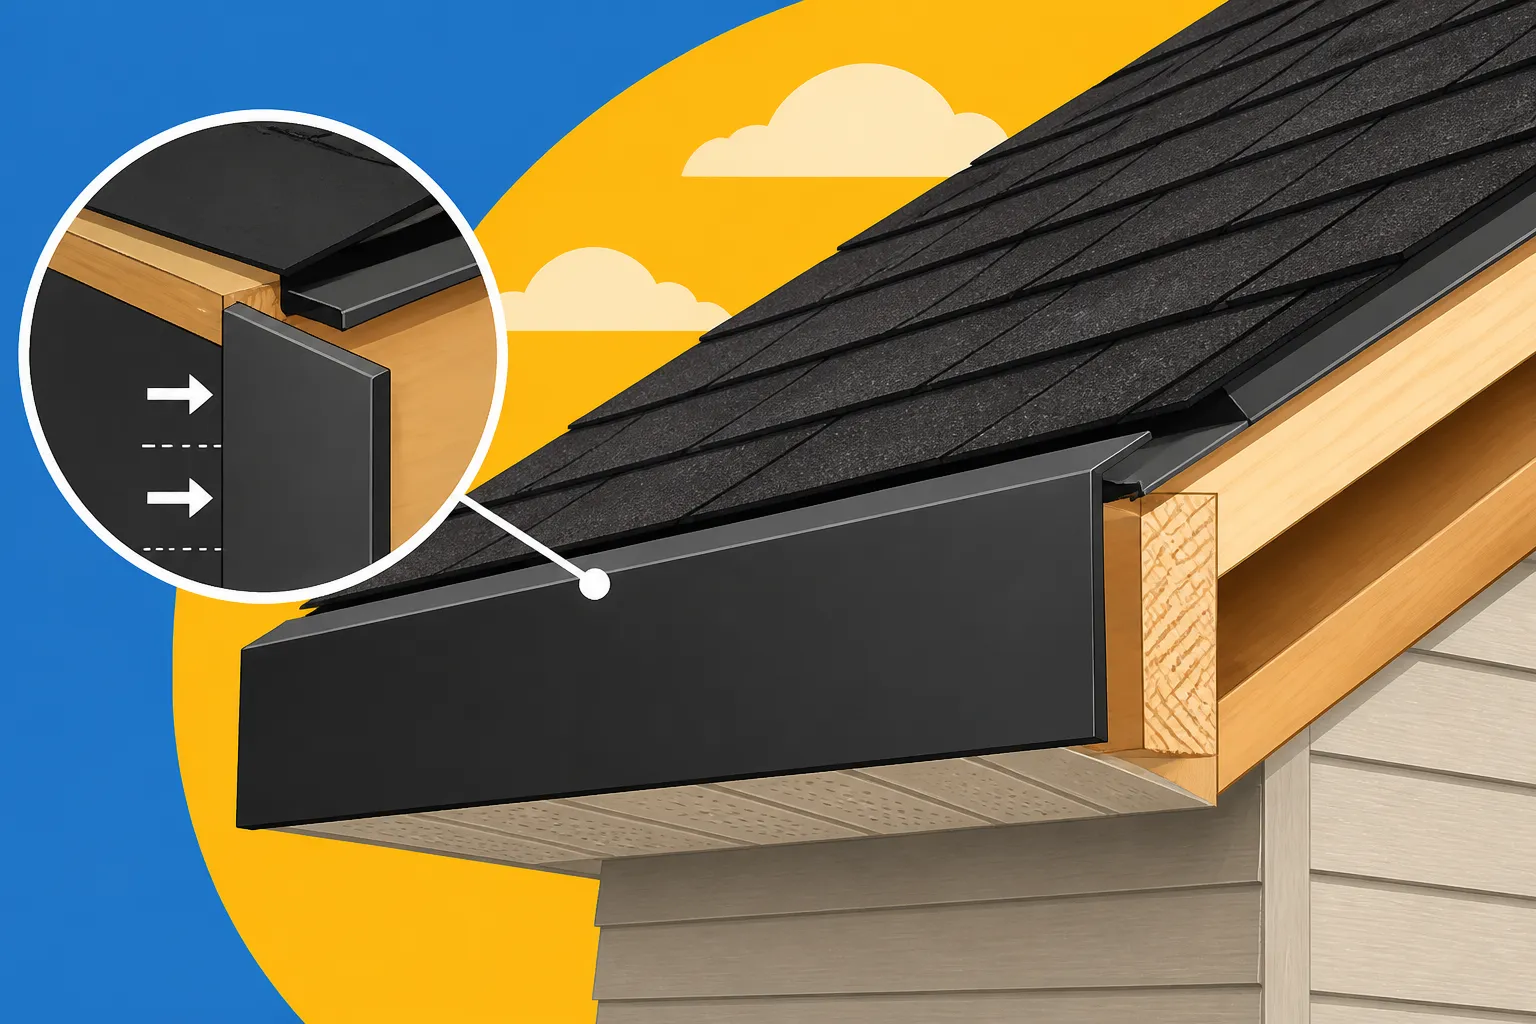
Think of fascia as the long, straight board that runs along the lower edge of your roofline, capping off the ends of your roof rafters. It’s the trim piece you typically see directly behind your gutters. While it might seem straightforward, fascia plays a dual role: it’s a foundational element for your gutters and a key protector for your roof and attic space. In most homes, you'll find it along the eaves, which are the parts of the roof that overhang the walls, but it can also be present on gable ends, often called rake boards. Typically, fascia boards are made from wood (like cedar, redwood, or pine), but increasingly, homeowners are opting for more durable, low-maintenance materials such as vinyl, aluminum, or composite.
Why Fascia Matters for Your Roof System
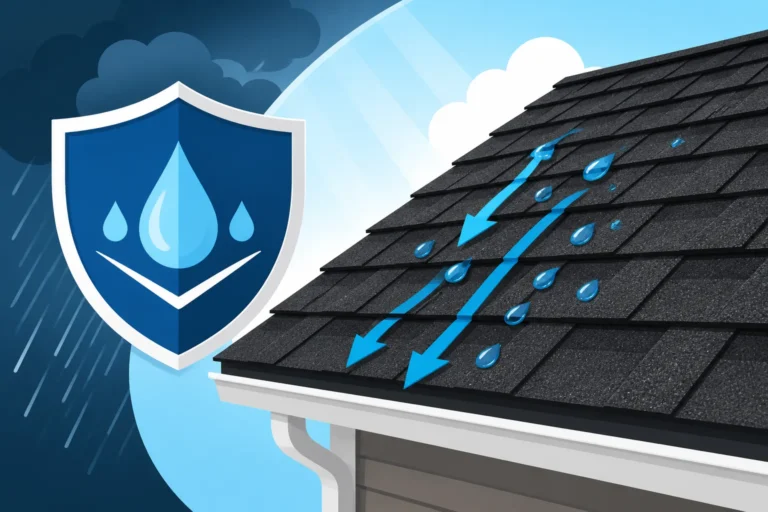
The importance of fascia cannot be overstated. Structurally, it's the anchor point for your gutters. Without solid fascia, your gutters can't effectively channel water away from your home, leading to potential issues with your foundation, siding, and landscaping. Beyond supporting your gutters, fascia also provides a crucial barrier, preventing moisture, pests, and even birds from entering your attic or roof cavity. It acts as a shield for the exposed ends of your roof rafters, protecting them from rot and decay caused by harsh weather conditions like rain, snow, and intense sunlight. Aesthetically, it provides a clean, finished line to your roof, contributing significantly to your home’s curb appeal. A damaged or poorly installed fascia can be an eyesore and a red flag for deeper underlying problems. If you're wondering about the overall structure of your roof, our guide on Roof Anatomy: Parts of an Asphalt Shingle Roof provides a great overview.
Preparing for Fascia Installation
Like any home improvement project, proper preparation is key to a successful fascia installation. Rushing this stage can lead to frustrating mistakes and a less-than-stellar outcome. Taking the time to assess, plan, and gather your resources will save you headaches down the line.
Assessing Existing Conditions and Making Repairs
Before you even think about putting up new fascia, you need to thoroughly inspect what's already there. If you're replacing old fascia, carefully remove the existing boards and examine the rafter tails and the soffit area. Look for any signs of water damage, rot, or pest infestation. Rotted wood in the rafter tails or the very edge of your roof decking can compromise the structural integrity of your entire roof system. It’s not uncommon to find areas where moisture has seeped in over the years, especially if gutters were overflowing or poorly maintained. Any damaged wood must be repaired or replaced before new fascia goes up. This might involve cutting back rotted rafter ends and splicing in new wood, or replacing sections of the soffit. Ignoring these issues is a recipe for disaster; the new fascia will only hide, not fix, the problem, and likely fail prematurely. This initial assessment also extends to your existing gutters; if they're old and failing, it might be the perfect time to consider replacing them along with the fascia.
Gathering Your Materials and Tools
Once your substrate is sound, it’s time to gather your materials and tools. The type of fascia material you choose will depend on your budget, aesthetic preferences, and maintenance goals.
- Wood Fascia: Popular choices include pine, cedar, or redwood. Pine is generally the most economical but requires regular painting and maintenance. Cedar and redwood offer natural resistance to rot and insects but come at a higher cost.
- Vinyl Fascia: A low-maintenance, durable option that comes in various colors. It's flexible and often installed over existing wood fascia or a wood substrate.
- Aluminum Fascia: Another low-maintenance option that offers excellent protection. It's typically a thin coil stock bent and installed over wood fascia, providing a sleek, finished look.
- Composite Fascia: Made from a blend of wood fibers and plastic, offering durability, moisture resistance, and low maintenance, often mimicking the look of real wood.
For tools, you'll need:
- Measuring Tape and Pencil: For accurate measurements.
- Circular Saw or Miter Saw: For precise cuts, especially for angled corners. A miter saw is ideal for perfect 45-degree corner cuts.
- Hammer or Nail Gun: A pneumatic nail gun (with appropriate nails like galvanized ring-shank nails) will make the job much faster and more secure.
- Caulk Gun and Exterior-Grade Caulk: For sealing joints and gaps, especially at corners and where fascia meets trim.
- Level and Straightedge: To ensure your fascia boards are perfectly straight.
- Utility Knife: For cutting vinyl or aluminum fascia.
- Pry Bar: For removing old fascia boards.
- Safety Gear: Gloves, safety glasses, and potentially a hard hat if working at heights.
- Ladder or Scaffolding: Essential for safe access to the roofline.
Considering the scope of materials and tools, it's easy to see why the Average Roof Replacement Cost This Year can be substantial, as fascia is just one component of a full roofing system overhaul.
The Step-by-Step Fascia Installation Process
Alright, with your preparations complete, it's time to get down to the actual installation. This process requires precision, patience, and a steady hand, but breaking it down into manageable steps makes it much less daunting.
Removing Old Fascia and Preparing the Substrate
If you're dealing with existing fascia, your first step is careful removal. Start by taking down any attached gutters. Then, use a pry bar to gently pull away the old fascia boards. Work slowly to avoid damaging the rafter tails or the soffit above. Once the old boards are off, thoroughly clean the rafter tails. Scrape away any loose paint, old caulk, or debris. This is your chance to really inspect those rafter ends for rot. If you find any rotted sections, you’ll need to cut them out and replace them with new, pressure-treated wood. You can typically do this by cutting straight across the rafter at the point where the rot stops and then sistering a new piece of wood to the existing rafter with structural screws and construction adhesive. The goal here is to create a perfectly sound, level, and smooth surface for your new fascia to attach to. Any unevenness now will translate into an unsightly, wavy fascia line later.
Measuring, Cutting, and Fitting New Fascia Boards
Now for the precise work. Begin by measuring the longest straight runs of your roofline. It’s always best to use the longest possible board to minimize joints, but if you need to join two boards, plan for a "scarf joint" – a mitered cut on both ends that overlaps, typically at a 45-degree angle, making the joint stronger and less noticeable. When cutting your fascia boards, ensure your cuts are perfectly straight and square for the main runs. For outside corners, you'll need to make 45-degree miter cuts so the two boards meet cleanly, forming a 90-degree angle. Inside corners will involve simple butt joints. Always dry-fit your boards before permanently attaching them to ensure a snug and accurate fit. Don't be afraid to make small adjustments; a little extra time here prevents frustration later. Remember, precision in measuring and cutting is what separates a professional-looking job from an amateur one.
Securing the Fascia Boards
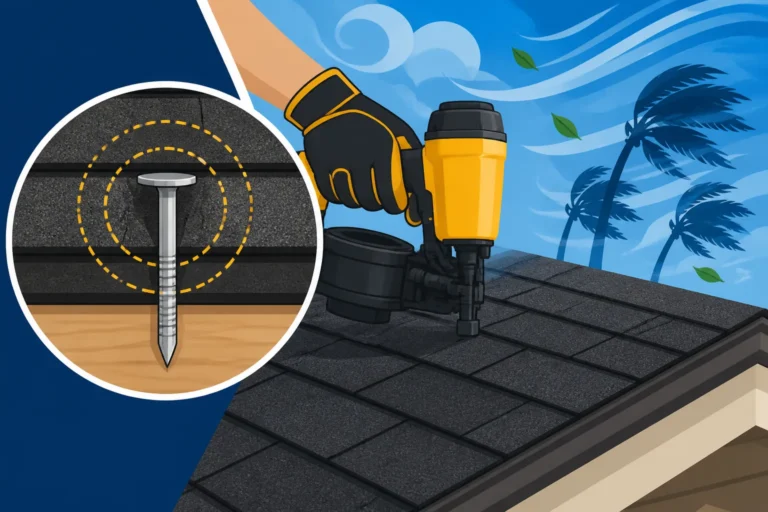
With your boards precisely cut and dry-fitted, it’s time to secure them. Start at one end of your roofline, ensuring your first board is perfectly level. Use a combination of construction adhesive (if using wood or composite) and galvanized nails or screws. For wood fascia, two nails per rafter tail, staggered slightly (one high, one low), are usually sufficient to prevent splitting and ensure a strong hold. If you're using a nail gun, make sure the nails are long enough to penetrate well into the rafter tails, typically 2.5 to 3 inches. For vinyl or aluminum fascia covers, you’ll typically be fastening them over an existing wood fascia using specific roofing nails or screws, making sure not to nail too tightly to allow for thermal expansion and contraction. Work your way down the entire length, continuously checking with your level to ensure the fascia remains straight and level. If you're working with long spans, it helps to have a second pair of hands or to temporarily tack the board in place before final fastening. This meticulous process ensures your fascia not only looks good but also provides robust support for your future gutters.
Finishing Touches and Sealing
Once all the fascia boards are securely in place, it’s time for the finishing touches. If you installed wood fascia, you'll want to fill any nail holes with exterior wood filler, sand them smooth, and then prime and paint the boards with a high-quality exterior paint. This not only enhances the aesthetic but also provides an extra layer of protection against the elements. For vinyl or aluminum fascia, you typically won't need to paint, but you will need to seal any open seams or joints, especially at corners, with an exterior-grade, paintable caulk to prevent water intrusion. This small step is crucial for protecting the underlying structure from moisture damage. Finally, once the fascia is complete and dry, you can proceed with reinstalling or installing new gutters, ensuring they are properly pitched to drain water away from your foundation. Understanding the complete installation process helps in reading and comparing roofing estimates, as fascia work is often included.
Common Challenges and When to Call in the Pros
Even with the best intentions and careful planning, home improvement projects, especially those involving the roofline, can present unexpected challenges. Knowing what to look out for and when to bring in professional help can save you considerable time, money, and stress.
Dealing with Rotted Wood and Uneven Surfaces
One of the most common and significant challenges encountered during fascia installation is discovering extensive rot in the rafter tails or the roof decking. While minor rot can often be cut out and repaired by a DIY enthusiast, widespread damage that compromises the structural integrity of multiple rafters is a different ball game. This isn't just about replacing a board; it's about ensuring your roof structure is sound. Attempting complex structural repairs without proper experience can lead to costly mistakes, potential safety hazards, and even voiding parts of your roof warranty.
Similarly, an uneven roofline or damaged rafter tails can make it incredibly difficult to install new fascia in a perfectly straight line. Trying to force a straight board onto a wavy surface will only result in an unattractive and potentially unstable installation. Professional roofers have the experience and techniques to address these underlying issues, whether it's shimming out uneven rafter tails or performing more extensive carpentry repairs to create a truly plumb and level surface. They can also advise on related concerns like Roof Decking Replacement Cost if the underlying issues are severe.
Achieving Seamless Transitions and Corners
Getting perfectly mitered corners and seamless joints on fascia boards is an art form. It requires precise measurements, accurate cuts, and an understanding of how materials expand and contract. For instance, achieving tight, weather-resistant 45-degree miter cuts at every corner can be tricky, especially on older homes where no two corners are perfectly square. Gaps at these crucial points become entryways for water and pests.
When you have long runs of fascia, knowing how to create an effective scarf joint that not only looks good but also provides structural integrity is vital. A poorly executed joint can separate over time, ruining the aesthetic and exposing the underlying wood. Professionals have specialized tools, like power miter saws, and years of practice to achieve these flawless transitions, ensuring a clean, polished look that protects your home for decades.
Ensuring Proper Drainage and Gutter Attachment
The fascia is the backbone for your gutters, and its proper installation directly impacts how well your entire drainage system functions. If the fascia isn't installed perfectly level (or with the correct subtle pitch for certain gutter systems), your gutters won't drain efficiently. This can lead to standing water, debris buildup, and eventually, overflowing gutters that dump water directly onto your foundation and landscaping.
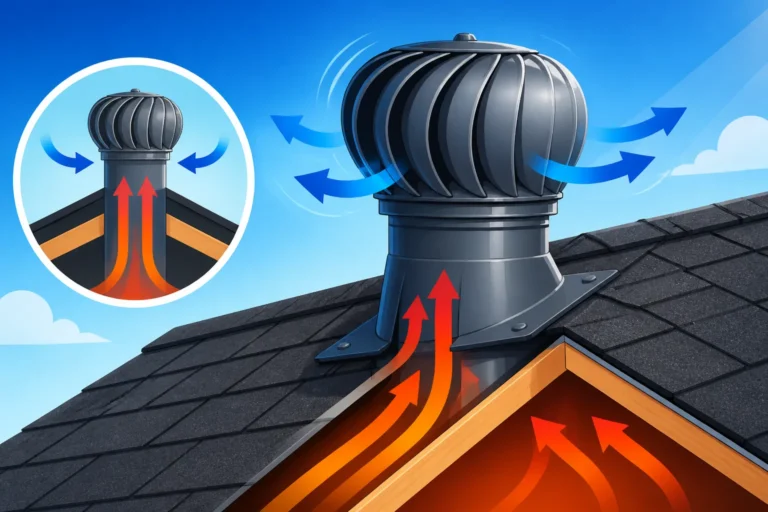
A professional will not only ensure the fascia is installed correctly but will also have the expertise to properly attach the gutters, verify their pitch, and ensure all downspouts are optimally positioned. They understand the nuances of water flow and how to integrate the fascia, soffit, and gutter system into a cohesive, highly functional unit. They can also explain the importance of other components like Cost of Ridge Vent Installation to ensure proper attic ventilation, which is another crucial aspect of a healthy roof system.
When Professional Help Is a Smart Investment
While tackling DIY projects can be rewarding, there are times when calling in a professional is not just convenient but essential for the longevity and safety of your home. Fascia installation, especially when coupled with other roofing work, often falls into this category.
Identifying Complex or Damaged Scenarios
If your fascia project involves more than just a simple cosmetic upgrade—say, you're replacing fascia on a multi-story home, dealing with extensive rot on your rafter tails, or your roofline has complex angles and valleys—that's a strong signal to consider professional help. Working at heights safely requires specialized equipment and training, which a homeowner might not possess. Moreover, if the structural integrity of your roof edge or attic space is in question, a professional roofer can correctly diagnose the issue and perform the necessary structural repairs before installing the new fascia. They can identify issues you might miss, like signs of roof damage after a hailstorm or persistent leaks around chimneys, which are often related to problems at the roof's edge.
The Benefits of Professional Installation
Hiring an experienced roofing contractor for fascia installation brings numerous advantages. First, they possess the expertise and specialized tools to perform the job efficiently, safely, and correctly the first time. This means fewer mistakes, a higher quality finish, and a quicker completion time compared to a DIY attempt. Professionals are also well-versed in local building codes and regulations, ensuring your installation meets all necessary standards, which is particularly important if you're undertaking a full How a Roof Replacement Works: The Full Process.
Furthermore, reputable contractors often offer warranties on their workmanship, providing peace of mind that if an issue arises, it will be rectified without additional cost to you. They can also advise on the best materials for your specific climate and aesthetic, and ensure compatibility with other roofing components like drip edge and underlayment. If you're looking to connect with reliable local professionals, resources like Modernize can be incredibly helpful in finding vetted contractors who can handle your fascia and roofing needs. Choosing the right contractor is crucial, and knowing How to Choose a Roofing Contractor can make all the difference.
Comparison of Common Fascia Materials
Here's a quick look at the pros and cons of common fascia materials to help you decide what's best for your home:
| Material Type | Pros | Cons | Typical Cost (per linear foot, material only) |
|---|---|---|---|
| Wood (Pine) | Most economical, easy to paint/stain, traditional look | Requires frequent maintenance (painting/sealing), susceptible to rot/pests | $1.50 – $4.00 |
| Wood (Cedar/Redwood) | Natural rot/insect resistance, attractive grain, durable | Higher cost, still requires some maintenance (staining) | $3.00 – $8.00 |
| Vinyl | Low maintenance, durable, comes in various colors, moisture-resistant | Can crack in extreme cold, limited color/style options, can look less natural | $2.00 – $6.00 |
| Aluminum | Extremely durable, low maintenance, excellent weather protection, lightweight | Can dent, limited colors unless painted, professional installation often recommended | $3.00 – $8.00 |
| Composite | Very durable, highly moisture/rot/pest resistant, low maintenance, mimics wood | Higher upfront cost, heavier than vinyl/aluminum, limited color options | $4.00 – $10.00 |
Note: These costs are estimates for materials only and can vary significantly based on location, brand, and market conditions.
Remember, the initial cost isn't the only factor; consider the long-term maintenance and durability when making your choice. If you're pondering a larger project, understanding the factors that drive Asphalt Roofing Costs Up or Down can also inform your decision on materials.
Disclaimer
Please note that this guide provides general information about fascia installation. Roofing work can be dangerous and should only be undertaken by individuals with appropriate experience, safety equipment, and knowledge of local building codes. Always consult with a qualified professional before starting any major home improvement project. The advice here is not a substitute for professional guidance.