How to Reseal Lifted Shingles
That moment you glance up at your roof and see it – a shingle that's not quite lying flat, perhaps a corner curled up, or worse, flapping gently in the breeze. It's enough to send a shiver down your spine, imagining water seeping into your home. Don't panic! A lifted shingle doesn't always mean a full roof replacement is on the horizon. Often, with a bit of care and the right materials, you can successfully reseal it yourself, safeguarding your home from potential leaks and further damage. This guide will walk you through the process, helping you tackle this common asphalt roofing issue with confidence.
Understanding Why Shingles Lift in the First Place
Before you grab your tools, it’s helpful to understand why your shingles decided to take flight in the first place. This isn't just a random act of architectural rebellion; there are usually a few key culprits at play. Knowing the cause can also help you determine if resealing is truly the best course of action or if something more serious is happening underneath.
Wind Damage and Aging Sealant
One of the most frequent reasons for lifted shingles, especially the corner or edge of a single tab, is strong wind. Modern asphalt shingles are designed with a therm-activated sealant strip on their underside. This strip, once exposed to sunlight, heats up and bonds to the shingle below it, creating a strong seal that helps resist wind uplift. However, over time, this sealant can degrade. UV rays, extreme temperature fluctuations, and repeated stress from gusts of wind can cause the seal to break down, leaving shingles vulnerable. When a powerful storm rolls through, that compromised seal is often no match for the force of the wind, leading to a shingle lifting or even tearing away completely.
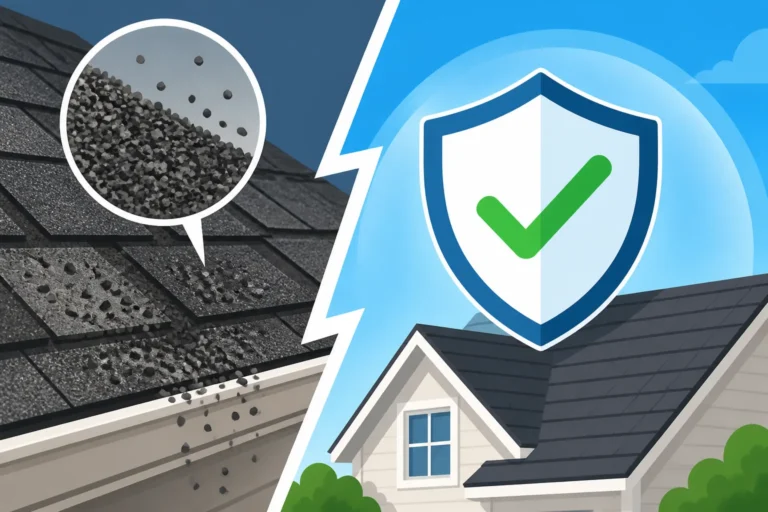
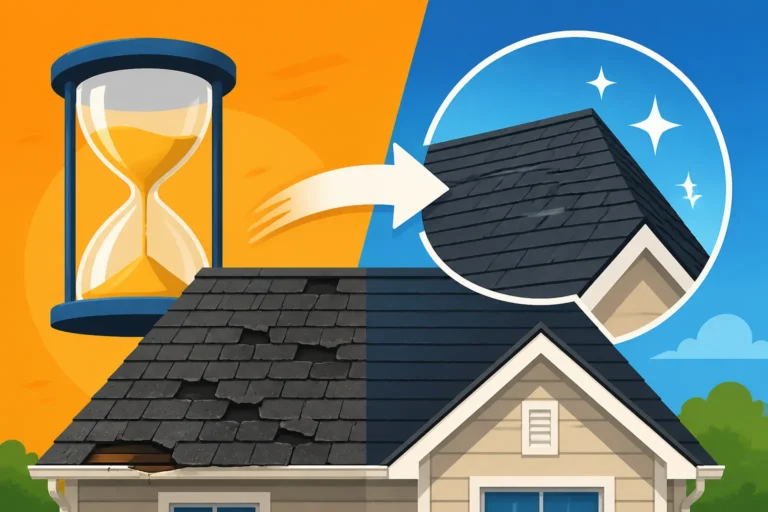
Older roofs are particularly susceptible to this. As an asphalt roof ages, the granules on the shingles start to wear away, and the asphalt itself can become brittle. This natural deterioration, often seen on roofs approaching their expected lifespan, makes the sealant less effective and the shingle more prone to cracking or lifting. If your roof is nearing its estimated "how long does an asphalt roof last" mark, a single lifted shingle might be a symptom of more widespread aging, rather than just an isolated incident. It’s a good idea to inspect the rest of the roof for other signs of aging or potential issues, as fixing one spot might not address underlying vulnerabilities.
Improper Installation or Manufacturing Defects
While less common, sometimes a lifted shingle isn't a sign of an aging roof or a ferocious storm, but rather an issue that's been there since day one. If shingles weren't nailed correctly during installation – for example, if nails were driven too high, at an angle, or not enough nails were used – they might not have properly secured to the roof deck. Over time, as the roof expands and contracts with temperature changes, these improperly fastened shingles can loosen and lift. Similarly, if the self-sealing strip on a shingle was defective or didn't properly activate after installation due to cold weather or insufficient sunlight, it might never have bonded correctly, leaving it prone to lifting with the first strong breeze.
Another scenario could be that debris, like a stray nail or a small piece of old shingle, got trapped under the sealant strip during installation, preventing it from bonding effectively. While these issues might not immediately manifest, they can lead to problems down the road. If you're dealing with a relatively new roof and shingles are lifting, it's worth considering that it might be a workmanship issue, which could be covered under your contractor's warranty or the manufacturer's warranty. This is where getting a professional opinion becomes valuable, as they can often diagnose installation flaws.
Gathering Your Tools for a Shingle Reseal Project
Before you even think about climbing onto your roof, proper preparation is key. Having the right tools and materials not only makes the job easier but, more importantly, ensures your safety and the longevity of your repair. Don't skimp on these essentials.
Essential Safety Gear
Working on a roof, even for a seemingly small repair like resealing a shingle, carries inherent risks. Falls are serious, so your first priority should always be safety.
- Sturdy Ladder: Make sure it's tall enough to extend at least three feet above the edge of your roof and has a stable footing. Always follow the 4:1 rule for ladder placement (for every four feet of ladder height, the base should be one foot away from the wall).
- Safety Harness and Rope System: For any work that requires you to be far from the ladder or on a sloped roof, a safety harness anchored to a secure point on the opposite side of your roof (like a sturdy chimney or a temporary anchor point installed by a professional) is non-negotiable. This prevents a potentially fatal fall.
- Non-Slip Footwear: Wear shoes with good grip, like roofing boots or sturdy work boots with soft, rubber soles. Avoid sneakers or worn-out shoes that can slip easily on granules or moisture.
- Work Gloves: Protect your hands from rough shingle edges, roofing cement, and potential splinters from the roof decking.
- Safety Glasses: Stray granules, dust, or even a splash of sealant can irritate or injure your eyes. Always wear safety glasses or goggles.
Remember, if you feel uncomfortable or unsafe at any point, it’s always best to call a professional. Platforms like Modernize can help you connect with local, experienced roofing contractors who can safely handle the repair.
Specific Adhesives and Tools
Once your safety gear is sorted, you'll need the right materials and specific tools for the actual resealing process.
- Asphalt Roofing Cement (or Flashing Cement): This is the hero of our story. You'll find it in a caulk tube for easy application or in a small tub that you can apply with a trowel or putty knife. Choose a high-quality, all-weather variety. Look for products specifically labeled for asphalt shingles. Brands like Gardner or Henry are widely available and well-regarded for their roofing repair products.
- Caulk Gun: If using roofing cement in a tube, a standard caulk gun is essential for smooth, controlled application.
- Utility Knife or Box Cutter: Useful for carefully scoring the old sealant if it's stubbornly holding the shingle down, or for trimming any excess sealant once the repair is complete.
- Small Pry Bar or Flat Bar: Sometimes a lifted shingle is still partially adhered, or the old sealant is making it difficult to lift enough to clean underneath. A small pry bar can help you gently lift the shingle without damaging it. Be extremely careful not to bend or crack the shingle.
- Stiff-Bristled Brush or Putty Knife: For cleaning away loose granules, dirt, and old, deteriorated sealant from underneath the lifted shingle and on the shingle below.
- Rags and Mineral Spirits (Optional): If you make a mess with the roofing cement, mineral spirits can help clean it off tools or unintended surfaces before it dries. Always test in an inconspicuous area first, and use sparingly.
- Weights (Optional): After applying sealant, you might need something heavy and flat (like a few bricks wrapped in a rag or a piece of plywood) to hold the shingle down firmly while the cement cures.
Here's a quick checklist for your project:
| Item | Purpose | Notes |
|---|---|---|
| Safety Gear | ||
| Sturdy Ladder | Safe roof access | Ensure proper height and stability |
| Safety Harness | Fall protection | Essential for sloped roofs or working away from the ladder |
| Non-Slip Footwear | Traction on roof surface | Rubber-soled work boots recommended |
| Work Gloves | Hand protection | Prevents cuts and contact with sealant |
| Safety Glasses | Eye protection | Guards against debris and splashes |
| Repair Tools & Materials | ||
| Asphalt Roofing Cement | Adhesive for resealing | Caulk tube or small tub, all-weather, for asphalt shingles |
| Caulk Gun | For tube-style cement | Ensures even and controlled application |
| Utility Knife | Scoring and trimming | Use carefully to avoid shingle damage |
| Small Pry Bar | Gently lifting shingles | Avoid bending or cracking shingles |
| Stiff-Bristled Brush | Cleaning debris/old sealant | Ensures a clean surface for new adhesive |
| Rags & Mineral Spirits | Cleanup (optional) | For fresh spills; test in inconspicuous area first |
| Weights | Holding shingle during curing | Bricks wrapped in rags or weighted plywood can work |
Step-by-Step Guide to Resealing Lifted Shingles
Okay, you've got your safety gear on, your tools are ready, and you've found that pesky lifted shingle. Now let's get down to the actual repair. Take your time, be methodical, and prioritize safety above all else.
Assessing the Damage Safely
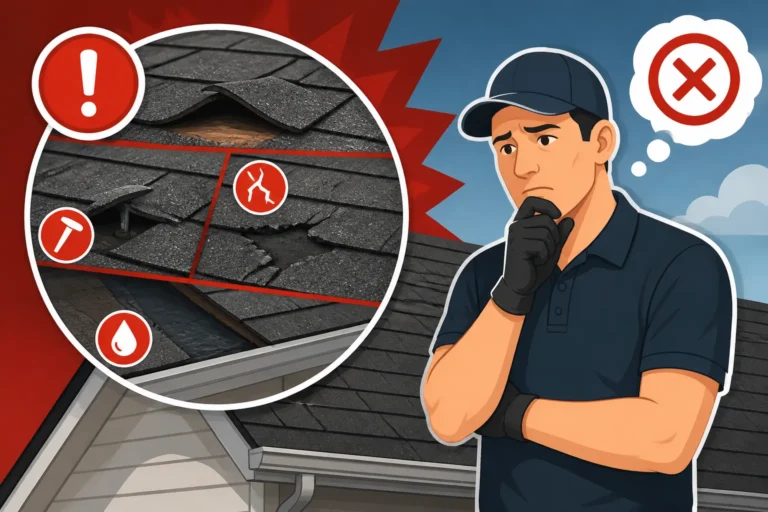
Before you even touch the shingle, do a thorough visual inspection from a safe distance. Is it just a lifted corner, or are there cracks, tears, or significant granule loss on the shingle itself? If the shingle is cracked through, torn, or crumbling, resealing might not be the answer. In such cases, you're likely looking at replacing the entire shingle, which is a slightly more involved process. This could be a sign of a larger problem, and it's worth considering a full roof damage assessment: a homeowner's guide to evaluate the overall health of your roof.
Also, check for signs of a leak inside your attic or on your ceiling directly below the lifted shingle. If there's water damage, it means the issue has gone beyond surface-level, and the underlying roof decking might be compromised. Resealing a shingle won't fix rotted wood. If you see signs of deeper damage, or if several shingles are affected, it’s always wise to consult a roofing professional. They can properly inspect the roof deck and ensure no further issues are lurking.
Choose a day that's mild and dry for this project. Avoid working on a scorching hot day where the shingles are overly soft and pliable (making them prone to tearing) or on a cold day when they are brittle (making them prone to cracking). Cloudy, mild days are often ideal, allowing the shingles to be flexible enough to lift without damage but firm enough to work with.
Cleaning and Preparing the Shingle
This is a crucial step that many DIYers overlook, but it's essential for a strong, lasting seal. Dirt, dust, loose granules, and old, ineffective sealant will prevent your new roofing cement from bonding properly.
- Gently Lift the Shingle: Carefully and slowly lift the lifted shingle tab. If it's only slightly raised, you might need to use a small pry bar to get enough leverage. Work slowly and gently to avoid tearing or creasing the shingle. You want to lift it just enough to expose the sealant strip and the shingle underneath.
- Clean the Surfaces: Using your stiff-bristled brush or putty knife, thoroughly scrape away any loose granules, dirt, debris, or old, brittle sealant from both the underside of the lifted shingle and the top surface of the shingle below it. You want these surfaces to be as clean and dry as possible. If there's stubborn old sealant, a utility knife can carefully scrape it off, but be extremely cautious not to cut into the shingle itself.
- Ensure Dryness: Before applying new cement, make absolutely sure both surfaces are completely dry. Moisture trapped under the sealant will prevent proper adhesion and can lead to future issues.
Applying the Roofing Cement/Sealant
Now for the main event – applying the new sealant. Less is often more here, as too much cement can create an unsightly bulge and actually hinder the shingle's natural flexibility.
- Cut the Tip of the Cement Tube: If using a caulk tube, cut the tip at a 45-degree angle, making a small opening. You want a bead about the size of a pencil eraser, not a thick rope.
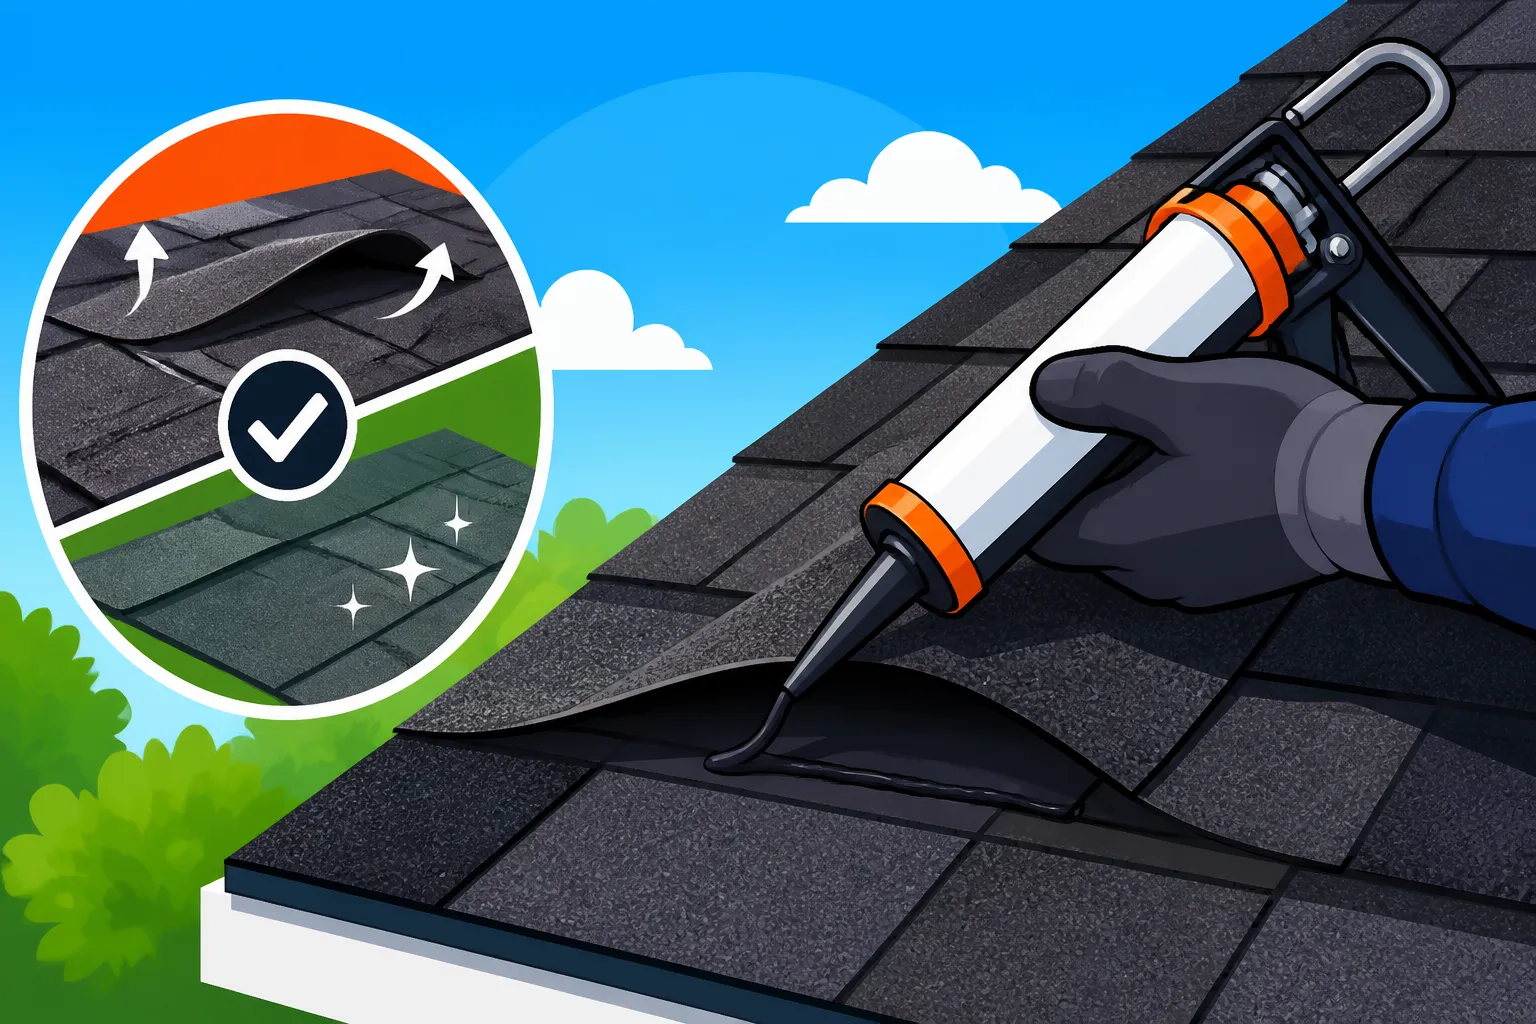
- Apply a Small Bead: Squeeze a small, consistent bead of roofing cement underneath the lifted shingle. Focus on the area where the original sealant strip would have been. Apply it in a few strategic spots or a thin, wavy line, ensuring you cover the general area where the shingle needs to bond. A common mistake is applying a continuous, thick line along the entire edge, which can trap moisture. You only need enough to create a strong bond where the shingle lifts. For a typical corner lift, a dab the size of a quarter on the underside of the lifted corner is usually sufficient.
- Avoid Over-Application: Remember, you're not trying to glue the entire shingle down like wallpaper. Just enough to reactivate that crucial seal.
Securing and Curing
The final steps involve getting that shingle back into place and letting the cement do its job.
- Press Down Firmly: Once the cement is applied, carefully lower the lifted shingle back into its original position. Press down firmly and evenly over the area where you applied the cement. You want to establish good contact between the shingle and the cement.
- Apply Weight (if necessary): For an extra secure bond, especially if the shingle wants to spring back up, you can place a weight on top. A few bricks wrapped in a cloth, a stack of old books, or a piece of plywood with a heavy object on top can work. Just make sure the weight is evenly distributed and not so heavy that it damages the shingle. Leave the weight in place for at least 24 hours, or longer if the roofing cement instructions recommend it.
- Allow Proper Curing Time: Roofing cement needs time to cure and bond properly. This can vary based on temperature, humidity, and the specific product, but generally, allow at least 24-48 hours. Avoid walking on the repaired area during this time. The longer the cure time, the stronger the bond will be.
- Final Inspection: After the cement has cured, remove any weights and do a final visual check. The shingle should be lying flat and securely bonded. If there's any excess cement squeezed out from under the shingle, you can carefully trim it with a utility knife once it's fully dry and hardened.
By following these steps, you've not only fixed a problem but also potentially extended the life of your roof!
When Resealing Isn't Enough: Knowing When to Call a Pro
While resealing a few lifted shingles can be a satisfying DIY project, it's crucial to know when to put down the caulk gun and pick up the phone. Sometimes, what looks like a simple fix is a symptom of a much larger, more serious problem that requires professional intervention. Ignoring these signs can lead to extensive and costly damage down the road.
Extensive Damage or Multiple Layers
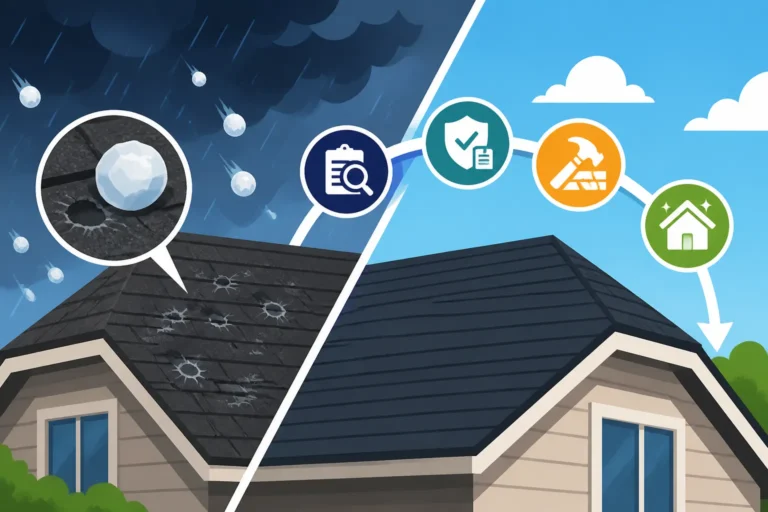
If you're dealing with more than just a couple of isolated lifted shingles, or if the shingles are not just lifted but extensively cracked, brittle, or missing large amounts of granules, resealing isn't going to cut it. Widespread damage often points to a roof that's at the end of its lifespan, or one that has sustained significant storm damage. For instance, if you've recently had a severe hailstorm or high winds, you might see many signs of roof hail damage or signs of roof wind damage across multiple areas. In such cases, a professional inspection is essential to assess the true extent of the damage.
Attempting to reseal dozens of shingles or badly damaged ones is a temporary band-aid at best. A professional will be able to tell you if you need to replace missing shingles or if the entire roof needs attention. They can evaluate if a partial reroof is feasible or if a full replacement is the most cost-effective long-term solution. When the issue is extensive, you'll want to get multiple roofing quotes and compare them to understand your options. A reputable roofing contractor will provide a detailed assessment and recommend the appropriate course of action, which might involve a significant repair or even a full roof replacement. For large-scale projects, utilizing services like Modernize can simplify finding and vetting qualified contractors in your area.
Signs of Deeper Structural Issues
Sometimes, a lifted shingle is just the tip of the iceberg, hinting at problems underneath that you can't see from the surface. If you notice any of these signs in conjunction with lifted shingles, it's a strong indicator that you need professional help:
- Sagging Roofline: If your roof deck appears to be sagging or bowing, this is a serious structural issue that no amount of shingle resealing can fix. It could indicate rotted roof decking, compromised trusses, or excessive weight.
- Water Stains in the Attic or on Ceilings: This is the most obvious sign that water has penetrated beyond the shingles and underlayment. While a lifted shingle can certainly cause a leak, persistent or widespread water stains suggest a more significant breach, possibly involving damaged flashing around chimneys or vents, or compromised underlayment.
- Mold or Mildew Growth: Any signs of mold or mildew in your attic or on your roof deck mean there's a prolonged moisture problem that needs to be addressed immediately to prevent further structural damage and health hazards.
- Soft Spots on the Roof Deck: If you carefully walk on your roof (only if it's safe to do so) and feel soft or spongy areas underfoot, it's a clear sign of water-damaged and rotting roof decking. This compromises the integrity of your entire roof system.
- Numerous Nail Pops: Nail pops occur when the nails securing the shingles or decking lift, pushing the shingle up. While an isolated nail pop can be addressed, a large number of them can signify underlying issues with the roof deck, improper nailing during installation, or significant thermal expansion/contraction of the decking.
If you encounter any of these red flags, trying to patch up a few lifted shingles is not just ineffective, it could be dangerous. A professional roofing contractor has the expertise and equipment to safely inspect the entire roof system, including the attic and roof decking, to pinpoint the root cause of the problem. They can assess the condition of your roof's underlayment explained: synthetic vs felt, flashing, and ventilation, providing a comprehensive solution rather than a temporary fix. Don't hesitate to call in the experts when the integrity of your entire roof is at stake.
Disclaimer
Please remember that this guide provides general information for homeowners and is not a substitute for professional advice. Working on a roof can be dangerous. Always prioritize your safety and consult with a qualified, licensed roofing contractor for complex repairs, extensive damage, or if you feel uncomfortable performing the work yourself. Local building codes and specific roofing materials may also require different approaches or professional expertise.