When to Replace Roof Flashing Only
There’s nothing quite as unsettling as spotting water stains on your ceiling, especially when you suspect your roof might be the culprit. Often, homeowners jump to conclusions that a full roof replacement is needed, but sometimes, the issue is much smaller and more contained: failing roof flashing. This guide aims to clear up the confusion and help you understand precisely when replacing only your roof flashing is the smart, cost-effective solution, rather than undertaking a much larger project.
The Critical Role of Roof Flashing in Protecting Your Home
Before we dive into replacement specifics, it’s crucial to understand what roof flashing is and why it's so incredibly vital to the integrity of your home. Think of flashing as your roof’s secret weapon against water intrusion, particularly in vulnerable areas. It’s typically made of thin, waterproof material – often metal, but sometimes rubber or plastic – and it’s strategically installed wherever the roof meets another surface or changes plane. Without properly installed and maintained flashing, even the most robust shingles can't stand a chance against persistent water.
What is Roof Flashing and Why is it Essential?
At its core, flashing directs water away from critical junctions on your roof. Imagine rain flowing down your roof. When it hits a wall, a chimney, or a skylight, it needs a clear path to continue its journey to the gutters. Without flashing, water would simply pool against these structures, seeping into tiny cracks and eventually making its way into your attic and home. Over time, this kind of consistent moisture can lead to serious structural damage, rot, mold, and costly interior repairs. It's essentially the last line of defense against leaks in these complex areas. You can learn more about how these crucial components are integrated into your roofing system by understanding more about how roof flashing works.
Common materials for flashing include aluminum, copper, galvanized steel, and lead. Each material has its own benefits and lifespan, with copper and lead often being more durable and expensive, while aluminum and galvanized steel offer a more budget-friendly and still effective solution. The choice of material often depends on the type of roof, the local climate, and the homeowner's budget.
Common Areas Where Flashing is Used
Flashing isn't a one-size-fits-all component; it comes in various forms and is installed in several key areas across your roof. These are the places most susceptible to leaks, and therefore, where flashing is absolutely indispensable.
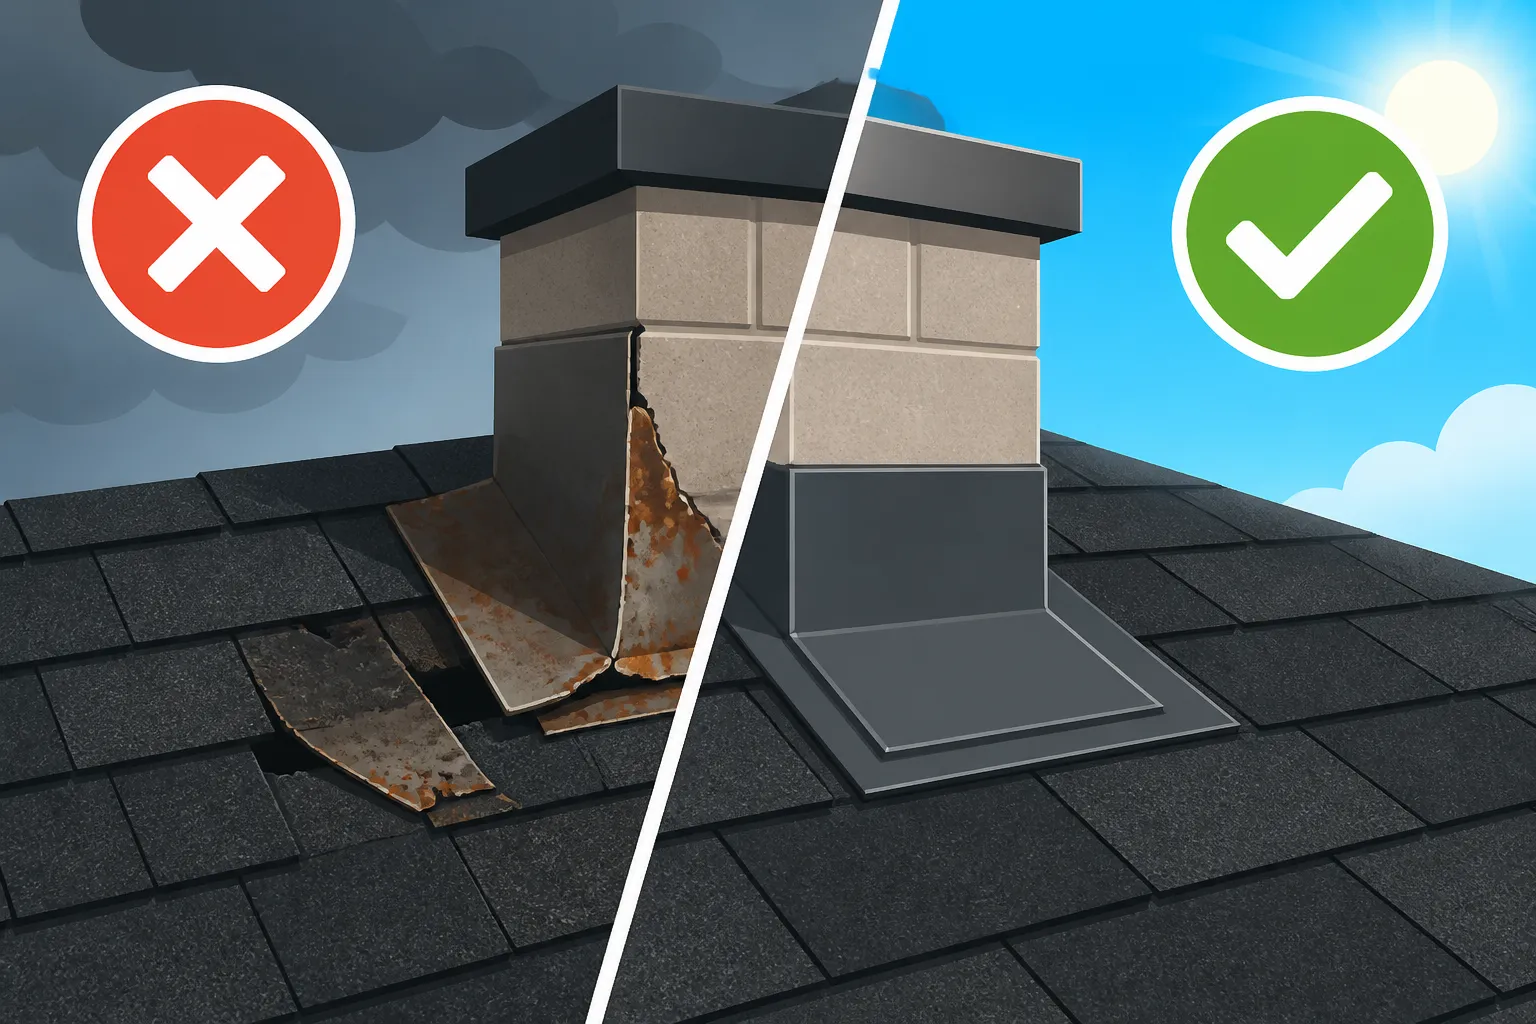
- Chimneys: This is probably the most common area where homeowners think about flashing. Around a chimney, step flashing and counter-flashing work together to create a watertight seal. The step flashing is interwoven with shingle courses, while the counter-flashing covers the top edge of the step flashing and is sealed into the chimney mortar joints. If you suspect a problem here, learning about the specifics of chimney flashing explained can be incredibly helpful.
- Valleys: Valleys are where two roof planes meet, forming a V-shape. They channel a large volume of water during rain. Valley flashing (often a metal or ice-and-water shield) is installed underneath the shingles to ensure water flows smoothly off the roof without penetrating.
- Walls: Wherever a roof section abuts a vertical wall, step flashing is installed in layers, much like around a chimney, to prevent water from running down the wall and behind the siding into the roof structure. These are particularly important for a tight seal and you can read more about step flashing around walls.
- Vents and Skylights: Any penetration in the roof for plumbing vents, attic vents, or skylights requires careful flashing to prevent leaks. Manufacturers often provide pre-formed flashing kits for these elements, but proper installation is still critical. For issues around vent pipes, we have a detailed guide on roof leak around a vent pipe: fixes.
- Drip Edges: While not flashing in the traditional sense, drip edges are metal strips installed along the eaves and rake edges of the roof to direct water off the roof and into the gutters, protecting the fascia and preventing water from getting underneath the shingles. Knowing the cost of new flashing and drip edge can give you an idea of replacement expenses.
Decoding the Signs: When Your Flashing is Crying for Help
So, how do you know if your flashing is the problem child on your roof, or if it’s merely a symptom of a larger issue? The key is knowing what to look for, both inside and outside your home. Many homeowners don't realize their flashing is failing until they see direct evidence of a leak, but catching the signs early can save a lot of headaches and expense.
Visual Cues of Deterioration
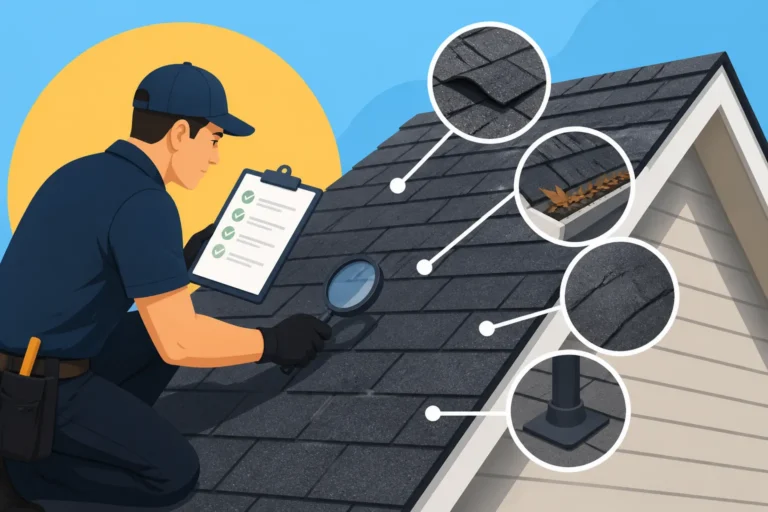
A thorough visual inspection of your roof, or better yet, a professional inspection, can reveal telling signs of flashing wear and tear. You can often spot these issues from the ground with a good pair of binoculars, but a closer look is always best.
- Rust or Corrosion: Metal flashing, especially galvanized steel that isn't properly painted or coated, can rust over time. Rust not only compromises the material's integrity, but it can also stain your shingles, making your roof look unsightly. Corrosion, particularly around fasteners or seams, indicates a breakdown in the material’s protective qualities.
- Bending or Kinking: Strong winds, falling debris, or even improper installation can cause flashing to bend, kink, or become dislodged. If the flashing isn't lying flat and snug against the roof or adjoining structure, it's not doing its job effectively. Gaps created by bent flashing are an open invitation for water.
- Cracks or Holes: Over years of exposure to harsh sun, extreme temperatures, and freezing/thawing cycles, metal can become brittle and crack. Rubber or plastic flashing around vents can also become sun-baked and develop cracks or even holes. These openings, no matter how small, are direct entry points for water.
- Loose or Missing Flashing: This is a pretty obvious one. If you see flashing pieces hanging loose, or worse, entirely missing, it's an emergency waiting to happen. High winds are often responsible for tearing flashing away, leaving critical areas exposed.
- Sealant Failure: Many flashing installations rely on sealant (like caulk or roof cement) to create a watertight bond. Over time, this sealant can dry out, crack, or peel away, breaking the seal and allowing water to penetrate. This is a common culprit around skylights and vent pipes.
Internal Water Damage Indicators
Often, the first sign of a flashing problem isn't visible from the outside. It’s the tell-tale drip or stain that appears inside your home.
- Water Stains on Ceilings or Walls: This is the classic symptom. Look for discoloration, water rings, or peeling paint on your ceilings or upper walls, especially those near chimneys, skylights, or exterior walls. The location of the stain can often help pinpoint the general area of the flashing failure. For instance, a stain on the ceiling directly below a chimney is a strong indicator of chimney flashing issues.
- Dripping Sounds or Visible Leaks: During heavy rain, you might hear dripping sounds in your attic or even see active drips or streams of water. Don’t ignore even minor drips, as they can indicate significant water intrusion over time.
- Musty Odors: Persistent musty or mildew smells in your attic or upper rooms can signal hidden moisture and mold growth, which often stems from a slow, undetected leak, potentially from faulty flashing.
- Sagging Drywall: In severe cases of prolonged water exposure, the drywall on your ceiling or walls might start to sag or feel soft to the touch. This indicates structural damage and requires immediate attention.
When these internal signs appear, it's crucial to investigate promptly. If you're seeing water damage directly below a chimney, vent, or skylight, there's a very high probability that the flashing in that specific area is compromised. This is a situation where you might only need a targeted repair, like a flashing leak repair. If you are ever unsure, contacting a professional through services like Modernize to get an expert assessment is always recommended.
Repairing Just the Flashing: When It's the Right Call (and When It's Not)
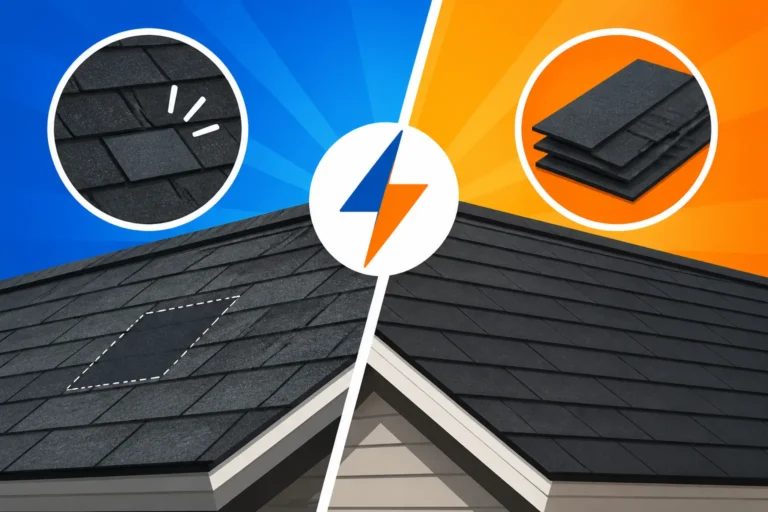
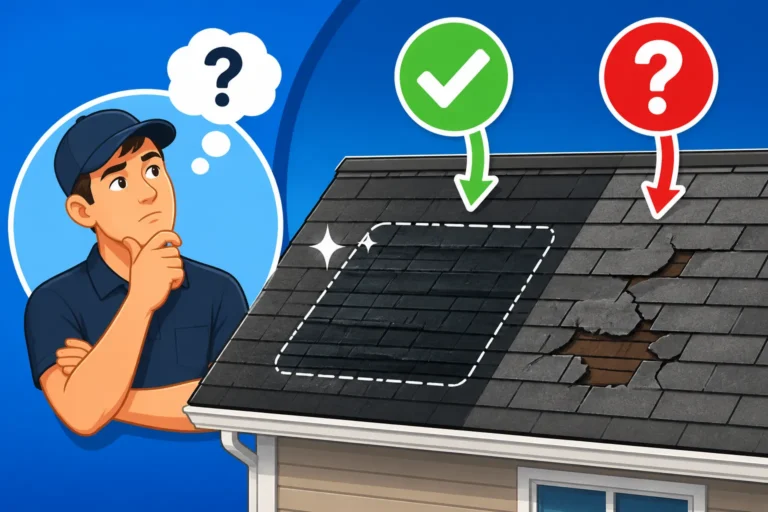
Deciding whether to replace only the flashing or consider a full roof overhaul can be a tough call. It's often a balance of cost, the extent of the damage, and the overall age and condition of your existing roof. Nobody wants to spend more than they have to, but neglecting a serious issue can lead to even bigger expenses down the road.
Isolated Damage Scenarios
There are many instances where fixing just the flashing is not only possible but also the most logical and economical choice. These situations usually involve damage that is clearly confined to the flashing itself, with the rest of the roof system still in good shape.
- Newer Roofs with Localized Flashing Damage: Imagine your roof is only 5-10 years old – well within its expected lifespan – but a severe storm rips off a piece of flashing around a vent pipe, or you notice some rust on the chimney flashing. In this case, the shingles and underlayment are likely in excellent condition. Replacing only the damaged section of flashing is the obvious solution. The goal here is to restore the integrity of that specific area, preserving the life of the relatively new roof.
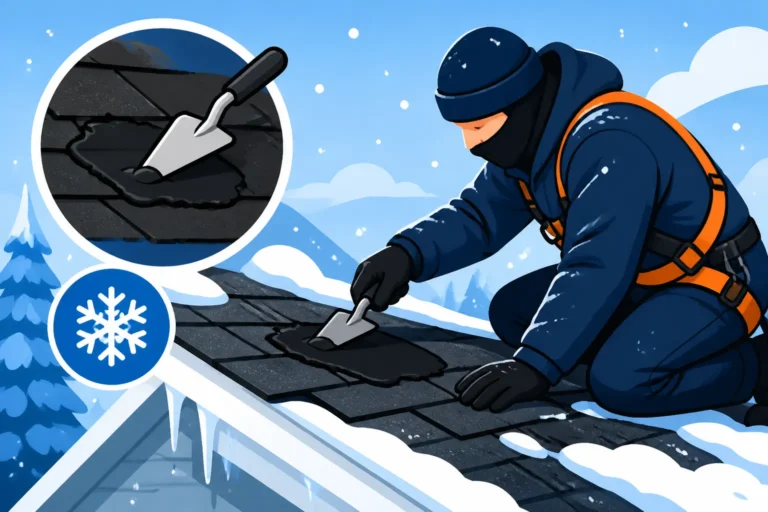
- Minor Wear and Tear on Flashing: Sometimes, flashing just shows signs of minor fatigue, like a hairline crack in a sealant line or slight corrosion that hasn't led to widespread failure. A skilled roofer can often clean the area, repair the small crack, or even replace a single piece of step flashing without disturbing the surrounding shingles too much. This is particularly true for items like plumbing vent boots which can deteriorate faster than the main roof system.
- Damage from External Factors: If a tree branch falls and dents or dislodges a section of flashing, or if poorly installed satellite dishes or other rooftop equipment cause localized damage, repairing just that affected flashing makes perfect sense. The cause of the damage is external and specific, not a sign of general roof failure.
- Upgrading Specific Flashing: Perhaps your existing roof is still functional, but the flashing in a particular area, like around a frequently leaking skylight, was always subpar or made of an inferior material. You might opt to upgrade that specific flashing to a more durable material like copper or a thicker gauge aluminum, without needing to replace all the surrounding shingles if they are in good condition.
Factors Influencing Your Decision
While isolated damage often points to flashing-only repair, other factors should always be weighed to make the best long-term decision. This often comes down to assessing the overall health of your roof.
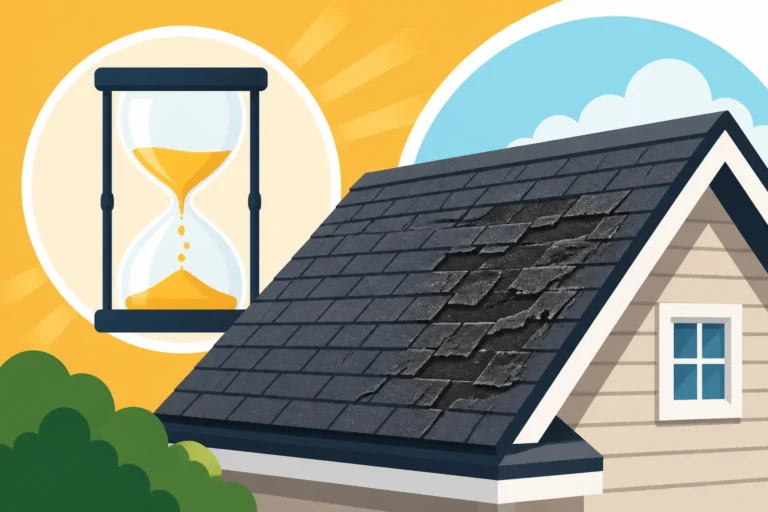
- Overall Roof Age: This is a huge factor. If your asphalt shingle roof is nearing the end of its typical lifespan (often 20-25 years for architectural shingles, or 15-20 for 3-tab), investing in significant flashing repairs might be a temporary fix for a larger problem. For example, if your roof is 22 years old and you're seeing multiple flashing issues along with curling or missing shingles, it might be more prudent to consider a full roof replacement. You can explore how long does an asphalt roof last to help with this assessment.
- Extent of Water Damage: While flashing issues are often localized, prolonged leaks can cause extensive damage to the underlying roof decking, rafters, and even interior ceilings and walls. If an inspection reveals significant rot in the roof decking beneath faulty flashing, simply replacing the flashing isn't enough. The rotted wood must be addressed, and in some cases, this can lead to a larger repair scope or even point to a full replacement if the damage is widespread.
- Cost-Effectiveness: A targeted flashing repair is almost always cheaper than a full roof replacement. However, if you find yourself needing multiple flashing repairs across different areas of an older roof, the cumulative cost might start to approach that of a new roof. It’s important to look at the big picture and calculate the cost to replace vs repair an old roof.
- Future Plans for Your Home: Are you planning to sell your home in the next few years? A new roof can significantly boost curb appeal and home value, and buyers often appreciate the peace of mind. If you're staying put for a long time, a comprehensive solution might offer better long-term protection and less worry.
- Matching Existing Shingles: When replacing flashing, the surrounding shingles often need to be carefully removed and then reinstalled. If your shingles are old, faded, or discontinued, finding an exact match can be challenging, leading to noticeable color differences. This might be a purely aesthetic concern for some, but for others, it could be a reason to consider a larger project for a uniform look.
Ultimately, the best advice comes from an experienced roofing professional. They can conduct a thorough roof damage assessment, including a detailed inspection of your existing flashing, and help you decide if a targeted repair is sufficient or if it’s time to start planning for a new roof. Don't hesitate to get multiple quotes and opinions, possibly from contractors found via platforms like Modernize, to ensure you're making the most informed decision.
| Flashing Problem Type | Common Symptoms | Repair-Only Justification | When to Consider Full Roof |
|---|---|---|---|
| Rust/Corrosion | Stains, pitting on metal | New roof, isolated damage, newer flashing. | Widespread rust, old roof, multiple leaks. |
| Bending/Kinking | Visible gaps, loose pieces, water streaks | Storm damage, external impact, newer flashing. | Old, brittle flashing throughout, frequent damage. |
| Cracks/Holes | Active drips, water stains near area | Aging sealant, specific material defect, newer roof. | Multiple cracks on various flashings, roof near end of life. |
| Loose/Missing | Missing sections, severe wind damage | Localized wind damage, specific area affected. | If other shingles are also missing/damaged, old roof. |
| Sealant Failure | Peeling caulk, slow drips, mold smell | Deteriorated sealant only, robust flashing. | Flashing itself is failing, not just the sealant. |
Navigating a Flashing Replacement: What to Expect and How to Ensure Success
If you've determined that replacing only your roof flashing is the appropriate course of action, the next step is to understand what the process entails and how to ensure the job is done right. This isn't a DIY project for most homeowners; proper flashing installation requires skill, precision, and adherence to specific techniques to prevent future leaks.
What to Expect During the Repair
Hiring a qualified professional is paramount for successful flashing replacement. Here's a general overview of what you can expect when a skilled roofer tackles this job:
- Initial Assessment and Material Selection: The roofer will re-evaluate the damaged area to confirm the extent of the problem and identify the best replacement material. They'll consider factors like the existing roof materials, the climate, and your budget. For example, if you have a high-end architectural shingle roof, they might recommend more durable copper or lead flashing, whereas for a standard 3-tab shingle roof, aluminum or galvanized steel might be sufficient.
- Careful Removal of Old Components: The existing shingles around the damaged flashing will be carefully removed, along with the old flashing and any compromised underlayment or roof decking. This requires a delicate touch to avoid damaging healthy surrounding shingles. Any rotted wood in the roof deck will also need to be replaced.
- Installation of New Underlayment and Flashing: New ice and water shield or synthetic underlayment will be installed in the area to provide an extra layer of protection. Then, the new flashing will be custom-fitted and installed. For areas like chimneys, this involves precise cutting and bending of metal for step and counter-flashing, ensuring proper overlap and integration into the masonry. For vent pipes, a new boot flashing will be secured.
- Sealing and Re-shingling: All seams and penetration points will be properly sealed with high-quality, durable roofing sealant. The removed shingles will then be reinstalled, or new matching shingles will be used if the old ones were damaged during removal or if a color match is unavailable.
- Cleanup and Final Inspection: A thorough cleanup of debris is standard practice. The roofer should also perform a final inspection to ensure the new flashing is watertight and aesthetically pleasing. You should also personally inspect the work for quality.
Throughout this process, clear communication with your contractor is key. Don't be afraid to ask questions about the materials being used, the warranty on the workmanship, and the expected timeline. This type of targeted repair work typically takes less than a day, depending on the complexity and extent of the damage.
Preventing Future Flashing Failures
While you can't prevent every potential issue, proactive steps can significantly extend the life of your new flashing and your entire roof system.
- Regular Roof Inspections: This is hands-down the most important preventative measure. Schedule a professional roof inspection every 1-3 years, especially after severe weather events. An expert can spot minor issues with flashing, sealant, or shingles before they escalate into major leaks. This is also a good opportunity to learn how to prepare your home for roofers if you plan on having larger work done.
- Keep Gutters Clean: Clogged gutters can cause water to back up onto your roof edges, potentially infiltrating under the flashing and shingles. Regular gutter cleaning ensures proper water drainage away from your roof.
- Trim Overhanging Branches: Tree branches rubbing against your roof or falling onto it can damage shingles and dislodge flashing. Keep branches trimmed back to prevent this kind of physical damage.
- Maintain Sealants: While a roofer should use durable sealants, inspecting visible caulk lines around flashing, especially around skylights and vents, can help you identify deteriorating sealant before it fails entirely. If you notice cracking or peeling, it might be a simple DIY fix to reapply a high-quality, exterior-grade sealant, but always consult with a professional if unsure.
- Ensure Proper Ventilation: Believe it or not, good attic ventilation helps maintain a consistent temperature across your roof, reducing thermal stress that can contribute to material fatigue in both shingles and flashing. Understanding how roof ventilation works can help you appreciate its role. If you need a full replacement, a professional can also guide you through the process of how a roof replacement works.
By being vigilant and proactive, you can often address flashing issues promptly, safeguarding your home from water damage and extending the overall lifespan of your asphalt roof. Remember, a stitch in time saves nine, and that certainly applies to preventing roof leaks!
Disclaimer
Please remember that this article is for informational purposes only and should not be considered professional advice. Always consult with a qualified and licensed roofing contractor for specific recommendations and services for your home.