DIY Shingle Repair: When It’s Safe
Facing a mysterious drip from your ceiling or noticing a rogue shingle flapping in the wind can send a wave of panic through any homeowner. The first thought often jumps to dollar signs, and it's natural to wonder if you can just handle that small roof repair yourself to save some cash. I totally get it – the idea of tackling a minor issue on your own can be super tempting, especially when budgets are tight. But before you dust off that old ladder, it's crucial to understand when DIY shingle repair is genuinely safe and effective, and when it's a job best left to the seasoned pros. This guide will walk you through the nuances, helping you discern the difference between a manageable fix and a potential disaster.
Understanding the Risks of DIY Roof Repair
Let's be real: your roof isn't just a simple cover for your home. It's a complex system, and working on it comes with significant hazards, both to yourself and to the structural integrity of your house. It’s not like painting a wall or fixing a leaky faucet; the stakes are much higher. Many homeowners, myself included at one point, underestimate just how risky roof work can be until they’re up there, exposed to the elements and navigating tricky angles.
Safety Hazards for Homeowners
The most immediate and concerning risk when attempting DIY roof repair is personal injury. Falls from ladders or directly off the roof are incredibly common and can lead to severe injuries, even fatalities. A simple misstep on a wet shingle, a wobbly ladder, or an unexpected gust of wind can have devastating consequences.
Think about it: you're working at heights, often with power tools, in varying weather conditions. Even on a perfectly sunny day, surfaces can be slippery from dew or dust. And what about electrical hazards? Unseen wiring, old antenna lines, or even power lines running near your roof can pose a serious threat if not properly identified and avoided. It's easy to get distracted or lose your footing, especially if you're not accustomed to working in such an environment. Professional roofers are trained for these situations, use specialized safety equipment like harnesses and lifelines, and work in teams to ensure a safer environment. They know the rhythm of the work and how to move confidently across different roof pitches and materials.
Potential for Further Damage
Beyond personal safety, there’s the very real danger of inadvertently causing more damage to your roof and home. I've heard countless stories (and seen the evidence!) of homeowners attempting a repair, only to find a bigger leak appearing weeks later because the initial fix wasn’t done correctly.
For instance, improper nailing can lead to water intrusion, voiding your shingle warranty, or even damaging the roof decking underneath. If you don't use the correct type of roofing cement or apply it properly, it might not seal effectively, or worse, it could damage the shingles themselves by making them brittle. Imagine attempting to fix a small leak, only to find you've created a pathway for water to infiltrate your attic, leading to mold, damaged insulation, and compromised ceilings. This often turns a relatively inexpensive repair into a much costlier undertaking, potentially necessitating a full Roof Repair vs Replacement: How to Decide much sooner than anticipated. It’s also important to remember that many manufacturer warranties require installation by a certified professional, so a DIY repair, even if done "correctly," could technically void your coverage.
When a DIY Shingle Repair Might Be Feasible
Okay, so we've covered the big scary stuff. But let’s be fair, not every single roof issue demands a full professional crew. There are indeed some very specific, minor scenarios where a DIY approach might be considered, provided you're extremely cautious and understand the limitations. It's about knowing your limits and the scope of the problem.
Minor Cosmetic Issues
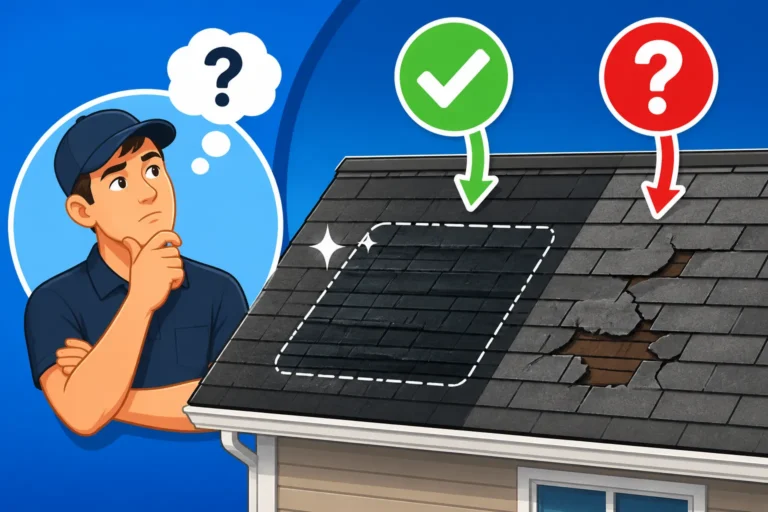
If you're dealing with something truly minor, like a single shingle that has come loose after a relatively mild windstorm, or a small nail pop that's just peeking through, you might be able to handle it. These are usually issues that don't involve widespread damage, structural concerns, or active leaks that have already penetrated multiple layers.
For instance, if you've had a light breeze and one edge of an architectural shingle has merely lifted, but the shingle itself isn't torn, cracked, or missing, carefully re-sealing it could be a viable option. Similarly, a solitary nail pop, where a shingle nail has worked its way up slightly, could potentially be tapped back down and sealed. The key here is "minor" and "cosmetic." We're talking about an isolated incident on a relatively new roof, where the surrounding shingles are in pristine condition. If you see signs of Widespread Granule Loss: Should You Worry or multiple curling shingles, that's already stepping into a different league of repair.
Temporary Fixes in a Pinch
Sometimes, you're caught in a bind. A sudden storm hits, and you discover a leak, but you can't get a professional roofer out immediately. In these emergency situations, a temporary DIY fix can be a lifesaver to prevent further damage until a qualified contractor can assess the situation. This is not a permanent solution, but a stop-gap measure.
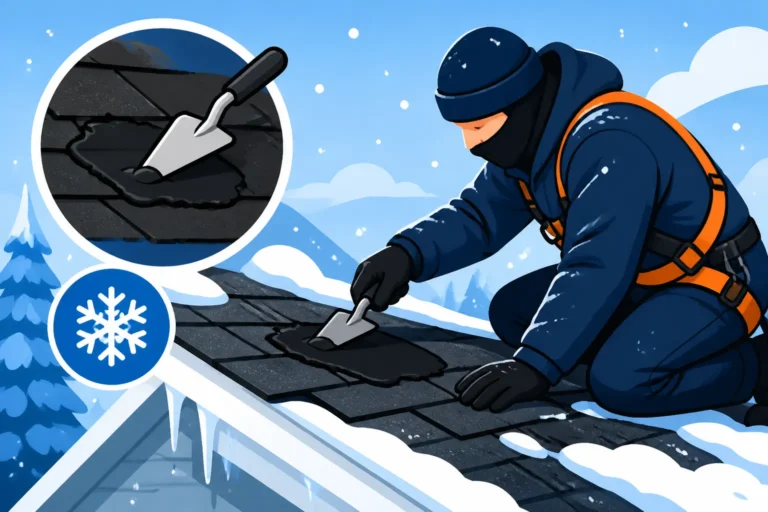
Emergency tarping, for example, is a common temporary solution. You can purchase heavy-duty tarps and secure them over the damaged area to deflect water. While this sounds simple, it still involves working on a roof, often in adverse weather, which increases the danger exponentially. Another temporary measure could be applying a small amount of roofing cement to a tiny, pinhole-sized leak you've identified, again, just to hold things over. However, it's critical to understand that these are exactly that: temporary. They buy you time, but they don't replace a proper, lasting repair or replacement by a professional. Always prioritize getting a professional assessment as soon as possible after any temporary fix.
Accessibility and Safety Conditions
Even for minor repairs, the conditions must be absolutely ideal for DIY work to be remotely considered. This means you need a roof that is easily and safely accessible, with a very low pitch, and in perfect weather conditions.
We're talking about a roof that's almost flat (a 2/12 pitch or less) where you can walk comfortably and securely, without fear of slipping or losing your balance. The ladder you use must be stable, properly secured, and extend well above the roofline. Furthermore, the weather needs to be completely dry, with no wind, and temperatures that aren't too hot (which can make shingles pliable and easily damaged) or too cold (making them brittle and easily cracked). If your roof has a Steep Roof Cost Premium or features multiple valleys, dormers, or skylights, even the smallest DIY repair becomes significantly more complex and dangerous. A truly safe DIY repair environment is rare, and it’s always better to err on the side of caution.
Essential Tools and Safety Gear for DIY Shingle Repair
Alright, if you’ve assessed your situation and decided that a minor, cosmetic repair truly falls within the “DIY feasible” category, then the very next step – before you even think about stepping onto that ladder – is to gather the right tools and, more importantly, the absolute necessary safety gear. This isn't just about getting the job done; it's about making sure you can do it without ending up in the emergency room.
Personal Protective Equipment (PPE)
Seriously, don’t skimp here. The right PPE can make all the difference between a minor mishap and a major injury. I can’t stress enough how important this is. Think of it as your personal force field against the inherent dangers of roof work.
First and foremost, you need good, sturdy, non-slip footwear. Work boots with excellent traction are non-negotiable. Sneakers or worn-out shoes are just asking for trouble, especially if there's any moisture or dust on the shingles. Next, eye protection is crucial. Shingles can be brittle, and cutting or prying them can send small fragments flying. A good pair of safety glasses or goggles will protect your eyes from debris, dust, and even potential splashes from roofing cement. Heavy-duty work gloves are also essential to protect your hands from cuts, scrapes, and the abrasive nature of shingles. If you’re going to be working on any pitch above a gentle slope, or for any extended period, a fall arrest system – including a harness, lanyard, and anchor point – is highly recommended. I know it seems like overkill for a "small" repair, but a fall from even one story can cause life-altering injuries. This system could literally save your life.
Basic Repair Tools and Materials
Once you're properly geared up, you'll need the right tools and materials for the repair itself. Having everything on hand before you climb up saves you dangerous trips up and down the ladder and ensures a smoother process.
Here’s a basic list of what you’ll likely need:
- Pry Bar or Flat Bar: Essential for gently lifting shingles to access nails or remove damaged ones.
- Hammer: For tapping down nail pops or securing new shingles.
- Utility Knife with Extra Blades: For cutting new shingles to size or scoring old ones. Always use a fresh, sharp blade for cleaner cuts.
- Trowel or Putty Knife: For applying roofing cement evenly and cleanly.
- Caulk Gun: If your roofing cement comes in a tube.
- Roofing Cement (Plastic Cement/Flashing Cement): This is your main sealant. Make sure it's designed for asphalt shingles and can withstand weather conditions.
- New Shingles: Crucially, these need to match your existing shingles in color, style, and brand if possible. Even a slightly different shade can stick out like a sore thumb. If you're only replacing one or two shingles, you might be able to get them from a local roofing supply store or even from a leftover bundle if you have one.
- Roofing Nails: Short, galvanized roofing nails (typically 1-1/4 inch) with wide heads.
Having these items neatly organized in a tool belt or sturdy bucket can make the job much easier and safer. You don’t want to be fumbling around for tools while perched precariously on your roof.
Step-by-Step for Simple Shingle Repairs
Okay, so you've donned your safety gear, you've got your tools, and you're confident that your specific issue is truly a minor, DIY-friendly one. Now, let's talk about the actual process for some of the most common, simple shingle repairs. Remember, "simple" is the operative word here – if it gets complicated, stop and call a pro.
Replacing a Single Damaged Shingle
This is probably the most common DIY task, often needed after a mild windstorm or if one shingle simply gives out early. The goal is to carefully remove the damaged shingle without disturbing its neighbors too much, and then install a new one seamlessly.
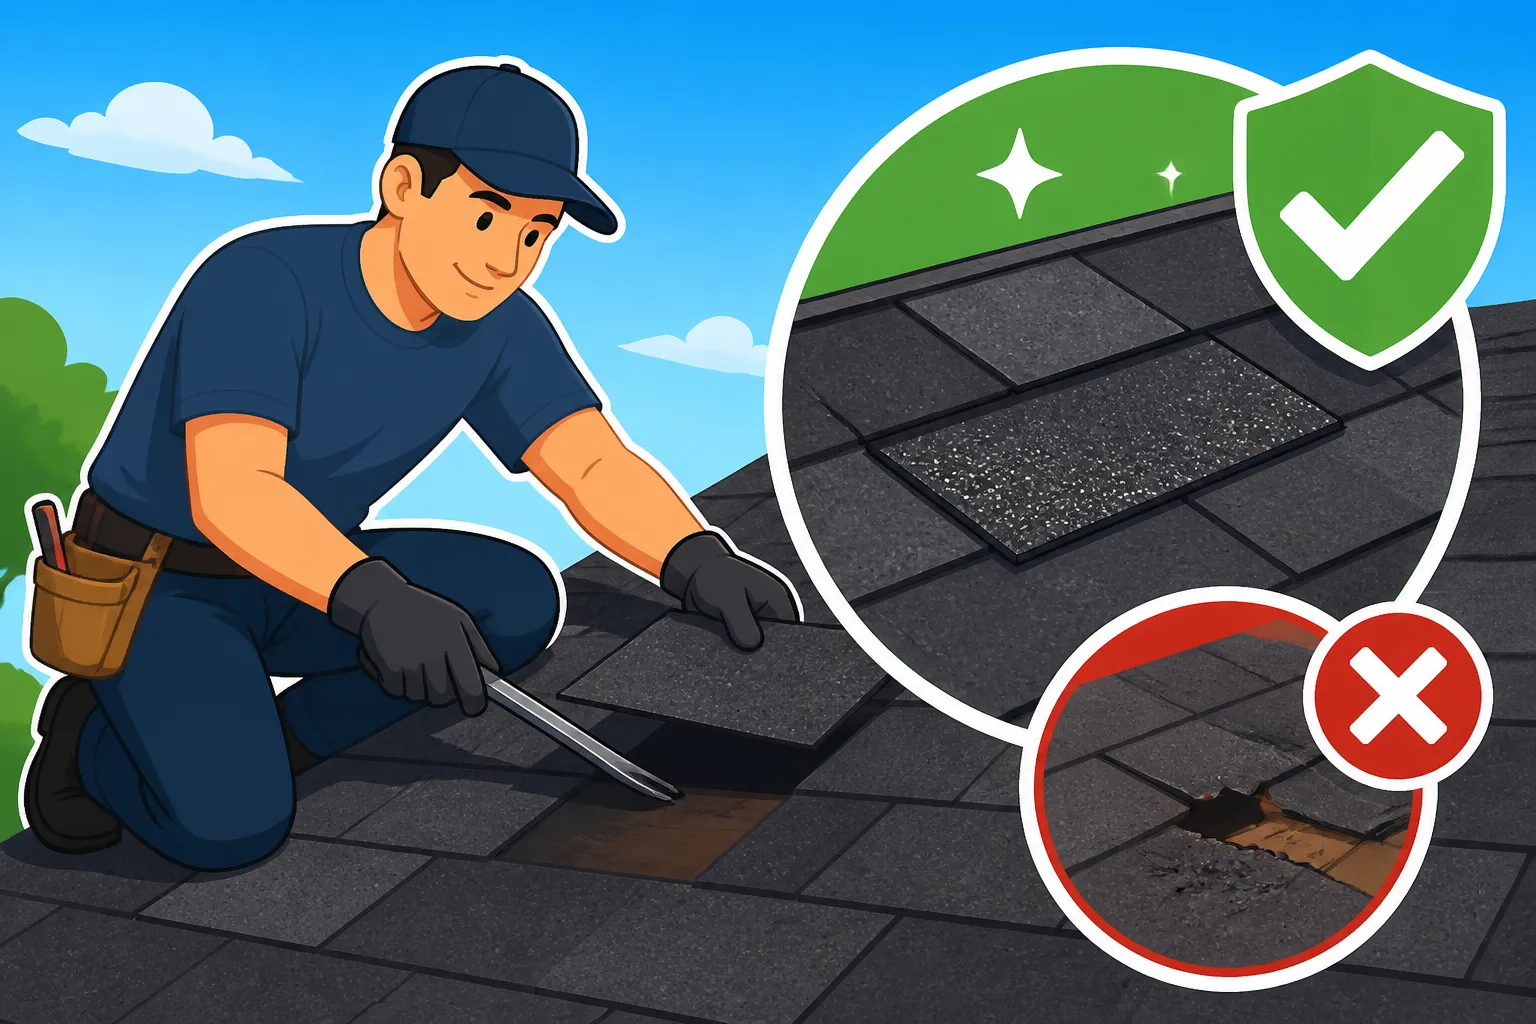
First, identify the damaged shingle. If it's cracked or torn but still attached, you'll need to gently lift the tabs of the shingles directly above it to expose the nails holding the damaged shingle in place. You might need a pry bar or a flat bar for this, but be very careful not to crease or break the upper shingles, especially if they are old and brittle. Once the nail heads are visible, use your pry bar to carefully pull them out. With the nails removed, you can then slide out the old, damaged shingle. Now, prepare your new shingle. If it’s a 3-tab shingle, you'll likely just need to cut off the self-sealing strip from the back if it's designed as a starter shingle. For architectural shingles, it's often a direct replacement. Slide the new shingle into place, making sure it aligns perfectly with the surrounding shingles. Secure it with four new roofing nails, positioning them where they will be covered by the overlapping shingle above, about 1 inch above the cutout. Finally, apply a small dab of roofing cement under the tabs of the new shingle and any lifted shingles above it to ensure a proper seal. Press down firmly for a few seconds.
Re-sealing a Lifted Shingle
Sometimes, a shingle isn't damaged, but its self-sealing strip has failed, causing it to lift and become vulnerable to wind and water. This is another prime candidate for a careful DIY fix.
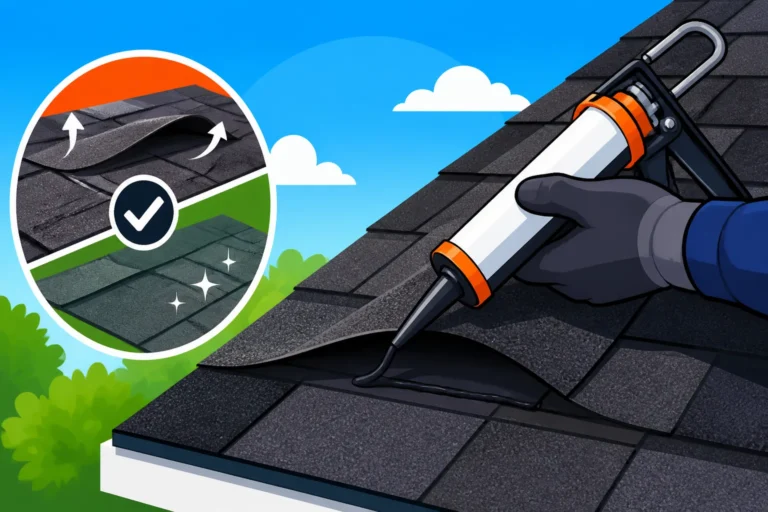
The process here is a bit simpler than replacing a whole shingle. First, gently lift the loose shingle tab or edge. You'll want to be extra careful, especially if the shingle is older, as it could be brittle and crack easily. The goal is to lift it just enough to get your hand, or a tool, underneath. Once lifted, clean out any debris, dirt, or old sealant that might be preventing it from lying flat. You want a clean, dry surface for your new sealant to adhere to. Next, apply a small, dime-sized bead of roofing cement underneath the lifted portion of the shingle. You don’t need a huge glob; a little goes a long way. The cement helps create a watertight seal and adheres the shingle to the one below it. Once the cement is applied, gently press the shingle back down into its original position. Apply firm, even pressure for a minute or two to ensure good contact. You can even place a weight (like a brick wrapped in cloth) on top for a few hours to help it set, especially on a warmer day when the cement needs a little extra time to bond. This simple re-sealing can often prevent a small problem from escalating into a full-blown leak.
Clear Signs It's Time to Call a Professional Roofer
While it's tempting to save money by doing it yourself, there are definite red flags that scream, "Put down the hammer and pick up the phone!" Ignoring these signs and attempting repairs beyond your skill level can lead to far greater expenses and even endanger your home and family. I’ve seen homeowners try to patch things up themselves, only to discover later that they’ve missed the real problem or made it worse.
Extensive Damage or Structural Concerns
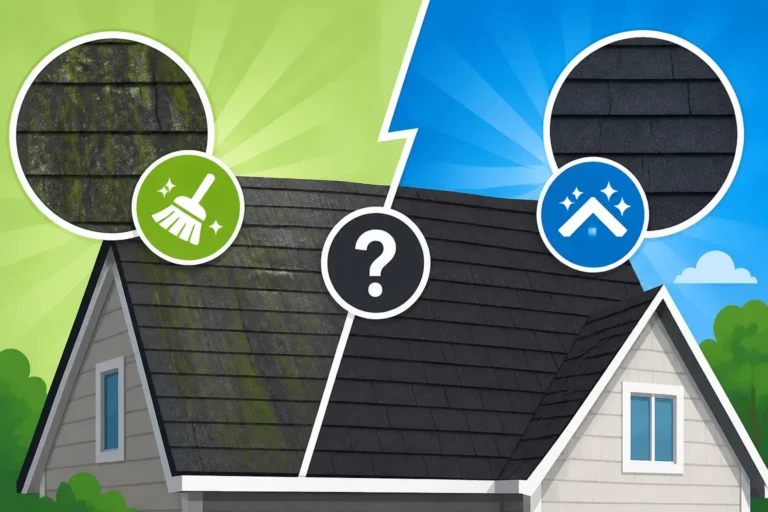
If you're seeing more than just a single loose shingle, it's time to call in the cavalry. Widespread damage is a clear indicator that the problem is beyond a simple DIY fix. This includes scenarios like multiple missing shingles across different areas of the roof, large patches of significant Granule Loss: Should You Worry, or deeply Cracked Shingles: Causes and Fixes that suggest a systemic issue rather than just an isolated flaw.
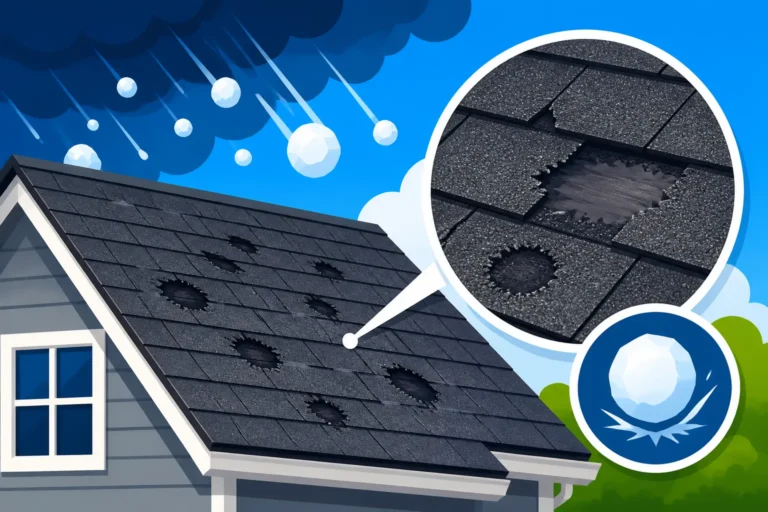
Even more concerning are signs of structural compromise. If you notice any sagging in your roofline, dips in the decking, or unusual bowing, that's an immediate emergency. Sagging could indicate rotted roof decking or even compromised trusses, which require a structural engineer and an experienced roofing crew to address safely and effectively. Similarly, if you've recently experienced a major storm with high winds or significant hail, even if the damage isn't immediately obvious, a professional inspection is crucial. Hail damage can be subtle, sometimes only visible as small dents or bruised spots on shingles, but it can significantly reduce the lifespan of your roof. Trying to patch such extensive issues yourself is akin to putting a band-aid on a gaping wound – it simply won't solve the underlying problem.
High-Pitch or Complex Roofs
The architectural beauty of a home with a steep roof, multiple dormers, intricate valleys, or skylights often comes with a significant increase in roofing complexity and, therefore, danger for DIYers. If your roof isn't relatively flat and easily walkable, it's inherently a professional job.
Working on a Steep-Pitch Roof Cost Premium without proper training, equipment, and experience is incredibly dangerous. The risk of slipping and falling dramatically increases. Professional roofers use specialized safety harnesses, scaffolding, and staging equipment designed to work safely on high-pitched surfaces. Trying to navigate around multiple valleys – where two roof planes meet – or intricate flashing around chimneys, skylights, and dormers requires a precise understanding of water diversion and sealing techniques. These areas are notoriously prone to leaks if not installed perfectly. Even a small error in flashing installation around a skylight or a chimney can lead to persistent leaks that are incredibly difficult and costly to fix down the line. If your roof boasts any of these complex features, bypass the DIY temptation entirely and seek out a seasoned roofing contractor.
Unsurety or Lack of Experience
This is perhaps the most important rule of thumb: if you feel even a flicker of doubt about your ability to safely and effectively complete a repair, or if you simply don't understand the root cause of the problem, it’s always best to call a professional. Your home is one of your biggest investments, and its roof is its primary protector.
Many homeowners hesitate to call a roofer for what seems like a small problem, fearing high costs. However, a professional can often diagnose and fix a minor issue quickly and affordably, preventing it from escalating into something much worse. They have the experience to spot underlying issues that an untrained eye might miss. For example, a "small" leak might actually be a symptom of improper roof ventilation, deteriorated underlayment, or damaged roof decking, issues that a simple shingle patch won't solve. If you're wondering How to Spot a Roof Leak but can't pinpoint the source, or if you're uncertain about matching materials or understanding local building codes, these are all signs that a professional is needed. Don't let pride or a desire to save a few dollars lead to a costly mistake.
Finding a Reputable Professional for Your Roofing Needs
So, you've determined your roofing issue is beyond the scope of a safe DIY fix – and that's a smart decision! The next step is finding a qualified, trustworthy roofing contractor who can handle the job right. This part can feel a little daunting, I know, especially if you're new to the world of roof replacements or major repairs. But with the right approach, you can find someone excellent.
The Importance of Vetting Contractors
This isn't just about picking the first name you see in an online search; it's about safeguarding your investment and ensuring quality workmanship. Properly vetting a roofing contractor is crucial to avoid scams, shoddy work, and costly headaches down the road. You wouldn’t hire someone to do major surgery on yourself without checking their credentials, right? Think of your roof in the same way.
Always start by ensuring any potential contractor is fully Licensed and Insured Roofers: Why It Matters. Licensing confirms they meet industry standards, and insurance (specifically general liability and workers' compensation) protects you in case of accidents or damage during the project. Ask for proof, and don't be shy about calling their insurance provider to verify coverage. Look for local contractors with established reputations; they often rely on word-ofmouth and will be more invested in maintaining a good standing in the community. Check online reviews, but also ask for references you can actually call. A reputable company will be transparent and happy to provide them. Consider looking for roofers who are certified by major shingle manufacturers like GAF, Owens Corning, or CertainTeed; this often means they've met specific training and quality standards set by the manufacturers, which can also impact your warranty coverage.
Getting Multiple Estimates and Understanding Your Options
Once you've narrowed down your list to a few vetted professionals, the next step is to get detailed estimates. This isn't just about comparing prices; it's about understanding the scope of work, the materials proposed, and the overall value each contractor offers. Don't just go with the cheapest bid without understanding why it's so low – it might be a sign of cut corners or hidden costs.
Aim to get at least three estimates. When you receive them, don't just glance at the bottom line. Take the time to understand what each quote includes:
- Materials: What specific shingles are they proposing (e.g., GAF Timberline HDZ Roof Cost Installed vs. a more basic 3-tab shingle)? What kind of underlayment, flashing, and ventilation?
- Scope of Work: Does it include a full tear-off, or are they proposing to Cost to Roof Over Existing Shingles (which is often not recommended)? Does it cover disposal of old materials?
- Warranties: What kind of workmanship warranty do they offer, and what manufacturer warranty comes with the shingles?
- Timeline: How long do they expect the project to take?
Ask questions about anything you don't understand. A good contractor will take the time to explain everything clearly. Platforms like Modernize can be incredibly helpful here, as they connect homeowners with pre-screened local roofing professionals, making it easier to gather and compare multiple bids without doing all the legwork yourself. Remember, choosing a roofer is a significant decision, and taking your time to compare options and understand the details will ensure you get a quality roof that protects your home for years to come.
| Feature | DIY Repair (Feasible Scenarios) | Professional Repair (Recommended Scenarios) |
|---|---|---|
| Type of Damage | Single loose/lifted shingle, nail pop, temporary patch | Multiple missing/damaged shingles, widespread granule loss, active leaks, structural sagging, storm damage, complex flashing |
| Roof Pitch | Very low (walkable, almost flat) | Any pitch, especially steep or complex |
| Safety Risk | Moderate (with proper PPE) | Low for homeowner, inherent for professionals (trained & equipped) |
| Required Skills | Basic hand tool use, attention to detail, comfort with heights | Advanced roofing knowledge, proper installation techniques, structural understanding |
| Tools/Materials | Basic hand tools, roofing cement, few shingles | Specialized equipment, full range of materials, safety gear, waste disposal |
| Warranty Impact | May void manufacturer warranty | Typically maintains/enhances manufacturer and workmanship warranties |
| Time/Effort | Few hours for very minor issues | Days to weeks depending on scope, professional crew efficiency |
| Long-term Value | Short-term fix, potential for future issues | Durable, long-lasting, code-compliant, professional guarantee |
| Cost | Low (materials only) | Moderate to high (labor, materials, overhead) |
Disclaimer
Please be aware that the information provided in this guide is intended for general informational purposes only and does not constitute professional advice. Roofing work can be dangerous and complex. Always prioritize your safety and consult with a qualified, licensed, and insured roofing professional for specific assessments, repairs, or replacements to your home's roof. Attempting DIY repairs without proper knowledge, tools, and safety equipment can lead to personal injury, property damage, and may void existing warranties.