How Shingles Are Nailed and Sealed
The integrity of your home relies heavily on a robust roof, yet many homeowners don't realize the critical role that proper shingle nailing and sealing play in keeping their sanctuary safe and dry. It's not just about slapping shingles on; it's a precise process that directly impacts your roof's lifespan and its ability to withstand everything from a gentle drizzle to a raging hurricane. This guide will meticulously break down the often-overlooked details of how asphalt shingles are securely fastened and sealed, giving you the knowledge to understand what makes a truly resilient roof.
Understanding the Foundation: Why Nailing and Sealing Matter So Much
When you look at a beautiful new asphalt shingle roof, it’s easy to focus on the color and style. But beneath that aesthetic appeal lies a sophisticated system where every nail and every seal plays a crucial, interconnected role. Many folks assume shingles just "stick" or are simply nailed down, but the reality is far more intricate, designed to create a resilient barrier against the elements. Ignoring these fundamental aspects can lead to costly repairs down the line, turning what looked like a perfectly good roof into a homeowner's nightmare of leaks and damage.
Beyond Aesthetics: Structural Integrity of Your Roof
Think of your roof as the ultimate protective shield for your home. Each asphalt shingle isn't just a decorative tile; it's a precisely engineered component of a larger system. When shingles are nailed correctly, they become an integral part of your roof's structural defense. The nails, driven through the shingle and into the roof decking, are the primary fasteners that hold everything in place. If these nails are placed incorrectly – too high, too low, or at the wrong angle – they compromise the shingle's ability to remain secured. This weakness can lead to shingles lifting, shifting, or even blowing off entirely during high winds, exposing the underlayment and decking to moisture. A properly nailed shingle doesn't just sit there; it locks into the roof structure, providing a solid, stable surface that can endure years of weather abuse. This initial securement is the backbone of the entire roofing assembly, setting the stage for everything else.
Waterproofing and Wind Resistance: The Dual Role
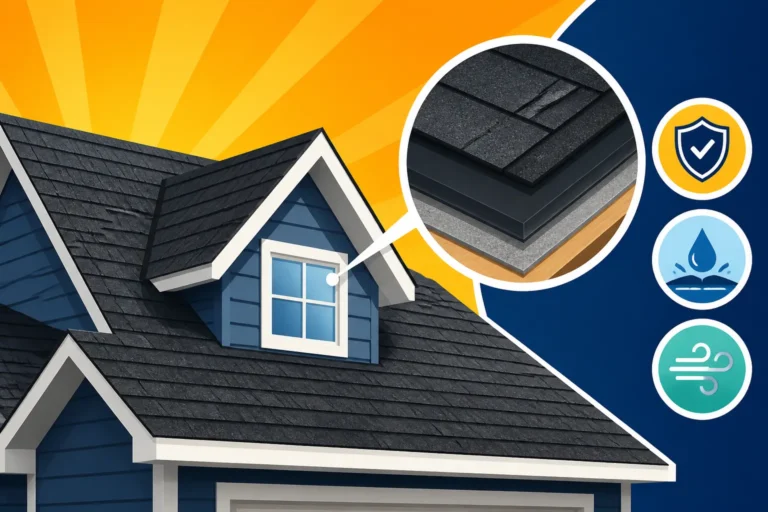
The true magic of asphalt shingles, beyond their physical fastening, lies in their ability to create a monolithic, watertight surface through sealing. Every asphalt shingle is designed with a strip of thermoplastic sealant on its underside. When exposed to heat from the sun, this sealant activates and bonds the overlying shingle to the one below it. This creates a powerful, wind-resistant seal that prevents water from being driven sideways or upwards beneath the shingles, especially during heavy rains or high winds.
Without this crucial seal, water could easily penetrate the gaps between shingles, leading to leaks, rot in the decking, and potential damage to your attic and interior. Imagine a powerful thunderstorm with driving rain; if the shingles aren't properly sealed, the wind can lift their edges, allowing water to cascade underneath. This is where the sealant earns its keep. It creates a shingle system that acts as a continuous, waterproof membrane, shedding water efficiently off your roof. This combination of strong mechanical fastening (nails) and chemical bonding (sealant) is what truly makes an asphalt shingle roof a reliable guardian for your home.
The Art and Science of Nailing Asphalt Shingles
Nailing a shingle might seem like a straightforward task, but there's a definite "art and science" to doing it right. It's not just about hitting the shingle; it's about precision, consistency, and understanding how each nail contributes to the overall strength and longevity of your roof. Even the most high-quality shingles, like those from GAF or Owens Corning, won't perform as intended if they aren't properly secured. Many homeowners don't realize how much thought goes into a seemingly simple nail placement, but it's often the difference between a roof that lasts its full lifespan and one that starts having issues prematurely.
Proper Nail Placement and Quantity
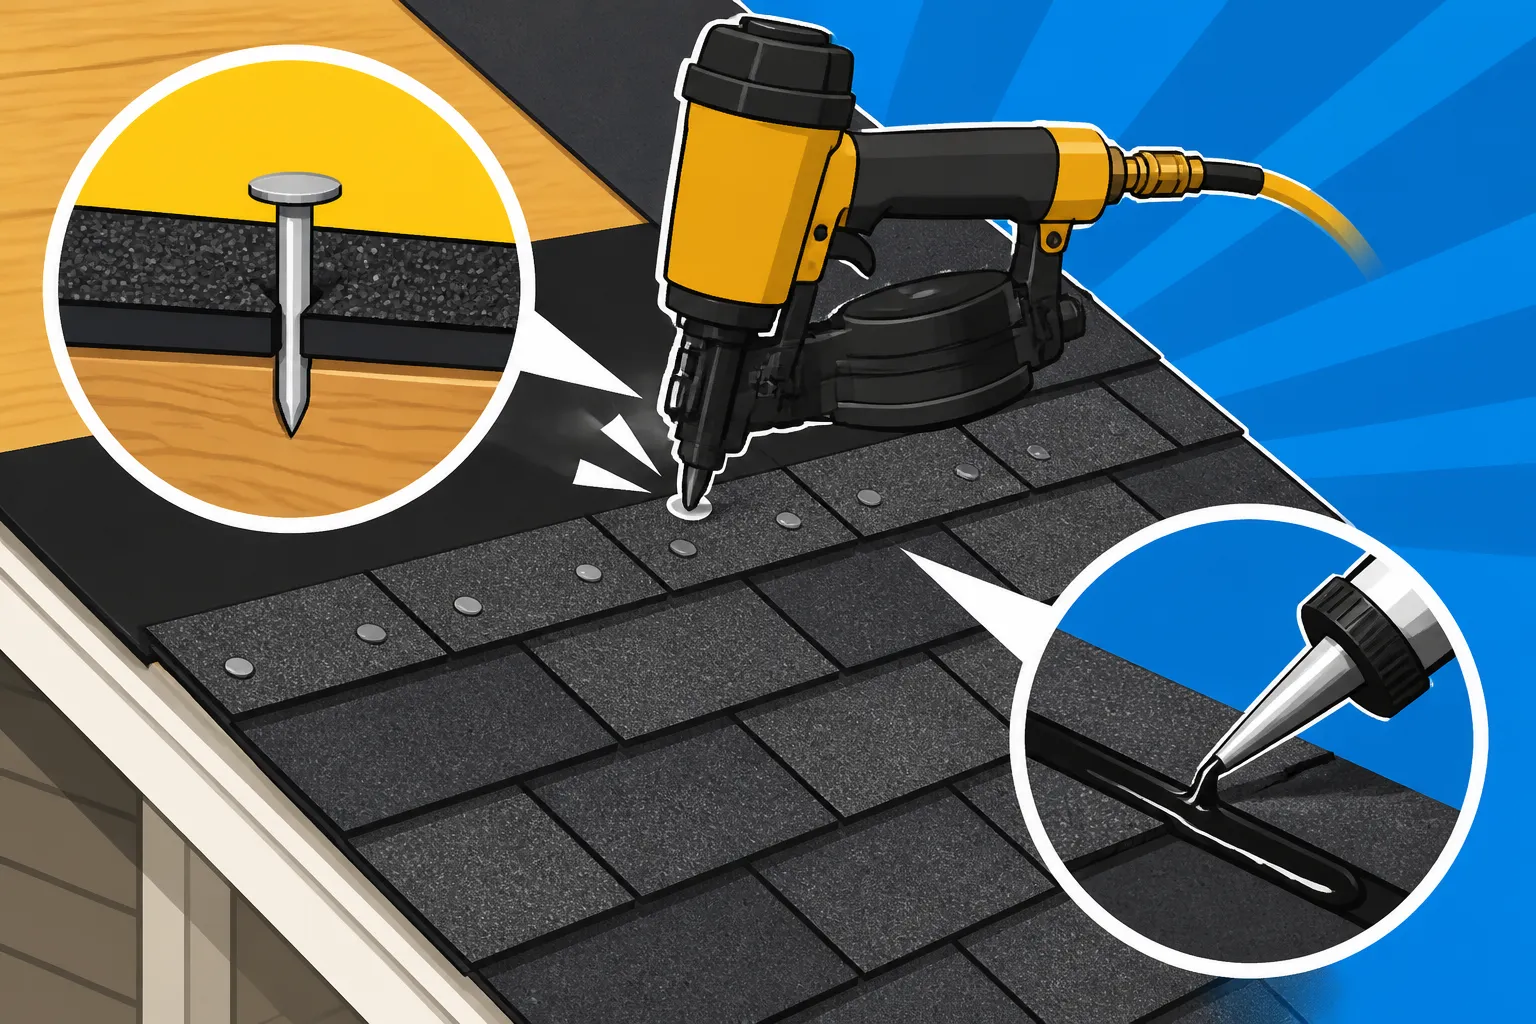
This is perhaps the most critical aspect of shingle installation. Asphalt shingles typically have a designated "nailing zone" or "common bond area," usually a strip running horizontally across the shingle, just above the exposure cut-out. Nails must be driven through this zone.
- Too High: If a nail is placed too high, above the nailing strip, it might miss the underlying shingle entirely or only catch the very top edge. This leaves the shingle vulnerable to wind uplift, as it's not adequately secured to the shingle beneath it, compromising the seal. It also might not penetrate both layers of the shingle properly.
- Too Low: Conversely, if a nail is placed too low, below the nailing strip, it could be exposed to the elements or driven through only one layer of the shingle. Exposed nails can rust, create pathways for water, and contribute to premature shingle failure.
- Correct Placement: The sweet spot is typically about 5/8 to 1 inch above the cut-out, ensuring it passes through both the top shingle and the shingle below it within the common bond area. This creates a robust connection that secures both layers.
The quantity of nails is equally important. Most architectural shingles require four nails per shingle, evenly spaced. In areas prone to high winds, this often increases to six nails per shingle. This denser nailing pattern significantly boosts the shingle's resistance to blow-off. A reputable roofing contractor will understand and adhere to these specifications, often outlined by the shingle manufacturer. When you're getting estimates, don't be shy about asking about their nailing practices. For more detail on how these crucial components are installed, check out our guide on how asphalt shingles are installed step by step.
Nail Types and Their Importance
You might think a nail is just a nail, but for roofing, specific types are essential. Roofing nails are distinct from common carpentry nails due to their design and material, which are optimized for exterior exposure and shingle performance.
- Shank Type: Roofing nails typically have a ring shank or a smooth shank. Ring shank nails, with their serrated pattern, offer superior withdrawal resistance, meaning they're much harder to pull out once driven in. This is a huge advantage in windy conditions.
- Head Size: They feature a broad, flat head (usually 3/8" to 7/16" in diameter). This wide head is designed to hold down a larger surface area of the shingle, preventing it from tearing around the nail hole and providing better wind resistance.
- Length: Standard roofing nails are usually 1 to 1.25 inches long. This length ensures they penetrate through the shingle, the underlying shingle (if applicable), and into the roof decking by at least 3/4 inch for proper hold. If your roof decking is thinner, like some older plywood, longer nails might be needed to ensure adequate penetration.
- Material: Most roofing nails are galvanized steel or stainless steel. Galvanization provides a protective zinc coating that prevents rust and corrosion, which is crucial for nails exposed to moisture. Stainless steel offers even better corrosion resistance but is generally more expensive. Using ungalvanized nails is a recipe for rust streaks and premature roof failure, as the nails degrade and lose their holding power.
The type of nail used directly impacts your roof's ability to resist weather and its overall lifespan. Professional roofers understand these nuances and will use the appropriate nails for your climate and shingle type.
High-Wind Nailing Practices
For homes in areas prone to severe weather, especially hurricanes or strong frontal winds, standard nailing practices often aren't enough. This is where "high-wind nailing" comes into play. It's an enhanced installation method designed to maximize the shingles' resistance to uplift and blow-off.
The core principle of high-wind nailing, often referred to as "6-nail nailing" instead of the standard "4-nail," involves driving six nails per shingle instead of four. These additional two nails are strategically placed to provide extra anchorage, distributing the load more evenly across the shingle and increasing its resistance to being lifted by strong gusts. You can dive deeper into this topic by reading our article on how nailing patterns affect wind resistance and learn more about High-Wind Nailing Explained.
Additionally, some high-wind regions or specific shingle products may require a "hand-nailing" approach in certain areas, or the use of specialized, wider-headed fasteners. The International Residential Code (IRC) and local building codes often have specific requirements for wind resistance, varying by wind zone. For instance, coastal areas in Florida or the Carolinas will have much stricter requirements than inland regions. A qualified contractor, like those found through services like Modernize, will be intimately familiar with these local codes and manufacturer specifications for high-wind installations, ensuring your roof meets or exceeds the necessary resilience standards. Neglecting these enhanced nailing patterns can not only void your manufacturer's warranty but also leave your home extremely vulnerable during a major storm.
The Power of the Seal: Shingle Adhesion Explained
While nails provide the initial mechanical fastening, it's the seal that truly locks shingles together, creating a continuous, weather-tight barrier. This adhesion process is a marvel of material science, transforming individual shingles into a unified system that sheds water and resists wind uplift. Many homeowners overlook this critical aspect, but without a proper seal, even perfectly nailed shingles can fail prematurely.
Thermoplastic Sealant Activation
At the heart of shingle sealing is a thermoplastic asphaltic adhesive strip, commonly found on the back or underside of each shingle. This isn't just regular tar; it's a specially formulated compound designed to react to heat. When the shingles are installed and exposed to the sun's warmth, this adhesive strip softens and becomes tacky. As the sun continues to heat the roof, and gravity does its work, the softened adhesive slowly bonds to the surface of the shingle directly below it.
This process is called "thermal sealing" or "laminating." It creates a formidable seal, effectively "welding" the shingles together into a single, water-resistant unit. This bond is incredibly strong once cured, resisting uplift from wind and preventing water intrusion. Without sufficient heat, this sealant won't properly activate, leaving the shingles vulnerable. This is why you often see warnings about cold weather installations or why new roofs might take a few warm days to fully seal.
The Role of Heat and Sun in Adhesion
The sun is the unsung hero in the shingle sealing process. Without adequate solar radiation and ambient temperatures, the thermoplastic sealant simply won't activate effectively. Typically, the sealant needs daytime temperatures of at least 40-50°F (4-10°C) for several hours to begin the bonding process. On warmer, sunny days, this can happen quite quickly, sometimes within hours or a day. In cooler climates or during winter installations, it might take weeks or even months of intermittent warm days for the seal to fully cure. This is a critical consideration for roof installation in cold weather.
If shingles are installed in prolonged cold conditions without sufficient heat cycles, the sealant may never fully bond. This leaves the "tabs" (the exposed lower portions of the shingles) vulnerable to being lifted by wind, especially on windy, cold days. You might even see new shingles flapping in the breeze if they haven't had a chance to seal. This is why experienced contractors often advise against installing shingles during deep winter in northern climates, or they take extra precautions if it's unavoidable. Proper sealing ensures that the entire roof system works together as intended.
Adhesion for Water and Wind Protection
Once the sealant strips have activated and bonded the shingles, the level of protection against water and wind drastically increases. This robust adhesion does several crucial jobs:
- Water Shedding: The tight bond prevents wind-driven rain from penetrating between the shingle layers. Instead, water flows unimpeded down the surface of the sealed shingles, ensuring it reaches the gutters and away from your home. Any water that might get under a loose tab would have a much harder time passing the sealed point.
- Wind Resistance: This is perhaps the most celebrated benefit of the seal. The bond effectively transforms individual shingle tabs into a single, cohesive surface, significantly increasing the roof's resistance to wind uplift. Wind can't easily get underneath a sealed shingle tab to lift it, reducing the risk of shingle blow-off, which is a common form of storm damage. High-performance shingles, such as those with larger sealant strips or multiple sealant lines, are designed to offer even greater wind resistance, often achieving impressive wind ratings from organizations like the Underwriters Laboratories (UL).
A properly sealed roof is a testament to the combined power of the nailing and the sealant working in tandem, providing a resilient, long-lasting barrier against the unpredictable whims of weather.
Common Nailing and Sealing Mistakes to Avoid
Even with the best materials, poor installation can undermine the performance of an asphalt shingle roof. Unfortunately, common mistakes in nailing and sealing are significant contributors to premature roof failure and frustrating leaks. Being aware of these pitfalls can help you spot potential red flags during an inspection or when discussing installation with a contractor. Many homeowners realize too late that their roof problems stem from poor workmanship rather than faulty materials.
Over-Nailing and Under-Nailing
These are two sides of the same coin when it comes to nailing errors, both with serious consequences:
- Over-Nailing (or "Driving Nails Too Deep"): This occurs when a roofer uses too much force, often with a pneumatic nail gun, causing the nail head to sink too far into the shingle. When a nail is over-driven, it severs or compromises the shingle's fiberglass mat, effectively creating a weak point. This can lead to the shingle tearing around the nail hole, especially under stress from wind or thermal expansion and contraction. It also reduces the shingle's ability to hold, as the nail head might pass through entirely or not properly secure the shingle to the decking. This can appear as "nail pops" later on, where the nail head eventually works its way out, leaving an open hole.
- Under-Nailing (or "Nail Not Driven Flush"): This happens when the nail is not driven flush with the shingle surface. The nail head remains raised, pushing up the shingle slightly. This small gap allows water to collect around the nail, increasing the risk of rust and leaks. A raised nail head can also prevent the overlying shingle from laying flat and properly sealing, creating areas vulnerable to wind uplift. Furthermore, a raised nail head can eventually be worn down by foot traffic or even the friction of expanding and contracting shingles, leading to exposure and damage.
Both over-nailing and under-nailing compromise the shingle's integrity and its ability to protect your home. A skilled roofer knows how to adjust their nail gun's air pressure or apply consistent force for hand-nailing to ensure nails are driven flush and firm, without damaging the shingle.
Improper Shingle Alignment and Exposure
The proper alignment and consistent exposure of shingles are not just for aesthetics; they are crucial for effective water shedding and sealing. Each shingle course needs to be laid precisely, overlapping the course below it by a specific amount (the "exposure").
- Incorrect Exposure: If shingles are laid with too much exposure (too little overlap), the nailing strip of the underlying shingle might be exposed to UV rays, accelerating its degradation. More importantly, it reduces the area where the sealant strip can bond, making the roof less resistant to wind and water. Conversely, too little exposure (too much overlap) means more shingles are used, increasing material cost, but also potentially leading to a thicker, less flexible roof system in places, hindering proper drainage.
- Misalignment: Shingles need to be offset from the courses above and below them, typically by 6 inches or more, to ensure that the vertical seams don't line up. This staggering prevents a continuous vertical path for water to travel, acting as a crucial defense against leaks. If shingles are not properly aligned or staggered, you create direct channels for water to penetrate the roof deck. This can also lead to unsightly "striping" on the roof, but more critically, it compromises the roof's waterproofing capabilities.
These alignment and exposure guidelines are set by manufacturers for a reason, dictating how shingles work together as a system. Deviating from them can void warranties and significantly reduce your roof's lifespan. If you're unsure about how shingles are supposed to look, our guide on how a roof replacement works: the full process covers many aspects of professional installation.
Cold Weather Installation Challenges
Installing asphalt shingles in cold weather presents unique challenges to both nailing and sealing:
- Brittle Shingles: Asphalt shingles become stiff and brittle in low temperatures (generally below 40°F or 4°C). This makes them more difficult to handle without cracking or breaking during installation. When a roofer tries to bend or position a cold shingle, it's prone to snapping, leading to material waste and compromised integrity if a broken shingle is mistakenly installed.
- Sealant Inactivity: As discussed earlier, the thermoplastic sealant strips on shingles need warmth to activate and bond properly. In cold conditions, these strips remain rigid and won't soften or adhere to the underlying shingles. This means a newly installed roof in winter might not achieve its wind and water resistance until warmer weather arrives, leaving it vulnerable to strong winds in the interim. A gust of wind on a cold day could easily lift and tear off unsealed shingles, leading to leaks and the need for immediate repairs.
- Nail Gun Issues: Cold weather can also affect the performance of pneumatic nail guns, leading to inconsistent nail pressure or more instances of under-driven or over-driven nails.
While it's possible to install roofs in colder weather, experienced contractors take extra precautions, such as storing shingles in a heated area before installation, using specialized cold-weather-rated sealants (if allowed by code/manufacturer), or hand-nailing to ensure precision. It's a prime example of why asking a roofing contractor about their cold weather practices is so important, especially if you live in a region with harsh winters. Choosing a contractor listed on a site like Modernize can help you find experienced professionals who understand these environmental considerations.
Ensuring Longevity: Best Practices and Maintenance
A well-installed and properly sealed asphalt shingle roof is an investment designed to protect your home for decades. But like any major investment, it requires a little care and attention to ensure it lives up to its full potential. Understanding best practices and proactive maintenance can significantly extend your roof's life, preventing costly repairs and replacements down the road.
Regular Roof Inspections
You wouldn't drive your car for years without an oil change or tire rotation, right? Your roof deserves similar attention. Regular, professional roof inspections are paramount for ensuring longevity. These aren't just for when you suspect a problem; they're preventative check-ups.
- What Inspectors Look For: A qualified inspector will meticulously examine your roof for signs of wear and tear, paying close attention to the areas where shingles are nailed and sealed. They'll look for:
- Loose or Missing Shingles: A common sign that the sealant has failed or nailing was inadequate.
- Curling, Cupping, or Blistering: These can indicate aging, granule loss, or problems with the shingle's mat, often exacerbated by underlying moisture issues.
- Granule Loss: The protective granules on asphalt shingles shield them from UV rays. Excessive granule loss, especially in valleys or near downspouts, means the shingle is losing its defense.
- Nail Pops: Nails that have worked their way up, potentially creating small holes.
- Compromised Flashing: Around chimneys, skylights, and vents, flashing is crucial. Issues here can lead to leaks regardless of shingle condition.
- Debris and Drainage Issues: Leaves, branches, and moss can trap moisture, leading to deterioration.
- Frequency: Most experts recommend a professional roof inspection at least once every 1-3 years, and definitely after any major storm involving high winds or hail. This allows for the early detection and repair of minor issues before they escalate into major, expensive problems. A small repair now could save you from a full roof replacement later.
Finding a reputable company that offers comprehensive roof inspections can be easily done through platforms like Modernize, connecting you with local pros. Early intervention is key to preserving your roof.
Professional Installation Guarantees and Warranties
When you invest in a new roof, you're not just buying materials; you're also buying peace of mind. This peace of mind often comes in the form of warranties and guarantees, which are vital for understanding the long-term protection of your investment.
- Manufacturer Warranties: These cover defects in the roofing materials themselves. Most major shingle manufacturers, like CertainTeed, offer extensive warranties on their asphalt shingles, often ranging from 25 years to a lifetime. However, these warranties are typically contingent on proper installation according to their specifications. If installation errors lead to shingle failure, the manufacturer might deny a claim. This is a critical detail in our understanding of how shingle warranties work.
- Workmanship Warranties: This is where your contractor's guarantee comes in. A reputable roofing company will provide a workmanship warranty, typically covering their installation labor for a period of 5 to 10 years, sometimes even longer. This warranty protects you if your roof experiences problems specifically due to installation errors, such as improper nailing, flashing, or sealing. Without a strong workmanship warranty, you could be left with expensive repairs if your roof fails prematurely due to a contractor's mistake.
- System Warranties: Many manufacturers now offer enhanced "system warranties" when a contractor installs a complete roofing system (shingles, underlayment, ventilation, flashing, etc.) using only that manufacturer's components. These often provide stronger, longer-lasting coverage, sometimes even covering labor costs for repairs or replacement in addition to materials. To qualify for these, the contractor must often be factory-certified (e.g., GAF Master Elite, Owens Corning Platinum Preferred).
Always get a copy of both the manufacturer's and the contractor's warranties in writing. Understand what they cover, for how long, and any conditions that might void them. This due diligence can save you immense headaches and costs down the road. Questions to ask a roofing contractor before hiring should definitely include their warranty offerings.
Importance of a Full Roofing System
While this guide focuses on nailing and sealing, it's crucial to understand that these elements don't operate in a vacuum. They are part of a larger, interconnected "full roofing system" designed to work harmoniously. Each component plays a vital role in protecting your home.
Consider these key elements:
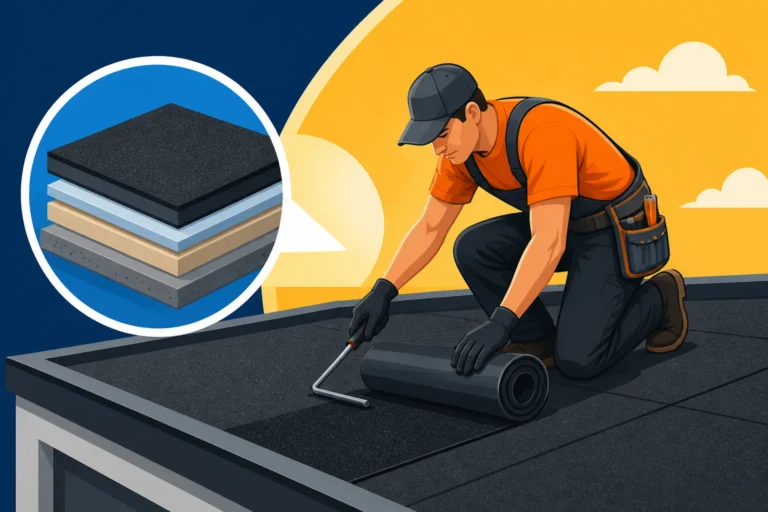
- Underlayment: This layer, typically synthetic or felt, is installed directly over the roof decking before the shingles. It acts as a secondary barrier against water penetration, especially if shingles are damaged or if water gets past the shingle layer. You can learn more about how underlayment is installed.
- Ice and Water Shield: A self-adhering membrane applied in vulnerable areas like eaves, valleys, and around penetrations. It provides superior protection against ice dams and wind-driven rain, sealing itself around nails.
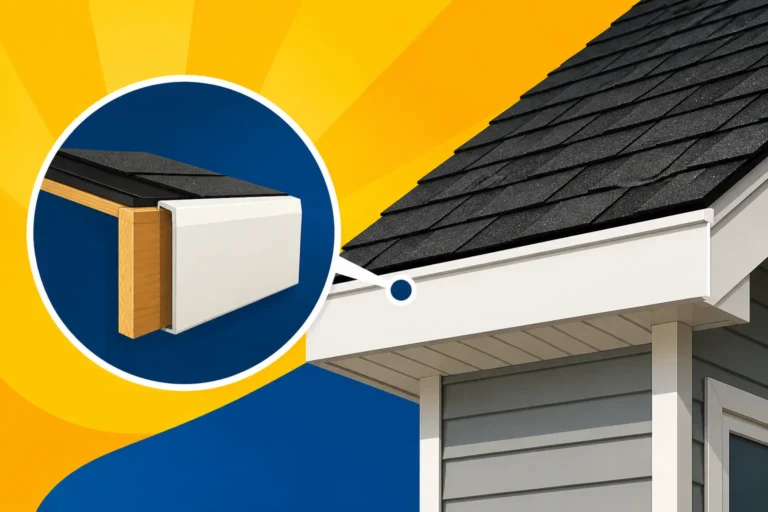
- Drip Edge: Installed along the eaves and rakes of the roof, drip edge directs water away from the fascia and into the gutters, protecting the edge of the roof deck and preventing water from wicking back underneath.
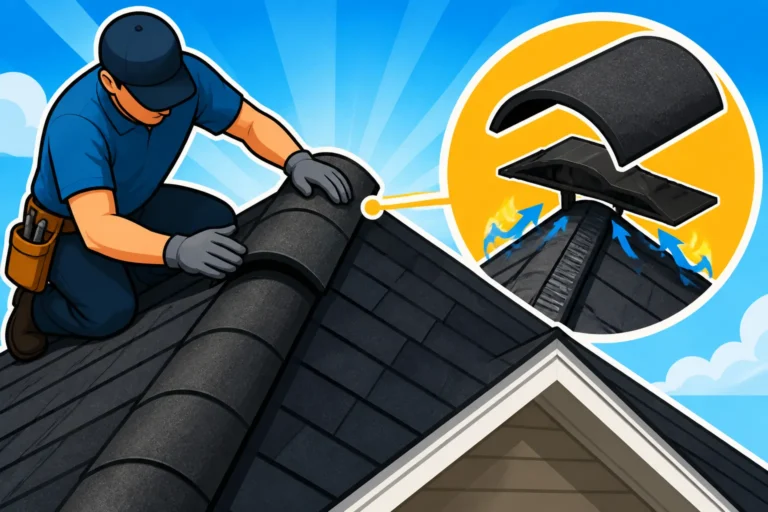
- Ventilation: A properly ventilated attic is essential for extending the life of your roof. It helps regulate attic temperature, preventing heat buildup that can cook your shingles from below, and removing moisture that can lead to rot. Adequate ventilation also helps prevent ice dams. You can read more about how roof ventilation works.
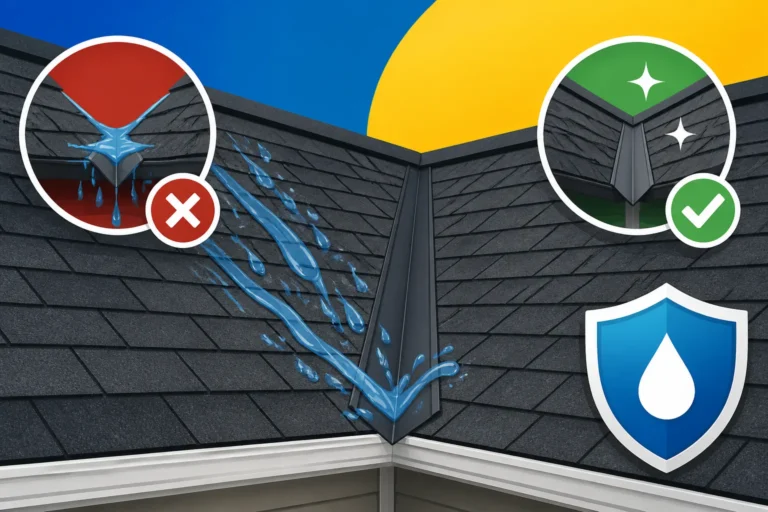
- Flashing: Metal or composite materials used to seal critical junctions on the roof, such as around chimneys, skylights, vents, and wall transitions. Flashing is crucial for preventing leaks in these complex areas. Check out our detailed guide on roof flashing explained.
When a roofing contractor talks about a "complete roofing system," they are referring to the proper installation of all these components, not just the shingles. A chain is only as strong as its weakest link, and if any part of your roofing system is compromised, it can undermine the effectiveness of even perfectly nailed and sealed shingles. Insisting on a complete system installation, usually from a single manufacturer for warranty purposes, is a best practice that ensures optimal performance and longevity for your roof.
Comparing Nailing Practices and Their Impact
To fully appreciate the specifics, let's look at a quick comparison of common nailing patterns and their implications for your roof's resilience. This table highlights how a seemingly small detail can have a big impact.
| Nailing Practice | Number of Nails Per Shingle | Typical Use Case | Pros | Cons |
|---|---|---|---|---|
| Standard Nailing | 4 Nails | Low to moderate wind zones, standard installations | Cost-effective, sufficient for typical weather | Insufficient for high-wind areas, lower wind resistance rating |
| High-Wind Nailing | 6 Nails | High wind zones (coastal, open plains), premium | Enhanced wind uplift resistance, better warranty often | Slightly higher labor cost, more nails used |
| Incorrect Placement | 4-6 (but misplaced) | Unskilled labor, rushed jobs | Appears installed to untrained eye | Voids warranty, prone to leaks, shingle blow-off, nail pops |
| Over-Driven Nails | 4-6 (but too deep) | Improper nail gun setting, excessive force | Looks flush initially | Tears shingle mat, creates weakness, leads to nail pops |
| Under-Driven Nails | 4-6 (but not flush) | Insufficient force, improper technique | Looks installed initially | Prevents sealing, allows water intrusion, can damage overlaying shingle |
This table clearly illustrates why paying attention to your contractor's installation practices, and specifically their nailing techniques, is so crucial. It’s not just about the number of nails, but also their precise placement and depth.
Disclaimer
Please remember that this article provides general information and guidance. Roofing work can be complex and dangerous. Always consult with a qualified, licensed, and insured roofing professional for specific advice, inspections, and any work on your roof. Local building codes and manufacturer specifications can vary, and a professional contractor will ensure compliance and proper installation for your specific situation.