Roofing Insurance Claim Process Step by Step
Discovering unexpected damage to your roof can send a wave of panic and stress through any homeowner. From sudden leaks during a downpour to missing shingles after a strong wind, the immediate concern is often how to afford the necessary repairs or a full replacement. This comprehensive guide will walk you through the often-confusing roofing insurance claim process step by step, helping you navigate the complexities, understand your rights, and secure the coverage you deserve to restore your home's protection.
Understanding Your Homeowner's Insurance Policy
Before you even think about picking up the phone to call your insurance company, it's absolutely crucial to have a good grasp of what your homeowner's insurance policy actually covers. Many folks only skim their policy documents when they first sign up, or worse, they never read them at all until disaster strikes. This can lead to a lot of frustration and misunderstandings when you're already dealing with a damaged roof. Your policy is a legal contract, and knowing its ins and outs will empower you throughout the claims process.
Decoding Your Coverage Types
Most standard homeowner's insurance policies, often referred to as HO-3 policies, provide coverage for damage to your dwelling, including your roof, from a wide range of perils. These typically include things like fire, lightning, windstorms, hail, and the weight of ice, snow, or sleet. However, it's vital to remember that not all damage is treated equally. For instance, sudden, accidental damage from a storm is usually covered, whereas damage resulting from long-term neglect or wear and tear is almost universally excluded. Think about it: an insurance company is there to protect you from unforeseen events, not to fund routine maintenance or replacements due to old age.
Beyond the standard perils, you'll also want to look for specific clauses related to your roof. Some policies might have limitations on older roofs, offering less coverage as the roof ages. Others might differentiate between different types of storm damage. For example, some policies in hail-prone areas might have a separate, higher deductible for hail damage. Knowing these nuances upfront can save you a lot of heartache and clarify what to expect. Make sure you understand the difference between peril-based coverage and all-risk coverage, and how that applies to your specific policy.
The Role of Deductibles and Depreciation
Here's where many homeowners get a rude awakening: deductibles and depreciation. A deductible is the amount of money you're responsible for paying out of pocket before your insurance coverage kicks in. For roofing claims, especially those related to wind or hail, it's not uncommon to see a separate, higher deductible, sometimes expressed as a percentage of your home's insured value (e.g., a 1% or 2% wind/hail deductible). If your home is insured for $300,000, a 1% deductible means you'd pay $3,000 before your insurer pays a dime. This is a significant sum, and it's essential to factor it into your financial planning.
Then there's depreciation, which plays a huge role in how much your insurance company will actually pay. There are two main types of coverage here: Actual Cash Value (ACV) and Replacement Cost Value (RCV). With ACV, your insurer pays for the depreciated value of your roof – meaning they subtract money for its age and wear and tear. If your 15-year-old roof has a 20-year lifespan, it's already lost a lot of its value. You might get a check for significantly less than what it costs to replace it, and then you'll have to cover the difference. On the other hand, RCV policies generally pay for the full cost to replace your roof with new materials of similar kind and quality, after the work is done and you've submitted proof of completion. Often, RCV claims involve two payments: an initial ACV payment, and then a recoverable depreciation payment once the roof is replaced. It's truly vital to know if you have an ACV or RCV policy when considering your Asphalt Roof Replacement Cost: Complete Breakdown. Understanding Actual Cash Value vs Replacement Cost Roof Claims is paramount for managing your expectations.
Initial Steps After Discovering Roof Damage
Finding roof damage can be alarming, but acting quickly and methodically is key to a smooth insurance claim process. Don't panic, but don't delay either. Time is often of the essence, especially if the damage leaves your home vulnerable to further issues.
Documenting the Damage Thoroughly
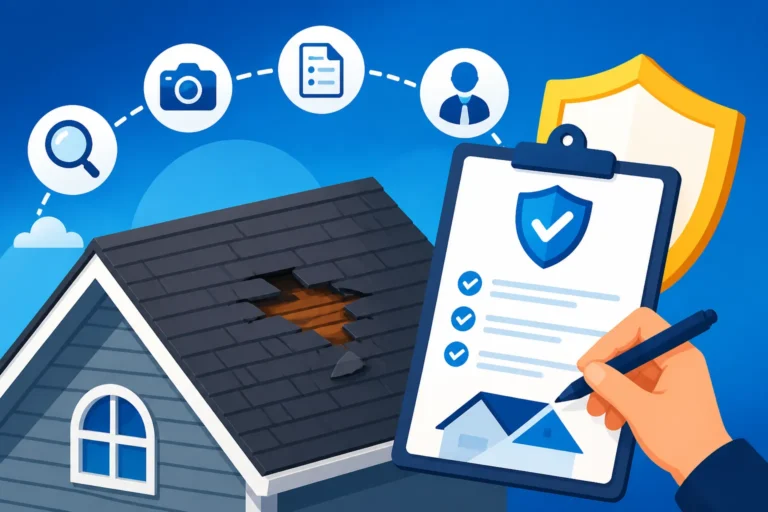
The first thing you absolutely must do after noticing roof damage is document everything. Think of yourself as a detective gathering evidence. Get out your phone or camera and take detailed photos and videos from multiple angles. Capture wide shots of your house showing the overall roof, then zoom in on specific damaged areas like missing shingles, hail dents, visible leaks, or even debris in your yard that came from the roof. Don't forget to get pictures of any interior damage, like water stains on your ceiling or walls, as these are direct consequences of the roof issue. Make sure your photos are clear, well-lit, and timestamped if possible.
It's also a good idea to write down a detailed account of when you noticed the damage, what specific event (like a recent storm) you believe caused it, and any other relevant observations. The more evidence you can provide, the stronger your case will be when you communicate with your insurance company and the adjuster. This documentation serves as a critical reference point and helps prevent disputes down the line. Remember, the adjuster will come out, but your initial documentation helps establish the baseline. A thorough Roof Damage Assessment: A Homeowner's Guide can help you understand what to look for.
Temporary Repairs and Mitigation Efforts
While you might be tempted to just wait for the insurance adjuster, it’s imperative to take steps to prevent further damage to your home. This is often a requirement of your insurance policy, and failing to do so could jeopardize your claim. For instance, if you have a hole in your roof and another storm hits, causing more extensive water damage inside your home, your insurer might deny coverage for the new damage if you didn't attempt to mitigate the initial problem.
This usually means safely tarping your roof over any compromised areas. You can often buy large tarps and secure them yourself, but if the roof is steep, high, or the weather conditions are unsafe, it's always best to call a professional roofing contractor for emergency tarping services. Keep all receipts for any materials purchased or services rendered for these temporary repairs, as these costs are typically reimbursable under your policy. The goal here isn't to fix the roof permanently, but to prevent the situation from worsening. Understanding Emergency Roof Tarping Explained is crucial if you find yourself in this predicament.
Filing Your Insurance Claim
Once you've safely documented the damage and taken measures to prevent further issues, it's time to officially file your insurance claim. This part of the process can feel like a bit of a maze, but breaking it down into clear steps makes it more manageable.
Notifying Your Insurance Provider
This is the official starting gun for your claim. You'll want to contact your insurance provider as soon as reasonably possible after discovering the damage. Many companies offer multiple ways to file a claim: by phone, through their website, or via a mobile app. Choose the method that's most convenient for you, but be prepared to provide specific information. You'll need your policy number, the date the damage occurred (or was discovered), a description of the damage, and any details about the event that caused it (e.g., "windstorm on August 15th at 3 PM").
During this initial call or online submission, the representative will typically assign you a claim number and an adjuster. Make sure to write down your claim number immediately – you'll need it for all future communications. Don't be shy about asking questions, either. Ask about the next steps, what you should expect from the adjuster, and how long the process usually takes. This is also a good time to ask about what documentation they require from you, such as your photos and receipts for temporary repairs. Being proactive in your communication can really set the tone for a smoother process. This is the first step in understanding How to File a Roof Insurance Claim.
The Adjuster's Visit and Assessment
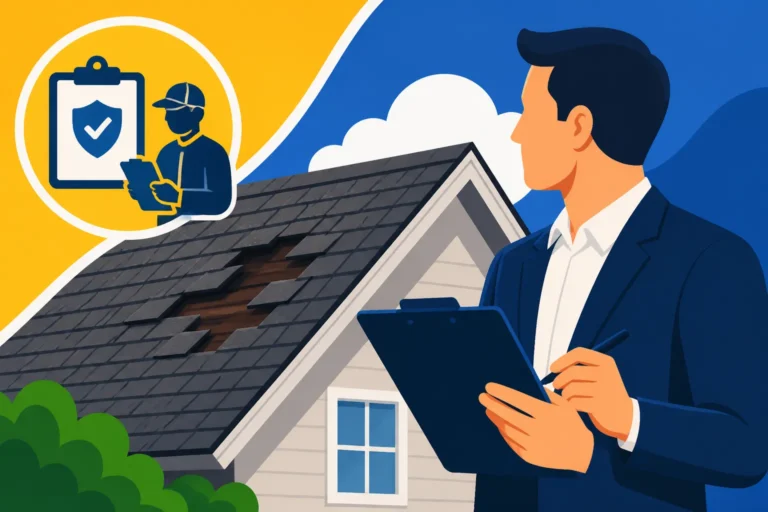
After you've filed your claim, your insurance company will assign an adjuster to assess the damage. This person's job is to evaluate the extent of the damage, determine if it's covered under your policy, and estimate the cost of repairs. They will contact you to schedule a visit to your home. It's highly recommended that you are present during this visit. This allows you to walk through the property with the adjuster, point out all the areas of damage you've observed, and provide your detailed documentation.
Many homeowners find it beneficial to have a reputable local roofing contractor present during the adjuster's inspection as well. A contractor can speak the technical language of roofing, ensure all damage is identified, and provide an expert opinion that can sometimes carry more weight than a homeowner's. They can also explain any specific local building codes that might impact the repair or replacement, such as requirements for enhanced wind resistance or ice and water shield. The adjuster will take their own photos, measurements, and notes, and then use this information to create their estimate for the repairs.
Navigating the Claim Approval and Repair Process
The period after the adjuster's visit can feel like a waiting game, but it's also a critical phase where you review estimates, select a contractor, and manage payments. Being an informed participant here can make all the difference in getting your roof properly repaired or replaced.
Reviewing the Insurance Estimate
Once the adjuster completes their assessment, your insurance company will send you an estimate detailing the scope of work and the costs they are willing to cover. This is often referred to as the "Adjuster's Report" or "Scope of Loss." It’s absolutely crucial that you review this document thoroughly and compare it against the estimate you've received from your chosen roofing contractor. Don't just glance at the total number; dig into the line items. Does it account for a full tear-off and disposal of old shingles, or just roofing over? Does it include proper underlayment, drip edge, flashing, and ventilation? Are there line items for permits or for hauling away debris?
It’s not uncommon for the insurance estimate to be lower than your contractor’s estimate, or even to miss certain details. Adjusters are trained to assess damage, but they might not always be up-to-date on current material costs, local labor rates, or specific building code requirements that a contractor would know. If there are significant discrepancies, don't hesitate to reach out to your adjuster to discuss them. Your roofing contractor can often help you with this by performing a "supplemental" request, providing the adjuster with detailed reasoning and additional photos for anything missed or underpriced. This can be a complex step, which is why learning How to Read and Compare Roofing Estimates is a valuable skill.
Choosing a Reputable Roofing Contractor
Selecting the right roofing contractor is arguably the most important decision you'll make in this entire process. A good contractor will not only perform quality work but will also be your advocate during the insurance claim. Don't just go with the cheapest bid, and be wary of "storm chasers" who suddenly appear after a major weather event. Look for local companies with a solid reputation, proper licensing and insurance, and strong references. Ask to see proof of their general liability and workers' compensation insurance.
A reputable contractor will provide a detailed, written estimate that clearly outlines the scope of work, materials to be used, project timeline, and payment schedule. They should also be familiar with the insurance claims process and willing to work with your insurance company. Many will even help you with the supplemental claims if the initial insurance estimate isn't sufficient. This is where researching How to Choose a Roofing Contractor truly pays off. Look for contractors who are certified by major manufacturers like GAF, Owens Corning, or CertainTeed, as this often means they meet higher standards and can offer better warranties.
Understanding Payment Schedules and Disbursements
The payment process for an insurance claim can sometimes be a bit confusing, especially with RCV policies. Typically, your insurance company will issue an initial payment, which is usually the Actual Cash Value (ACV) of the damaged roof, minus your deductible. This check might be made out to both you and your mortgage lender if you have one. If your mortgage company is included, you'll need to endorse the check and then follow their specific procedures for releasing the funds, which often involves inspections and staggered payments.
Once the roofing work is completed and you've paid your deductible and any out-of-pocket costs, your contractor will provide you with a final invoice and proof of completion. You then submit these documents to your insurance company to claim the "recoverable depreciation." This is the remaining portion of the Replacement Cost Value that was initially withheld. After reviewing the documentation, your insurer will issue a second check for the depreciation, completing the payment for your roof replacement. Ensure you clarify the payment schedule with both your insurer and your chosen contractor beforehand so there are no surprises. This is a critical aspect of understanding Roof Financing Options Explained or how your payout will work.
What to Do If Your Claim is Denied or Underpaid
It's a disheartening experience when your insurance claim is denied, or the amount offered seems ridiculously low for the work that needs to be done. But don't despair! A denial or underpayment isn't necessarily the final word. You have options, and being proactive can often lead to a more favorable outcome.
Appealing a Denied Claim
If your claim is denied, the first thing to do is demand a clear, written explanation from your insurance company for the denial. They are legally obligated to provide this. Once you have it, review your policy again, focusing on the specific clauses they cited for the denial. Do you disagree with their interpretation? Did they miss something? Perhaps they attributed the damage to "wear and tear" when you believe it was clearly storm-related.
Gather more evidence if needed. This could include a second opinion from a different, highly reputable roofing contractor who can provide a detailed report disputing the adjuster's findings. This contractor can often identify specific storm damage that an adjuster might have overlooked or miscategorized. You can also provide additional photos or eyewitness accounts from the time of the storm. Write a formal appeal letter, referencing your policy number, claim number, and specific points of contention, along with your supporting evidence. Be polite but firm, and stick to the facts. Sometimes, simply providing more comprehensive evidence is enough to get them to reconsider. You can certainly learn How to Appeal a Denied Roof Claim.
Seeking Professional Help for Disputes
If your appeal is unsuccessful or you feel overwhelmed by the process, it might be time to bring in professional help. One option is to hire a public adjuster. Unlike the insurance company's adjuster, a public adjuster works exclusively for you, the homeowner. They will conduct their own independent assessment of the damage, review your policy, and negotiate directly with your insurance company on your behalf. They are experts in insurance claims and know how to speak the "insurance language" to maximize your payout. They typically charge a percentage of the final claim settlement, so they are motivated to get you the best possible outcome.
Another avenue is to consult with an attorney specializing in property insurance claims. This is usually reserved for more complex cases or when the dispute is substantial, and you feel the insurance company is acting in bad faith. An attorney can help you understand your legal rights, navigate tricky policy language, and, if necessary, take legal action. While these professionals come with costs, their expertise can be invaluable in securing a fair settlement that allows you to properly repair your roof and protect your home. Exploring Public Adjuster for Roof Claims Explained might be a good first step if you're facing a tough battle.
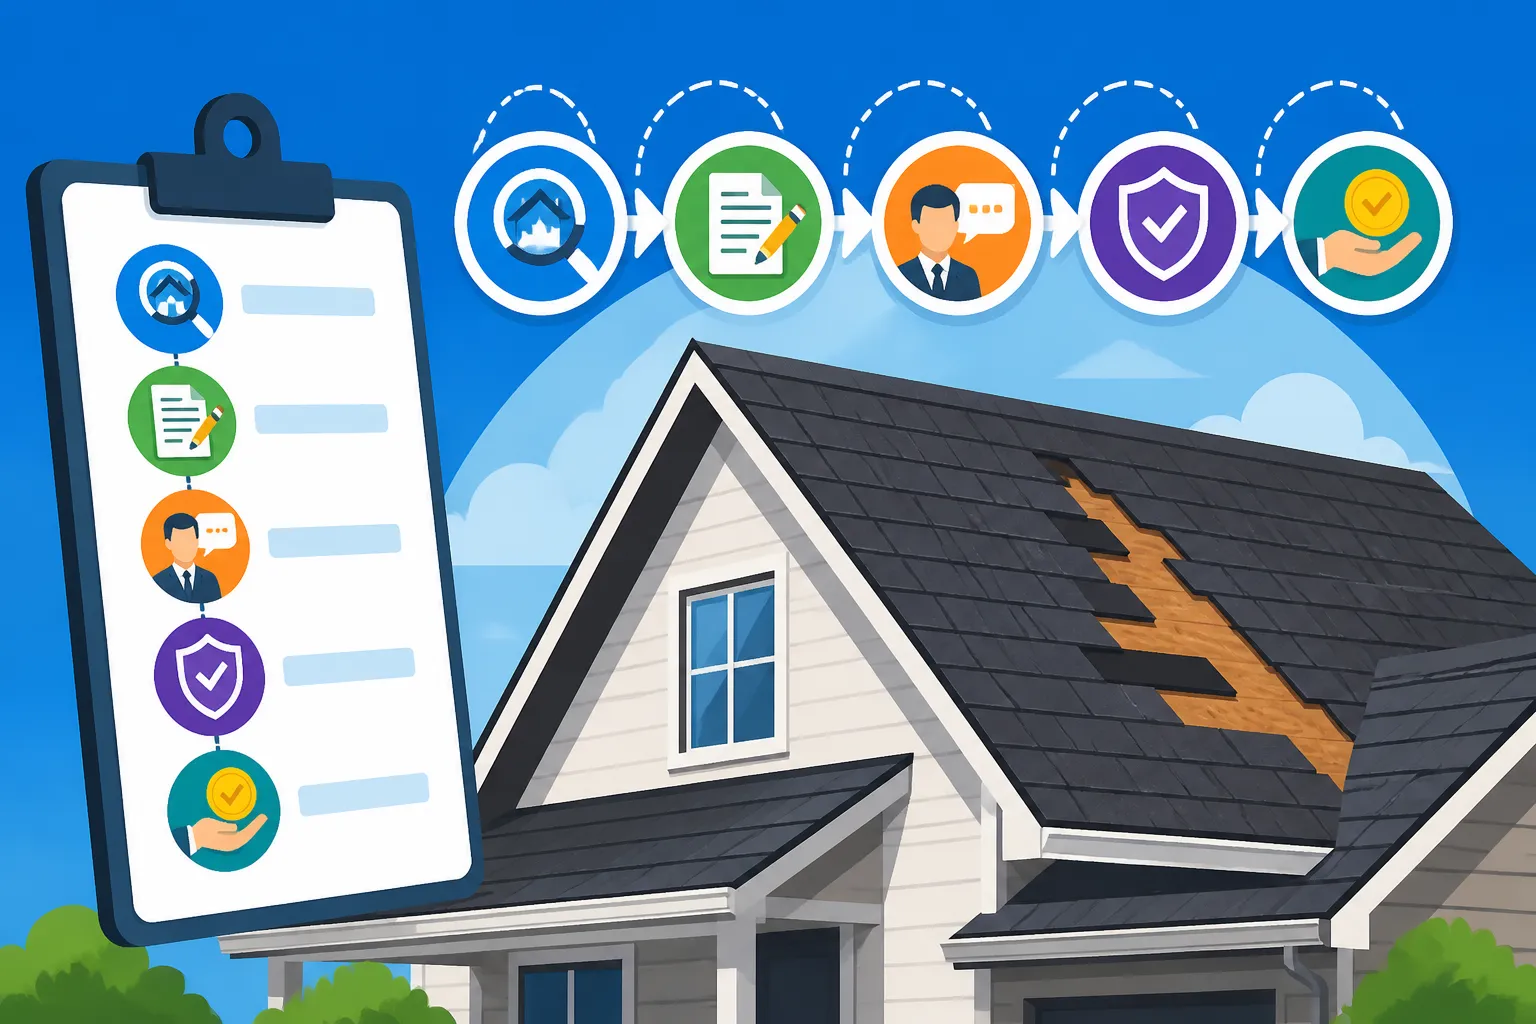
Here's a table summarizing the key steps in the insurance claim process:
| Step | Description | Key Actions for Homeowner | Common Pitfalls to Avoid |
|---|---|---|---|
| 1. Policy Review | Understand what your homeowner's insurance policy covers. | Read your policy (ACV vs RCV, deductibles). | Not knowing your coverage limits or deductible. |
| 2. Document Damage | Gather evidence of all roof and interior damage. | Take detailed photos/videos, note date of damage. | Insufficient documentation, blurry pictures. |
| 3. Temporary Repairs | Prevent further damage to your home. | Safely tarp damaged areas, keep all receipts. | Delaying repairs, failing to mitigate further damage. |
| 4. File Claim | Officially notify your insurance provider. | Contact insurer promptly, get claim number, provide initial details. | Waiting too long, not getting a claim number. |
| 5. Adjuster Visit | Insurance company assesses the damage. | Be present, point out damage, consider having contractor there. | Not being present, letting the adjuster rush through. |
| 6. Review Estimate | Compare insurer's estimate to contractor's bid. | Scrutinize line items, discuss discrepancies with adjuster/contractor. | Accepting the first offer without review, missing details. |
| 7. Choose Contractor | Select a qualified professional for repairs. | Research local, licensed, insured contractors, get multiple bids. | Hiring "storm chasers," going for the cheapest bid blindly. |
| 8. Manage Payments | Understand how funds are disbursed (ACV, RCV, deductible). | Coordinate with lender, submit final invoices for depreciation. | Misunderstanding depreciation, not tracking payments. |
| 9. Appeal/Dispute (if needed) | Address denials or underpayments. | Request written denial, gather more evidence, consider public adjuster/attorney. | Giving up too easily, not seeking professional advocacy. |
Disclaimer
This article is for general informational purposes only and does not constitute professional advice. Laws, prices and regulations vary by location and change over time. Consult a qualified professional for guidance on your specific situation.