How to Know If Storm Damage Is Covered
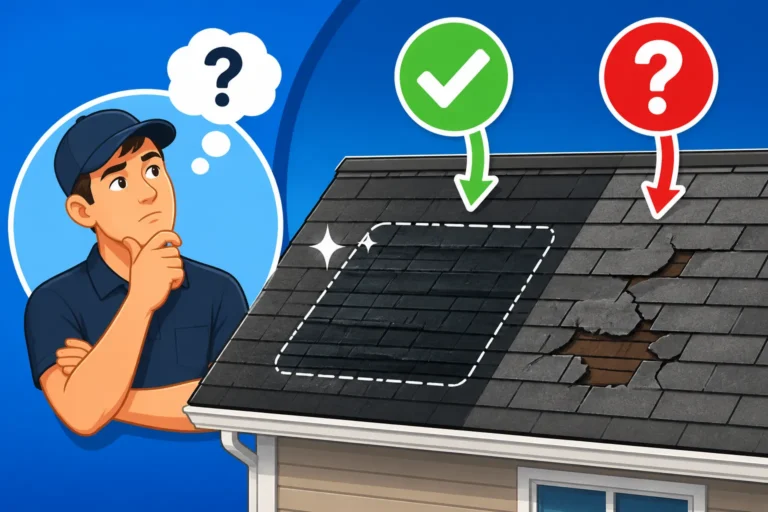
Oh, the dread that washes over you when you walk outside after a gnarly storm and see damage to your roof. It’s a heart-dropping moment, isn't it? One minute you’re just trying to get through the day, and the next, you’re staring up at a missing shingle or a mysterious dark spot, wondering, "Is this going to be on me, or will my insurance actually cover it?" This guide is here to cut through that confusion, helping you understand precisely how to determine if your storm-damaged roof is covered by your homeowners insurance.
Understanding Your Homeowners Insurance Policy
Before you even think about climbing a ladder (which, by the way, I highly recommend leaving to the pros!), you need to understand the very foundation of your protection: your homeowners insurance policy. This document, often tucked away and only really looked at when disaster strikes, holds all the answers. It’s not the most thrilling read, but trust me, it’s critical.
Perils Covered and Exclusions
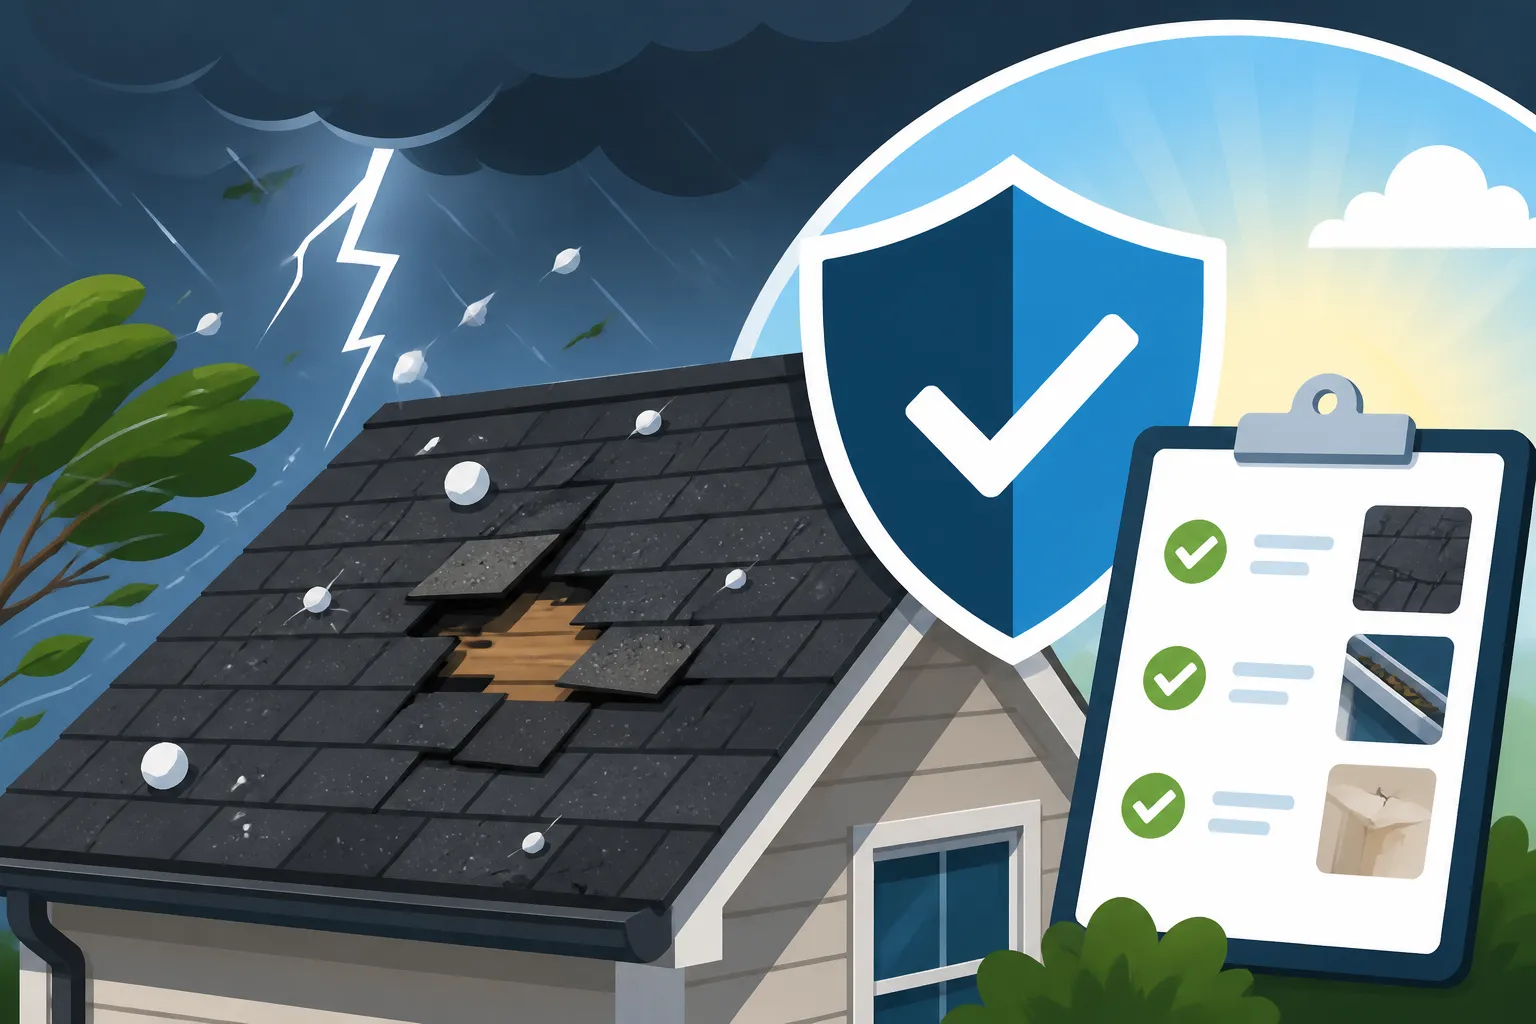
Every insurance policy outlines specific "perils" it covers. These are the events or disasters that your policy is designed to protect you from. For asphalt roofing, common covered perils often include things like wind, hail, and lightning. If a sudden severe thunderstorm tears off shingles or a hailstorm leaves your roof looking like a golf ball, these events are typically well within the scope of what most standard policies will cover.
However, it's equally important to know what your policy excludes. This is where many homeowners get tripped up. For instance, most standard homeowners policies do not cover flood damage or earthquake damage. These usually require separate, specialized policies. What's more relevant for roof damage, policies almost universally exclude damage resulting from neglect or poor maintenance. If your roof was already 30 years old and clearly falling apart before a minor gust of wind took a few more shingles, the insurance company might argue it was due to wear and tear, not the storm itself. It’s a tricky line, but one they often draw quite firmly. Some policies might also have specific exclusions for certain types of wind events, like tornadoes or hurricanes, in high-risk areas, requiring a separate endorsement.
Actual Cash Value vs. Replacement Cost Value
This is perhaps one of the most significant distinctions in your policy, and it directly impacts how much money you’ll receive for a covered claim. Understanding whether you have Actual Cash Value (ACV) or Replacement Cost Value (RCV) coverage for your roof is paramount.
Actual Cash Value (ACV) coverage means your insurance company will pay you the cost of replacing your damaged roof minus depreciation. Think of depreciation as the wear and tear your roof has accumulated over time. If your roof is 15 years old and had an expected lifespan of 25 years, it might be deemed 60% depreciated. So, if a new roof costs $20,000, an ACV policy might only pay out $8,000 (40% of $20,000), leaving you to cover the significant difference out of pocket. This can be a real shock for homeowners expecting a full replacement.
Replacement Cost Value (RCV) coverage, on the other hand, pays for the cost of replacing your damaged roof with a new one of similar quality without deducting for depreciation. This is generally the more desirable type of coverage for homeowners, as it typically covers the full cost of repairing or replacing your roof, up to your policy limits. The way it usually works is that you'll receive an initial payment based on the ACV, and then, once the work is completed and you submit proof of payment, the insurance company releases the depreciation holdback, paying you the remainder. This means less out-of-pocket expense for you, which is a huge relief when facing a costly repair. When you’re looking at the average roof replacement cost this year, having RCV coverage can literally save you thousands of dollars.
Here’s a quick comparison of how these two coverage types might play out:
| Feature | Actual Cash Value (ACV) | Replacement Cost Value (RCV) |
|---|---|---|
| Payment Calculation | Replacement cost minus depreciation | Full replacement cost, no depreciation deduction |
| Initial Payout | Lower, reflects depreciated value | Often an initial ACV payment, followed by depreciation release |
| Out-of-Pocket Cost | Potentially much higher | Generally limited to your deductible |
| Benefit to Homeowner | Cheaper premiums, but higher risk at claim time | More comprehensive protection, peace of mind |
| Ideal For | Older roofs nearing end-of-life (if RCV not available) | Most homeowners, especially for newer or well-maintained roofs |
Deductibles and Specific Storm Deductibles
Even with comprehensive RCV coverage, you'll still have a deductible. A deductible is the amount of money you're responsible for paying out of pocket before your insurance coverage kicks in. For example, if your deductible is $1,000 and your roof repair costs $8,000, you'll pay the first $1,000, and your insurance company will cover the remaining $7,000.
However, it's crucial to be aware of specific storm deductibles. In areas prone to hurricanes, high winds, or severe hail – like Florida, Texas, or parts of the Midwest – many insurance policies include a separate, often higher, deductible specifically for wind and hail damage. These are frequently calculated as a percentage of your home's insured value, rather than a flat dollar amount. For instance, you might have a standard $1,000 deductible for fire or theft, but a 1% or 2% wind/hail deductible. If your home is insured for $300,000, a 2% deductible would mean you’d pay the first $6,000 of any wind or hail damage before your coverage begins. This can be a substantial amount and is a critical factor in determining if storm damage is covered in a way that truly benefits you. It's why reading your policy carefully, especially the section on "Does insurance cover roof replacement," is so important.
Identifying Storm Damage on Your Roof
You’ve checked your policy (or at least know where to find it), now it's time to assess the actual damage. The first step in securing coverage is accurately identifying and documenting what the storm did. Remember, safety first! If you're unsure or uncomfortable, call a professional. Many reputable roofing contractors, some of whom you can find through services like Modernize, offer free inspections after a storm.
Signs of Hail Damage
Hail damage can be notoriously subtle or dramatically obvious, depending on the size and intensity of the hailstones. It’s not always about missing shingles. Often, it's more about the integrity of the shingle itself being compromised.
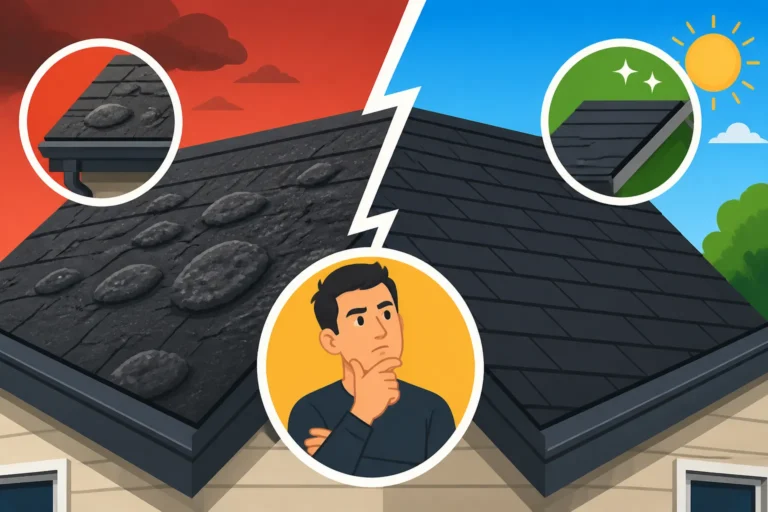
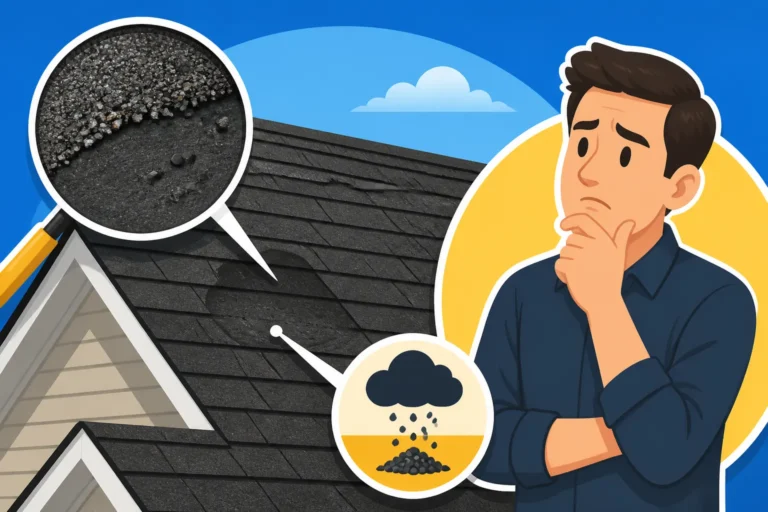
Look for areas where granules have been knocked off, leaving shiny black spots of exposed asphalt underneath. These often look like small, dark indentations or pockmarks. On new asphalt shingles, hail can create "bruises" or soft spots that might not be immediately visible but will degrade the shingle's protective qualities over time. You might also see small cracks in the shingles, especially if the hail was accompanied by strong winds or cold temperatures. Sometimes, you'll find actual fractures in the shingle's fiberglass mat. To properly assess, check not just the main roof slopes, but also softer metals like gutters, downspouts, flashing, and even your air conditioning unit fins or outdoor light fixtures. If these items show dents, it’s a strong indicator that your roof likely has hail damage too. If you suspect hail damage, our guide on signs of roof hail damage can provide more specific details.
Signs of Wind Damage
Wind damage tends to be more visually apparent. High winds can wreak havoc on an asphalt roof, especially if the shingles are older or not properly adhered.
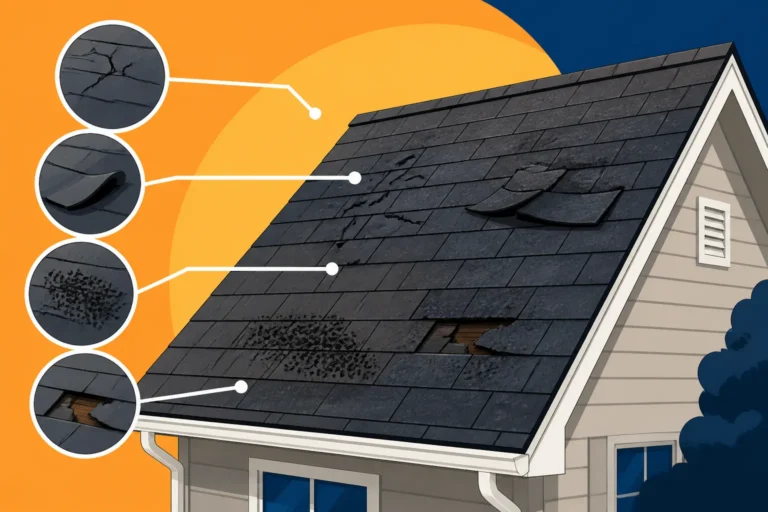
The most common sign is, of course, missing shingles. Sections of your roof might be completely bare, revealing the underlayment or even the roof decking beneath. Beyond missing shingles, look for lifted or flapping shingles where the adhesive seal has broken. These shingles are vulnerable to further wind damage and can allow water to penetrate. Creased or bent shingles are also a tell-tale sign of wind damage; these occur when shingles are lifted and then slammed back down against the roof deck, creating a permanent bend or crease. On some roofs, the wind can even tear the shingle's tabs or cause widespread granule loss, particularly if the wind carries debris. Pay close attention to roof edges, ridges, and around chimneys or skylights, as these are often the most exposed and vulnerable areas. If you’re seeing these issues, our article on signs of roof wind damage offers more insight.
Water Intrusion and Secondary Damage
Sometimes, the storm damage isn't immediately visible on the roof itself, but rather inside your home. Water intrusion is a serious indicator that your roof's protective barrier has been breached.
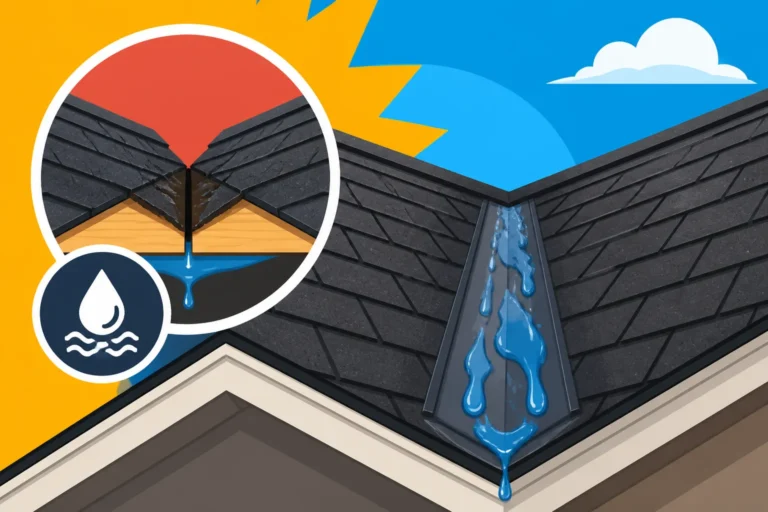
Keep an eye out for water stains on your ceilings or walls. These can appear as discolored patches, peeling paint, or even bubbling drywall. Don't assume a small stain means a small problem; water can travel quite a distance before it becomes visible, meaning the actual source of the leak could be elsewhere and much larger. If you have attic access, go up there (carefully!) with a flashlight and look for wet insulation, drips, or actual puddles on the attic floor. Check around vents, skylights, and chimneys, as these are common entry points for water. Any sign of mold or mildew growth, either in the attic or within your living spaces, is a huge red flag indicating prolonged moisture issues from a roof leak. If you discover internal water damage, it points directly to a compromised roof system, strengthening your insurance claim. Deciding whether to repair a roof leak vs replace the roof can be tough, but if water is getting in, immediate action is crucial.
The Crucial Steps After Discovering Damage
Finding storm damage is overwhelming, but taking the right steps immediately can make all the difference in your insurance claim. Panic won't help; a clear, methodical approach will.
Documenting the Damage Thoroughly
This step cannot be stressed enough: document, document, document! Your insurance company will rely heavily on evidence to process your claim. As soon as it's safe to do so, begin collecting evidence.
Take clear, well-lit photos and videos of all visible damage. Get close-ups of specific problems like missing shingles, hail dents, or water stains, but also step back and get wider shots that show the overall context of the damage on your roof and property. Note the date and time you took the photos. If possible, take pictures of the storm itself, especially if there were hail or high winds, to establish a timeline. Also, document any preventative measures you took before the storm, if applicable. Keep a detailed log of everything you observe, including the location of each damaged area. For instance, "East side of roof, three rows of shingles missing near chimney" is much more helpful than "roof damage." This comprehensive documentation will serve as your primary evidence when you initiate the claim, as detailed in our guide on how to document roof damage for insurance.
Remember, safety is paramount. Do not climb onto a damaged roof yourself, especially if it’s still raining, windy, or if there’s any structural compromise. Leave that to professionals.
Contacting Your Insurance Provider
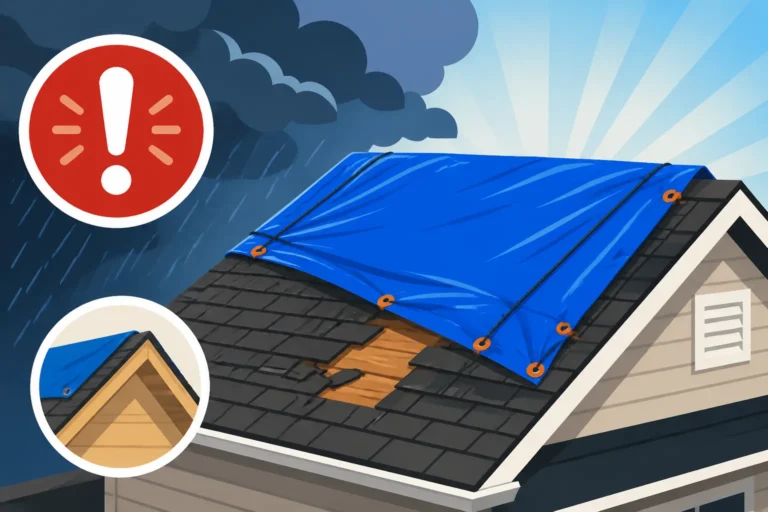
Once you have initial documentation and have ensured your property is temporarily secured (e.g., with a tarp to prevent further water intrusion), it's time to contact your insurance company. Do this as soon as reasonably possible. Many policies have clauses requiring timely reporting of damage, and delays could potentially jeopardize your claim.
Have your policy number ready, along with the date of the storm and a brief, factual description of the damage you've observed. Be prepared to answer questions about the type of damage, when it occurred, and any temporary repairs you've made. They will guide you through the initial steps of filing a claim. It's often helpful to request a claim number immediately, as this will be your reference point for all future communication. Keep a record of who you spoke with, the date, and what was discussed. If you're unsure how to begin, our guide on how to file a roof insurance claim can walk you through the process.
Getting Professional Assessments and Estimates
While your insurance company will send out an adjuster (and we’ll talk about that next), it’s highly advisable to get your own professional assessments from reputable roofing contractors. Why? Because a contractor sees damage through a different lens than an insurance adjuster. They are experts in roof construction and damage assessment, and their estimate will be based on what it actually takes to properly repair or replace your roof according to current building codes.
Look for local, licensed, and insured roofing companies. Platforms like Modernize can help connect you with trusted contractors in your area. Aim for at least two or three detailed estimates. A good estimate should include a breakdown of materials, labor, tear-off and disposal, and any necessary code upgrades. These estimates will be invaluable when you compare them against the insurance adjuster's assessment. If the numbers are significantly different, your contractor can often provide the technical explanations needed to support a higher payout from your insurer. Our article on what a roofing estimate should include can help you understand what to look for, and How to Read and Compare Roofing Estimates offers further guidance.
Navigating the Insurance Claim Process
This is where many homeowners feel overwhelmed. The insurance claim process can be complex and time-consuming, but with preparation and persistence, you can navigate it successfully.
The Adjuster's Inspection
After you file your claim, your insurance company will assign an adjuster to assess the damage. This person is tasked with determining the extent of the damage, verifying it was caused by the covered peril, and estimating the cost of repair or replacement.
It’s a good idea to be present during the adjuster's inspection. This allows you to point out all the damage you've documented, ask questions, and ensure they have a comprehensive understanding of the situation. Share your photos and videos. If you've already had a contractor inspect the roof, having their findings handy can also be beneficial. The adjuster will typically walk the roof, inspect the attic (if accessible), and check other parts of your property for related damage. Be cooperative but also advocate for yourself. If the adjuster overlooks something, politely bring it to their attention. The better you understand the process, the more smoothly it will go.
Understanding the Settlement Offer
Once the adjuster completes their assessment, your insurance company will typically issue a settlement offer. This document will detail the scope of the damage they’ve identified, the approved costs for repair or replacement, and the payout amount, often subtracting your deductible and any applicable depreciation (if you have an ACV policy).
Review this offer very carefully. Compare it against the estimates you received from your roofing contractors. Are there significant discrepancies in the scope of work or the pricing of materials and labor? If the insurance offer seems too low or misses critical damage, don't be afraid to question it. This is where those contractor estimates become powerful tools. Your chosen contractor can often work directly with the insurance adjuster to negotiate the scope and cost, providing detailed justification for their pricing. If your claim is initially denied, or the offer is inadequate, you have the right to appeal. Gathering more evidence, getting additional professional opinions, or even consulting a public adjuster can be options. Remember, the goal is to get a fair settlement that allows you to restore your roof to its pre-storm condition, or better, in accordance with current codes. Our article, "Roofing Insurance Claim Process Step by Step", offers a full breakdown.
Working with Your Contractor and Insurance
Once you've reached an agreement on the settlement, the real work begins: getting your roof repaired or replaced. The payment process can vary. Often, you'll receive an initial payment (the ACV portion), and then the remaining funds (the depreciation holdback) will be released once the work is completed and you provide proof of payment to the contractor.
It's vital to have a clear contract with your chosen roofing contractor. This should outline the scope of work, materials to be used, project timeline, payment schedule, and warranty information. As you move forward, keep communication open between yourself, your contractor, and your insurance company. Your contractor, especially a reputable one, will often handle much of the back-and-forth with the insurance company regarding supplements for unforeseen issues or code upgrades. Choosing the right roofing contractor is key, as they'll be your partner through this process. You can find excellent advice on how to choose a roofing contractor that will truly work for your best interests. Getting a lower roofing quote isn't always the best path; sometimes, paying a bit more for quality and experience saves you headaches down the line.
The process can be a headache, but knowing your policy, documenting everything, and partnering with trustworthy professionals will give you the best chance for a successful outcome.
Disclaimer
Please note that this article provides general information and guidance regarding homeowners insurance and roof damage claims. Insurance policies can vary significantly based on your provider, location, and specific coverage choices. It is always recommended to review your individual policy documents or contact your insurance agent directly for personalized advice and to understand your specific coverage details.