How Drip Edge and Underlayment Work Together
It’s easy to get caught up thinking about the aesthetics and durability of your new asphalt shingles, but many homeowners completely overlook the critical role played by the unsung heroes beneath them. Without proper drip edge and underlayment, your roof — and home’s structure — is vulnerable to water damage from the very edges. This guide will walk you through exactly how these two essential components work hand-in-hand to form a crucial, watertight defense for your home.
Understanding the Foundation of Roof Protection: Drip Edge and Underlayment
When you're considering a new roof, or even just evaluating the health of your existing one, it’s natural to focus on the shingles themselves. After all, they’re the visible shield. But just like a strong building needs a solid foundation, a durable roof relies on a robust understructure, and that includes both the drip edge and the underlayment. These components, often hidden from view, are absolutely vital for preventing water infiltration and protecting the integrity of your home.
What is Drip Edge and Why It's Essential
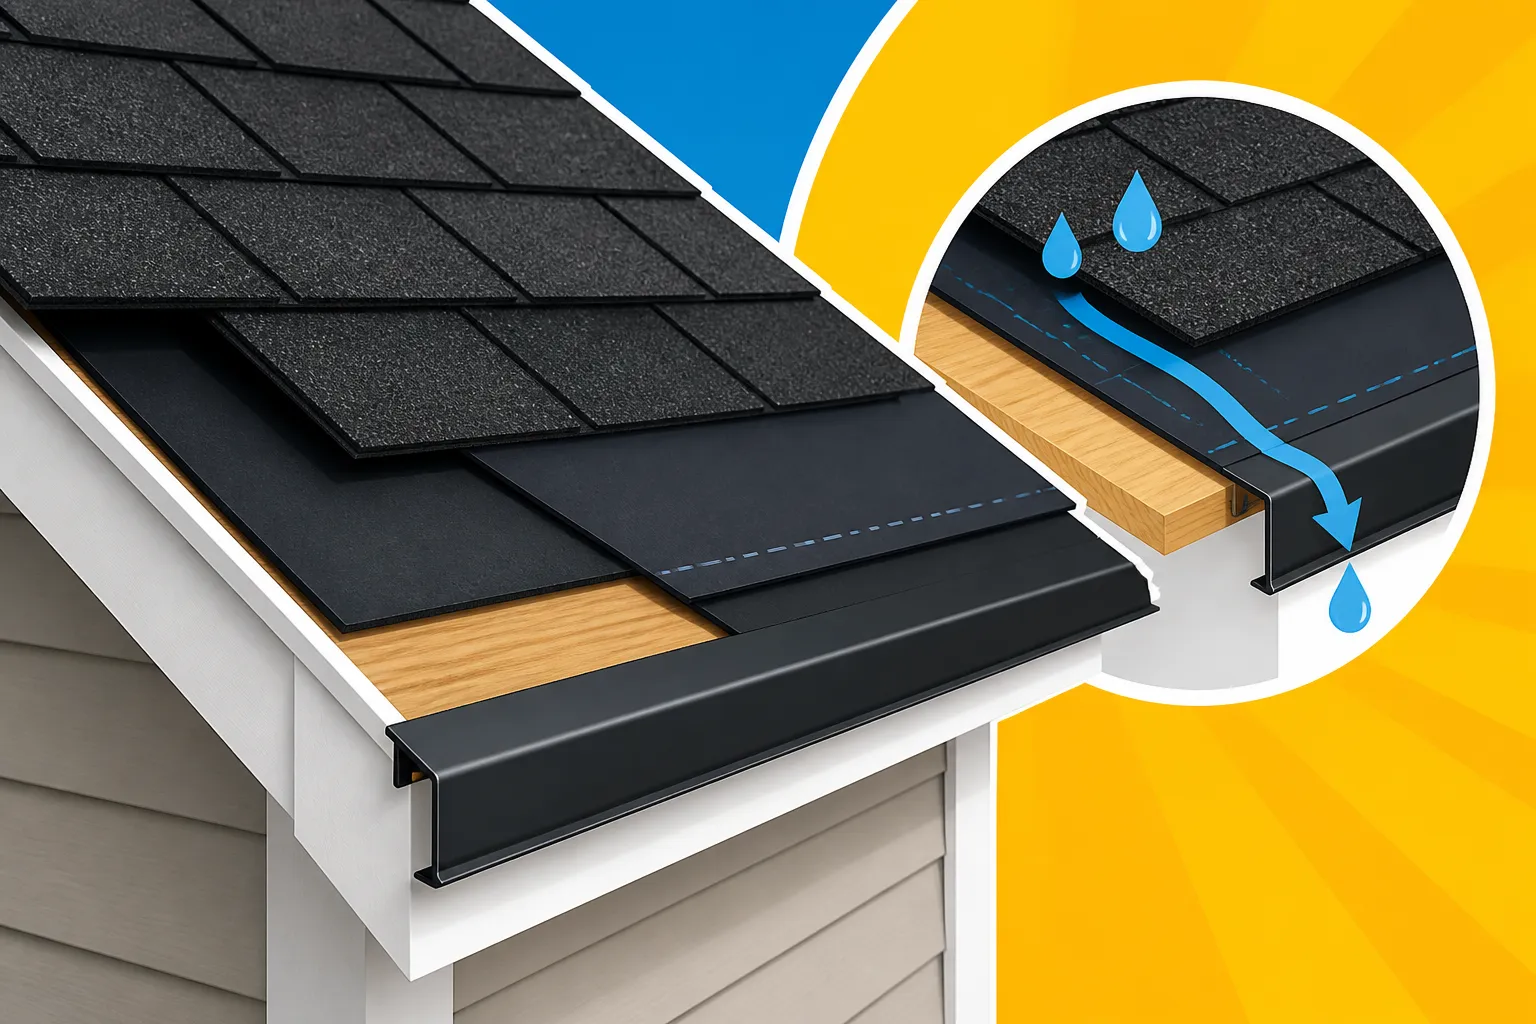
Let's start with the drip edge. Imagine rain pouring down your roof. Without a proper system in place, that water would just cling to the edge of your roof and potentially seep back under your shingles, or run down your fascia boards. That’s where the drip edge steps in. Drip edge is a metal flashing installed along the edges of your roof. Its primary job is to direct water away from the fascia and into the gutters, preventing it from getting underneath the roofing materials.
Think of it as a small, carefully designed ramp that guides water. Without it, you're looking at a higher risk of water seeping into your roof decking, rotting the fascia boards, and potentially damaging the sensitive soffit areas underneath. This can lead to costly repairs down the line, and nobody wants that kind of headache. Drip edge is typically made from aluminum, galvanized steel, or even copper for a more upscale look. It comes in different profiles, but the key is that it extends beyond the roof decking and fascia, creating that essential "drip" point for water. Installing it correctly is a critical step in a comprehensive roofing job. You can learn more about exactly Drip Edge: What It Does and why it's a non-negotiable part of a proper roofing system.
The Role of Underlayment Beneath Your Shingles
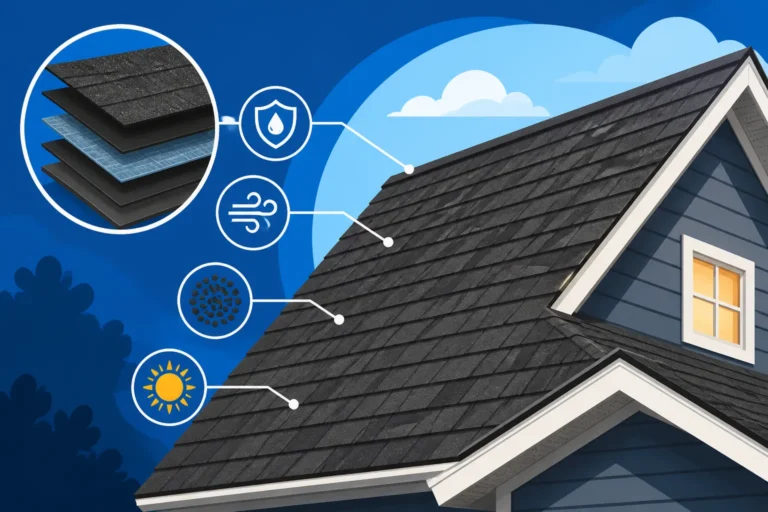
Next up is the underlayment. This is the material that goes directly on top of your roof decking, beneath your shingles. It serves several vital functions, acting as a secondary water barrier even if your primary shingles are damaged or fail. While shingles are designed to shed water, things like high winds, ice dams, or even just old age can cause them to lift, crack, or become compromised. When that happens, the underlayment becomes your roof's last line of defense against leaks.
Historically, roofing felt, often called "tar paper," was the standard. This is an asphalt-saturated organic felt that provides decent protection. However, modern roofing often utilizes synthetic underlayment, which is typically made from polypropylene or polyethylene. Synthetic underlayments are usually lighter, stronger, more tear-resistant, and offer superior water resistance compared to traditional felt. They don't absorb moisture, which means they won't wrinkle or buckle, providing a smoother, more stable surface for your shingles. This can be particularly important in climates with significant temperature fluctuations or heavy rainfall. The choice between Synthetic vs Felt Underlayment Cost can impact both the upfront cost and the long-term performance of your roof. Regardless of the type, a properly installed underlayment protects your roof decking, provides an additional layer of protection against fire, and helps achieve a uniform surface for shingle installation, contributing to the overall longevity of your roof system.
The Synergy: How Drip Edge and Underlayment Combine for Superior Defense
It's one thing to understand what drip edge and underlayment are individually, but the real magic happens when they are installed correctly together. Their combined application creates a cohesive, overlapping system that maximizes water shedding and significantly reduces the risk of water infiltration at the most vulnerable points of your roof: the eaves and rake edges. This isn't just about throwing materials onto a roof; it's about a carefully orchestrated sequence that ensures maximum protection.
Proper Installation for Maximum Watertightness
The sequence of installing these two components is absolutely critical for them to work effectively as a team. At the eaves (the horizontal edges of your roof), the drip edge goes under the underlayment. This allows any water that manages to get past the shingles and onto the underlayment to run directly over the drip edge and into the gutter, effectively preventing it from wicking back onto the fascia board or decking. If the drip edge were installed over the underlayment at the eaves, water could get trapped behind the drip edge, leading to rot.
Conversely, at the rake edges (the sloped sides of your roof), the drip edge is installed over the underlayment. This protects the underlayment from wind-driven rain and helps shed water away from the roof's side. This seemingly small detail is paramount to a watertight seal. An experienced roofing contractor understands this nuanced dance of overlapping materials. Without this precise order, even the best materials can fail to perform their intended function, leaving your home susceptible to moisture damage. When you're looking at How Asphalt Shingles Are Installed: Step by Step, pay close attention to the details of these initial layers. This foundational work truly dictates the long-term success of your roofing system.
Protecting Vulnerable Roof Edges from Water Intrusion
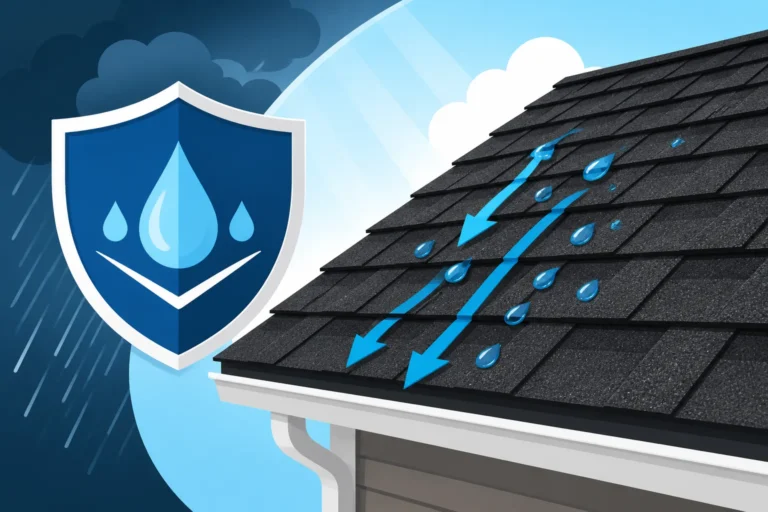
The combined system of drip edge and underlayment creates a formidable barrier against water intrusion, especially at the roof's perimeter. Imagine a fierce thunderstorm in Dallas, Texas. Wind-driven rain can easily get under the edges of shingles. If the drip edge and underlayment aren't installed correctly or are missing, that water won't be directed safely away. Instead, it could creep under the edge of the roof deck, soaking the wood and initiating a cycle of rot that can spread quickly.
In colder climates, like those in Michigan or Minnesota, the combination of underlayment and drip edge is even more critical, especially when integrated with ice and water shield. An ice and water shield is a self-adhering membrane that provides superior protection in areas prone to ice dams, such as the first few feet of the eaves, valleys, and around penetrations. When properly installed, the Ice and Water Shield Explained sticks directly to the roof deck, sealing itself around fasteners and creating a truly waterproof barrier. The underlayment then covers the rest of the roof, overlapping the ice and water shield. Finally, the drip edge at the eaves extends beyond the ice and water shield and underlayment, ensuring any melted ice or rain is channeled into the gutters, far from your home's vulnerable edges. This multi-layered approach is part of a holistic roofing system that ensures maximum protection from the elements.
Common Issues and the Importance of a Professional Installation
It's disheartening to hear stories from homeowners who invested in a new roof only to discover issues a few years later, often stemming from overlooked or improperly installed foundational components like drip edge and underlayment. These hidden problems can fester, causing significant damage that goes unnoticed until it becomes a much larger, more expensive headache.
Consequences of Missing or Improperly Installed Components
The repercussions of neglecting proper drip edge and underlayment installation can be severe and far-reaching. Without a drip edge, water can run behind your gutters, rot your fascia boards, and seep into your soffit, leading to costly repairs and an unwelcome invitation for pests like carpenter ants or wasps. I've seen homes in Florida where the fascia was completely disintegrated due to prolonged moisture exposure because the drip edge was missing or installed incorrectly. It's not just an aesthetic issue; it compromises the structural integrity of your eaves.
Similarly, an underlayment that is torn, improperly lapped, or simply missing in certain areas can lead to direct leaks into your attic and home whenever shingles lift or fail. This can result in damaged insulation, stained ceilings, and even dangerous mold growth. These aren't just minor inconveniences; they can significantly impact your home's air quality and structural safety. Often, these issues remain hidden until the damage is extensive, making repairs much more complicated and expensive than preventative measures would have been. Moreover, many roof warranties, especially enhanced manufacturer warranties, require the installation of a complete roofing system, including specific types of underlayment and drip edge, by a Manufacturer-Certified Roofers Explained. Skipping these components could potentially void your warranty, leaving you without coverage if a problem arises. Don't risk having What Makes Shingles Fail Early due to poor foundational work.
Here’s a quick overview of how different underlayment types work with drip edge:
| Underlayment Type | Primary Material | Water Resistance | Durability | Installation with Drip Edge at Eaves | Notes |
|---|---|---|---|---|---|
| Felt (Organic) | Asphalt-saturated felt | Good | Moderate | Underlayment over drip edge | Standard, less tear-resistant, can wrinkle. |
| Synthetic | Polypropylene/Polyethylene | Excellent | High | Underlayment over drip edge | Lighter, stronger, more tear-resistant, lays flatter. Preferred by many pros. |
| Ice & Water Shield | Modified bitumen | Waterproof | Very High | Underlayment (or I&W) over drip edge | Self-adhering, seals around fasteners. Critical in cold climates or low-slope areas. |
Choosing the Right Materials and Contractor
Making informed decisions about your roofing materials, including the less visible components, is crucial for the long-term health of your home. While basic felt underlayment and aluminum drip edge are common, investing in higher-quality synthetic underlayment can provide enhanced protection, especially in regions prone to heavy rain, strong winds, or extreme temperatures. These upgrades might seem like an added cost initially, but they offer superior performance and durability, often translating to fewer repairs and a longer lifespan for your entire roof system. When you're weighing the Cost of New Flashing and Drip Edge against the cost of potential future damage, the investment often pays for itself.
Beyond material choices, the most critical factor is the expertise of the contractor performing the installation. A reputable roofer understands the intricate details of a proper roof installation, ensuring every component, from the drip edge to the underlayment, and all the way to the How Long a Roof Replacement Takes, is installed according to manufacturer specifications and local building codes. They know how to correctly apply different layers, how to fasten them securely, and how to create the seamless integration needed for optimal performance. Trying to cut corners with an inexperienced crew or attempting a DIY job on these foundational elements can easily lead to costly mistakes down the road. This is where services like Modernize can be incredibly helpful, connecting you with vetted roofing professionals in your area who understand the importance of these details. When you are looking for How to Choose a Roofing Contractor, always inquire about their installation methods for drip edge and underlayment, and ask for references. A truly professional contractor will be transparent and happy to explain their process, giving you peace of mind that your roof’s foundation is as solid as its visible surface.
Disclaimer
Please remember that this article provides general information and recommendations. Roofing projects are complex and specific requirements can vary significantly based on your geographic location, local building codes, roof design, and the specific products chosen. Always consult with a qualified, licensed, and insured roofing professional for personalized advice and to ensure compliance with all applicable regulations.