How a Roof Is Made Watertight
Nothing feels quite as frustrating, or as scary, as discovering a leak in your home. That drip, drip, drip from the ceiling or the tell-tale stain spreading across a wall is every homeowner’s nightmare, signaling a breach in the very first line of defense your house has: its roof. This guide will walk you through the intricate process of how a roof is constructed to be a fortress against water, detailing each critical layer and component that works together to keep your home dry and protected.
The Essential Layers Beneath the Shingles
It’s easy to think of a roof as just shingles, but the real magic of keeping water out happens with the layers underneath. These components are often out of sight, out of mind, but they form the true watertight barrier.
Robust Roof Decking and Its Role
Before any other material goes down, you have the roof decking. This is the structural foundation, typically made of plywood or oriented strand board (OSB), that attaches directly to your home's rafters. While the decking itself isn't a waterproofing layer, its integrity is absolutely paramount. If your decking is compromised by rot, water damage, or is simply too thin, it won't hold the nails of the subsequent layers properly, leading to potential weak points where water can eventually infiltrate.
Think of it like building a house on a shaky foundation – it doesn't matter how well the walls are built if the ground beneath is unstable. A solid, properly installed roof deck ensures that all other roofing components have a firm, stable surface to adhere to, which is essential for them to perform their waterproofing duties effectively. Any reputable contractor will inspect your roof decking during a tear-off to ensure it's in top condition before proceeding. You might be surprised to learn about the complexities of a thorough Roof Damage Assessment: A Homeowner's Guide.
Underlayment: The Invisible Shield
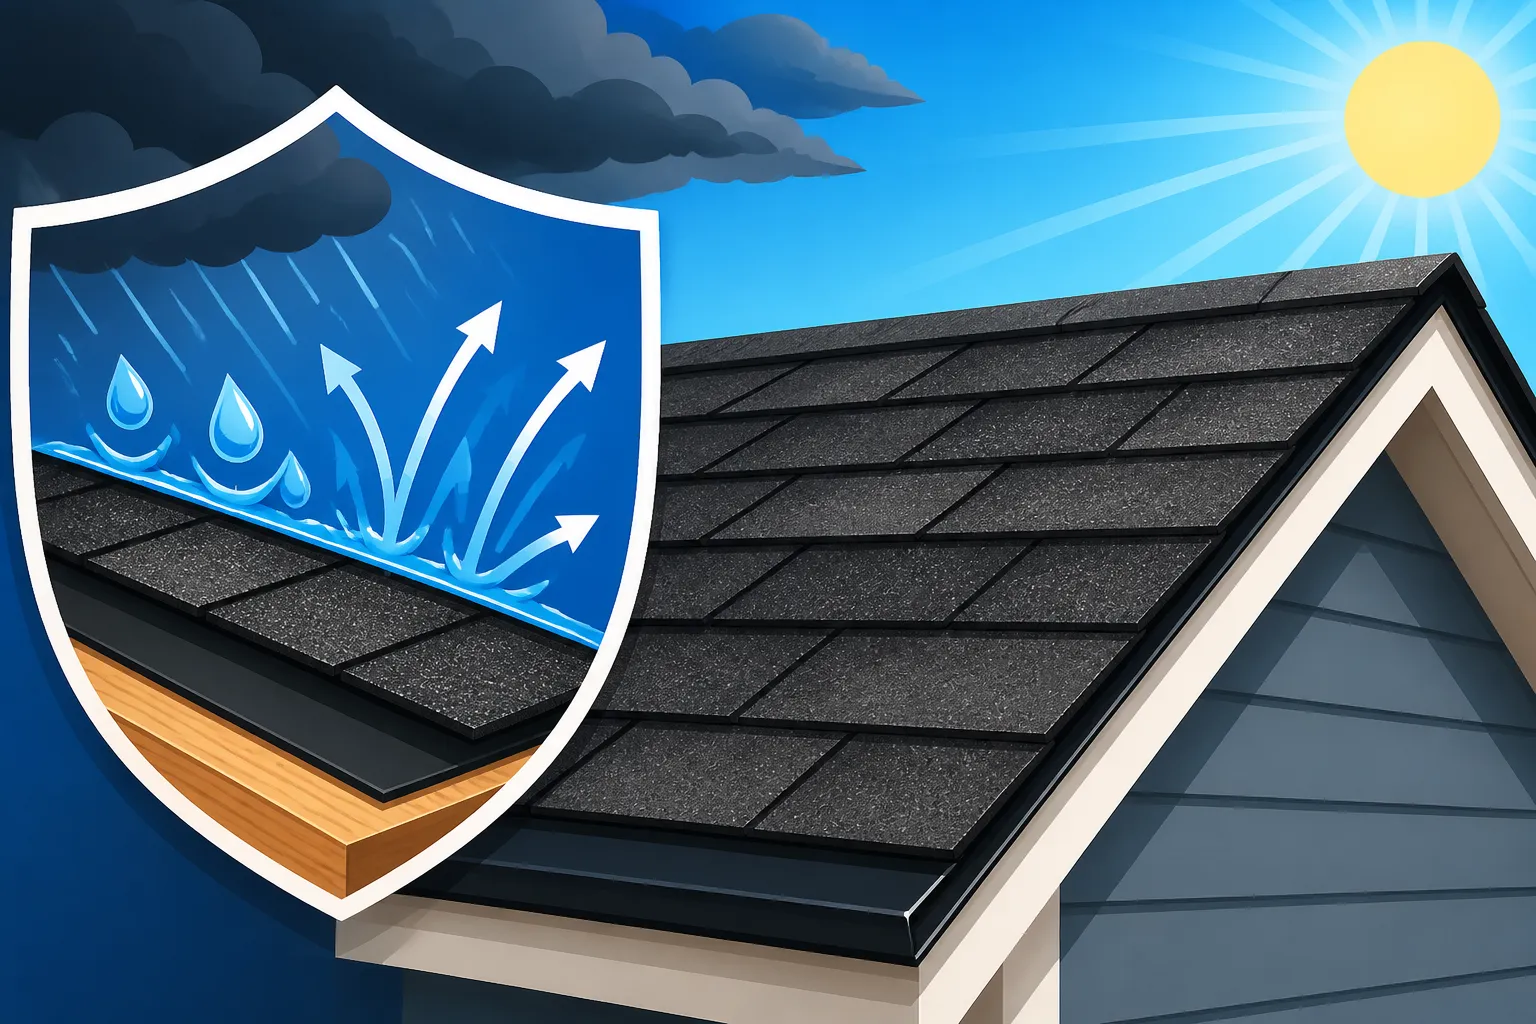
Directly on top of the roof decking, before a single shingle is laid, comes the underlayment. This is often called the "secondary waterproofing barrier," and it's absolutely vital. Historically, this was tar paper or felt paper, but modern synthetic underlayments are far more durable, tear-resistant, and lighter. This layer acts as a crucial backup, protecting your roof deck from moisture if wind-driven rain gets under your shingles or if a shingle is damaged or missing.
Imagine a sudden, fierce thunderstorm. If a strong gust of wind peels back a few shingles, the underlayment is there to prevent water from immediately soaking into your wooden roof deck and attic. It provides continuous protection across the entire roof surface, ensuring that any water that does manage to slip past the shingles is directed off the roof. Choosing the right underlayment is an important decision, and understanding the differences between Synthetic vs Felt Underlayment Cost can help you make an informed choice. Professional roofers often work with platforms like Modernize to ensure they're using high-quality materials and practices.
Ice and Water Shield for Vulnerable Areas
While underlayment covers the main field of your roof, certain areas require an extra layer of protection, particularly in colder climates or areas prone to heavy rain. That's where ice and water shield comes in. This isn't your standard underlayment; it's a self-adhering, rubberized asphalt membrane that forms an impenetrable seal when applied. It's typically installed along the eaves (the edges of the roof where ice dams can form), in valleys (where two roof planes meet), around chimneys, skylights, and other penetrations.
Ice dams are a major headache in winter, causing melting snow to back up under shingles and into your home. The ice and water shield prevents this by sealing directly to the roof deck and around fasteners, creating a truly watertight barrier in these high-risk zones. It’s essentially an upgrade for the most vulnerable parts of your roof, offering robust defense against severe weather. Knowing Ice and Water Shield Explained can provide even more insight into its critical function.
The Visible Protection: Shingles and Their Installation
Once the foundational layers are in place, it's time for the asphalt shingles – the most visible part of your roof and the primary defense against the elements. Their effectiveness isn't just about the material; it's critically tied to how they are installed.
Shingle Material and Design
Asphalt shingles, whether they're traditional 3-tab, architectural (also known as dimensional), or luxury designer styles, are engineered to shed water. Their granular surface protects the asphalt from UV rays, while the asphalt itself provides the waterproofing. Architectural shingles, like those from GAF, Owens Corning, or CertainTeed, are particularly adept at this due to their multi-layered, laminated design, which creates a thicker, more dimensional appearance and enhanced durability.
These shingles are designed with specific cut-outs and tab patterns to overlap, creating a staggered, interlocking system that forces water to flow downwards and off the roof. The quality of the shingle material directly impacts its longevity and ability to withstand weather, highlighting why considering options like Impact-Resistant Shingle Cost or Class 4 Shingle Roof Cost can be a smart investment in certain areas.
Proper Nailing and Sealing Techniques
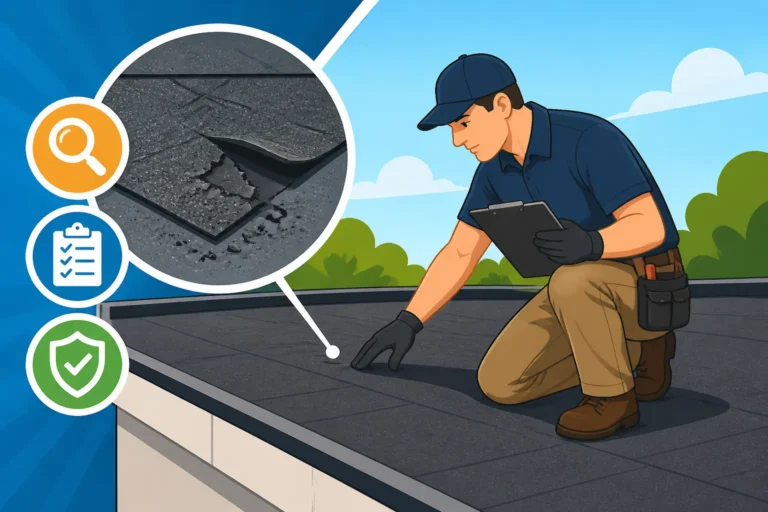
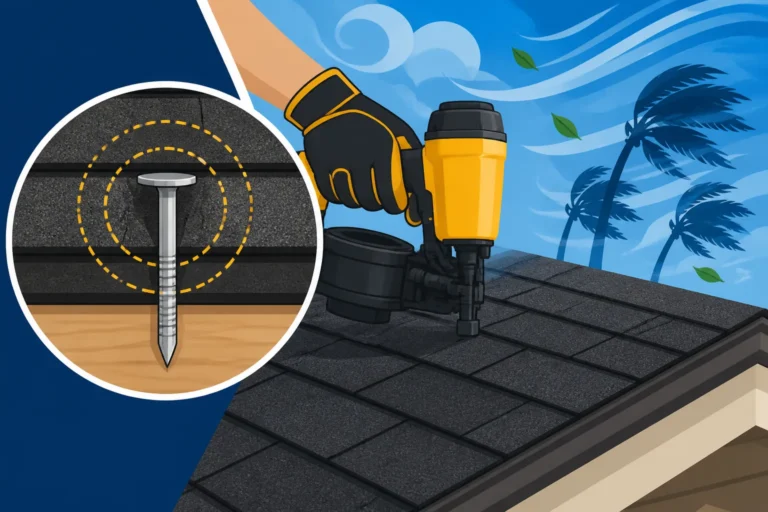
It's not enough to just lay shingles; they must be nailed correctly to be truly watertight. Each shingle has a designated nailing strip, and fasteners must be driven in precisely – not too deep (which can cut through the shingle) and not too shallow (which allows the shingle to lift). Incorrect nailing is one of the most common reasons shingles fail prematurely.
Additionally, asphalt shingles have a thermal sealant strip on their underside. When exposed to sunlight and heat, this strip activates, bonding the shingles together. This creates a strong, monolithic layer that resists wind uplift and prevents water from being driven underneath during heavy storms. This sealing process is vital for the long-term integrity of the roof and for maintaining its watertight capabilities. Experienced roofers understand these nuances, and platforms like Modernize can help homeowners connect with such skilled professionals.
Sealing the Cracks: Flashing and Penetrations
Even with perfect shingles and underlayment, a roof has inherent weak points: anywhere it changes direction, meets a wall, or has something poking through it. These areas are where flashing becomes the unsung hero of watertightness.
Flashing at Valleys and Wall Junctures
Valleys, where two roof planes meet, are natural channels for water. If not properly protected, they're prime spots for leaks. Valleys can be "open" (with a metal lining exposed) or "closed" (where shingles cover the metal lining). Both methods, when installed correctly, use metal flashing – typically aluminum or galvanized steel – to create a smooth, durable, and watertight path for water to flow down into the gutters. Without this critical metal, water would simply seep into the joint between the roof sections.
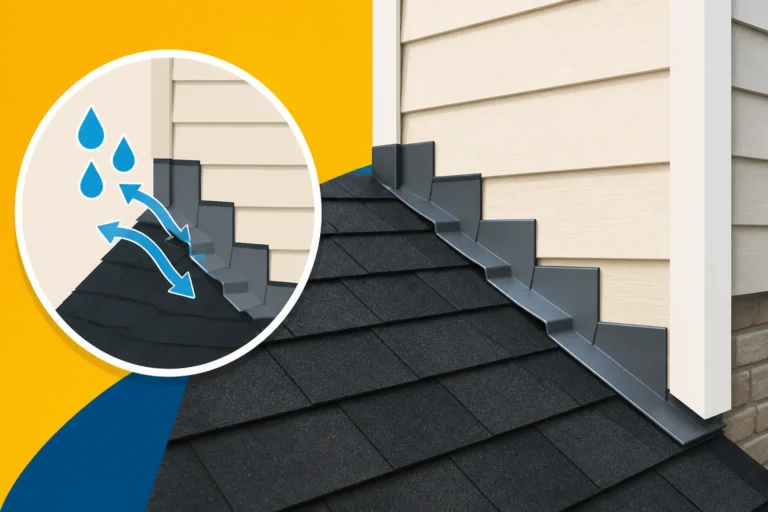
Similarly, wherever a roof meets a vertical wall (like a dormer or an addition), step flashing is used. These are L-shaped pieces of metal that are interwoven with the shingle courses, overlapping each shingle and extending up the wall, often tucked behind siding or counter-flashing. Each piece acts like a tiny shingle, shedding water onto the one below it, effectively diverting water away from the vulnerable wall-to-roof intersection. This detailed process is key to preventing major interior water damage. Learning about How Valleys Are Flashed or Step Flashing Around Walls can give you a clearer picture of this intricate work.
Sealing Around Chimneys, Skylights, and Vent Pipes
Any penetration through the roof deck – chimneys, skylights, plumbing vents, exhaust fans – creates a break in the shingle and underlayment layers, making it a potential entry point for water. This is where specialized flashing techniques are crucial.
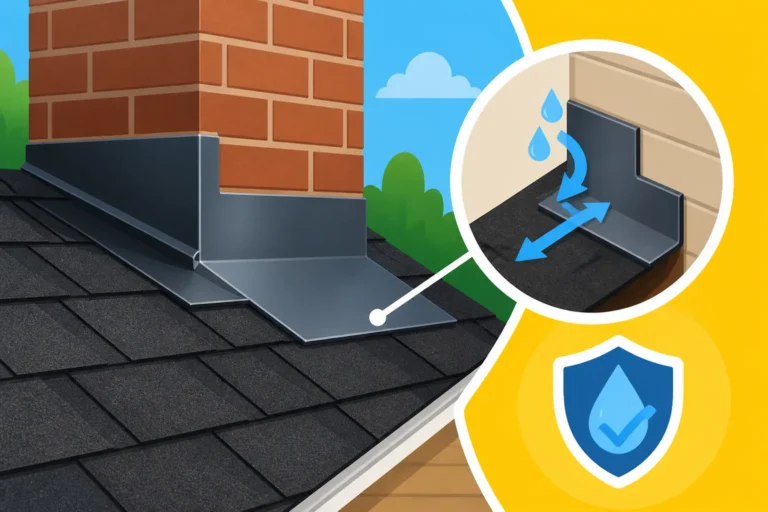
For chimneys, a combination of step flashing and counter-flashing is used. Step flashing is interwoven with the shingles, while counter-flashing is embedded into the chimney mortar joints or mounted to the side of the chimney and then bent down over the step flashing. This multi-layered approach ensures water cascades off the chimney and over the flashing, never reaching the roof deck. For skylights, custom flashing kits are integrated with the unit, sealing it directly to the roof and forming a watertight seal. Vent pipes get a rubber or metal "boot" flashing that slides over the pipe and is integrated into the shingle layers, often sealed with a bead of roofing cement for extra protection. Understanding Chimney Flashing Explained details this complex but necessary protection.
Here's a quick look at the main components contributing to a watertight roof:
| Component | Primary Function | Key to Watertightness |
|---|---|---|
| Roof Decking | Structural base for all layers | Provides stable surface for proper fastener grip and material adhesion |
| Underlayment | Secondary waterproofing barrier | Directs water off the deck if shingles fail; seals against wind-driven rain |
| Ice & Water Shield | Enhanced protection for high-risk areas | Self-adheres to seal around fasteners; prevents ice dam backup and leaks in valleys |
| Asphalt Shingles | Primary weather protection | Overlapping design sheds water; granular surface protects asphalt; sealant strips bond shingles |
| Flashing (Metal) | Protects seams and penetrations | Diverts water away from vulnerable intersections (valleys, walls, chimneys, vents) |
| Ventilation (Indirect) | Manages attic moisture and temperature | Prevents condensation buildup, which can lead to decking rot and shingle degradation |
The Often-Overlooked: Ventilation and Moisture Management
While not a direct waterproofing component, proper roof ventilation plays a vital, indirect role in maintaining the watertight integrity and longevity of your asphalt roof.
Preventing Condensation and Rot
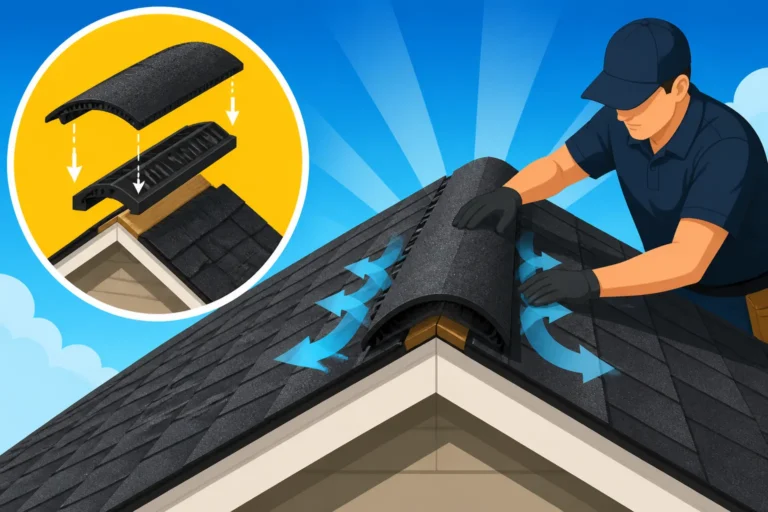
A well-ventilated attic allows for continuous airflow, drawing in cooler air from soffit vents and expelling warmer, moist air through ridge or other exhaust vents. Without adequate ventilation, warm, humid air can become trapped in the attic, especially in colder months. When this moist air comes into contact with the cooler underside of the roof deck, it condenses into water.
Over time, this condensation can lead to significant problems:
- Decking Rot: Constant moisture can soften and rot the plywood or OSB decking, compromising its ability to hold fasteners and potentially leading to structural failure and leaks.
- Mold and Mildew: Excess moisture fosters the growth of mold and mildew, which can spread to insulation, rafters, and even into your living space, creating health hazards and further structural damage.
- Reduced Shingle Life: Poor ventilation can also cause shingles to bake from the underside in hot climates, accelerating their deterioration, leading to curling, cracking, and a shorter lifespan, thus compromising their ability to shed water.
This interplay between temperature, moisture, and air movement is why How Roof Ventilation Works is such a critical element in a truly watertight roof system.
The Role of Ridge Vents and Other Exhaust Vents
Ridge vents, which run along the peak of the roof, are arguably the most effective and aesthetically pleasing form of exhaust ventilation. They allow hot, moist air to escape naturally as it rises, while their external baffles prevent rain or snow from entering. Paired with continuous soffit vents (in the overhangs of your roof), they create a balanced attic ventilation system.
Other options like static box vents or turbine vents also work to exhaust air. The key is to have a balanced system where the amount of intake ventilation equals or slightly exceeds the amount of exhaust ventilation. This ensures a consistent flow of air, preventing stagnant pockets of moisture and heat. Roofing contractors recommended by services like Modernize often emphasize a complete roofing system, where ventilation is considered just as important as the shingles and underlayment in achieving a long-lasting, watertight roof. This holistic approach is critical for the overall health and lifespan of your roof, helping to prevent issues that could lead to needing a full Roof Repair vs Replacement: How to Decide.
A truly watertight roof isn't a single component; it's a carefully engineered system where every layer, every piece of flashing, and even the air circulating in your attic plays a role. From the robust decking to the precisely installed shingles, and the critical flashing around every penetration, each element contributes to keeping the elements outside where they belong. Investing in quality materials and, more importantly, a skilled and experienced roofing contractor is the best way to ensure your home remains dry and protected for decades to come.
Disclaimer
Please remember that this article provides general information and should not be considered professional advice. Always consult with a qualified and licensed roofing contractor for specific recommendations and services tailored to your property's unique needs. Roofing work can be dangerous and should be performed by experienced professionals.