How to Choose a Roofer After a Storm
Dealing with a damaged roof after a storm hits can feel incredibly overwhelming, leaving you stressed about leaks, further damage, and the daunting task of finding someone reliable to fix it. It's a scramble, and unfortunately, it's a time when many homeowners are vulnerable to less-than-reputable contractors. This guide is here to walk you through the essential steps and crucial considerations for choosing a trustworthy roofing contractor, ensuring your home gets the care it needs without falling victim to common post-storm pitfalls.
The Immediate Aftermath: Securing Your Home and Starting the Process
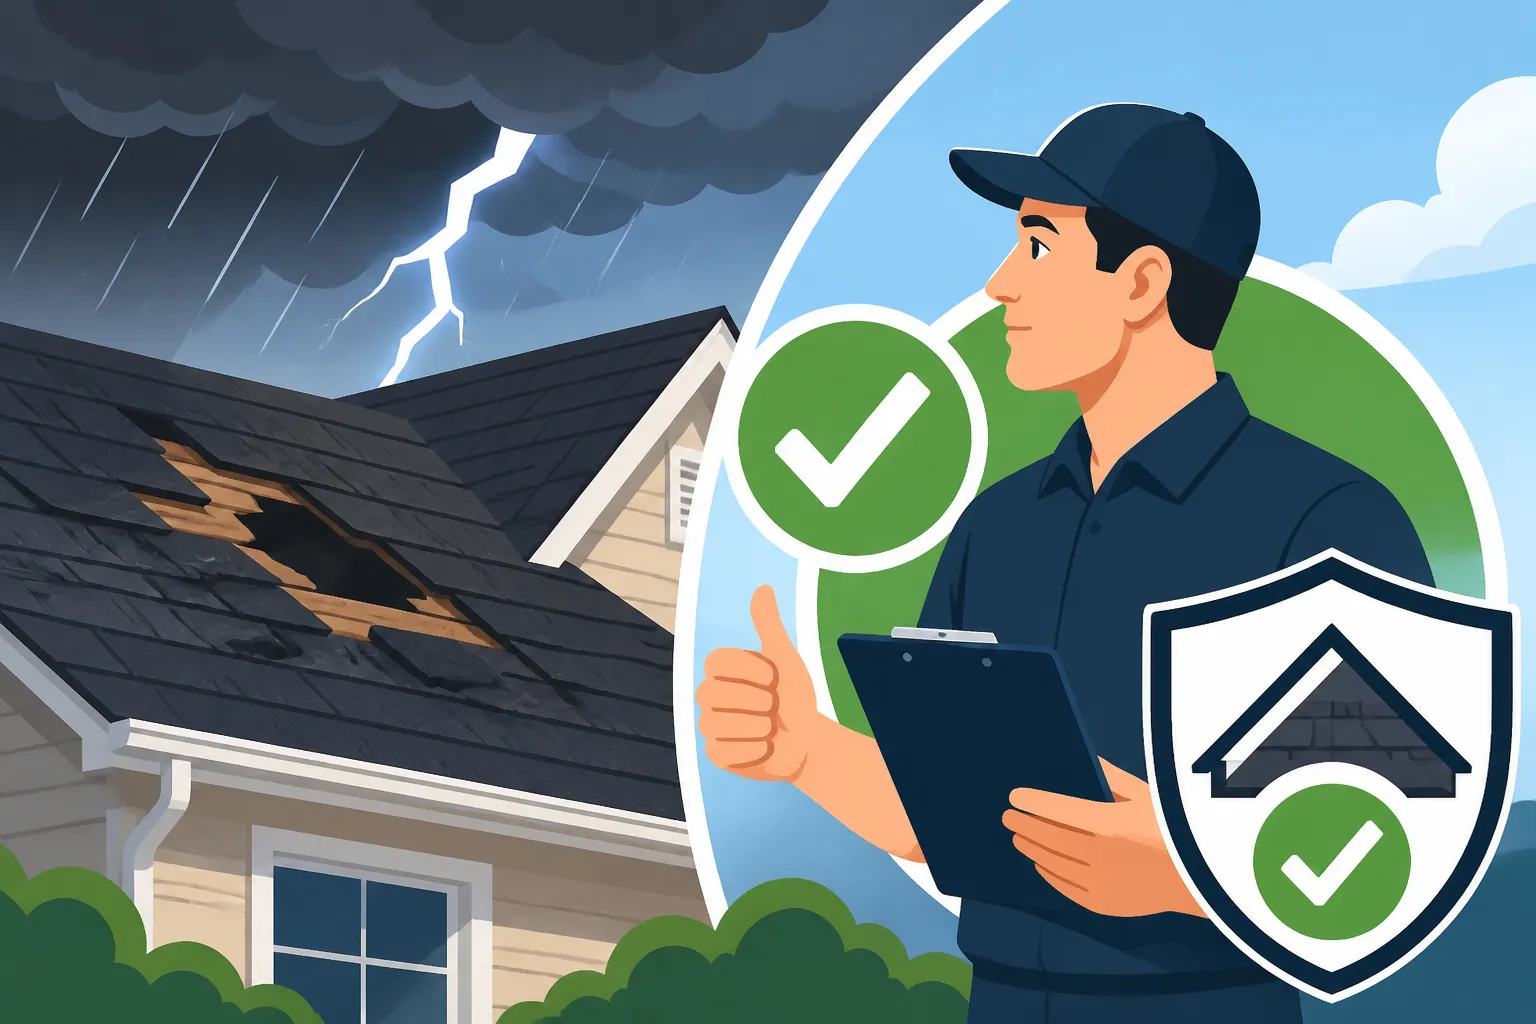
When a severe storm tears through your area, your roof often takes the brunt of it. The immediate aftermath can be chaotic, with many homes suffering similar damage, and the scramble to secure your property begins. It’s natural to feel anxious, but taking a few calm, deliberate steps right away can make a world of difference in your recovery process and help you select the right professional.
Prioritizing Safety and Temporary Fixes
First and foremost, your family's safety is paramount. Before even thinking about a contractor, assess the immediate dangers. Are there downed power lines? Is your roof visibly sagging or are large sections missing? Stay clear of any areas that look unstable. If you have active leaks, try to contain the water with buckets and towels to minimize interior damage. For larger breaches, a temporary tarp can be a lifesaver. This isn't a long-term solution, but it buys you time and prevents water from seeping further into your home, potentially causing much more expensive structural damage or mold growth. Many local emergency services or experienced roofing companies offer emergency tarping services, which can be a wise investment to protect your home from subsequent rainfall while you navigate the repair process. Remember, a quick temporary fix can prevent a small problem from becoming a catastrophic one.
Documenting Damage for Insurance
Before anyone touches your roof, grab your phone or camera and document everything. Take clear photos and videos from multiple angles, both inside and outside your home. Focus on missing shingles, visible leaks in your attic or ceilings, damaged gutters, fascia, or even collateral damage to your landscaping caused by falling debris from the roof. This visual evidence is absolutely critical for your insurance claim. Without thorough documentation, it can be much harder to prove the extent of the damage to your insurance adjuster. Many homeowners feel rushed to get repairs started, but taking these few extra minutes to document properly will save you headaches down the line. It's also a good idea to note the date and time of the storm and any specific details you remember about the event, as this can be useful information for your claim.
Contacting Your Insurance Company
Once your home is temporarily secured and the damage is documented, your next call should be to your insurance provider. Don't delay this step. Most policies have specific timelines for filing claims after a storm event. Provide them with your documentation and details. They will assign an adjuster to assess the damage. It’s important to understand that your insurance company will want to verify the damage themselves, so resist the urge to get extensive repairs done before their assessment, unless it’s an absolute emergency temporary repair to prevent further harm. This is where your careful documentation becomes invaluable. Understanding if your insurance will cover roof replacement is a huge piece of the puzzle, so starting this conversation early is key.
Vetting Roofing Contractors After a Storm: Avoiding Scams and Finding Trustworthy Pros
The period right after a major storm is unfortunately ripe for scams. "Storm chasers" descend on affected areas, often promising quick, cheap repairs, only to deliver shoddy work or disappear entirely. This makes vetting your roofing contractor even more critical than usual. You need someone reliable, transparent, and genuinely skilled.
The Dangers of Storm Chasers
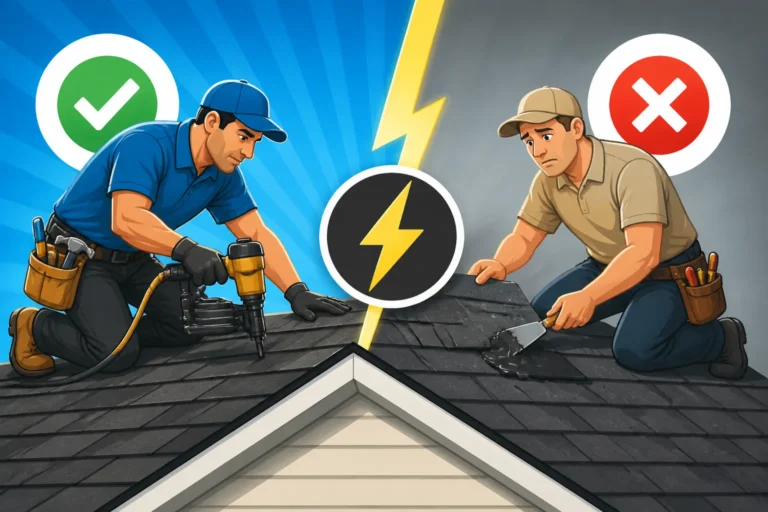
Storm chasers are often out-of-state contractors who arrive in force after a natural disaster, offering unsolicited inspections and high-pressure sales tactics. They might show up unannounced, claiming to have "just finished a job down the street" or offering a "free inspection" that conveniently finds extensive damage. While not all out-of-state contractors are bad, a major red flag is anyone demanding cash up front, pushing you to sign a contract on the spot, or insisting they handle all communication with your insurance company without you seeing any estimates. These individuals often lack local licenses, insurance, and the long-term accountability that a local business provides. They are infamous for poor workmanship, using sub-standard materials, and then vanishing once they get paid, leaving homeowners with future problems and no recourse. Be incredibly wary of anyone who seems too good to be true or applies undue pressure. For more on this, you can check out our article on How to Avoid Roofing Scams.
Key Credentials: License, Insurance, and Certification
This cannot be stressed enough: always verify a contractor's credentials.
First, check if they are licensed in your state or municipality. Licensing ensures they meet minimum competency standards and adhere to local building codes. In many states, you can look up contractor licenses online through a state board or local government website. For instance, in Florida, contractors must be certified or registered through the Department of Business and Professional Regulation.
Second, ensure they are fully insured with both liability insurance and workers' compensation. Liability insurance protects you if the contractor accidentally damages your property during the job, while workers' comp covers their crew if someone gets injured on your property. Without these, you could be held financially responsible for accidents or damages. Ask for current certificates of insurance directly from their insurance provider, not just a copy the contractor gives you. This is non-negotiable and something our article on Licensed and Insured Roofers: Why It Matters covers in depth.
Third, look for manufacturer certifications. Many reputable shingle manufacturers, like GAF, Owens Corning, or CertainTeed, offer certification programs for contractors who demonstrate expertise in installing their products according to strict specifications. These certifications often unlock extended warranties, which can be invaluable. For example, a GAF Master Elite Contractor has met rigorous training and ethical standards, giving you extra peace of mind.
Checking References and Online Reviews
Beyond licenses and insurance, a good contractor will have a solid track record. Ask for references from recent jobs, especially other storm-damaged roofs if possible. Actually call those references and ask about their experience: Was the project completed on time? Were there hidden costs? How was communication? Were they satisfied with the quality?
Also, dive deep into online reviews on platforms like Google, Yelp, and the Better Business Bureau (BBB). Don't just look at the star rating; read the actual reviews. Pay attention to how the contractor responds to negative feedback, if at all. Are there consistent complaints about delays, poor communication, or shoddy work? A pattern of similar issues is a major red flag. Platforms like Modernize can also connect you with pre-vetted local professionals, streamlining the process of finding reputable contractors and gathering multiple quotes.
Understanding Estimates, Contracts, and Warranties
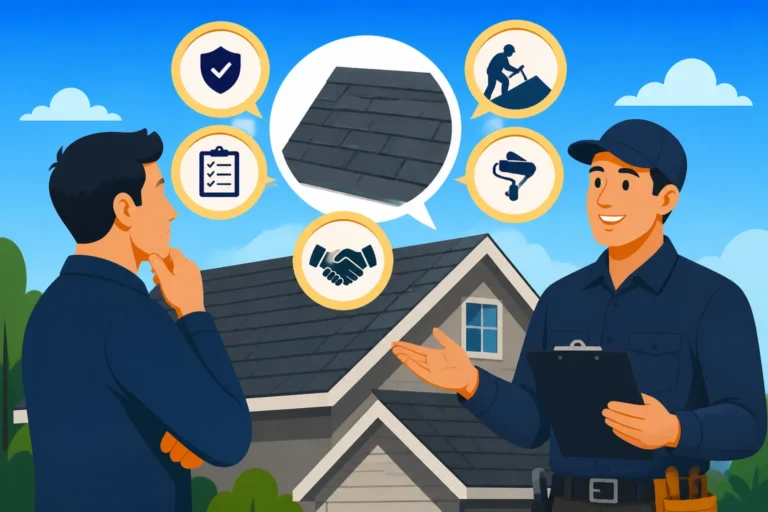
Once you've narrowed down your choices to a few reputable contractors, the next crucial steps involve scrutinizing their proposals, signing a clear contract, and understanding your warranty coverage. This is where the devil is truly in the details.
What to Look For in a Detailed Estimate
Never settle for a verbal quote or a vague, one-page estimate. A detailed roofing estimate should be comprehensive and itemized, clearly outlining everything included in the scope of work and the associated costs. Here’s what it must include:
- Materials Breakdown: Specific type, brand (e.g., Owens Corning Duration or CertainTeed Landmark Pro), color, and quantity of shingles, underlayment, flashing, vents, and other components. It should differentiate between starter shingles, field shingles, and hip/ridge cap shingles.
- Labor Costs: How labor is calculated (per square, per hour, etc.) and what it includes.
- Scope of Work: A step-by-step description of the entire project, from tear-off and disposal of old materials (which often has its own line item, as discussed in Cost of Roof Tear-Off and Disposal) to cleanup.
- Permit Fees: Who is responsible for pulling permits and the estimated cost.
- Contingency for Unexpected Issues: How they handle unforeseen problems, like rotted decking, and how that impacts the cost.
- Payment Schedule: Clear milestones for payments, usually with a reasonable down payment (not 100% upfront) and final payment upon completion and your satisfaction.
- Cleanup Plan: How they will protect your property during the job and clean up debris afterward.
- Start and End Dates: A reasonable timeline for the project.
Always get at least three estimates to compare. Don't automatically go with the cheapest option; an unusually low bid can be a sign of corners being cut. Focus on value, clarity, and the reputation of the contractor. Our article on How to Read and Compare Roofing Estimates can guide you through this.
The Importance of a Solid Contract
Once you've chosen a contractor, ensure every detail from the estimate is translated into a legally binding contract. A robust roofing contract protects both you and the contractor. It should explicitly state:
- All items from the detailed estimate: No surprises.
- Start and completion dates: With clauses for reasonable delays (weather, material shortages).
- Payment schedule: Clearly defined, with amounts and dates.
- Warranty information: Both workmanship and manufacturer warranties.
- Cleanup and waste removal: What you can expect.
- Change order process: How any changes to the scope of work will be documented and approved, preventing scope creep and unexpected costs.
- Proof of insurance: Explicitly stated that the contractor is licensed and insured.
- Lien waivers: To protect you from subcontractors or suppliers placing liens on your home if the main contractor fails to pay them.
Never sign a blank contract or a contract that doesn't fully answer all your questions. Take your time to read it thoroughly, and don't hesitate to consult with an attorney if you feel uncomfortable or if it’s a very large or complex project. A professional service like Modernize can help ensure you're getting competitive bids from contractors who understand the importance of clear contracts.
Demystifying Roofing Warranties
Warranties are your long-term protection, especially after a storm, and there are typically two types you need to understand:
- Workmanship Warranty: This is offered by the roofing contractor and covers the quality of their installation. A good workmanship warranty should last at least 5-10 years, though some top-tier contractors offer longer. If your roof leaks because of improper installation, the contractor should fix it under this warranty.
- Manufacturer Warranty: This comes from the shingle manufacturer and covers defects in the materials themselves. These can range from 20 years for 3-tab shingles to 50 years or even lifetime for architectural or designer shingles. Be aware that many manufacturer warranties require proper installation by a certified contractor to be valid, and some may be voided if a contractor isn't certified or if shortcuts are taken.
Always get both warranties in writing and understand what they cover, for how long, and any limitations or exclusions. Also, find out if the warranty is transferable if you sell your home, as this can add value. You can learn more about this in our guide on Roofing Warranty: Workmanship vs Manufacturer.
Navigating the Insurance Claim Process with Your Roofer
After a storm, your roof replacement journey is often closely tied to your homeowner's insurance policy. Working effectively with both your insurance company and your chosen roofer is key to a smooth and fair outcome.
Working with Your Adjuster
Once you've filed your claim, your insurance company will send an adjuster to inspect your roof. This person's job is to assess the damage and determine what the insurance company will cover. It's highly recommended that your chosen roofing contractor be present during this inspection. A reputable contractor can point out damage that might be easily missed by an untrained eye, ensuring that all storm-related issues are properly identified and documented for the adjuster. They can speak the "insurance language" and advocate on your behalf, explaining the extent of the damage in professional terms. They can also provide a detailed estimate to the adjuster that aligns with industry standards, which can help streamline the approval process. Remember, the adjuster works for the insurance company, so having your own expert representative can be incredibly beneficial.
Understanding Supplements and Depreciation
The insurance claim process isn't always straightforward. Sometimes, the initial estimate from the insurance adjuster might not cover the full cost of repairing or replacing your roof to code. This is where "supplements" come into play. A good roofing contractor will often identify additional necessary work (e.g., replacing more decking than initially estimated, or upgrading ventilation to meet current codes) that was not included in the initial adjuster's report. They will then submit a supplemental claim to your insurance company for these additional costs. This is a common and legitimate part of the process, but it requires diligent communication between your contractor and your insurer.
You'll also hear about "depreciation." Most insurance policies cover the "Actual Cash Value" (ACV) of your roof initially, which means they factor in depreciation for the age and condition of your old roof. The remaining amount, the "Replacement Cost Value" (RCV), is typically released to you after the work is completed and often after you submit proof of completion and final invoices. Make sure you understand the difference and what your policy covers. Your contractor can help explain how these payments will flow.
Finalizing Payment and Project Completion
As the project nears completion, it's crucial to perform a thorough final inspection. Walk around your home with your contractor, checking for proper installation, complete cleanup, and no remaining debris or nails. Don't be afraid to ask questions or point out anything that doesn't look right. Ensure that all the terms of your contract have been met before making the final payment.
Once you are completely satisfied with the work, the contractor will provide you with the final invoice. You'll typically pay your portion (your deductible plus any upgrades you chose) directly to the contractor, and then the final insurance payment (the depreciated amount) will be released to you by your insurance company, which you will then disburse to the contractor. Be sure to register your manufacturer warranty, as this is often a separate step that falls to the homeowner, even if the contractor initiates it. Understanding How a Roof Replacement Works: The Full Process can help you anticipate each stage.
Here’s a quick overview of key considerations when choosing a roofer after a storm:
| Consideration | What to Look For | Why It Matters |
|---|---|---|
| Local Presence | Established local office, local phone number, long-term reputation. | Accountability, readily available for warranty issues, understands local codes. |
| Licensing | Valid state/local contractor license. Verify it! | Ensures competency and adherence to regulations. |
| Insurance | Up-to-date General Liability and Worker's Compensation certificates. | Protects you from financial liability for accidents or damage. |
| References/Reviews | Recent positive testimonials, consistent good reviews, professional responses to negative feedback. | Indicates reliability and customer satisfaction. |
| Detailed Estimate | Itemized breakdown of materials, labor, permits, cleanup, and payment schedule. | Prevents hidden costs and ensures clarity on scope of work. |
| Solid Contract | Written agreement covering all scope, costs, timelines, and warranties. | Legal protection for both parties. |
| Warranty Options | Both workmanship (contractor) and manufacturer warranties. | Long-term protection against defects and installation issues. |
| Insurance Expertise | Willingness to work with adjusters, help with supplements. | Streamlines your claim, ensures fair coverage. |
Choosing a roofer after a storm can feel like a high-stakes decision, and it truly is. Your roof is your home's first line of defense. By taking your time, asking the right questions, and being diligent in your vetting process, you can find a reputable contractor who will restore your peace of mind along with your roof. While the immediate aftermath of a storm can be stressful, the long-term protection of your home is worth the extra effort in making an informed decision.
Disclaimer
Please remember that the information provided in this guide is for general informational purposes only and does not constitute professional advice. Roofing requirements, building codes, insurance policies, and contractor licensing regulations can vary significantly by location and change over time. Always consult with local licensed roofing professionals, your insurance provider, and local authorities to obtain specific advice tailored to your situation.