Roofing Permit Inspection Schedule
Navigating the world of roofing permits can feel like deciphering ancient scrolls, especially when you're trying to figure out the inspection schedule. It's a common headache for homeowners, often adding unexpected stress and delays to an already big project. You're probably wondering what inspections entail, when they happen, and what the local authorities are even looking for. This guide is here to demystify the roofing permit inspection schedule, breaking down what to expect, when inspections occur, and why they're so important for a smooth and compliant roof replacement.
Understanding the Purpose of Roofing Inspections
It’s easy to view permits and inspections as just another bureaucratic hoop to jump through, but they actually serve incredibly important functions. Think of them as a homeowner's safeguard, ensuring that the significant investment you're making in your roof is sound, safe, and built to last according to established standards. Without proper inspections, you could end up with a shoddy job that causes headaches down the line, potentially voiding warranties or even jeopardizing your home’s safety.
Ensuring Safety and Structural Integrity
The primary reason for roofing inspections, hands down, is safety. Your roof isn't just a decorative cap; it's a critical structural component of your home, protecting everything underneath from the elements. If a roof isn't installed correctly, it can lead to a host of dangerous situations. For instance, improper fastening of shingles could result in them blowing off in a strong wind, becoming dangerous projectiles. Or, if the underlying roof decking isn't up to snuff, it could fail, leading to leaks or even collapse under heavy snow loads or during a severe storm.
Inspectors are trained to spot these potential hazards. They check for everything from the structural integrity of the roof deck to how flashing is installed around chimneys and vents, ensuring that these vulnerable areas are properly sealed against water intrusion. They'll also verify that the chosen materials meet the required fire ratings for your area, adding another layer of safety for your household. This oversight is invaluable, especially when you consider the potential long-term costs and dangers of a poorly installed roof.
Upholding Local Building Codes
Beyond immediate safety, inspections ensure that your new roof adheres to all local building codes. These codes aren't arbitrary; they are the minimum standards for construction, designed to protect public health, safety, and welfare. Building codes can vary significantly from one municipality to another, and even within different areas of the same state. For example, homes in hurricane-prone regions like coastal Florida will have much stricter requirements for wind uplift resistance and nailing patterns than homes in, say, central Kansas.
An inspector will verify that your contractor is following these specific regulations. This might include checking the type of underlayment used, the number of nails per shingle, the proper installation of drip edge, and even the required ventilation in your attic. Adhering to these codes is crucial not only for the longevity and performance of your roof but also for legal compliance. If you ever sell your home, a clear record of permitted and inspected work can be a huge asset, proving to potential buyers that your roof was installed correctly and safely. Skipping the permit and inspections, on the other hand, can lead to serious issues during a home sale or even cause problems with your homeowners' insurance policy. It's vital to understand the local requirements, and your contractor should be knowledgeable about them. You might want to refer to resources like "Roofing Permits Explained" to get a broader understanding of what to expect.
Key Stages of a Roofing Permit Inspection Schedule
Understanding the different phases of a roofing project where inspections typically occur can help you anticipate the process and avoid delays. It’s not just one quick look; depending on your municipality and the scope of work, there can be several checkpoints. Each stage has a specific focus, designed to catch potential issues before they become buried under subsequent layers of material.
Initial Inspection Pre-Work
Sometimes, before any work even begins, particularly for larger or more complex projects, the building department might require an initial inspection. This isn't always common for a standard asphalt shingle replacement, but it's crucial to be aware it could happen. This pre-work inspection usually involves the inspector reviewing the plans and perhaps a quick look at the existing roof from the ground to verify the scope of work stated in the permit application. They might confirm the existing number of shingle layers (to ensure you're not planning to "roof over" more than allowed, as discussed in "How Many Layers of Shingles Are Legal") or check the condition of the fascia and gutters if they are part of the project.
This stage is less about the how of the installation and more about ensuring that the permit application aligns with the actual condition of the property and that all necessary preliminary steps, like confirming property lines or safety measures, are in place. Your roofing contractor should be able to tell you if a pre-work inspection is required in your area. This is also a good time for them to clarify any specific local requirements that might impact the job, from material storage to disposal protocols.
Mid-Roofing Inspection Decking and Underlayment
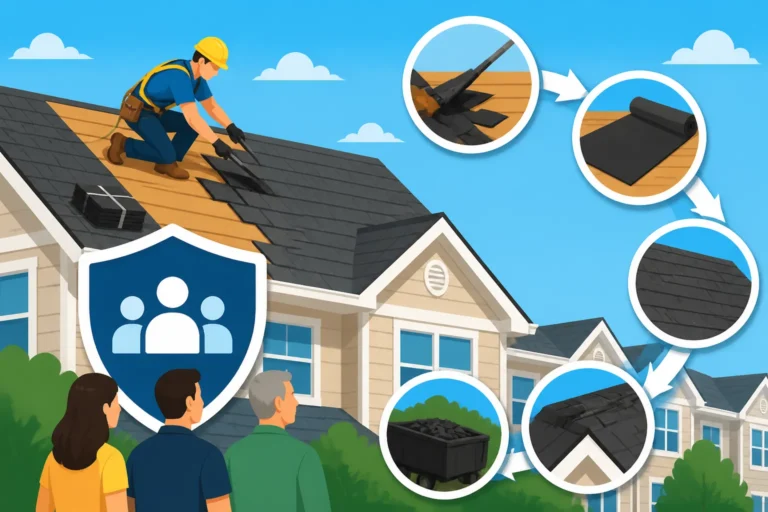
This is arguably the most critical inspection stage for an asphalt shingle roof replacement. It happens after the old shingles have been completely torn off, the roof decking is exposed, and the underlayment and flashing have been installed, but before the new shingles are laid down. Why is this so important? Because it allows the inspector to see the foundational layers that will soon be covered up. Once the shingles are on, it's impossible to properly inspect the decking condition, the underlayment application, or the flashing details without tearing the roof apart again.
During this mid-roofing inspection, also known as a "dry-in" or "sheathing" inspection, the inspector will meticulously check several key components:
- Roof Decking: They'll look for any damaged, rotted, or structurally unsound sections of plywood or OSB. If rotten wood is found, it must be replaced, impacting your Roof Decking Replacement Cost. They'll also verify that the decking is securely fastened with the correct type and number of fasteners.
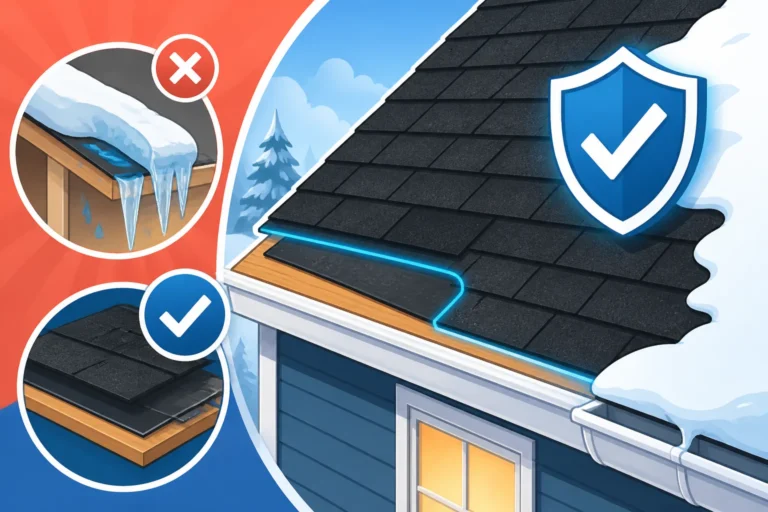
- Underlayment: The inspector will ensure the underlayment, whether it's felt or synthetic, is correctly installed, overlapped, and sealed, paying close attention to eaves, valleys, and around penetrations. They'll confirm that the appropriate type of underlayment, especially ice and water shield, is used in areas where codes require it, such as in cold climates prone to ice dams.
- Flashing: Proper flashing around chimneys, skylights, vent pipes, and wall transitions is absolutely essential for preventing leaks. The inspector will check that step flashing, counter flashing, and valley flashing are installed according to code, ensuring a watertight seal. This is a common area for leaks if done improperly, so they're usually very thorough here.
- Drip Edge: They'll also verify that the drip edge, which helps shed water away from the fascia and prevents water from wicking back under the roof, is correctly installed along the eaves and rake edges.
If any issues are found, the contractor will need to correct them before the inspection can pass and shingle installation can proceed. This ensures that the base of your new roof is solid and properly protected before the final weatherproofing layer goes on.
Final Inspection Completed Roof
Once all the new shingles are installed, the ridge caps are in place, and all debris has been cleaned up, it's time for the final inspection. This is the last official check to ensure the entire roofing system is completed properly and in accordance with all local codes and the approved permit. For homeowners, passing this inspection means your project is officially closed out with the building department, providing peace of mind and proof of compliance.
During the final inspection, the inspector will usually perform a visual review from the ground, and sometimes from the ladder or even the roof itself, depending on accessibility and local practice. They will be looking for things like:
- Shingle Installation Quality: Are the shingles laid straight and evenly? Are the exposure lines consistent? Are the starter shingles correctly installed along the eaves? They'll also check for proper fastening if visible, ensuring nails are flush and not overdriven or underdriven.
- Ridge Vents and Accessories: If a new ridge vent was installed, they’ll confirm it's the correct type and properly installed to allow for adequate attic ventilation. They'll also check other roof accessories like pipe boots, gable vents, and any new skylights.
- Overall Workmanship: The inspector will assess the general quality of the installation, looking for obvious signs of poor workmanship or damage. They might check that the yard and surrounding property have been cleaned of roofing debris and nails, though this is often more of a courtesy check than a code requirement.
- Code Compliance: They'll confirm that any specific codes or requirements noted during previous inspections or in the permit have been met. This is a final stamp of approval on the entire project, ensuring that your investment meets the necessary standards for safety and longevity.
Passing this final hurdle means your new roof is officially sanctioned. Remember, your contractor should handle the scheduling of all these inspections, keeping you informed every step of the way. If you're curious about "How a Roof Replacement Works: The Full Process", it can give you a good overview of how these inspections fit into the larger timeline.
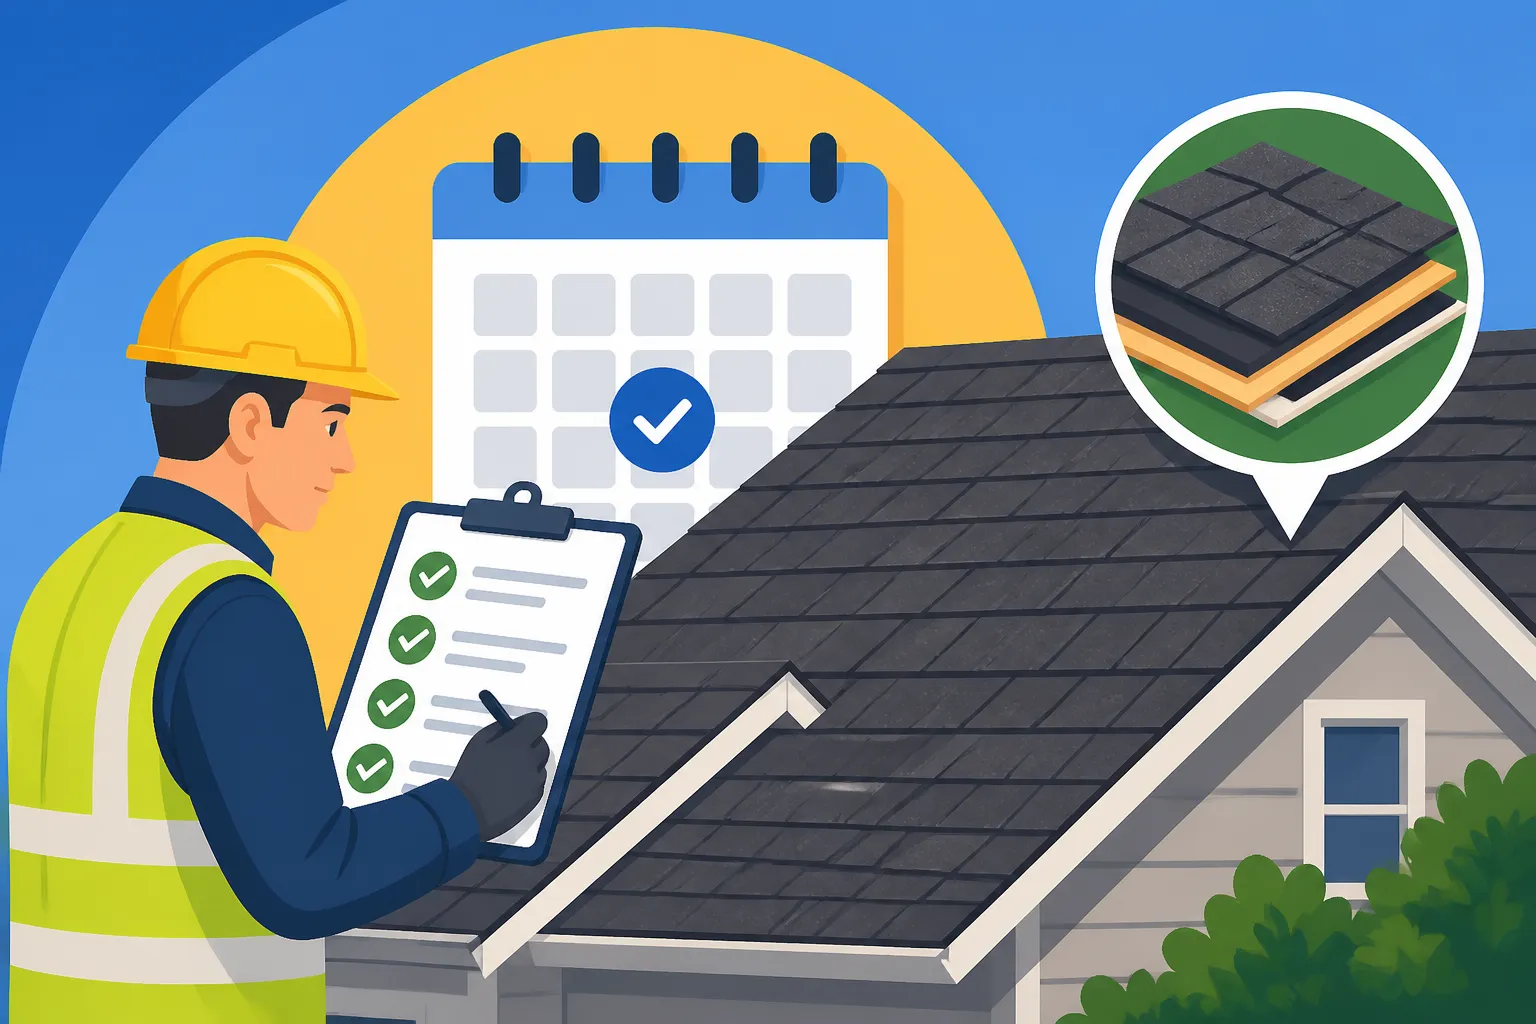
Here’s a quick overview of the typical inspection schedule:
| Inspection Stage | Timing | Primary Focus | Why It Matters |
|---|---|---|---|
| Initial Inspection | Before work begins (if required) | Verify scope of work, existing conditions, preliminary site assessment | Ensures permit aligns with reality, catches potential issues early |
| Mid-Roofing Inspection | After tear-off, decking, underlayment, flashing | Structural integrity of decking, correct installation of underlayment and flashing | Critical for preventing future leaks, ensures foundational elements are sound |
| Final Inspection | After all new roofing materials are installed | Overall workmanship, proper shingle installation, complete code compliance, ventilation | Final approval, confirms safety and longevity, officially closes out the permit |
Navigating Common Inspection Challenges and Delays
While inspections are essential, they aren’t always a perfectly smooth process. It's not uncommon to encounter a few bumps along the road, from minor corrections to scheduling hiccups. Being prepared for these potential challenges can help mitigate frustration and keep your project on track. The key is good communication with your contractor and an understanding of what issues might arise.
Dealing with Failed Inspections
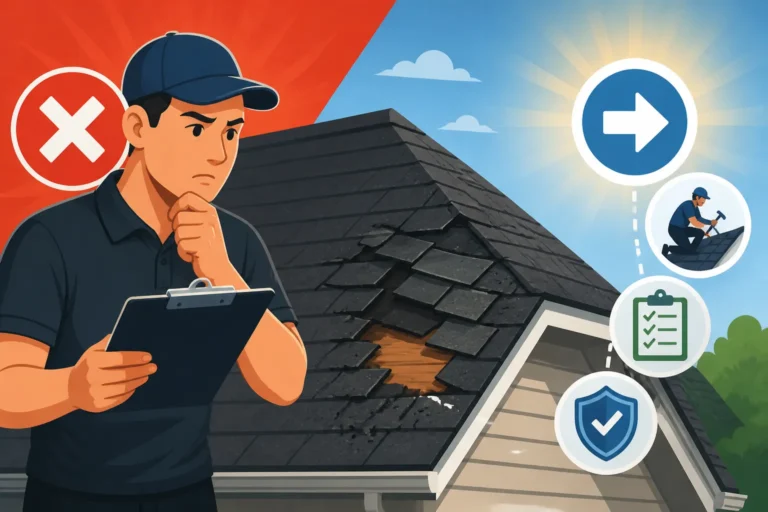
One of the most disheartening things a homeowner can hear is that an inspection failed. Don't panic! It's actually a fairly common occurrence, and often for reasons that are easily rectified. A failed inspection doesn't mean your contractor is necessarily incompetent, but it does mean something wasn't quite up to code. Common reasons for a failed roofing inspection include:
- Minor Code Violations: Perhaps a few nails were overdriven or underdriven, the drip edge wasn't installed correctly on a specific section, or the underlayment overlap wasn't precise in one area. These are usually quick fixes.
- Missing Components: An inspector might find that ice and water shield wasn't applied in a section where local codes require it, or that a specific type of flashing was overlooked.
- Decking Issues: Occasionally, more rotted decking is discovered than anticipated during the mid-roofing inspection, requiring more extensive repairs or replacement before approval can be given.
- Safety Concerns: While rare, an inspector might find a safety issue, like improper ladder setup or unsecured materials, which must be addressed before work can continue.
When an inspection fails, the inspector will provide a detailed report outlining exactly what needs to be corrected. Your contractor is then responsible for making those corrections, typically within a specified timeframe, and rescheduling the inspection. This usually means a slight delay in your project timeline, but it's a necessary step to ensure the integrity of your roof. It's also an opportunity to ask your contractor questions and ensure you understand what went wrong and how it's being fixed. This is part of why it's so important to hire a reputable company, as discussed in "How to Choose a Roofing Contractor."
Scheduling and Communication Tips
Effective scheduling and clear communication are paramount to a smooth inspection process. Building departments often have specific hours for inspections and require a certain lead time for scheduling. During peak roofing season, particularly after a major storm, inspector availability can be tight, leading to delays.
Here are some tips to navigate scheduling and communication:
- Contractor's Responsibility: Your roofing contractor should handle all aspects of permit acquisition and inspection scheduling. They typically have established relationships with local building departments and understand the protocols. Don't feel like you need to personally manage this; it's part of what you're paying them for.
- Plan Ahead: Encourage your contractor to schedule inspections as far in advance as possible. For the mid-roofing inspection, they should have a system in place to notify the building department as soon as the tear-off and underlayment phases are complete.
- Be Flexible: Understand that external factors like weather can impact schedules. If it's raining, the mid-roofing inspection, in particular, cannot happen, as the roof deck needs to be dry. This might push back the schedule.
- Clear Communication: Ask your contractor about their communication plan regarding inspections. Will they notify you immediately when an inspection is scheduled? When it's passed? If it fails? A good contractor will keep you in the loop, especially if there are any delays.
- Permit Posting: Ensure the permit is clearly posted on your property, usually in a front window or on a stake in the yard, as required by your local building department. Inspectors need to easily find this document to perform their job.
- Accessibility: Make sure the inspector has clear, safe access to the roof. This means no locked gates, pets secured, and clear paths to ladders. Your contractor should handle ladder setup.
Good communication between you, your contractor, and the building department is the backbone of a successful project. Don't hesitate to ask questions if you're unsure about the status of an inspection or what's expected. For instance, understanding "Roofing Permit Cost and Process" can clarify many questions you might have.
Regional Variations in Roofing Permit Inspections
It’s a common misconception that building codes and inspection processes are standardized across the country. In reality, they can differ wildly, not just from state to state, but even from county to county or city to city. What’s standard in one area might be an unheard-of requirement in another. These regional nuances are often driven by local climate, specific environmental hazards, and the history of construction in the area.
State and City-Specific Requirements
The variations in roofing permit inspection schedules and requirements are largely tied to local regulations. For example:
- Florida: In Florida, particularly in coastal areas and counties prone to hurricanes, roofing codes are among the strictest in the nation. Inspections in places like Miami-Dade or Sarasota County often include very specific checks for wind-resistant installation techniques, such as enhanced nailing patterns and the use of "peel-and-stick" ice and water shield as a secondary water barrier across the entire roof deck. There might be a dedicated "wind mitigation inspection" in addition to the standard process. This level of detail is critical for ensuring homes can withstand powerful storms.
- California: Given the seismic activity, codes in California often focus on structural integrity and ensuring that the roof system doesn't add undue weight or stress. In regions like Los Angeles or San Francisco, inspectors might pay close attention to the sheer strength of the decking and its attachment to the framing, alongside fire ratings due to wildfire concerns in many areas.
- Colorado: For states like Colorado, especially around the Front Range, hail is a significant concern. While not all municipalities mandate it, some might encourage or even require the use of Class 4 impact-resistant shingles. Inspectors would confirm the installation of such specialized materials, verifying that they meet the necessary standards to protect against severe weather events.
- Arizona: In dryer climates like Phoenix, Arizona, the focus shifts. While still concerned with structural soundness, issues like ice and water barriers are far less critical than in a northern state. Instead, inspectors might ensure proper ventilation to dissipate heat, helping to prevent premature aging of shingles from extreme temperatures.
It's imperative that your chosen contractor is well-versed in the specific local codes for your exact location. A contractor from a neighboring county might not be up-to-date on all the nuances of your city's requirements. Always ask them about their experience with permits and inspections in your specific municipality. This local expertise is vital for avoiding unexpected delays or additional costs. You can sometimes find detailed information about your local requirements by looking into resources like "Roofing Regulations by State" or by checking your city's building department website directly.
Impact of Weather and Seasonality
Weather plays a surprisingly large role in the timing and feasibility of roofing inspections. Certain conditions can either delay an inspection or even prevent it from happening safely and accurately.
- Rain and Moisture: This is the biggest culprit for delays. A mid-roofing inspection, where the decking and underlayment are exposed, cannot be performed if it’s raining or if the roof deck is wet. An inspector needs to see the dry, clean substrate and properly applied underlayment. Rain can also prevent shingle installation, as most shingles need a dry surface to properly seal. If rain is in the forecast, inspections will often be pushed back, sometimes for days, impacting the overall "Roofing Permit Timeline."
- Extreme Cold: In colder climates like Minnesota or parts of Ohio, extremely low temperatures can affect the proper adhesion of asphalt shingles. While installations can often proceed in winter, inspectors might be particularly vigilant about ensuring manufacturer guidelines for cold-weather installation, such as hand-sealing shingles, are followed. This is because the self-sealing adhesive strips on shingles need warmth to activate.
- Extreme Heat: Conversely, intense heat in states like Texas or Arizona can make walking on a newly installed asphalt roof risky due to the softness of the asphalt, potentially causing damage to the shingles or making it unsafe for the inspector. Inspectors will still perform the inspection but might be more cautious about how they traverse the roof.
- Peak Season: After major storm events, or during the busy spring and fall roofing seasons, building departments can become overwhelmed with permit applications and inspection requests. This surge in demand can lead to longer wait times for inspections, causing project timelines to stretch.
Understanding these regional and seasonal factors helps manage expectations and allows for better planning. A seasoned contractor will take these variables into account when providing you with a project timeline and will communicate proactively if weather or seasonal demand is likely to affect the inspection schedule. Your flexibility and understanding can go a long way in navigating these unavoidable realities.
Disclaimer
Please remember that this article provides general information and guidance regarding roofing permit inspection schedules. Building codes and permit requirements vary significantly by location and can change frequently. Always consult with your local building department or a qualified, licensed roofing contractor in your area for the most accurate and up-to-date information pertaining to your specific project and location. This information is not a substitute for professional advice.