How to Temporarily Cover Hail Damage
Experiencing hail damage on your asphalt roof is genuinely alarming. One minute your roof looks fine, the next you're staring at what feels like a war zone of pockmarks, missing granules, and potentially worse, small punctures. The immediate, gnawing worry is, "What happens if it rains again?" This guide is here to walk you through the essential steps of temporarily covering hail damage, giving you peace of mind and protecting your home while you arrange for professional repairs.
Why Immediate Temporary Protection is Absolutely Crucial
When hail strikes, it’s not just about cosmetic damage. Those seemingly small dents or areas of granule loss on your asphalt shingles can be gateways for water. Even a tiny opening can allow moisture to seep through your shingles, compromise the underlayment, and eventually reach your roof decking and attic. This isn't just a potential future problem; it's an immediate threat that can lead to extensive and costly damage if not addressed quickly.
Preventing Further Water Damage and Structural Issues
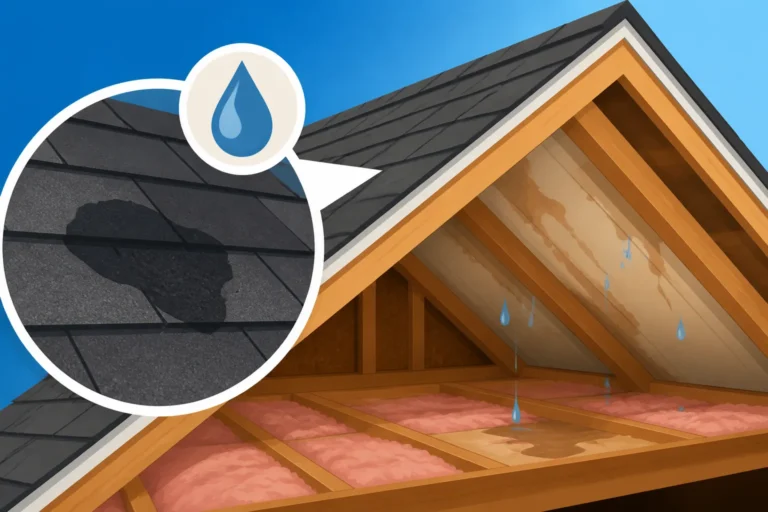
Think about a small leak in your ceiling after a storm. It starts as a drip, but left unaddressed, it can saturate insulation, stain ceilings, ruin drywall, and even foster mold growth. Hail damage often creates multiple potential entry points for water across your roof's surface. A temporary cover acts as a crucial barrier, preventing rain, melting snow, and even heavy dew from infiltrating your home's vulnerable interior. This is especially vital if a significant weather event is expected in the days following the hail, giving you a much-needed buffer.
Without temporary protection, even seemingly minor hail damage can quickly escalate. For instance, if your roof decking gets wet, it can weaken over time, leading to sagging and creating a much more complex and expensive repair scenario. Protecting your home from further water intrusion is the primary goal of any temporary repair.
Safeguarding Your Insurance Claim
This is a big one that often catches homeowners by surprise. When you file an insurance claim for hail damage, your policy often includes a clause requiring you to take reasonable steps to mitigate further damage. This means if you could have put a tarp on your roof to stop a leak but didn't, and then a subsequent rainstorm caused extensive water damage to your attic and living space, your insurance company might deny coverage for that additional interior damage.
By promptly installing a temporary cover, you demonstrate to your insurance provider that you acted responsibly to protect your property. This proactive step can significantly strengthen your claim and help ensure that you receive full compensation for all covered damages. It's not just about protecting your house; it's about protecting your financial interests too. You can learn more about this process in our guide on How to Document Roof Damage for Insurance.
Safely Assessing the Extent of Hail Damage
Before you can even think about temporary repairs, you need a good understanding of what you're dealing with. However, let me be crystal clear: DO NOT get on your roof yourself, especially if you're not experienced or if the roof is wet, steep, or you don't have proper safety equipment. Hail-damaged roofs can be incredibly slippery, and a fall is simply not worth the risk. Safety is paramount.
What to Look For from the Ground
Even without climbing onto the roof, you can gather a surprising amount of information. Grab a pair of binoculars and walk around your property, looking for these tell-tale signs:
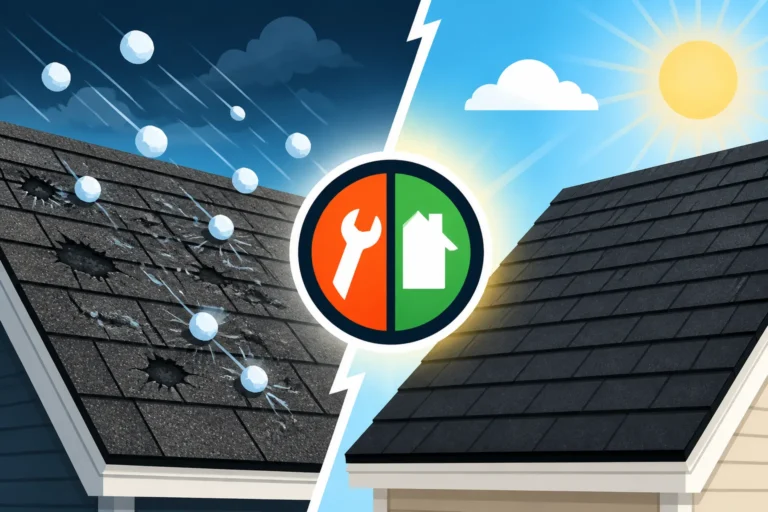
- Missing Granules: This is one of the most common signs of hail impact on asphalt shingles. You might see darker spots where the protective granules have been knocked off, exposing the underlying asphalt. These granules are often found accumulated in gutters or at the base of downspouts.
- Bruising and Dents: Hailstones can "bruise" the asphalt mat of the shingle, leaving circular or irregular depressions. These might not immediately look like holes, but they weaken the shingle and make it prone to cracking or leaking over time.
- Cracks and Fractures: In severe cases, large hail can cause visible cracks or fractures in the shingles, making them immediately vulnerable to water.
- Damage to Other Exterior Components: Check your gutters, downspouts, siding, window frames, and even your car (if it was outside). Dents in these items are strong indicators that your roof likely sustained damage as well. A dented metal vent cap is a sure sign of significant hail impact.
- Chimney Caps and Skylights: These vulnerable areas are often the first to show significant damage. Look for dents, cracks, or broken glass.
For a deeper dive into identifying specific issues, our post on Signs of Roof Hail Damage can provide valuable insights.
Identifying Areas Most Susceptible to Leaks
While hail can affect any part of your roof, some areas are naturally more vulnerable to water intrusion, even after minor damage. Pay close attention to:
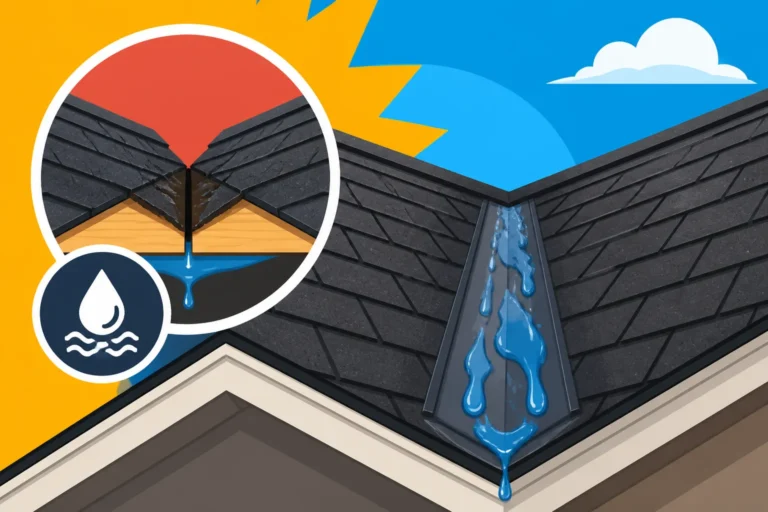
- Valleys: These are the V-shaped channels where two roof slopes meet. Water funnels through valleys, making them high-risk areas. If hail has damaged the shingles or flashing in a valley, a leak is almost guaranteed.
- Around Penetrations: Any object protruding from your roof – chimneys, vent pipes, skylights – requires flashing to prevent leaks. Hail can bend, crack, or dislodge flashing, creating openings for water.
- Edges and Ridges: The edges and ridge caps of your roof are exposed and can take a direct hit, leading to compromised seals and potential wind damage if the hail was accompanied by strong winds.
If you spot any of these issues or suspect widespread damage, mark the general areas from the ground. This will help you plan where to place your temporary cover and provide valuable information to the roofing professionals later. Remember, a professional will conduct a thorough Roof Damage Assessment: A Homeowner's Guide to pinpoint all issues.
Step-by-Step Guide to Temporarily Covering Hail Damage
Once you've safely assessed the general areas of damage, it's time to put together your temporary cover. This isn't a permanent fix, but it's a critical bridge to prevent more damage. The most common and effective method involves using a heavy-duty tarp.
Gathering Your Materials
Before you even think about climbing a ladder, make sure you have everything you need. A quick trip to a local hardware store like Lowe's or Home Depot, or even an online order, can get you these essentials:
- Heavy-Duty Tarp: Choose a tarp that is large enough to extend beyond all damaged areas, overlapping the undamaged sections of your roof by at least 2-3 feet in every direction. Opt for a heavy-duty, UV-resistant tarp with reinforced grommets. The thicker the mil (millimeter) rating, the more durable it will be.
- Sturdy Ladder: Ensure it's tall enough to safely reach your roofline and is stable on level ground.
- 2×4 Lumber: You'll need several pieces of 2×4 lumber, ideally slightly longer than the width of your tarp. These will be used to create "batten boards" to secure the tarp.
- Exterior Screws or Nails: Long enough to penetrate the 2x4s and securely fasten into the roof decking, but not so long they pierce into your attic. Generally, 2-3 inch exterior-grade screws are a good choice.
- Screw Gun or Hammer: Depending on whether you choose screws or nails.
- Utility Knife or Scissors: For cutting the tarp if needed, or ropes.
- Gloves and Safety Glasses: Always protect your hands and eyes.
- Ropes (Optional): If you're using a method involving tying down, although batten boards are generally preferred for security.
- Work Boots: Good traction is a must.
- Another Person: Absolutely essential for safety, especially when working on a ladder and handling a large tarp.
The Tarping Process for Asphalt Shingles
This method focuses on using batten boards, which is often the most secure and effective way to temporarily cover a damaged roof. Our guide on Emergency Roof Tarping Explained offers additional strategies.
- Safety First, Again: Have your helper present. Position the ladder securely on level ground, extending at least three rungs above the roof edge. Wear your safety gear. If you have any hesitation, consider hiring a local handyman or emergency service provider for this step, even if it's just to secure the tarp.
- Clear the Area: Gently clear any loose debris like branches or large hail chunks from the immediate damaged area on the roof. Be careful not to cause more damage to the already compromised shingles.
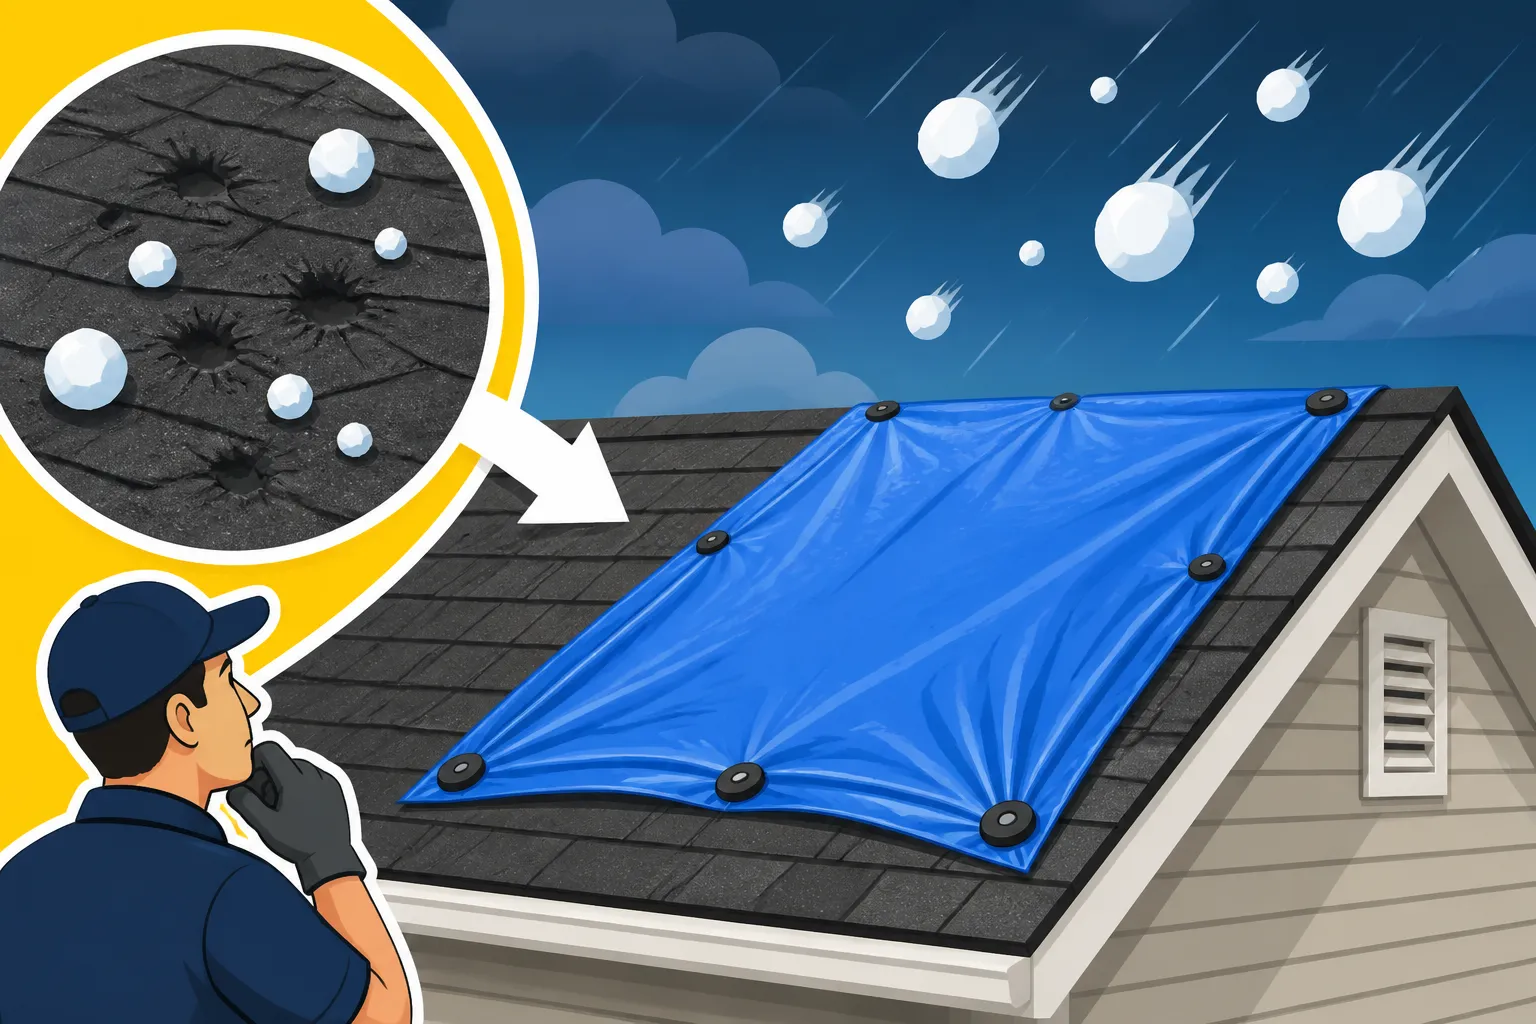
- Position the Tarp: Carefully unfold and position the tarp over the damaged area. You want the tarp to extend well beyond the damaged sections, ideally running from your roof's ridge down past the eaves. If you can, try to run the tarp over the ridge to the other side, securing it there for maximum wind resistance. This is much better than just covering a section on one slope. The goal is to direct water off the roof, not pool it on the tarp.
- Create the Batten Boards:
- Ridge Batten (if applicable): If your tarp goes over the ridge, fold the tarp over a 2×4 piece of lumber (the "ridge batten") at the very top. This creates a tight seal. Secure this 2×4 with screws or nails directly into the roof decking, through the tarp. Make sure the screws are long enough to bite into the decking but not go all the way through if it's not a full tear-off.
- Side Battens: Along the top edge of the tarp (if not going over the ridge) and down the sides, roll the tarp's edge around a 2×4. This creates a strong, thick edge. Lay this 2×4 flat against the roof, over the tarp, and secure it with screws or nails every 1-2 feet. This seals the edge and prevents wind from getting under the tarp.
- Eave Batten: At the bottom edge of the tarp (near the eaves), roll the tarp around another 2×4. This batten should be positioned just above the gutter or drip edge. Secure it every 1-2 feet. This ensures water shedding.
- Intermediate Battens (Optional but Recommended): For larger areas or windy conditions, consider adding intermediate 2×4 battens across the tarp's surface, perpendicular to the slope, spaced every 4-6 feet. This helps prevent the tarp from flapping and ripping in high winds and can help shed water more effectively.
- Ensure Proper Drainage: The tarp needs to be taut enough to shed water effectively. Avoid creating low spots where water can pool, as this adds weight and stress to the temporary cover and could still lead to leaks. The batten boards should help create a secure, relatively flat surface.
- Double-Check All Fasteners: Go back and ensure all screws or nails are driven in securely and that the tarp is held firmly by the batten boards. Tug on the edges of the tarp to test its stability.
Here's a quick reference table for your temporary repair:
| Step | Description | Key Considerations |
|---|---|---|
| 1. Assess Damage | From the ground, use binoculars to identify missing granules, dents, cracks, and damage to other exterior components (gutters, siding). Prioritize areas around valleys, chimneys, and vents. Do not get on the roof yourself unless properly trained and equipped. | Safety first! Never risk a fall. Note the location and approximate size of damaged sections. Take photos for insurance. |
| 2. Gather Materials | Acquire a heavy-duty, UV-resistant tarp (large enough to overlap damage by 2-3 feet), sturdy ladder, 2×4 lumber for batten boards, exterior screws/nails, screw gun/hammer, utility knife, gloves, safety glasses, and secure work boots. Recruit a helper. | Choose a tarp thicker than standard hardware store blue tarps. Ensure your ladder is stable and extends beyond the roofline. |
| 3. Clear Debris | Gently remove any loose branches, leaves, or large hail chunks from the affected area of the roof. Be cautious not to cause further damage to already compromised shingles. | A clean surface ensures a better seal for the tarp. |
| 4. Position Tarp | Carefully unroll and lay the tarp over the damaged section(s). Ideally, the tarp should run from the roof's ridge down to the eaves, overlapping undamaged sections significantly. If possible, run the tarp over the ridge for maximum security. | The tarp must extend well beyond all damaged areas to provide effective coverage. Ensure it's positioned to direct water off the roof. |
| 5. Secure with Battens | Create "batten boards" by folding the tarp's edges over 2×4 lumber. Lay these boards flat over the tarp along the ridge (if applicable), sides, and eaves. Secure the 2x4s with screws or nails every 1-2 feet into the roof decking, through the tarp. Add intermediate battens for larger areas. | Ensure fasteners are long enough for grip but not so long they penetrate the attic. Tightly secure all edges to prevent wind uplift. |
| 6. Check Drainage | Verify that the tarp is taut and sloped properly to allow water to run off freely. Eliminate any low spots where water could collect. | Pooling water can add excessive weight, stress the tarp, and still lead to leaks. |
What to Do After Your Temporary Repairs Are in Place
Congratulations, you've taken a huge step in protecting your home! But remember, "temporary" means just that. This isn't a long-term solution. Now, it's time to focus on the next crucial steps towards a permanent repair.
Documenting Everything for Your Insurance Claim
This part is absolutely non-negotiable. Before, during, and after your temporary repairs, document everything. Take clear photos and videos of:
- The hail damage itself: Close-ups of dents, missing granules, cracks.
- Any interior damage: Water stains on ceilings, walls, or in the attic.
- The temporary repair in progress: Photos of the tarp, batten boards, and how it’s secured.
- Your receipts: Keep all receipts for the tarp, lumber, screws, and any other materials you purchased.
- Dates and Times: Note when the hail occurred, when you assessed the damage, and when you installed the temporary cover.
All this documentation serves as concrete evidence for your insurance claim and proves that you took immediate action to mitigate further damage. Our detailed article on How to Document Roof Damage for Insurance can guide you through this critical process.
Contacting Your Insurance Provider
As soon as you’ve secured the temporary cover and documented the damage, call your insurance company. Don't delay. The sooner you report the claim, the smoother the process typically is. Be prepared to provide:
- The date the hail damage occurred.
- A brief description of the damage.
- Confirmation that you've taken steps to temporarily protect your home.
- Your policy number.
Your insurer will likely send an adjuster to inspect the damage. Having your temporary cover in place shows good faith and protects your claim. You'll want to understand if your policy covers the full Asphalt Roof Replacement Cost: Complete Breakdown or if depreciation factors in.
Getting Professional Roofing Assessments and Quotes
While your temporary cover buys you time, you still need a permanent solution. This is where professional roofers come in. You'll want to schedule appointments for comprehensive roof inspections and get several quotes for the repair or replacement.
Look for reputable, local roofing contractors who are licensed and insured. They can provide a thorough assessment of the hail damage, including areas you couldn't see from the ground, like potential damage to the roof decking or flashing that might have been compromised. They can also help navigate the insurance claim process, making sure all damage is accounted for.
A great resource to find trusted local contractors is Modernize. Platforms like Modernize can connect you with pre-screened professionals in your area, taking some of the guesswork out of finding reliable help. When getting quotes, make sure they are detailed and itemize all costs, from tear-off to new materials and labor. Don't be afraid to ask questions about their warranties, timelines (our guide on How Long a Roof Replacement Takes can help you set expectations), and their process for working with insurance. Always be wary of Roofing Contractor Red Flags to Avoid. Getting multiple bids is key; our guide on How to Read and Compare Roofing Estimates will help you choose wisely.
Disclaimer
Please remember that this guide provides general information for temporary roof covering after hail damage. It is not a substitute for professional advice or emergency services. Working on roofs can be dangerous. Always prioritize safety, and if you are uncomfortable or unsure, contact a qualified roofing professional immediately. The information provided is for educational purposes only and should not be considered legal or professional construction advice.