Roof Insurance Claim After Wind: Steps
Dealing with wind damage to your roof can feel like a punch to the gut. One minute everything's fine, the next you're staring at missing shingles or even worse, a leaky ceiling, wondering how you're going to afford the repairs. The thought of navigating insurance claims on top of that stress is enough to make anyone feel overwhelmed. This guide is here to walk you through every step of filing a roof insurance claim after wind damage, making the process as clear and manageable as possible.
Immediately After the Windstorm: First Steps to Protect Your Home
When a fierce windstorm rips through your area, your immediate priority isn't just about repairs, it's about safety and preventing further damage to your home. Taking the right steps from the get-go can significantly impact the outcome of your insurance claim and save you from even bigger headaches down the line.
Prioritizing Safety and Preventing Further Damage
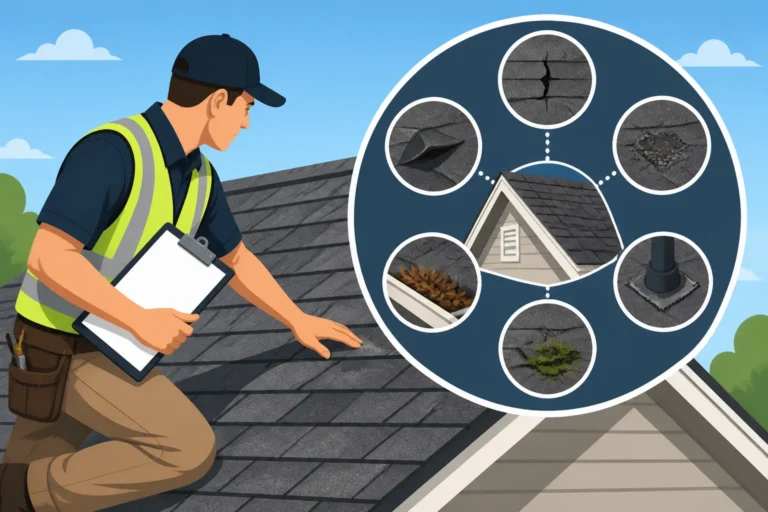
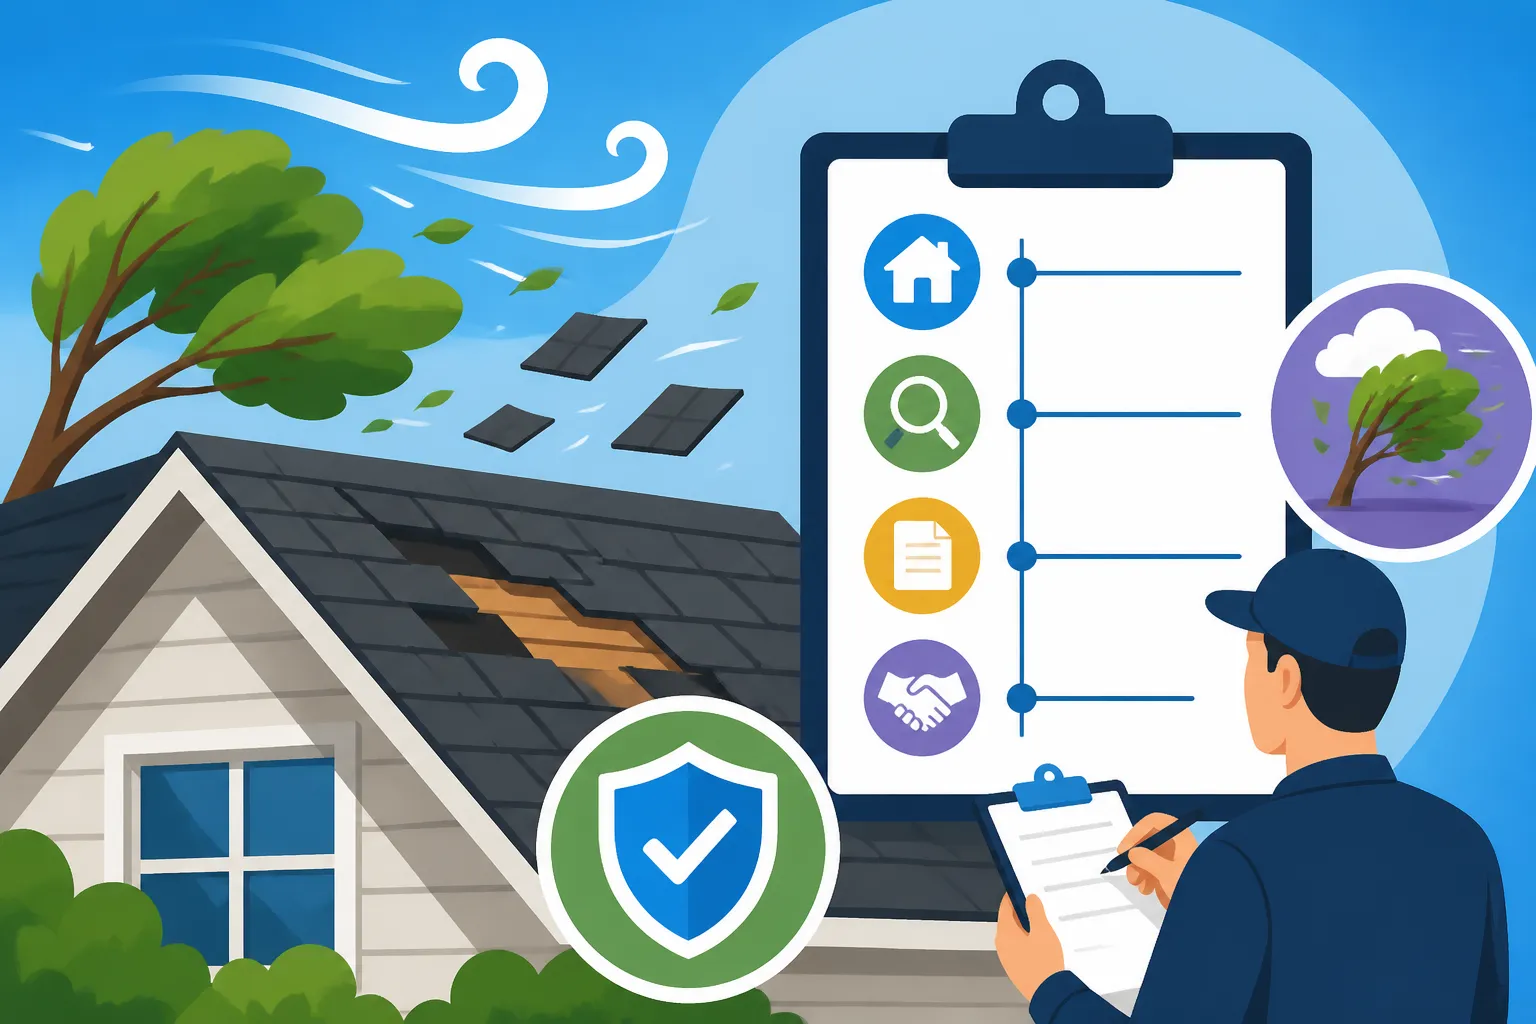
First and foremost, make sure everyone in your home is safe. If there’s any structural damage, evacuate immediately and contact emergency services. Once the immediate danger has passed and it’s safe to venture outside, a quick, safe visual inspection of your roof from the ground is in order. Look for obvious signs of damage like missing shingles, loose flashing around chimneys or vents, or any debris that might have punctured the roof.
Never, ever get on a damaged roof yourself unless you are a trained professional with the proper safety gear. High winds can compromise the roof's integrity, and a misstep could lead to serious injury. If you notice a leak, your next step is to mitigate any interior damage. Grab buckets, towels, and move furniture away from the affected area. For external damage, especially large areas where shingles are gone, you need to prevent water intrusion. This is where temporary tarping comes in. Many roofing contractors offer emergency tarping services. While you might be tempted to do it yourself, leaving this to professionals is often safer and ensures the tarp is properly secured, which is crucial for preventing more severe water damage and can be a point of contention with your insurer if not done correctly. Remember, demonstrating you took reasonable steps to prevent further damage can work in your favor when the insurance adjuster assesses the claim. It's often better to pay for a professional emergency tarping than to risk more extensive damage or injury. For more on what to do right after a storm, check out our guide on how to temporarily cover wind damage.
Documenting the Damage Thoroughly
This step is absolutely critical and often overlooked in the stress of the moment. The more detailed and comprehensive your documentation, the stronger your insurance claim will be. Think of yourself as a detective, gathering evidence.
Start with your smartphone or a digital camera. Take wide-angle shots that show the entire house and roof, then zoom in for close-ups of every single area of damage. Don't just get one photo of a missing shingle; take multiple from different angles. Photograph not only the missing shingles but also any loose or lifted ones, cracks, creases, and granule loss. Be sure to photograph any collateral damage, such as broken windows, damaged siding, or fences, as these might also be part of your claim. If you can safely access your attic, look for signs of water intrusion like water stains on the ceiling or rafters, and photograph those too. If you can't get clear pictures from the ground, consider using a drone if you have access to one, or ask your roofing contractor to take photos during their initial assessment.
Date and timestamp your photos and videos if possible. It's also a good idea to create a written log detailing the date and time you noticed the damage, a description of the damage, and any steps you took to mitigate it, like placing a tarp. This meticulous record-keeping will be invaluable when you communicate with your insurance company and the adjuster. Think about before-and-after photos if you have any old pictures of your roof; they can provide excellent context regarding the condition of your roof prior to the storm.
Navigating Your Insurance Policy and Filing the Claim
Once your home is safely secured and you've documented the damage, it's time to dive into the often-dreaded process of dealing with your insurance company. This part requires patience, a clear understanding of your policy, and good communication.
Understanding Your Coverage and Deductible
Before you even pick up the phone, pull out your homeowner's insurance policy documents. This might sound tedious, but it's crucial to understand exactly what your policy covers, especially concerning wind damage. Look for terms like "Actual Cash Value" (ACV) versus "Replacement Cost Value" (RCV).
- Actual Cash Value (ACV): If your policy pays out ACV, it means your insurer will cover the depreciated value of your roof. For an older roof, this could be significantly less than what it costs to replace it, leaving you with a substantial out-of-pocket expense.
- Replacement Cost Value (RCV): An RCV policy, on the other hand, means the insurance company will pay to replace your damaged roof with a new one of similar quality, without deducting for depreciation. You typically receive an initial payment for the ACV, and then the remaining depreciation amount once the repairs are completed and confirmed.
Many policies have a specific wind or hail deductible, which can sometimes be a percentage of your home's insured value rather than a flat dollar amount. For example, a 1% wind deductible on a $300,000 home means you're responsible for the first $3,000 in damages. Knowing this upfront will help you prepare for your financial responsibility. If you're unsure about any terms, don't hesitate to call your agent for clarification before filing the official claim. Our guide on how insurance covers roof replacement might also be helpful.
Here's a quick comparison of ACV vs. RCV:
| Feature | Actual Cash Value (ACV) | Replacement Cost Value (RCV) |
|---|---|---|
| Payout Amount | Depreciated value of the damaged item at the time of loss. | Cost to replace the damaged item with a new one of similar quality. |
| Deduction | Depreciation is always deducted. | Depreciation is initially deducted, then reimbursed after repair. |
| Out-of-Pocket | Typically higher, especially for older roofs. | Typically lower, after full reimbursement. |
| Premium | Lower premiums. | Higher premiums. |
| Benefit | Saves on upfront premium costs. | Ensures full replacement cost coverage for a new roof. |
Initiating the Claim with Your Insurer
Once you understand your policy, it's time to formally initiate the claim. Contact your insurance company directly. Most insurers have a dedicated claims department or an online portal for filing.
When you call, be prepared to provide:
- Your policy number.
- The date and time of the windstorm.
- A clear, concise description of the damage.
- Details of any immediate steps you've taken to prevent further damage (like tarping).
They will assign you a claim number and often schedule a date for an insurance adjuster to inspect your property. This claim number is your key to tracking the process, so keep it handy. During this initial call, ask about the typical timeline for an adjuster visit and how long the entire claims process usually takes. Managing your expectations from the start can alleviate some stress. Remember, it's okay to ask questions and seek clarification if anything sounds confusing.
Working with the Adjuster
The insurance adjuster's role is to assess the damage to your roof, determine its cause, and estimate the cost of repairs or replacement. This visit is a critical point in your claim, and being prepared can make a big difference.
When the adjuster arrives, make sure you are present. Walk around the property with them and point out all the areas of damage you've documented, using your photos and notes as reference. Don't be shy about showing them everything you found, even if it seems minor. Remember, they are often on a tight schedule and may miss things if not pointed out. Provide them with copies of your documentation. Be polite but firm in ensuring all damage is noted.
Ask them about their assessment:
- Do they believe the damage is wind-related?
- What is their initial estimate for repairs?
- Will they cover a full roof replacement or just repairs?
- What is the next step in their process?
It's a good practice to have a reputable roofing contractor present during the adjuster's visit, if possible. A professional roofer can speak the technical language, point out subtle damage that might be missed by an adjuster who isn't a roofing expert, and advocate on your behalf. They can also explain why a certain type of repair or full replacement is necessary, especially if the damage is widespread or compromises the roof's integrity. For instance, if the wind has delaminated large sections of shingles, a roofer can explain why spot repairs won't suffice. The adjuster will then typically generate a report detailing their findings and the estimated cost of covered repairs. Make sure you get a copy of this report.
Getting Repair Estimates and Finalizing Your Claim
After the adjuster's visit, you'll enter a phase that often involves a bit of back-and-forth. This is where your preparedness and understanding of roofing costs really pay off.
Obtaining Multiple, Detailed Roofing Estimates
Never settle for just one estimate, especially when dealing with an insurance claim. You should aim to get at least three detailed bids from different, reputable local roofing contractors. This isn't just about finding the cheapest option; it's about ensuring you have a fair and comprehensive understanding of the actual cost of repairs or replacement in your area.
When contacting contractors, be explicit that you need an estimate for an insurance claim related to wind damage. A good contractor will understand this and provide a line-item breakdown that includes:
- Tear-off and disposal: The cost to remove the old roof. You'd be surprised how much this can add up!
- Roof decking replacement: If the wind exposed the decking and caused water damage, this might be needed.
- Underlayment: The protective layer beneath the shingles.
- Shingles: The specific type, brand (e.g., GAF, Owens Corning, CertainTeed), and color, ensuring it meets or exceeds your previous roof's quality.
- Flashing: Around chimneys, vents, and walls.
- Ventilation: Ridge vents, soffit vents, etc.
- Drip edge: Along the roof edges.
- Permit fees: Crucial for ensuring the work is up to code.
- Labor costs.
These estimates should be compared closely to the adjuster's report. Sometimes, the adjuster's estimate might be lower because they used a generic pricing guide that doesn't account for local material and labor rates, or they missed specific damages. This is a common point of contention. Knowing the average roof replacement cost this year in your area can help you identify discrepancies. For more guidance on choosing a reliable professional, refer to our article on how to choose a roofing contractor.
Reviewing the Adjuster's Report and Negotiating
Once you have your contractor's estimates, it's time to compare them against the insurance adjuster's report. Don't be surprised if there are differences. It's rare for an initial adjuster's estimate to perfectly match a contractor's bid.
If your contractor's bid is higher than the adjuster's report, and you believe it's justified due to missed damage or inadequate pricing, you'll need to negotiate. Have your chosen contractor contact the adjuster directly to discuss the discrepancies. They can provide supplemental documentation, such as additional photos of hidden damage discovered during the tear-off process, or explain why certain line items are essential for a complete, code-compliant repair. This is often called a "supplemental claim."
If you find yourself hitting a wall with your insurer, or if the initial offer is significantly low, you have a few options. You could consider hiring a public adjuster. Unlike the insurance company's adjuster, a public adjuster works solely for you, the homeowner, to help maximize your claim payout. They can be particularly useful for complex claims or when there's a significant dispute. However, they typically charge a percentage of the final settlement, so weigh the costs against the potential benefits. Our guide on how to appeal a denied roof claim can provide more in-depth strategies if your claim faces significant challenges.
Receiving Payment and Starting Repairs
Once an agreement is reached, your insurance company will issue payment. Often, this comes in multiple checks. If you have an RCV policy, you'll usually get an initial check for the Actual Cash Value, and then a second check for the depreciation once the work is completed and inspected. If you have a mortgage, the check may be made out to both you and your mortgage lender. This means you'll need to endorse it and then send it to your lender, who will often hold it in an escrow account and release funds in installments as the work progresses. This can sometimes add delays, so communicate with your lender early.
With the funds secured (or at least the initial ACV check), your chosen roofing contractor can begin the work. Ensure that your contractor handles all necessary permits. Roofing Permits Explained and Do You Need a Permit to Replace a Roof are excellent resources for understanding this crucial step. Starting work without a permit can lead to fines, stop-work orders, and even void your warranty or insurance claim. A reputable contractor will always pull the necessary permits. Once the work is complete, they should provide you with a final invoice, proof of completion, and any relevant warranty information for your new roof.
Common Pitfalls and How to Avoid Them
The roofing industry, especially after a major storm, can attract less-than-reputable characters. Knowing what to watch out for can save you a world of trouble and ensure your roof replacement is done right.
The Dangers of Storm Chasers and Unlicensed Contractors
Following a severe windstorm, it's common for "storm chasers" to descend upon affected areas. These contractors often go door-to-door, promising quick repairs and tempting deals. While not all out-of-town companies are bad, many storm chasers are fly-by-night operations that do shoddy work, take your money, and disappear, leaving you with a compromised roof and no recourse.
Be extremely wary of any contractor who:
- Shows up unannounced and pressures you to sign a contract immediately.
- Asks for the full payment upfront (a reasonable deposit is normal, but full payment is a red flag).
- Offers to "waive your deductible" – this is insurance fraud and illegal.
- Doesn't have a local physical address or reliable contact information.
- Can't provide proof of proper licensing and insurance for your state and city.
Always verify a contractor's credentials. Check their license with your state's licensing board, look them up on the Better Business Bureau, and read online reviews. Ask for references and call them. A reputable local contractor will have a track record and be invested in their community. Our article on Roofing Contractor Red Flags to Avoid delves deeper into these warnings. You'll want to ensure you're working with a company that will be around if you have warranty issues later.
Avoiding Undervalued Claims and Denials
One of the biggest frustrations for homeowners is when their insurance company undervalues a claim or denies it outright. This can happen for several reasons, from an adjuster missing damage to disputes over the cause of the damage.
To avoid an undervalued claim:
- Meticulous Documentation: As emphasized earlier, your photos, videos, and detailed notes are your best defense.
- Professional Advocacy: Having your roofing contractor communicate directly with the adjuster about discrepancies in estimates can often resolve issues quickly. They have the expertise to explain technicalities.
- Know Your Policy: Understand your ACV vs. RCV coverage, deductibles, and what exactly constitutes a covered peril under your specific policy.
- Don't Rush: Take your time to get comprehensive bids and review the adjuster's report thoroughly. Don't feel pressured to accept the first offer.
If your claim is denied, don't despair. You have the right to appeal the decision. Start by requesting a detailed explanation in writing for the denial. Then, gather any additional evidence you have, such as a second opinion from a structural engineer or a letter from your contractor explaining why the damage is covered. You may also consult with a public adjuster or an attorney specializing in insurance claims. Sometimes, a firm but polite follow-up with solid evidence is all it takes to reverse a denial. Remember, the insurance company wants to settle, but they also want to do it on their terms. Your job is to ensure it's fair for you.
The Importance of Permits and Code Compliance
It might seem like an extra hassle, but getting the right permits for your roof replacement or major repair is non-negotiable. Building codes exist to ensure the safety and longevity of your home, and adhering to them protects you.
Local municipalities (city or county) require permits for most roof replacements or significant repairs. This permit process ensures that the work is inspected at various stages to confirm it meets current building codes, which are often updated after major storm events to improve resilience. For example, after Hurricane Irma, many Florida counties updated their wind mitigation requirements.
Your roofing contractor should be responsible for pulling the permit. If a contractor suggests doing the work without one, consider it a huge red flag. Not having a permit can lead to:
- Fines: From your local building department.
- Stop-Work Orders: Halting your project mid-way.
- Voided Warranties: Both manufacturer and workmanship warranties can be voided if work isn't done to code.
- Resale Problems: When you go to sell your home, an unpermitted roof job can cause headaches during inspection and may even reduce your home's value.
Always ask your contractor about the permit process and confirm that they will secure all necessary permits before starting work. An inspector will typically sign off on the work once completed, giving you peace of mind that your new roof is not only secure but also fully compliant.
Disclaimer
This article is for general informational purposes only and does not constitute professional advice. Laws, prices and regulations vary by location and change over time. Consult a qualified professional for guidance on your specific situation.