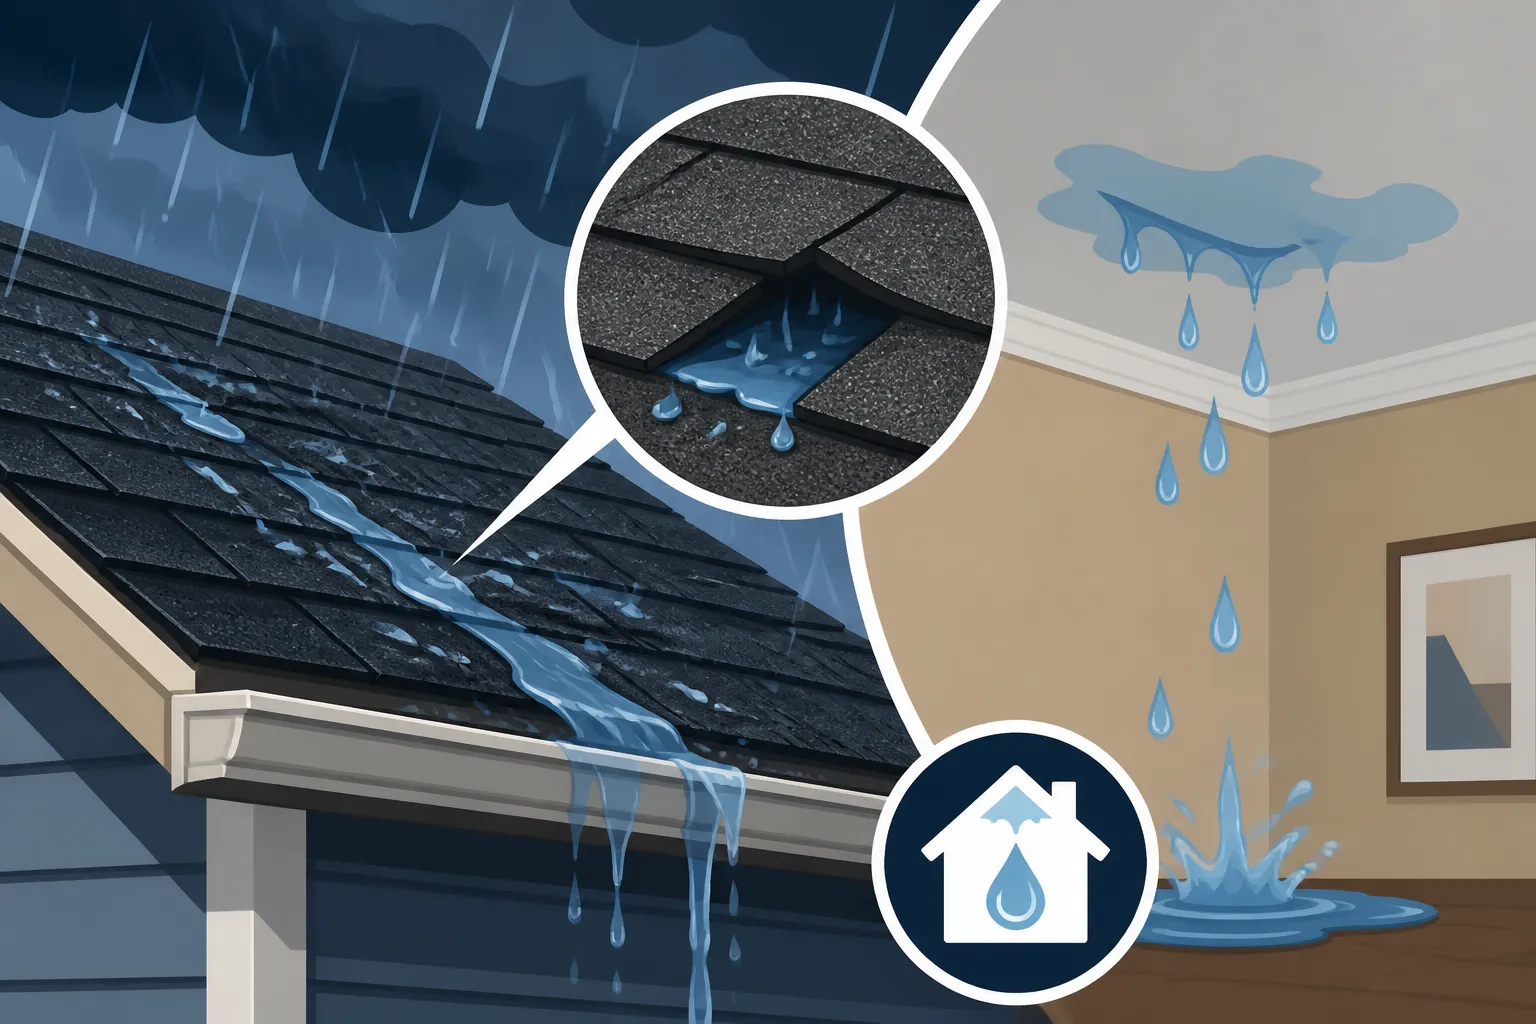
Roof Leak in Heavy Rain Only: Causes
There’s almost nothing more unsettling than hearing that tell-tale drip, drip, drip inside your home, especially when it only happens during a ferocious downpour. It's incredibly frustrating because these intermittent leaks can be so hard to track down, often leaving you feeling helpless when the sun is shining and everything seems fine. This guide is here to shed some light on the common culprits behind those heavy rain-only roof leaks, helping you understand what's happening and how to finally put a stop to them.
Why Heavy Rain Exposes Hidden Flaws
It's a peculiar problem, isn't it? Your roof might hold up just fine during a light drizzle or even a moderate shower, but as soon as the heavens truly open up, you find yourself scrambling for buckets. This isn't just bad luck; heavy, persistent rainfall puts an immense strain on your roofing system, pushing its limits and exposing weaknesses that a casual rainstorm might never reveal. Think of it like a tiny crack in a dam; it might hold against a trickle, but a deluge will find every vulnerability.
Saturated Shingles and Underlayment
Asphalt shingles are designed to shed water, not absorb it. They work in conjunction with a waterproof or water-resistant underlayment beneath them. During a light rain, water beads up and flows off the shingles, reaching the gutters. But when the rain is exceptionally heavy and prolonged, shingles can become saturated, and any tiny gaps, lifts, or areas with granule loss can start to act like wicks. The sheer volume and duration of the water can then overwhelm the shingle's protective layers and even seep through the underlayment, especially if the underlayment itself is old, torn, or improperly installed. It's like a sponge that finally reaches its saturation point and lets water pass through. If your underlayment is failing, the wood decking beneath is next in line to get wet.
Overwhelmed Drainage Systems
Your roof isn't just shingles; it's a whole system designed to manage water. This includes valleys, flashing, and especially gutters and downspouts. During heavy rain, these components can simply get overwhelmed. If a gutter is partially clogged, for instance, water might back up and overflow, not just over the front, but sometimes behind the gutter, running down your fascia board and into your soffit, eventually making its way into your attic or walls. Similarly, a poorly designed or partially blocked valley—the V-shaped channel where two roof slopes meet—might struggle to channel a massive amount of water away quickly enough. Water can then spill over the shingle edges in the valley, or penetrate tiny flaws that wouldn't be an issue under lighter flow.
Wind-Driven Rain and Water Intrusion
Heavy rain often comes hand-in-hand with strong winds, and this combination is a potent force against your roof. Wind-driven rain isn't just falling straight down; it's being pushed horizontally, upwards, and into every tiny crevice. This means water can be forced up and under shingle edges that would otherwise be perfectly sealed against vertical rainfall. It can penetrate around improperly sealed flashing, or even be pushed sideways into poorly maintained vents. These are areas where gravity usually helps direct water away, but strong winds can override that natural flow, essentially finding new pathways for water to enter your home. This is why a leak might appear far from the actual entry point, making diagnosis even trickier.
Common Culprits Behind Heavy Rain Leaks
When a leak only shows up during truly torrential downpours, it points to specific areas of your roof that are likely struggling under extreme conditions. These aren't necessarily obvious, gaping holes, but rather subtle weaknesses that succumb when put to the ultimate test.
Compromised Flashing
Flashing is arguably the most critical component for preventing leaks around vulnerable areas of your roof. This thin material, usually metal, is installed around chimneys, skylights, vent pipes, and wall intersections. Its job is to create a watertight seal where the roof plane is interrupted. If the caulk around flashing cracks, the metal corrodes, or the flashing becomes bent or loose, these areas become prime candidates for leaks during heavy rain. Water can pool against them or be driven underneath the flashing by wind, seeping into your home's structure. For example, the step flashing around a chimney might become loose, allowing wind-driven rain to funnel directly into your attic space. Understanding how flashing works is key to preventing these types of issues. For more on this, you might find our guide on how Flashing Explained to be helpful.
Damaged or Worn Shingles
While a major storm might rip off shingles, heavy rain often exposes more subtle shingle damage that accumulates over time.
- Granule Loss: The protective granules on asphalt shingles wear off over years, exposing the asphalt layer beneath. This makes the shingle less resistant to water and UV rays. During heavy rain, water can saturate these exposed areas more easily, leading to leaks.
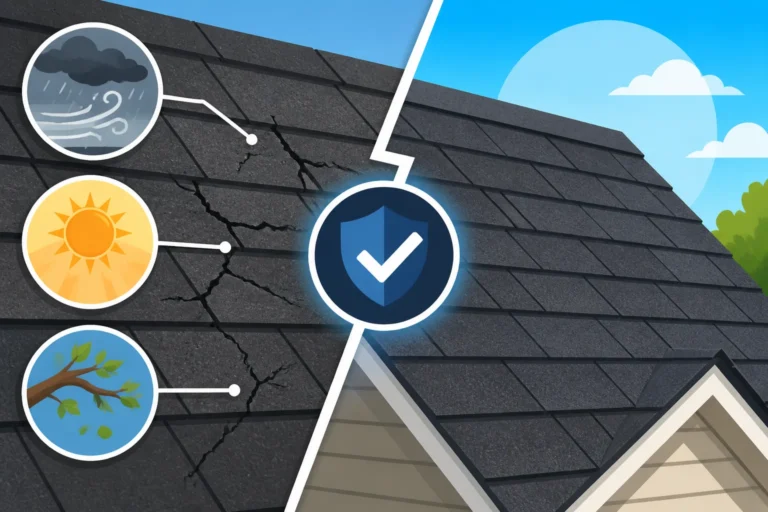
- Cracked or Brittle Shingles: As shingles age, they become less flexible and can crack, especially in extreme temperatures. These tiny cracks might not leak during light rain, but a sustained downpour can seep through, eventually reaching the underlayment.
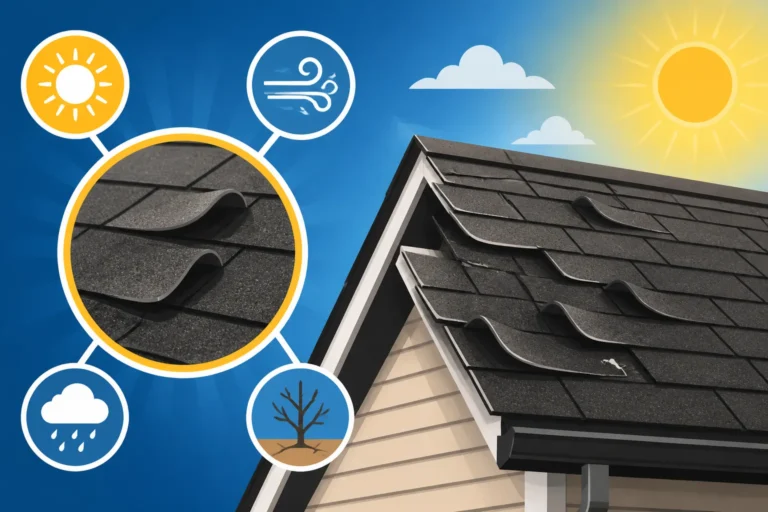
- Curling or Cupping: Shingles that are curling or cupping lose their flat profile, creating channels and pockets where water can collect. Instead of shedding water efficiently, these deformed shingles essentially invite water to sit and penetrate, especially if wind helps push it underneath.
- Missing or Damaged Sealant: Shingles have a thermal seal strip that activates with heat, bonding them together. If this seal fails due to age, poor installation, or extreme weather, shingles can lift, allowing water to get underneath.
These issues are often more pronounced in high-traffic areas, like the valleys of your roof, or on lower-sloped sections where water moves more slowly.
Insufficient or Damaged Underlayment
The underlayment is your roof's secondary line of defense against water. It's the layer of felt or synthetic material installed directly on the roof decking, beneath the shingles. If the shingles fail, the underlayment is supposed to protect your home.
- Old, Brittle Underlayment: Just like shingles, underlayment ages. Older felt-based products can become brittle and tear, especially during extreme temperature fluctuations.
- Improper Installation: If the underlayment was installed incorrectly—not overlapped sufficiently, torn during installation, or inadequately fastened—it won't provide the protection it's supposed to.
- Ice and Water Shield Not Used: In areas prone to ice dams or on low-slope sections, an "ice and water shield" is a critical, self-adhering underlayment that provides superior waterproofing. If this wasn't installed where needed, heavy rain combined with cold weather could lead to major problems. Our article on Underlayment Explained: Synthetic vs Felt dives deeper into this topic.
When the underlayment fails, water has a direct path to your roof decking, which can lead to costly structural damage over time.
Clogged or Damaged Gutters and Valleys
Sometimes, the leak isn't a problem with the shingles themselves, but with how water is managed off the roof.
- Clogged Gutters: This is a common and often overlooked cause. Leaves, twigs, and debris can clog gutters, causing water to back up and overflow. When gutters overflow, water can often spill over the back edge, directly against your fascia board and into your eaves, appearing as a leak inside. Keeping your gutters clear is a crucial step in preventing these kinds of issues.
- Damaged Gutters: If your gutters are bent, sagging, or disconnected, they won't properly channel water away. This creates localized pooling and overflow points, increasing the chances of water finding its way into your home during a downpour.
- Ineffective Valleys: Valleys are where two roof planes meet, channeling a significant amount of water. If the flashing in the valley is damaged, the shingles are improperly cut, or debris builds up, water can become trapped or flow incorrectly, eventually penetrating the roof system.
Here’s a quick overview of common leak locations and their typical causes:
| Leak Location | Common Causes in Heavy Rain | Signs to Look For |
|---|---|---|
| Around Chimneys | Deteriorated flashing (caulk, metal), loose mortar | Water stains on ceiling near chimney, rust streaks |
| Around Skylights | Cracked seals, failing flashing, condensation buildup | Water around the skylight frame, foggy glass |
| Near Vent Pipes | Cracked rubber boots (collars), loose flashing | Water stains near pipe protrusion on ceiling |
| Along Walls/Dormers | Missing or damaged step flashing, wall siding issues | Stains on interior walls below roofline, wet insulation |
| In Valleys | Damaged valley flashing, shingle delamination, debris | Streaks down interior walls, wet spots in attic along slope |
| At Eaves/Soffits | Clogged or overflowing gutters, ice damming (in winter) | Water dripping from soffit, wet fascia boards, ceiling stains at outer walls |
| Mid-Roof (Open Area) | Extreme shingle granule loss, widespread cracks, nail pops | Ceiling stains in open areas, visible shingle damage |
Pinpointing the Source of the Leak
Finding a leak that only appears during heavy rain can feel like detective work, and it truly is. The water stain inside your home isn't always directly below the entry point on your roof; water can travel along beams, pipes, and electrical conduits before finally dripping. This makes early detection and accurate diagnosis essential.
Attic Inspection and Water Trails
The first place you should head (safely, of course!) when you suspect a leak is your attic. If you have attic access, this is often the easiest way to trace the path of water.
- Look for Water Stains: Scan the underside of your roof decking, the rafters, and the insulation for dark water stains. These stains will show you where water has traveled.
- Follow the Discoloration: Water often leaves a trail. Follow the darkest part of the stain upwards to see where it originates on the wood. This can lead you directly to the compromised area of the decking.
- Check for Mold or Mildew: Even if the wood is dry, black or green spots could indicate past water intrusion.
- Feel for Dampness: Gently feel the insulation. Wet or compressed insulation is a clear sign of water. Be cautious, as insulation can retain moisture long after the rain has stopped.
- Look for Light: On a bright day, if you can see shafts of light coming through your roof decking, that's an obvious breach. However, for heavy rain-only leaks, the entry point might be too small to let in light.
Remember, safety first in the attic! Use a flashlight, watch your step on joists, and wear protective gear like gloves and a mask.
Exterior Roof Examination
While getting on your roof can be dangerous and is best left to professionals, you can sometimes identify issues from the ground or with binoculars.
- Ground-Level Scan: Walk around your house and use binoculars to look for obvious signs of damage: missing shingles, visibly cracked or curled shingles, significant granule loss, or debris in valleys. Pay close attention to areas around chimneys, vents, and skylights – these are common leak points.
- Gutter Check: Look for overflowing gutters during a heavy rainstorm. If water is spilling over the sides or backing up, it could be the cause of your internal leak.
- Professional Assessment: For a thorough and safe exterior inspection, contacting a reputable roofing contractor is always the best course of action. They have the tools and expertise to safely get on your roof and conduct a detailed inspection. You can often find trusted professionals through platforms like Modernize, who can connect you with experienced roofers in your area. For guidance on assessing roof damage yourself, our guide, Roof Damage Assessment: A Homeowner's Guide, provides useful tips.
When to Call a Professional
If you've identified potential sources or are uncomfortable with roof inspections (and honestly, most homeowners should be!), it's time to call in the experts. A professional roofer can:
- Conduct a Comprehensive Inspection: They'll perform a thorough attic and exterior inspection, often using specialized equipment to pinpoint elusive leaks.
- Water Test: If the leak is still not visible, they can perform a controlled water test using a hose, starting at the lowest suspected point and working upwards, to observe exactly where the water enters.
- Identify Underlying Issues: A professional can differentiate between a simple repair and a sign of a larger, systemic problem indicating your roof is nearing the end of its lifespan. Understanding the signs you need a new roof can help you prepare for this conversation.
- Provide a Detailed Estimate: They can give you a clear breakdown of the necessary repairs or, if needed, the Cost to Replace a Roof by House Size. Getting multiple quotes is always a good idea; our post on How to Get Roofing Quotes and Compare Them can walk you through the process.
Don't wait too long to address a heavy rain leak. Even intermittent leaks can lead to significant water damage, mold growth, and structural rot over time, turning a minor issue into a major, costly headache.
Preventing Future Heavy Rain Leaks
While you can't control the weather, you can certainly take proactive steps to ensure your roof is robust enough to withstand even the most intense downpours. Prevention is always better than reaction, especially when it comes to your home's most important protector.
Regular Maintenance Checks
Consistent upkeep is your roof's best friend. It helps catch small issues before they escalate into major leaks during heavy rain.
- Clean Your Gutters: Make this a seasonal ritual, especially in fall after leaves drop and in spring after pollen and debris accumulate. Clear gutters ensure water flows freely and doesn't back up onto your roof or against your fascia.
- Inspect Downspouts: Ensure downspouts are clear and directing water far enough away from your home's foundation.
- Check for Debris: Remove any leaves, branches, or other debris that collect on your roof, especially in valleys or around chimneys. This prevents water from pooling and can reveal hidden damage.
- Visual Shingle Scan: From the ground with binoculars, periodically check for curling, cracking, or missing shingles. Pay attention to any areas of excessive granule loss, which can look like dark patches.
- Look at Flashing and Sealants: Over time, the caulk around flashing can crack and metal can corrode. Keep an eye out for these signs and address them promptly. This might be a job for a professional to do safely and effectively.
These simple checks can save you a lot of grief and money down the line.
Upgrading Vulnerable Components
Sometimes, prevention isn't just about maintenance; it's about investing in stronger, more resilient components, especially if you live in an area prone to severe weather.
- Enhanced Underlayment: If you're replacing your roof, consider upgrading to a high-quality synthetic underlayment or ensuring proper installation of ice and water shield in vulnerable areas like valleys and eaves. This provides an extra layer of protection that can withstand water intrusion even if a shingle fails.
- Robust Flashing: Ensure all flashing around penetrations (chimneys, vents, skylights) is properly installed, ideally using durable metal rather than relying heavily on caulk alone. Continuous, well-integrated flashing systems are far superior to piecemeal solutions. For issues like a Flashing Leak Repair, sometimes upgrading the entire system is the best long-term fix.
- Quality Shingles: When it's time for a new roof, investing in high-quality asphalt shingles with strong wind resistance and durable granule adhesion can make a huge difference. Architectural shingles, for example, are generally more robust than traditional 3-tab shingles. Certain manufacturers like Owens Corning and GAF offer shingles with advanced features designed for extreme weather. Our guide on How Long an Asphalt Roof Lasts highlights how shingle quality impacts longevity.
- Improved Ventilation: While not directly preventing leaks, proper attic ventilation helps regulate temperature and moisture, extending the life of your roofing materials and preventing issues that could lead to leaks over time.
The Importance of Professional Inspections
Even if you're diligent with your own checks, nothing beats the comprehensive assessment of a certified roofing professional.
- Annual or Bi-Annual Check-ups: Consider having a professional roofing inspection every year or two, especially after severe weather events. They can spot subtle issues that an untrained eye might miss.
- Detailed Damage Assessment: Professionals can provide a detailed report on the condition of your roof, identifying areas of concern and recommending proactive repairs or upgrades. This is an essential part of roof maintenance.
- Peace of Mind: Knowing that a qualified expert has thoroughly examined your roof gives you confidence that your home is well-protected. Platforms like Modernize can assist you in finding reputable contractors for these crucial inspections. For more insight into what a professional inspection entails, check out Roof Inspection: What They Check.
By taking these steps, you're not just reacting to leaks; you're building a stronger, more resilient roofing system that can confidently stand up to even the heaviest rainstorms, keeping your home dry and safe.
Disclaimer
Please remember that this article is intended for informational purposes only and should not be considered professional advice. Always consult with a qualified and licensed roofing contractor for any roof-related issues or before undertaking any repairs. Roofing work can be dangerous and should be performed by experienced professionals.