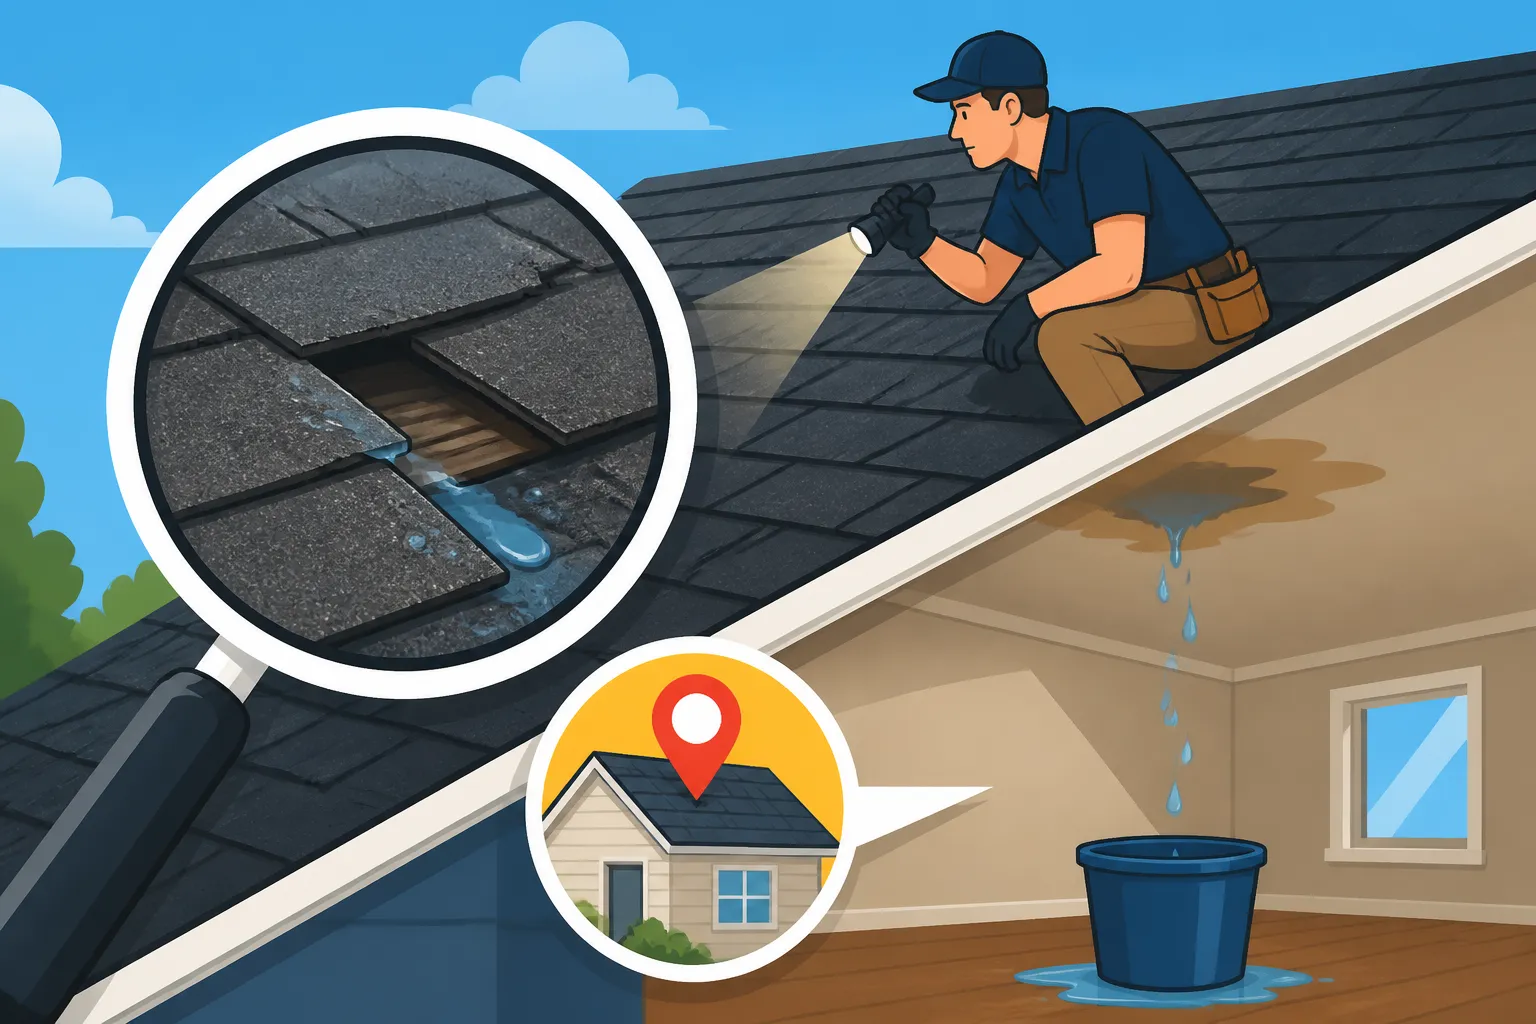
How to Find the Source of a Roof Leak
There's nothing quite as alarming as that first drip from the ceiling, especially when you know it's not a temporary condensation issue. A roof leak can feel like a homeowner's worst nightmare, causing stress, property damage, and a nagging feeling of dread. This guide is here to walk you through the process of systematically tracking down the elusive source of a roof leak, turning that dread into a clear action plan.
The Frustrating Reality of Roof Leaks
The moment you spot a water stain spreading on your ceiling or feel that unwelcome drip, your heart sinks. It's a universal homeowner experience, and often, the most frustrating part isn't just the damage itself, but the seemingly impossible task of figuring out where that water is actually coming from. It's rarely a straightforward situation where the drip aligns perfectly with the problem spot on your roof.
Why Leaks Are So Tricky to Pinpoint
Water, bless its heart, obeys the laws of gravity, but it's also incredibly sneaky. It can travel a winding path along rafters, beams, and even electrical conduits before finally making itself known in your living room or bedroom. What you see as a stain on your kitchen ceiling might have actually originated from a problem several feet away, or even higher up, at the ridge of your roof. This indirect route is precisely what makes finding the true source such a detective mission. You might fix what you think is the source, only to find the leak persisting after the next rain, leaving you even more frustrated and confused. The labyrinthine structure of your attic and roof components provides ample opportunity for water to meander, making visual tracking from inside a real challenge.
Safety First: Before You Begin Your Investigation
Before you even think about climbing a ladder or venturing into your attic, it's absolutely crucial to prioritize safety. A wet roof, especially one compromised by a leak, can be incredibly dangerous. Always have a clear head and take necessary precautions.
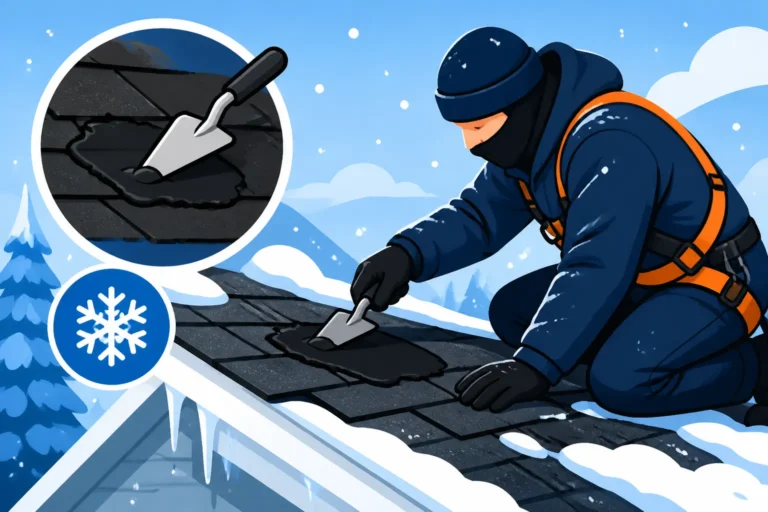
Firstly, make sure you have a sturdy ladder that's properly secured on stable ground. Never overreach, and always maintain three points of contact. If you're going up on the roof, wear appropriate, non-slip footwear and consider having someone else home to act as a spotter or assist if needed. If your roof is steep, covered in moss, or wet, or if there's any ice or snow, do not attempt to climb it yourself. These conditions dramatically increase the risk of a fall. Similarly, when navigating the attic, be mindful of where you step. Always step on joists or solid platforms, not directly onto the ceiling drywall, which can give way. Good lighting, like a strong flashlight or headlamp, is essential in the often dimly lit attic space. Remember, no leak is worth a trip to the emergency room. If you feel uncomfortable or unsafe at any point, that's your cue to call in a professional.
Inside Out: Starting Your Leak Search from the Attic
The attic is often the best place to begin your leak investigation, as it provides a vantage point where you can see the underside of your roof deck and structural components. This is where water's tell-tale signs often become most apparent, even if they're not directly above the spot you see on your interior ceiling.
What to Look For in the Attic
When you first venture into your attic, arm yourself with a powerful flashlight. Start by looking for visible water stains on the underside of the roof sheathing, rafters, and insulation. These stains might be dark, discolored, or show signs of mildew or mold growth, which often accompanies long-term moisture issues. Don't just focus on the area directly above your interior ceiling stain; expand your search outwards and upwards, especially along the path of rafters. Water can travel quite a distance before dripping.
Pay close attention to insulation. Wet or compressed insulation is a huge red flag. It might look darker, clumped together, or even have a musty smell. If the insulation is wet, gently push it aside to see the roof decking underneath. You might find obvious water marks or even soft, compromised wood. Check around any penetrations in the roof, such as vent pipes, chimney chases, and skylight frames. These are prime locations for leaks to originate. Look for rust on metal components, deteriorated caulk, or gaps where water could ingress. Sometimes, the drip isn't directly from the roof deck but from a nail protruding through the sheathing, where condensation or a small leak has accumulated and run down.
The Water Test: A Controlled Approach
If visual inspection in the attic doesn't immediately reveal the source, it's time for a controlled water test. This method requires patience and a helper, but it's often the most effective way to pinpoint an elusive leak.
Here’s how to do it: Have one person inside the attic with a flashlight, ready to observe, and another person outside with a garden hose. Start by applying water with the hose at the lowest possible point of the roof directly above the suspected leak area. Use a gentle stream, not full blast, and let it run for several minutes (think 5-10 minutes) in that one spot. The person in the attic should be watching intently for any sign of water entry. If nothing appears, move the hose up a foot or two and repeat the process. Continue working your way up the roof slope, section by section, focusing on areas like valleys, flashing around dormers, vent pipes, and the chimney.
This methodical approach helps isolate the problem. If, for instance, you've been watering the bottom half of the roof and see nothing, but as soon as you hit the flashing around a chimney, your helper yells "Bingo!", you've likely found your culprit. It’s a slow process, but it minimizes the amount of your roof that gets unnecessarily wet and provides direct, undeniable evidence of the leak's origin. Just remember to have good communication with your helper. If you don't find it after an hour or so, take a break and come back to it. Sometimes, leaks only show up after sustained exposure, like during a heavy rain.
Outside In: Inspecting Your Roof's Exterior
Once you've exhausted your attic search or if you suspect the leak is coming from a visible exterior component, it's time to put on your detective hat and inspect the roof from the outside. Again, safety is paramount here. If you're not comfortable on a ladder or walking on your roof, consider calling a professional for this part of the inspection.
Common Culprits Near Roof Penetrations
When it comes to roof leaks, penetrations are often the weak points. Any object that protrudes through your roof surface – chimneys, plumbing vents, skylights, satellite dishes, or even exhaust fans – creates an opportunity for water to get in. The critical component protecting these areas is flashing.
Flashing is typically made of metal (aluminum, copper, or steel) and is installed to create a waterproof barrier where the roof meets another surface. Over time, this flashing can corrode, crack, become bent, or separate from its sealant. For chimneys, look for cracked mortar, gaps in the flashing, or rust on the metal. Step flashing, which is individual pieces of flashing woven into the shingle courses at vertical walls (like a dormer or chimney), can lift or corrode. Valley flashing, found where two roof slopes meet, is also a common leak source if it's damaged or improperly installed.
Plumbing vent pipes often have rubber or plastic "pipe boots" around them to seal the penetration. These rubber collars can crack, degrade from UV exposure, or tear over time, letting water trickle right down the pipe into your attic. Similarly, skylights often develop leaks around their frames if the seals or flashing fail. Pay close attention to any caulking around these areas; if it's cracked, missing, or appears old and brittle, it's no longer doing its job. A failing skylight seal can cause significant damage. For assistance in identifying and repairing these critical points, consider consulting with a certified contractor. You might find a lot more detail on this topic in articles like "What Is Flashing and Why It Matters" or "Flashing Leak Repair".
Shingle Damage and Other Surface Issues
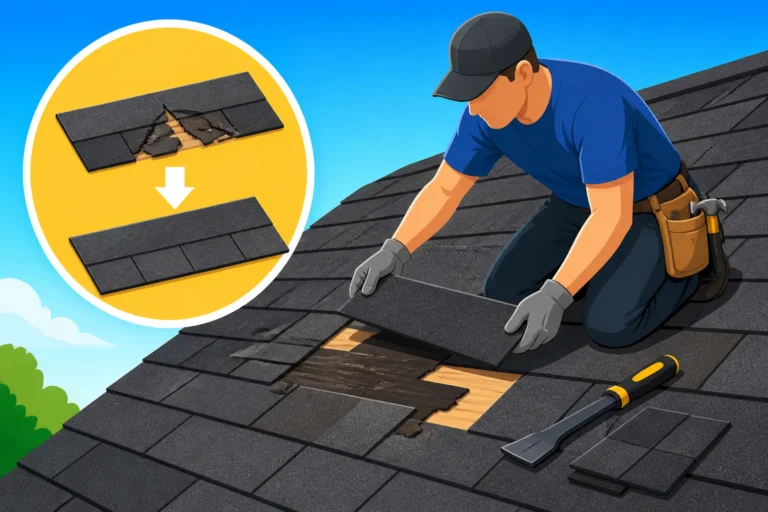
Beyond penetrations, the shingles themselves are your primary defense against the elements, and their condition is critical. Many leaks originate from damaged or worn-out shingles.
Look for areas where shingles are:
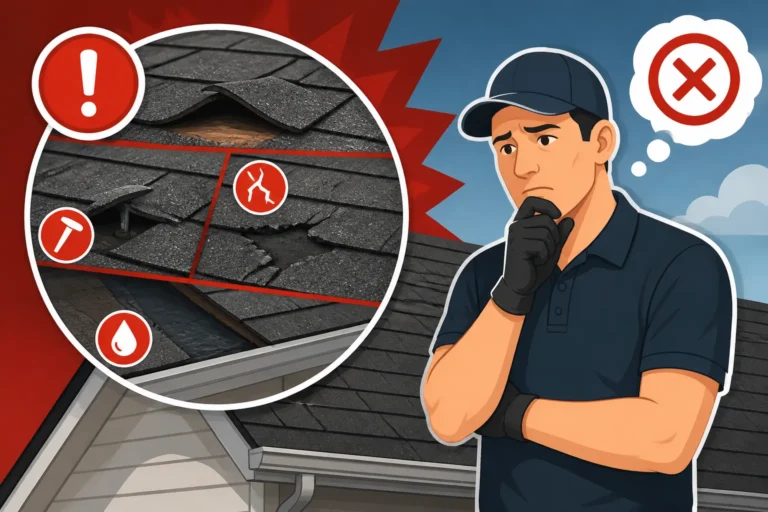
- Missing or Torn: High winds can lift and tear shingles, leaving the underlayment exposed. Even one missing shingle can be a gateway for water.
- Cracked or Broken: Extreme temperatures, age, and impact from hail or debris can cause shingles to crack. These cracks become direct paths for water.
- Curling or Blistering: This often indicates an aging roof or poor ventilation. Curling shingles can lift, allowing wind-driven rain to get underneath. Blistering can lead to premature shingle breakdown and granule loss.
- Granule Loss: As shingles age, the protective granules that shield the asphalt from UV rays wear off. You might see these granules in your gutters. Excessive granule loss means the underlying asphalt is exposed, making it brittle and vulnerable to water penetration. This is a common sign your roof is nearing its end of life, and you might want to read "Granule Loss: Should You Worry".
Also, don't overlook areas like the eaves and rake edges. Ensure your drip edge is intact and properly installed. This metal strip helps direct water away from the fascia and into the gutters. If it's bent or loose, water can wick back underneath the shingles and into your roof decking. For a broader understanding of overall roof condition, you might find "Roof Damage Assessment: A Homeowner's Guide" helpful.
Gutters, Debris, and Ice Dams
Sometimes the leak isn't directly from the roof's surface, but from issues related to how water is managed on your roof.
Clogged Gutters: This is a surprisingly common cause of interior leaks. If your gutters are full of leaves, twigs, and other debris, water can't drain properly. It will then pool and overflow, often running down the fascia board and sometimes wicking back up underneath the eaves of your roof. This constant moisture can rot the fascia and soffit, eventually making its way into your attic or wall cavities. Regularly cleaning your gutters, especially in the fall, is crucial.
Debris on the Roof: Piles of leaves, pine needles, or branches can trap moisture against your shingles, leading to premature deterioration, moss growth, and potential leaks. Always keep your roof surface clear.
Ice Dams: In colder climates, ice dams are a notorious cause of leaks. They form when heat from your attic melts snow on the upper part of the roof, and that melted water refreezes when it hits the colder eaves. This creates a barrier of ice that prevents subsequent melting snow from draining off the roof. The trapped water then backs up under the shingles, sometimes traveling several feet inward before finding a crack or nail hole to drip into your home. Proper attic ventilation and insulation are key to preventing ice dams. While this is more common in winter, the damage they cause can lead to leaks throughout the year.
Table: Common Leak Signs and Their Potential Sources
| Sign of Leak (Interior) | Probable Exterior Origin(s) | What to Look For (Exterior) |
|---|---|---|
| Ceiling stain, wall streak | Damaged flashing (chimney, vent, skylight) | Cracked caulk, bent metal, loose seals, rusted components |
| Water dripping, soft drywall | Missing/cracked shingles, deteriorated underlayment | Bare spots, visible cracks, granule loss, curling shingles |
| Stain near eaves/outer wall | Clogged gutters, inadequate drip edge, ice dams (winter) | Overflowing gutters, damaged drip edge, signs of water backup |
| Water near pipe/light fixture | Failed pipe boot (plumbing vent), loose electrical conduit seal | Cracked rubber on pipe boot, gaps around fixture penetrations |
| Stain in valley of ceiling | Damaged valley flashing, improperly sealed valley | Gaps, rust, or tears in valley metal or sealant |
When to Call in the Professionals
Sometimes, despite your best efforts, the leak source remains a mystery, or the repairs needed are beyond your DIY capabilities. This is when it's smart to admit defeat and bring in the cavalry.
Recognizing Your Limits and Complex Cases
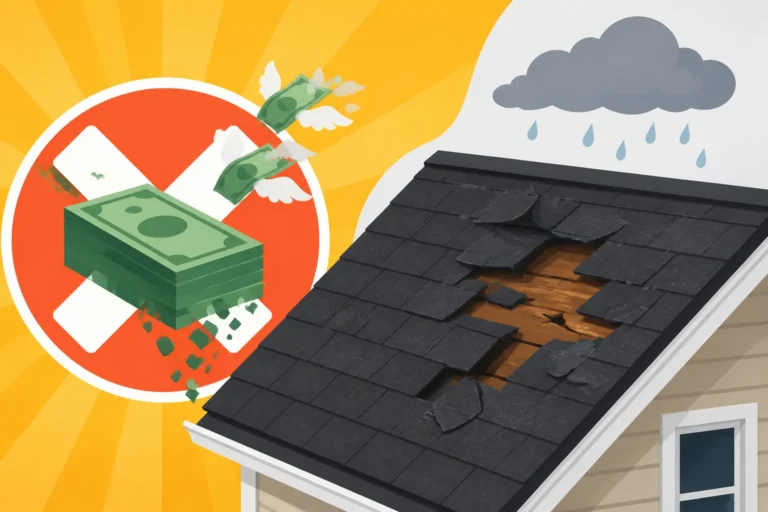
There are certain situations where attempting to find or fix a leak yourself can be counterproductive or even dangerous. If you've tried the water test, conducted thorough visual inspections both inside and out, and the leak persists or its origin is still completely baffling, it's time for a pro. Roofs with very steep pitches, complex architectural designs, or multiple stories are inherently more difficult and hazardous to inspect safely. Furthermore, some leaks can originate from problems not easily visible to the untrained eye, such as compromised roof decking underneath the shingles, or issues with the roof's ventilation system that only an experienced roofer would recognize. Persistent leaks can also indicate underlying structural issues that require immediate, professional attention. Don't let pride or a desire to save a few bucks lead to more extensive and costly damage down the line.
Finding a Reputable Roofer for Leak Detection
When you decide to call in a professional, don't just pick the first name you find. Do your homework to ensure you're getting someone reliable and qualified. Start by asking friends, family, or neighbors for recommendations. Local roofers who have a good reputation in your community are often a safe bet.
You can also use online platforms to find contractors. Services like Modernize can help connect you with reputable local roofing professionals who specialize in leak detection and repair. Always verify that any contractor you consider is fully licensed and insured. This is non-negotiable. Ask to see proof of both liability insurance (to cover damages to your property) and workers' compensation insurance (to protect you if a worker gets injured on your property). Without this, you could be held liable.
Get at least three detailed estimates. A good estimate for a leak repair should clearly outline the suspected cause, the proposed solution, the materials to be used, and the total cost. Beware of contractors who offer significantly lower bids than everyone else; they might be cutting corners on materials, labor, or insurance. Ask about their experience with similar types of leaks and inquire about their warranty for the repair work. A reputable roofer will stand behind their work. For a deeper dive into finding the right professional, you might want to check out "How to Choose a Roofing Contractor" or "Questions to Ask a Roofing Contractor Before Hiring". Remember, a thorough inspection by a pro might identify not just the leak but also other underlying issues, giving you a clearer picture of your roof's overall health and helping you avoid future headaches.
Disclaimer
Please remember that this guide offers general advice for informational purposes only. While it provides detailed steps for homeowners, roofing work can be dangerous and complex. Always prioritize safety and consult with a qualified, licensed, and insured roofing professional for specific advice, inspections, and repairs related to your home's roof.