Emergency Roof Repair After a Storm
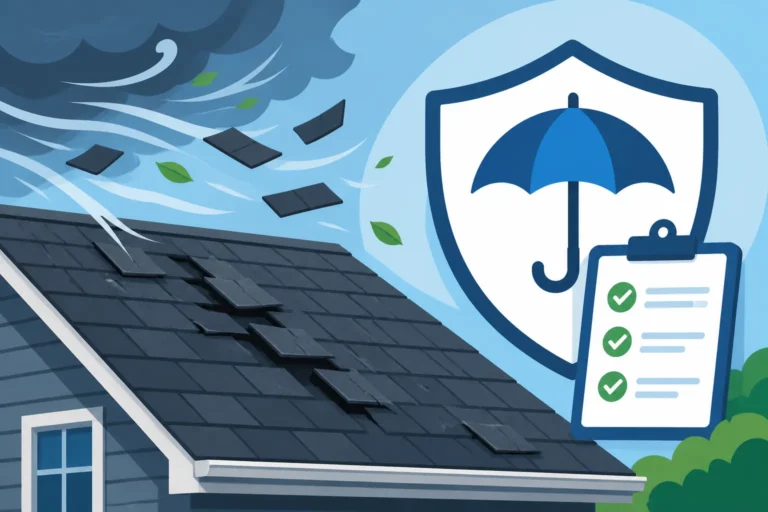
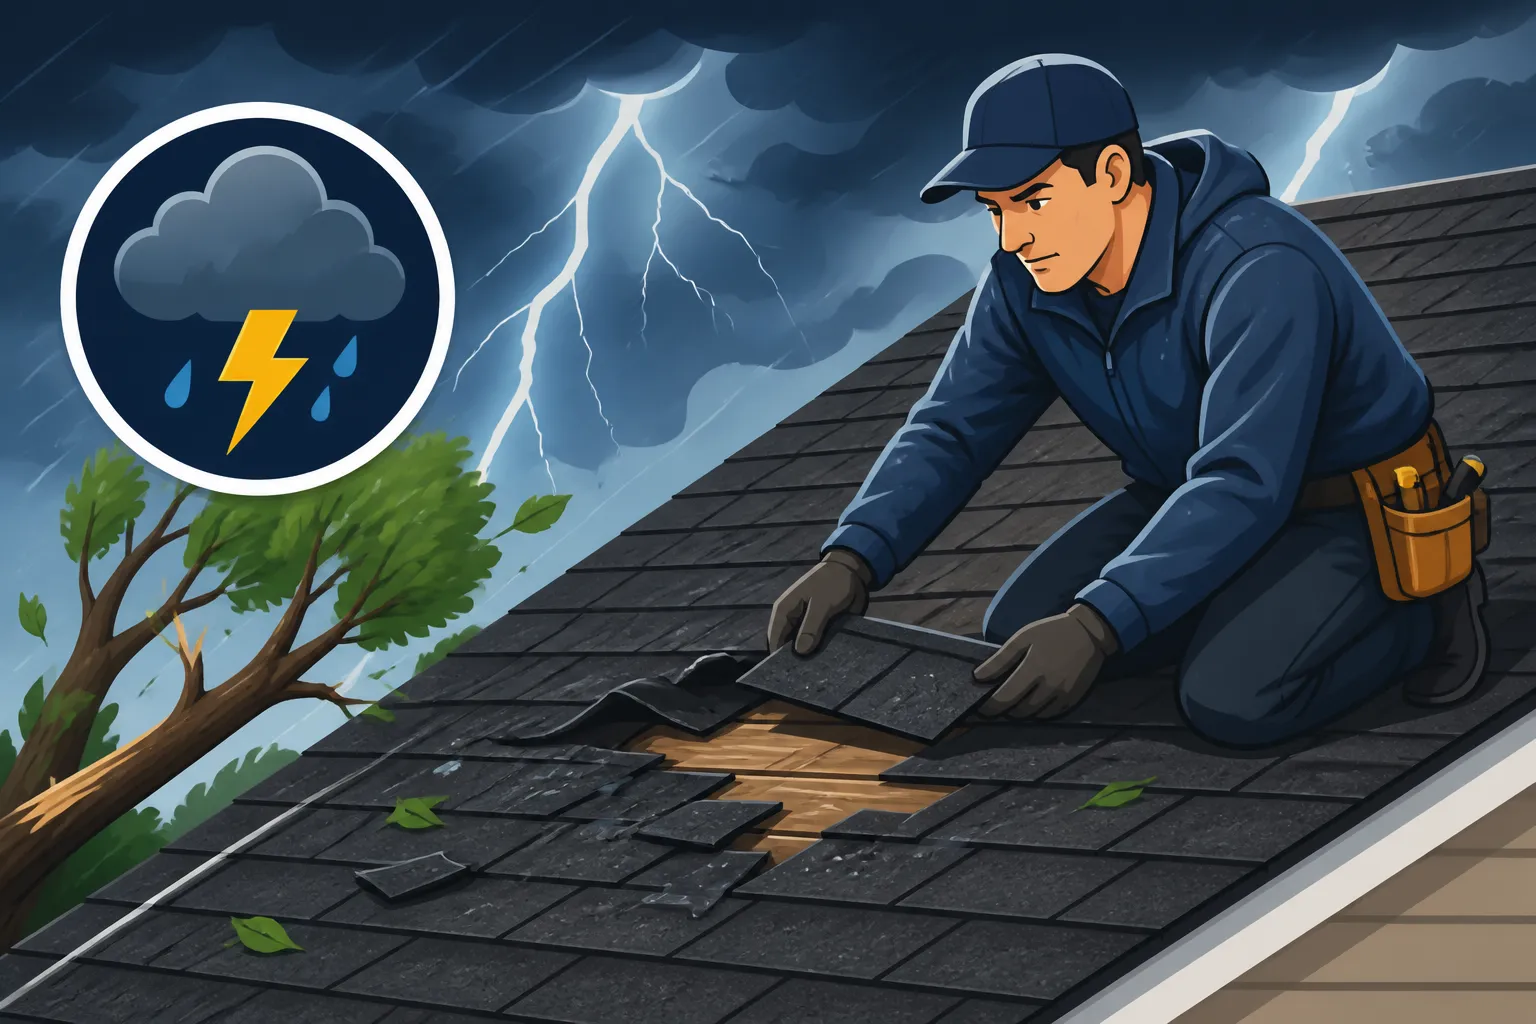
That gut-wrenching feeling when you step outside after a severe storm and immediately spot something amiss with your roof is one no homeowner ever wants to experience. Whether it's missing shingles scattered across your lawn, a visible leak staining your ceiling, or even a tree branch making an uninvited appearance through your attic, storm damage is incredibly stressful and often calls for immediate action. This comprehensive guide is here to walk you through the critical steps of emergency roof repair after a storm, helping you protect your home from further damage and navigate the path to permanent solutions with confidence.
Immediate Steps After Storm Damage
When a storm hits and leaves its mark on your roof, the first few hours are crucial. Panic is a natural reaction, but taking swift, organized action can make a world of difference in preventing further damage and ensuring a smoother recovery process.
Prioritizing Safety First
Before you do anything else, you absolutely must prioritize your safety and the safety of your family. It's incredibly tempting to rush out and assess the damage up close, but a storm-damaged property can harbor hidden dangers that aren't immediately obvious. Think about downed power lines, which could be active and extremely hazardous, or unstable structures that might collapse under your weight. Don't forget about slippery surfaces from rain or ice, especially if debris has made the ground uneven.
If you suspect any structural damage to your home, hear strange creaking noises, or smell gas, evacuate immediately and call emergency services. Never, and I mean never, attempt to climb onto a wet or unstable roof yourself. Even on a clear, sunny day, walking on a roof is risky business for the untrained. After a storm, with potential unseen damage, weakened spots, and slippery debris, it's an accident waiting to happen. Stay on the ground, or better yet, stay indoors if the exterior appears too dangerous. Your life and well-being are far more important than a few shingles.
Documenting the Damage for Insurance
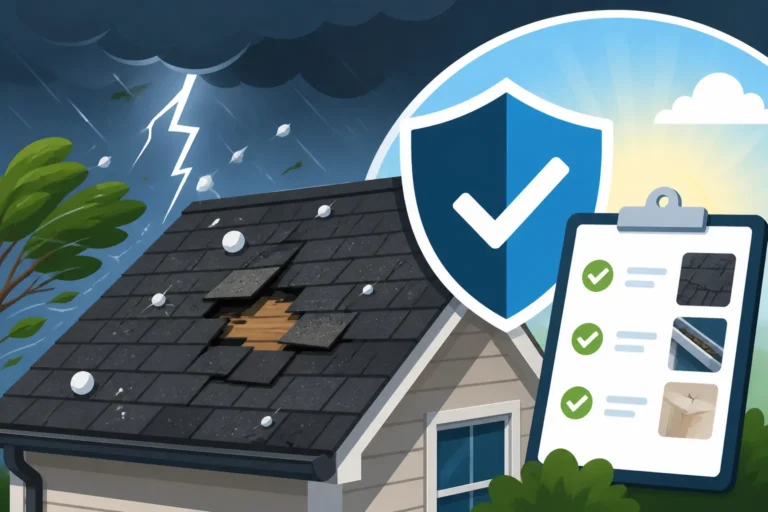
Once the immediate danger has passed and it's safe to briefly survey your property from a distance, your next crucial step is to document everything. This isn't just about satisfying your curiosity; it's about building a strong case for your insurance claim. Think like an investigator and capture as many details as possible. Use your smartphone to take high-quality photos and videos. Start with wide shots of your entire house and yard, then move in closer to show specific areas of damage on the roof, siding, and any other affected parts of your property.
Don't forget to get clear close-ups of missing shingles, exposed underlayment, punctures, dents (especially important for hail damage), and any interior leaks or water stains. Date and time stamp your photos if your phone allows, or simply make a note of when you took them. This visual evidence will be invaluable when you file your claim and speak with your insurance adjuster. Many homeowners find it helpful to create a dedicated folder on their phone or computer for all these images. For a deeper dive, check out our guide on how to document roof damage for insurance.
Securing the Property Temporarily
After you've assessed and documented the damage from a safe vantage point, the next priority is to prevent secondary damage from occurring. This is where emergency roof repair comes into play, primarily through temporary tarping or patching. Even a small hole or a few missing shingles can quickly lead to widespread water infiltration if left exposed, causing damage to your attic, ceilings, walls, and even electrical systems.
You might be able to temporarily cover a leak with a tarp to keep the elements out. If you're confident and it's safe to do so, you can attempt minor temporary fixes. However, if the damage is extensive, located in a difficult-to-access area, or if you don't feel comfortable working at heights, this is definitely a job for a professional. Many reputable roofing contractors offer emergency tarping services precisely for these situations. They have the right equipment and experience to safely secure your roof until permanent repairs can begin. Remember, even a temporary fix needs to be done correctly to be effective, which is why understanding emergency roof tarping explained can be so helpful.
Essential Materials and Tools for Temporary Repairs
If you're going to tackle a temporary repair yourself, having the right materials and tools on hand is half the battle. This isn't the time for a quick run to the hardware store in a panic. Ideally, you'd have some of these items ready before a storm hits.
Gathering Your Emergency Repair Kit
A well-stocked emergency repair kit can be a lifesaver when storm damage strikes. Here's what you should consider having:
- Heavy-Duty Tarps: These are your first line of defense. Look for tarps made of thick, woven polyethylene with reinforced grommets. Size matters – you'll want something large enough to cover the damaged area with plenty of overhang.
- Roofing Nails or Screws with Washers: These will help secure the tarp. Nails are often sufficient, but screws with washers can provide a more secure hold, especially in windy conditions.
- Lumber (2x4s) or Furring Strips: These can be used to create a batten system, pressing the tarp firmly against the roof and distributing the pressure, preventing the tarp from tearing around the grommets.
- Hammer or Cordless Drill: Essential for fastening your tarp down.
- Utility Knife or Shears: For cutting tarps or plastic sheeting to size.
- Heavy-Duty Work Gloves: To protect your hands from sharp edges, splinters, and debris.
- Safety Glasses: Eye protection is non-negotiable.
- Sturdy Ladder: Make sure it's tall enough and rated for your weight. Always have someone spot you if you’re using a ladder.
- Duct Tape or Roofing Tape: For sealing small tears in the tarp or for minor patches.
- Plastic Sheeting: A roll of 6-mil plastic sheeting can be a good backup if you run out of tarps or need to cover odd-shaped areas.
Having these items readily accessible means you won't lose precious time scrambling for supplies while your home remains exposed.
Temporary Tarping Techniques
Properly securing a tarp is more involved than just throwing it over the damaged area. The goal is to create a watertight seal that can withstand wind and rain until permanent repairs are made. First, clean away any loose debris from around the damaged section – carefully, of course. Lay the tarp over the damaged area, making sure it extends several feet beyond all edges of the damage. For instance, if you have a hole, the tarp should cover it with ample overlap on all sides, usually at least 2-3 feet past the damaged spot.
Next, you'll need to secure it. A common and effective method is the "battening" technique. Roll the edges of the tarp around a 2×4 piece of lumber or a furring strip. Then, place this batten on the roof, pressing the tarp down, and nail or screw the batten directly into the fascia or other sturdy part of the roof structure, making sure to avoid driving fasteners into damaged areas or the field of the roof where they could cause new leaks. Repeat this on all sides of the tarp, ensuring it's pulled taut and wrinkle-free.
The key is to prevent wind from getting underneath the tarp and lifting it. Don't rely solely on ropes or bungee cords through the grommets, as these can fail or allow the tarp to flap and degrade quickly. Always secure the tarp in a way that directs water away from the damaged area. For example, overlap the tarp so that water flows over it, not underneath it. If you're unsure, or if the roof pitch is very steep, it's always best to call in a professional. Remember our guide on what happens if it rains during roofing if you are concerned about ongoing exposure.
When to Call a Professional Immediately
While it's empowering to take control and perform minor temporary fixes, there are definite scenarios where a professional roofer needs to be your very first call. Ignoring these situations could lead to greater damage, higher costs, and even personal injury.
Recognizing Damage Beyond DIY Fixes
Some types of storm damage are simply too extensive or too dangerous for a DIY approach. If you're looking at a large section of your roof where shingles are completely gone, or if you see visible structural damage like sagging roof decking or rafters, you need a professional. Large holes, especially those caused by fallen trees or heavy debris, are another clear sign. These aren't just cosmetic issues; they indicate serious breaches in your home's protective envelope and can compromise the structural integrity of your entire roof system.
Similarly, if you have a steep-pitch roof, multiple stories, or difficult-to-access areas, attempting repairs yourself significantly increases the risk of a fall. Even seemingly small leaks can originate from complex issues like compromised flashing around chimneys or skylights, which require specialized knowledge and tools to properly diagnose and repair. Trying to fix these on your own might exacerbate the problem or void your existing roof warranty. When in doubt, it’s always better to err on the side of caution and consult an expert. Sometimes, even small damage can hint at larger underlying issues, a point well covered in our detailed guide on signs you need a new roof.
The Importance of Professional Assessment
Calling a professional roofer right after a storm for an assessment offers several critical advantages. First, they can safely and accurately evaluate the full extent of the damage. What looks like a few missing shingles to you might be accompanied by unseen damage to the underlayment, decking, or flashing that only an experienced eye can spot. They can also identify if there's roof damage that might not be immediately visible, like hail damage that leaves subtle but widespread impacts on shingles, which can drastically shorten your roof's lifespan.
Second, a professional can provide immediate, secure temporary repairs, often more effectively and safely than a homeowner. Many roofing companies offer 24/7 emergency services for storm damage. They come equipped with industrial-strength tarps, specialized tools, and safety gear, ensuring the job is done right the first time to prevent further water intrusion. Third, their assessment will be invaluable when dealing with your insurance company. They can provide a detailed report and estimate, often using industry-standard pricing, which helps streamline the claims process. You’ll want to know when to call a pro for roof repair, as their expertise can save you a lot of headache and money in the long run.
Dealing with Insurance and Next Steps
The aftermath of a storm isn't just about patching holes; it's also about navigating the often-complex world of insurance claims and selecting the right professionals for permanent repairs.
Initiating Your Insurance Claim
Once your property is safe and you’ve documented the damage, contacting your insurance company should be high on your priority list. The sooner you report the damage, the better. Most insurance policies require you to report damage within a specific timeframe. Have your policy number handy and be prepared to provide details about the storm event and the damage you observed. This is where all those photos and videos you took will come in handy!
Your insurance company will likely send an adjuster to inspect the damage. It’s highly recommended that you are present during this inspection. If you've already had a professional roofer assess the damage, share their report with the adjuster. This can help ensure that all damage is noted and that you receive a fair settlement. Understanding how to file a roof insurance claim can feel overwhelming, but taking it step by step, with good documentation, will make the process much smoother. Be aware that most policies will cover sudden, accidental damage like storm events, but always review your specific policy, particularly if you're wondering, for example, does insurance cover roof replacement.
Choosing a Reputable Contractor for Permanent Repairs
After the initial emergency is handled and your insurance claim is in motion, the next critical step is to find a reputable roofing contractor for the permanent repairs. This isn't a decision to rush. Unfortunately, severe weather events often bring out "storm chasers" – transient contractors who may offer low prices but deliver shoddy work and disappear quickly. Do your homework. Look for local contractors with established reputations, proper licensing, and comprehensive insurance. Don't be afraid to ask for references and check online reviews. Services like Modernize can help homeowners connect with pre-vetted contractors in their area, simplifying the search for reliable professionals.
Obtain at least three detailed estimates from different contractors. These estimates should clearly outline the scope of work, materials to be used, timelines, and payment schedules. A good contractor will also discuss manufacturer warranties and workmanship warranties. Be wary of any contractor who pressures you to sign a contract immediately or asks for a large upfront payment. A substantial deposit is normal, but paying the full amount before work begins is a major red flag. Our guide on how to choose a roofing contractor provides an excellent checklist of questions to ask and red flags to watch out for, ensuring you make an informed decision for what will likely be a significant investment, often reflecting the average roof replacement cost this year.
Emergency Roof Repair Quick Reference
Here's a quick overview of common storm damages and their immediate temporary solutions:
| Damage Type | Immediate Concern | Temporary Fix | Tools Needed |
|---|---|---|---|
| Missing Shingles | Water intrusion, exposed decking | Heavy-duty tarp, plastic sheeting | Tarp, hammer, roofing nails/screws, 2x4s, utility knife |
| Small Punctures/Holes | Direct water leaks | Heavy-duty tarp, plastic sheeting, roofing tape | Tarp, hammer, roofing nails/screws, 2x4s, utility knife, roofing tape |
| Tree Branch/Debris Impact | Large holes, structural damage | Professional tarping, plywood | Call professional roofer immediately. Plywood, screws (if safe and experienced) |
| Flashing Damage | Leaks around chimneys/vents | Roofing sealant, roofing tape, small tarp | Roofing caulk, roofing tape, small tarp, utility knife |
| Interior Leaks (ceiling) | Water damage to interior | Catch bucket, clear area below leak, contact professional | Buckets, towels, plastic sheeting to protect furniture |
Disclaimer
Please remember that this article is intended for informational purposes only and should not be taken as professional advice. When dealing with roof repairs, especially after a storm, it is highly recommended to consult with qualified and licensed roofing professionals. Attempting repairs yourself can be dangerous and may void existing warranties or cause further damage. Always prioritize your safety and seek expert help when necessary.