How Long a Roof Replacement Takes
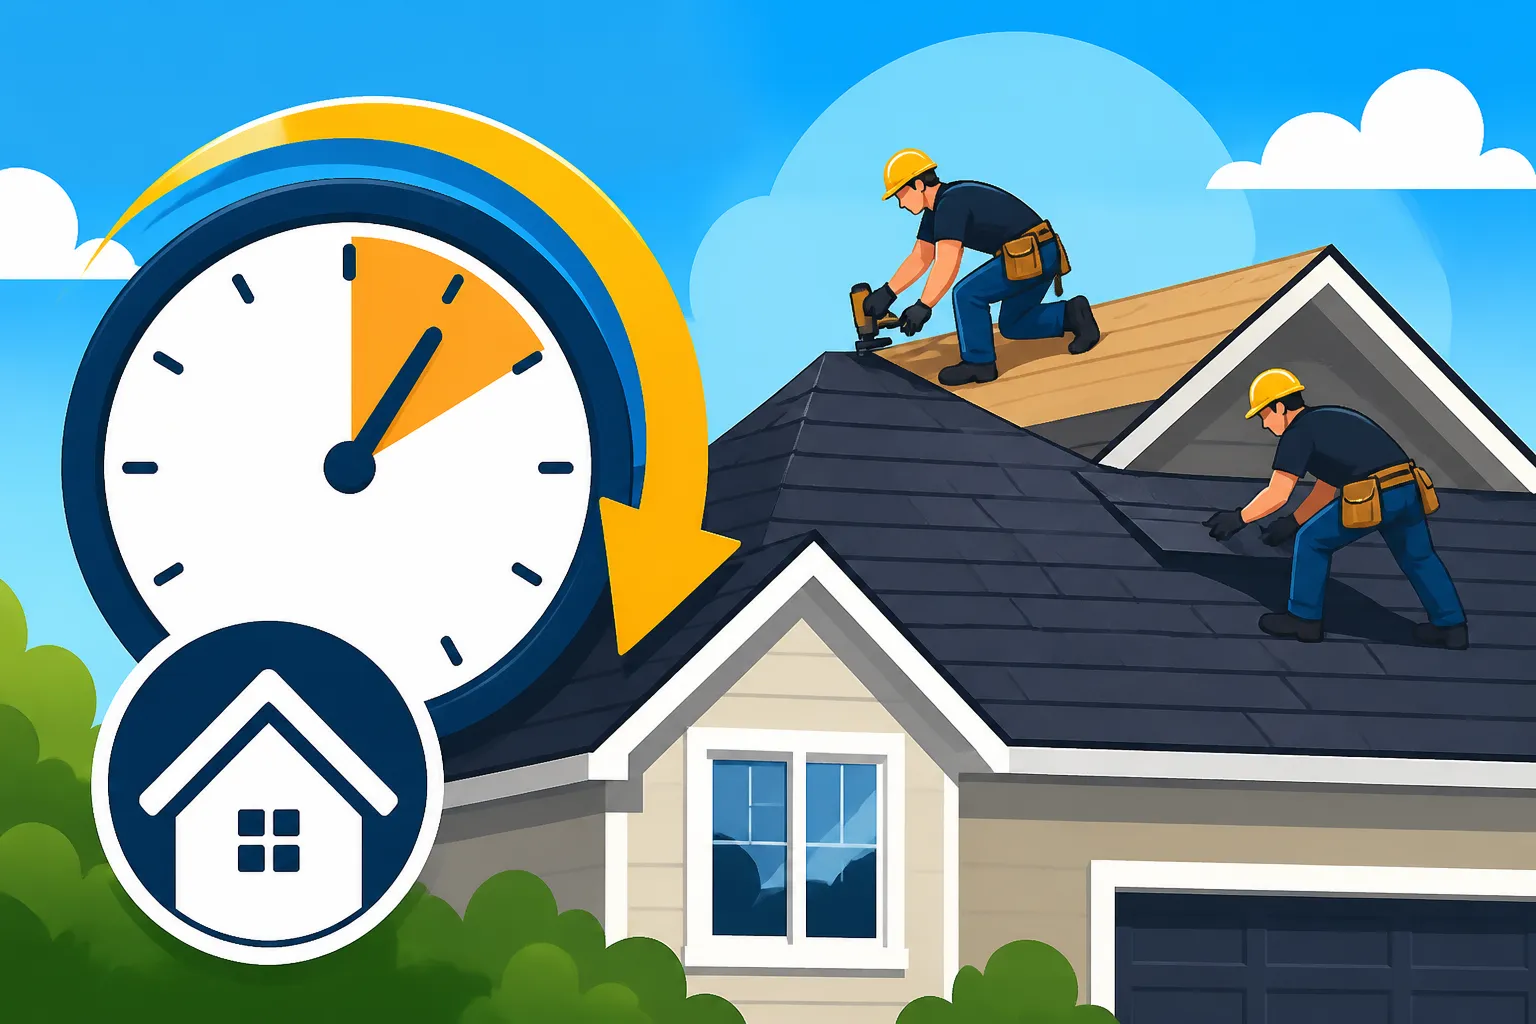
When you're faced with a roof replacement, one of the biggest anxieties is often the unknown: how long will my home be exposed? Will my yard be a construction zone for weeks? It's a completely valid concern, disrupting daily life and leaving you feeling vulnerable. This comprehensive guide is here to shed light on exactly how long a typical asphalt roof replacement takes, breaking down every factor so you can feel prepared and confident in your project.
Understanding the Factors Influencing Roof Replacement Time
A roof replacement isn't a one-size-fits-all endeavor. Many variables play into the total time your project will take, ranging from the physical characteristics of your home to the materials you choose and even the weather patterns in your area. Dismissing these factors can lead to unrealistic expectations and unnecessary stress.
Roof Size and Complexity
The most obvious factor affecting your project timeline is the sheer size of your roof, measured in "squares" (a roofing square equals 100 square feet). A larger roof simply means more material to remove, more surface area to inspect, and more new shingles to install. It's like comparing painting a single bedroom to painting an entire house – the latter will always take considerably longer.
Beyond the flat square footage, the complexity of your roof design adds a significant layer to the timeline. Think about a simple, single-story ranch home with a low-sloped, straightforward roof. That's a dream for a roofing crew! Now, picture a sprawling two-story Victorian in, say, San Antonio, with a steep pitch, multiple gables, intricate dormers, several skylights, and perhaps even a chimney or two. Each of these architectural features requires meticulous attention, precise cutting, and specialized flashing work, which naturally extends the project duration. The steeper the roof pitch and slope explained, the slower the work will be, as it requires more safety precautions and can be physically more demanding for the crew. A roof with many valleys, for instance, means more complex cuts for shingles and careful sealing, all of which eat into the clock.
Type of Shingles and Materials
While asphalt shingles are generally among the quicker roofing materials to install compared to, say, slate or tile, there's still variation even within the asphalt family. Three-tab shingles are typically the quickest to lay down because of their uniform size and simpler installation method. They're a good, economical choice if speed is a top priority, although they offer less durability and aesthetic appeal than other options.
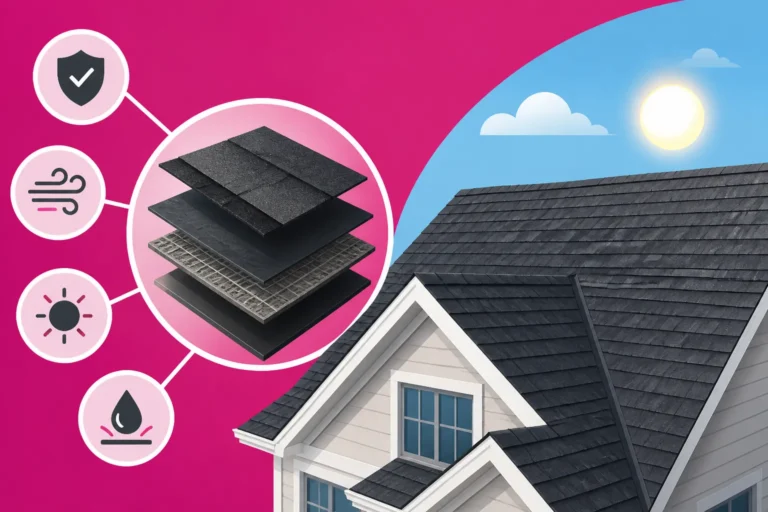
Architectural shingles, also known as dimensional shingles, are thicker, heavier, and designed to mimic the look of wood shakes or natural slate. Their irregular patterns and heavier weight mean they take a bit more time and effort to install correctly, particularly around hips and ridges where cap shingles need to be precisely matched. Designer or luxury shingles, which are even thicker and more elaborately textured, will add even more time to the installation. The entire roofing system explained, which includes not just shingles but also the underlayment, drip edge, ice and water shield, and ventilation components, all contribute to the overall time frame. Each of these elements needs to be installed correctly and in sequence, ensuring a watertight and durable final product.
The Step-by-Step Breakdown of a Typical Asphalt Roof Replacement
Understanding the process helps demystify the timeline. A roof replacement isn't just about nailing down new shingles; it's a multi-stage operation, each with its own time requirements and potential for variations. A professional roofing contractor will follow a precise sequence of steps to ensure the longevity and performance of your new roof.
Preparation Phase
Before the first shingle is even touched, a significant amount of preparation goes into safeguarding your property and ensuring the crew's safety. This initial phase typically involves securing the perimeter around your home with tarps and plywood to protect landscaping, driveways, and exterior features from falling debris. This is a crucial step that often gets overlooked by homeowners when they're visualizing the job, but it's essential for a clean and safe worksite. The team will strategically place a dumpster or debris trailer close to the house for efficient disposal.
You'll also be advised on how to prepare your home for roofers, which might include removing wall decorations that could shake loose, securing loose items in the attic, and moving vehicles away from the work zone. The crew will set up ladders, scaffolding, and other safety equipment, including harnesses, depending on the roof's pitch and height. All of these protective measures take time but are absolutely non-negotiable for a professional job.
Old Roof Removal Tear-Off
This is arguably the messiest and often the loudest part of the process, but it's vital. During a roof tear-off, the crew systematically removes all existing layers of shingles, the underlying felt or synthetic underlayment, and any old flashing. This process reveals the roof deck, allowing for a thorough inspection. If you have an older home, it's not uncommon to discover multiple layers of shingles – sometimes two or even three – that were installed over previous layers to save on the cost and effort of a full tear-off.
While applying new shingles over existing ones might seem like a time-saver, it's generally not recommended. It can void warranties, add excessive weight to your roof structure, and hide underlying damage. The cost to remove two layers of shingles will naturally be higher than one, and it definitely adds to the timeline. Each layer must be painstakingly peeled back and thrown into the waiting dumpster. This process creates a lot of debris, which is why effective disposal of old shingles is another important part of this stage, and the crew will work diligently to keep the site as clean as possible.
Roof Deck Inspection and Repair
Once the old roofing materials are off, your roof's skeleton—the decking—is exposed. This is a critical juncture where the integrity of your home's structure is assessed. The crew will meticulously examine every square foot of plywood or OSB decking for signs of rot, water damage, delamination, or other weaknesses. It's not uncommon to find areas, especially around valleys, chimneys, or skylights, that have succumbed to moisture over the years.
How a roof deck is inspected involves looking for soft spots, discoloration, or actual holes. If significant damage is found, these compromised sections must be replaced before any new roofing materials can go down. How roofers fix rotted decking typically involves cutting out the damaged sections and installing new plywood or OSB panels. This unexpected work can add anywhere from a few hours to a full day or more to the overall project, depending on the extent of the damage. For instance, if you're dealing with a larger home and find several sheets of plywood need replacing, the roof decking replacement cost will increase, and so will your project duration. This is one of those "hidden costs in a roof replacement" that can unexpectedly extend the timeline.
Installation Phase – Bringing Your New Roof to Life
With the old roof gone and the deck prepped, it's time for the exciting part: seeing your new roof take shape. This phase involves layering all the essential components that work together to create a durable, weather-resistant system.
Underlayment and Flashing Installation
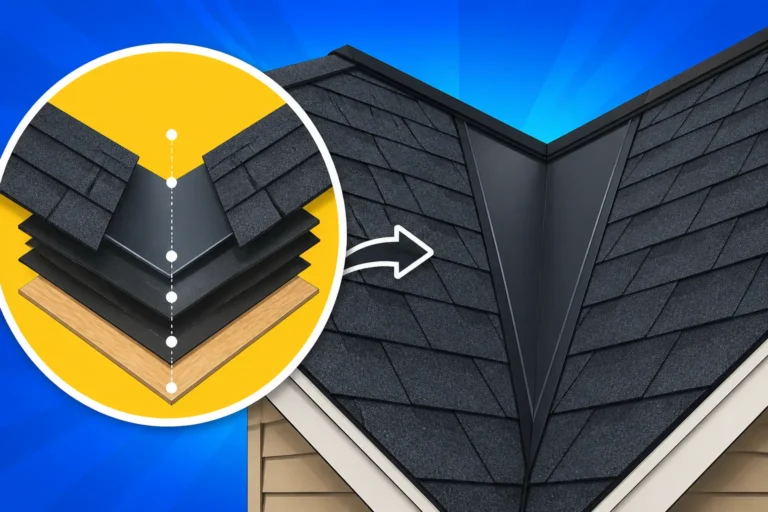
The first line of defense after the deck is repaired is the underlayment. This protective layer, typically made of synthetic material or traditional felt, is rolled out and fastened to the roof deck. Its primary job is to provide a secondary barrier against water penetration, especially if wind-driven rain gets underneath your shingles. In colder climates or areas prone to ice dams, an ice and water shield is applied first along the eaves, in valleys, and around penetrations. This self-adhering membrane offers superior protection against water backup. Learning about how underlayment is installed and how ice and water shield is installed gives you a better appreciation for the meticulous work involved.
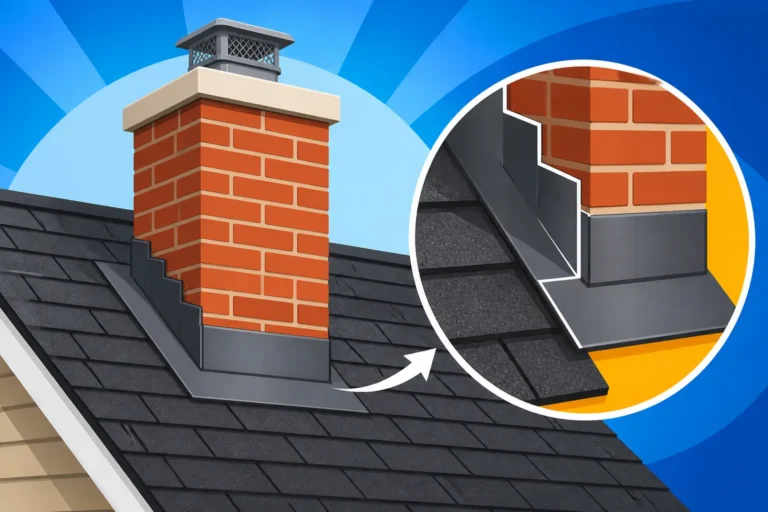
Following the underlayment, the next crucial step is installing new flashing. Roof flashing explained details how metal pieces are strategically placed around potential leak points like chimneys, vent pipes, skylights, and where the roof meets a wall (known as step flashing). This prevents water from seeping into these vulnerable areas. Proper flashing installation is a highly skilled job, requiring precise cuts and seals. Any shortcuts here will lead to future leaks, so contractors dedicate ample time to this stage. The drip edge, a metal flashing installed along the eaves and rakes, is also put in place to direct water away from the fascia and into the gutters.
Shingle Application
This is where your roof really starts to look like a roof again! The process of how asphalt shingles are installed step by step begins with starter shingles along the eaves. These are specially designed to protect the roof edge and ensure the first course of main shingles is properly sealed and aligned. Once the starter course is down, the main body of the roof is covered with successive courses of shingles, working upwards from the bottom edge. Each shingle is carefully aligned, staggered, and secured with roofing nails.
The correct nailing pattern is crucial for a shingle's performance and warranty. Depending on local building codes and manufacturer specifications, shingles may require four, five, or even six nails each, particularly in high-wind zones. How shingles are nailed and sealed is a key indicator of quality workmanship. The crew will use pneumatic nail guns for speed and consistency, but precision is still paramount. Cutting shingles to fit around vents, pipes, and other obstructions takes time, as does ensuring a uniform appearance and proper overlap for maximum weather protection. It's a rhythmic, detailed process that forms the bulk of the installation time.
Ridge Vent and Finishing Touches
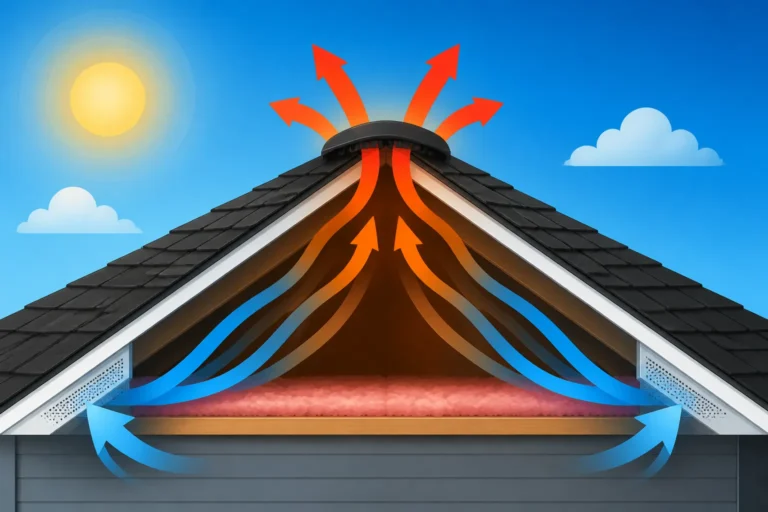
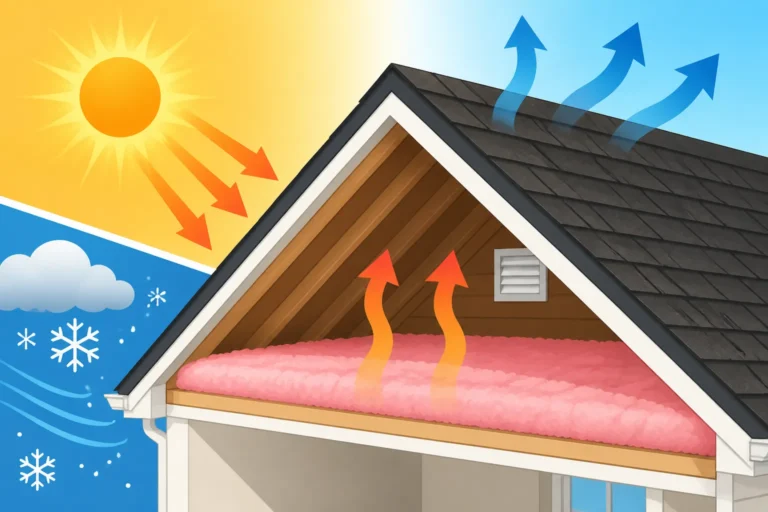
Once the main field of shingles is laid, the crew moves to the very peak of your roof: the ridge. Here, the final component of a healthy roofing system, the ridge vent, is installed. A ridge vent is a continuous vent running along the roof's peak, allowing hot, moist air to escape the attic. This passive ventilation is critical for extending the life of your roof, preventing moisture buildup, and improving your home's energy efficiency. How ridge vent is installed involves cutting an opening along the ridge line and then covering it with a baffled vent system and cap shingles that match your main roof shingles. Understanding how roof ventilation works is essential for appreciating this final step.
After the ridge vent and any other necessary vents (like plumbing stacks) are properly sealed and capped, the crew undertakes the thorough cleanup phase. This involves meticulously sweeping the roof, using magnets to pick up stray nails from the ground, and hauling away all debris, including the old shingles, tarps, and other construction waste. A professional crew will leave your property looking as good as, if not better than, when they started. This cleanup can take a few hours but is an integral part of completing the job responsibly.
External Variables That Can Impact the Timeline
Even with a well-planned project and an efficient crew, certain external factors are simply beyond anyone's control. These can sometimes throw a wrench into the best-laid plans and extend the duration of your roof replacement.
Weather Conditions
Ah, the unpredictable element! Weather is perhaps the single biggest external factor that can impact a roof replacement timeline. Rain, for obvious reasons, is a no-go. You absolutely cannot install shingles or underlayment on a wet roof, nor can your home be left exposed to the elements. Even a light drizzle can halt work, leading to delays that push the project back by a day or more. If a storm is expected, crews will often work diligently to get a section of the roof completely dried in (with underlayment and starter shingles installed) before the rain hits, but full shingle application often needs to wait.
Extreme temperatures also play a role. Roof installation in cold weather can be challenging because asphalt shingles become brittle and harder to work with. The sealing strip on the shingles, which activates with heat to bond the layers together, may not activate properly in cold conditions, making the roof more vulnerable to wind damage initially. Conversely, working in scorching summer heat, especially in places like Phoenix, poses health risks to the crew and can make materials overly pliable, impacting the quality of installation. High winds can also be problematic, making it unsafe to work on a roof and potentially carrying away newly installed materials. Your contractor will always prioritize safety and quality over rushing a job in adverse conditions, so be prepared for weather-related pauses.
Crew Size and Contractor Efficiency
The number of workers on your roof significantly influences how quickly the job gets done. A small crew of two or three might take considerably longer than a larger, well-coordinated team of five to eight experienced roofers. A bigger crew can divide tasks, with some working on tear-off, others on decking repair, and the rest on shingle installation, making the process much more efficient.
However, it's not just about raw numbers; it's about efficiency and experience. A highly efficient crew, even if slightly smaller, can sometimes outperform a larger, less organized one. This is why choosing a reputable roofer is so important. Experienced contractors, often found through platforms like Modernize, have established processes, skilled workers, and the right equipment to ensure a smooth operation. They also know how roofers measure a roof accurately, which leads to better planning and less material waste. A well-managed project flows better, reducing downtime and keeping the work on schedule. Before hiring, asking questions to ask a roofing contractor before hiring about their typical crew size and project management style can give you a clearer picture of their efficiency.
Unexpected Issues
Even with the most thorough initial inspection, sometimes a roof replacement can uncover unforeseen problems that add extra time and cost. The most common culprit is extensive damage to the roof decking that wasn't visible from the outside. While a contractor can identify obvious rot during an initial assessment, only a full tear-off reveals the entire condition of the plywood or OSB underneath. If, say, you discover widespread mold or dry rot that compromises the structural integrity, it will require more extensive repairs than initially budgeted for, potentially adding days to the project.
Beyond the decking, other surprises can emerge. Perhaps a previous, shoddy repair job masked serious issues with the underlying framing. You might even uncover pest infestations (like squirrels or raccoons) that have damaged insulation or structural components, requiring remediation before roofing can continue. Structural issues might even necessitate involving a carpenter or structural engineer, which can significantly delay the project. While these scenarios are not always common, they do happen, and a good contractor will communicate these findings immediately, explain the necessary steps, and adjust the timeline accordingly.
Average Timelines for Different Roof Sizes and Types
So, with all those factors in mind, what's a reasonable expectation for how long your specific roof replacement will take? While every project is unique, we can provide some general ranges based on common home sizes and complexities.
Small to Medium-Sized Homes (1,000 – 2,000 sq ft)
For smaller, more straightforward homes, such as a single-story ranch home or a compact two-story house with a relatively simple roofline, the timeline is often the shortest. These homes typically have fewer gables, dormers, or chimneys to navigate, reducing the complexity of the job.
A professional crew working on a 1,000 to 1,500 square foot asphalt shingle roof can often complete the tear-off, deck inspection, and full installation in as little as 1 to 3 days. If it's a very simple, low-pitch roof without any unexpected issues, some can even push to finish within a single day. For a home around the 1,800 to 2,000 square foot mark, you're generally looking at 2 to 4 days. This allows for a thorough job without rushing, addressing any minor repairs, and ensuring all components of the roofing system are properly installed. Factors like weather, crew size, and the type of asphalt shingle (e.g., 3-tab versus architectural) will still influence where in this range your project falls.
Larger or More Complex Homes (2,000 – 3,500+ sq ft)
When you move into larger homes or those with more intricate architectural designs, the timeline naturally extends. These properties demand more materials, more labor, and more detailed work around numerous roof features.
For a 2,000 to 2,500 square foot house with a moderate pitch and a few complexities (like a couple of gables or a skylight), expect the project to take approximately 3 to 5 days. If you're tackling a larger home, perhaps a sprawling two-story or a home with multiple levels, steep pitches, and numerous roof penetrations (like a cost to replace a roof on a 2,500 Sq Ft house or a cost to replace a roof on a 3,000 sq ft house), the timeline will realistically be in the range of 5 to 8 days or even longer. For truly massive estates or historical homes with exceptionally complex rooflines, multiple valleys, and perhaps even some turret sections, the project could easily stretch beyond a week, possibly taking 8 to 14 days. In these larger, more intricate jobs, maintaining a consistent pace while ensuring quality is key. The crew will need to be particularly meticulous around dormers and other features that require specialized flashing and shingle cuts.
| Roof Size (Square Feet) | Roof Complexity | Estimated Days for Asphalt Replacement (Full Tear-Off) |
|---|---|---|
| 1,000 – 1,500 | Simple, low pitch | 1-3 |
| 1,501 – 2,000 | Moderate, average pitch | 2-4 |
| 2,001 – 2,500 | Moderate to complex, higher pitch | 3-5 |
| 2,501 – 3,000 | Complex, steep pitch, multiple features | 4-7 |
| 3,001 – 3,500+ | Very complex, multiple levels, steep pitch, many penetrations | 6-10+ |
Note: These are estimates and can vary significantly based on crew size, weather, unexpected repairs, and material availability.
How to Prepare Your Home for a Smooth and Efficient Replacement
While much of the roof replacement process is in the hands of your contractor, there are definitely steps you can take as a homeowner to facilitate a smoother, faster, and less stressful experience. Being prepared helps the crew work efficiently and keeps your property safe.
Homeowner Responsibilities Before Day One
The preparation starts well before the roofing crew arrives. First and foremost, you need to clear the perimeter around your house. This means moving anything valuable or fragile at least 10-15 feet away from your home's foundation. Think patio furniture, grills, planters, garden decorations, and especially vehicles. If possible, park your cars on the street or in a garage away from the work area to prevent damage from falling debris and to ensure the crew has clear access for their trucks and equipment.
Protecting your landscaping is another crucial task. While the crew will typically lay down tarps, it's wise to trim back any low-hanging branches that might interfere with access or be damaged during the process. Consider covering delicate plants or shrubs with additional tarps if you have them. Inside your home, secure any loose items in the attic, especially if they are near the roof decking, as vibrations can cause them to shift or fall. If you have any wall hangings that are particularly fragile or meaningful, consider taking them down, especially on the top floor, as the hammering and vibrations can sometimes cause items to fall. This type of advice, often shared by experienced contractors or resources like Modernize, ensures a safer environment for everyone involved. Taking these steps as outlined in how to prepare your home for roofers can save significant time and prevent potential headaches.
Communication with Your Contractor
Open and consistent communication with your roofing contractor is absolutely key to a smooth process. Before the project even begins, make sure you have a clear understanding of the proposed schedule, including estimated start and end dates, daily working hours, and any planned breaks. Don't hesitate to ask questions to ask a roofing contractor before hiring about their process, what contingencies they have for bad weather, and how they handle unexpected issues. A good contractor will proactively explain all these details.
During the actual replacement, maintain an open line of communication. Ask for daily updates on progress and any challenges encountered. If you have concerns about cleanup, noise, or anything else, bring them up immediately. Knowing who to contact on the crew (foreman, project manager) is also helpful. A well-informed homeowner is a less anxious homeowner. Establishing these clear communication channels upfront helps manage expectations on both sides, making it easier to address minor bumps in the road quickly and prevent them from turning into major delays. A detailed contract that outlines the scope of work, timeline, and communication protocols is a sign of a professional operation.
Dispelling Myths and Setting Realistic Expectations
In the world of home improvement, there are always myths that swirl around, and roof replacement is no exception. It's important to separate fact from fiction to set realistic expectations for your project and avoid unnecessary disappointment or pressure.
The "One-Day Roof" Myth
You might have seen advertisements or heard stories about "one-day roof replacements." While it's true that some small, incredibly straightforward roofs on, say, a shed or a very compact single-story home with minimal pitch and no complexities can potentially be completed in a single long day, this is far from the norm for most residential properties. The vast majority of homeowners should not expect their entire roof replacement to be finished in just one day.
For a typical 1,500 to 2,000 square foot house, even with a highly efficient crew, the process of tearing off old shingles, inspecting the deck, making necessary repairs, installing underlayment, flashing, and then laying down new shingles is a multi-day affair. Rushing the process significantly increases the risk of mistakes, improper nailing, poor sealing, and overlooked damage, all of which can lead to leaks and premature roof failure down the line. A reputable contractor will prioritize quality workmanship over speed records. They know that a properly installed roof, even if it takes a few days longer, will last for decades and provide genuine peace of mind. The myth often stems from oversimplifying the scope of work or focusing only on the shingle-laying part, ignoring crucial preparation and finishing steps.
Why Rushing Can Be Detrimental
Pushing a roofing crew to finish faster than is reasonable for the scope of work is a recipe for disaster. When corners are cut due to time pressure, it's almost always the quality of the installation that suffers. Improperly driven nails, for example, can lead to shingles not being securely fastened, making them susceptible to wind uplift. If shingles are not correctly aligned or overlapped, water can find its way underneath, causing leaks. A hurried job might also mean inadequate flashing around chimneys and vents, which are critical areas for preventing water intrusion. These are all classic signs of a bad roofing job, and unfortunately, once the crew is gone, it can be expensive and frustrating to rectify.
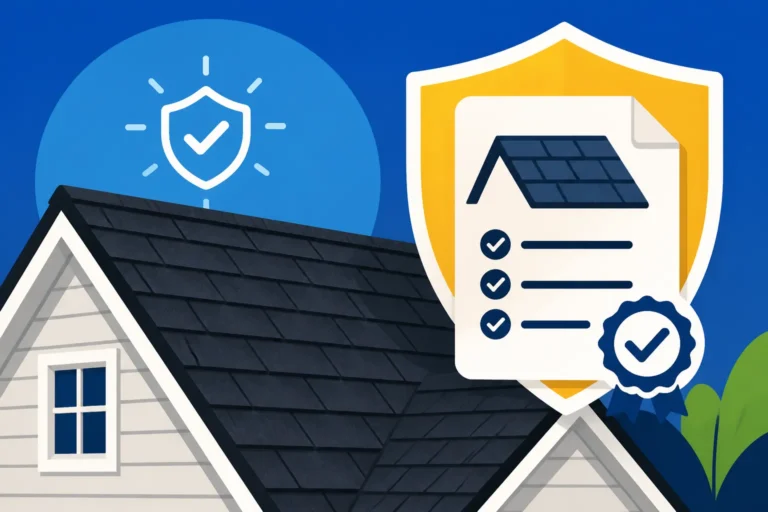
Furthermore, a rushed job can severely impact your roof's warranty. Most manufacturers require specific installation procedures to be followed to validate their material warranties. If these procedures are not met—for instance, incorrect nailing patterns or omission of required underlayment—your warranty could be voided, leaving you responsible for future repair costs. A good contractor understands that speed is important, but quality and adherence to building codes and manufacturer specifications are paramount. They will take the necessary time to ensure that every component of your new roof is installed correctly, giving you a durable, long-lasting roof that performs as it should.
Disclaimer
Please note that the information provided in this article is intended for general guidance and informational purposes only. Every roofing project is unique, and actual timelines and costs can vary widely based on specific property conditions, material choices, local labor rates, unforeseen challenges, and prevailing weather. Always consult with multiple qualified and licensed roofing contractors for accurate estimates and professional advice tailored to your specific situation.