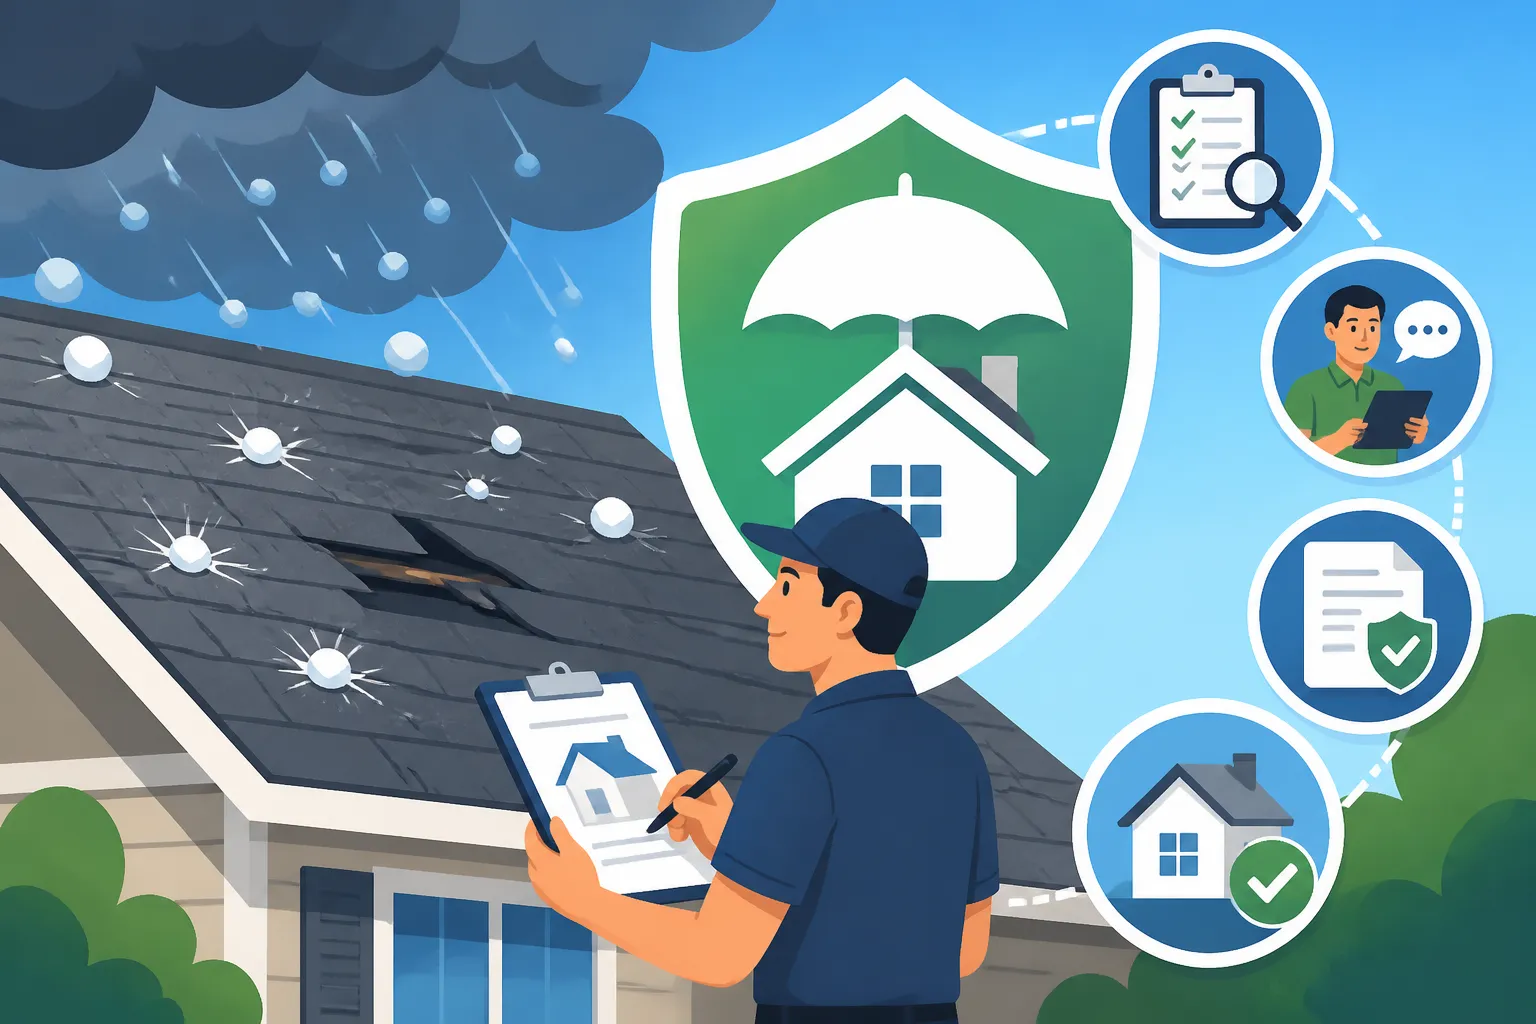
Roof Insurance Claim After Hail: Steps
Dealing with hail damage on your roof can feel like a punch to the gut. One minute everything's fine, the next you're staring at dimpled shingles and wondering how on earth you're going to afford a repair or replacement, let alone navigate the complex world of insurance claims. This guide is here to walk you through every step of the process after a hailstorm, helping you understand what to look for, how to talk to your insurance company, and what to expect during your roof replacement.
Confirming Hail Damage: What to Look For
When a hailstorm hits, your first instinct might be to panic. But take a deep breath. The initial step is to safely assess the situation. You don't need to climb up on the roof right away, especially if conditions are still wet or dangerous. A thorough ground-level inspection can tell you a lot.
Visual Inspection from the Ground
After a hailstorm, it's natural to immediately look up at your roof, but a safe ground-level inspection is always the first priority. What you're looking for isn't just obvious holes, but rather subtle signs that can indicate significant damage. Start by walking around your home, paying close attention to not just the roof itself, but also surrounding elements.
Check your gutters and downspouts. Are there dings, dents, or noticeable impressions? Hail often impacts these soft metal components, leaving tell-tale signs. Siding, especially vinyl or aluminum, can also show bruising or cracking. Look at your window screens; small tears or punctures can be a clear indicator of hail size and force. Even outdoor light fixtures and air conditioning units can bear impact marks. These secondary damages are often easier to spot from the ground and can serve as strong evidence that your roof likely sustained damage as well. Don't forget to glance at any decks, patios, or even your car if it was parked outside – impact marks here can further corroborate your claim of hail damage. Remember, safety first: never get on a wet or unstable roof. If you see signs of damage from the ground, that's usually enough to warrant a professional inspection.
Documenting the Damage Thoroughly
Once you've safely identified potential signs of damage, documentation becomes your best friend. This isn't just about taking a quick snapshot; it's about building a comprehensive visual record that will support your insurance claim. Grab your phone or a digital camera and start systematically capturing everything.
Take wide shots of your house, showing the affected areas, and then zoom in for close-ups of specific damage points on shingles, flashing, gutters, and even those collateral damages on screens or siding. Date and time stamp your photos if your camera allows it, or simply make a note of when they were taken. Consider taking a video walkthrough as well, narrating what you're seeing. Describe the type of damage – is it missing granules, cracked shingles, or actual divots? Note the location of each piece of damage. This meticulous approach helps create an undeniable timeline of events and provides concrete evidence for your insurance company. The more detailed your documentation, the smoother your claim process is likely to be. This information will be invaluable when you speak with your insurance provider and later with your roofing contractor. You might also find it helpful to look for a guide on how to document roof damage for insurance to ensure you capture everything crucial.
Initiating Your Insurance Claim: The First Calls
Once you suspect hail damage, the clock starts ticking in some ways. While you don't need to rush into a frantic phone call, delaying too long can sometimes cause issues with your policy. The next crucial step is to reach out to your insurance provider and begin the formal claims process.
Contacting Your Insurance Provider
This can feel daunting, but it's a necessary step. Before you even dial, gather your insurance policy number and any relevant dates, such as the exact date of the hailstorm. When you call, be prepared to calmly and clearly explain what happened and what you've observed. You'll want to articulate the signs of roof hail damage you've identified, and mention any collateral damage to gutters, siding, or other property.
Your insurance company will open a claim and assign an adjuster. This is also the perfect time to ask about your policy specifics: what is your deductible, and what kind of coverage do you have (Actual Cash Value or Replacement Cost Value)? Understanding these terms upfront is critical, as they dictate how much you'll ultimately receive for your claim. For instance, Replacement Cost Value (RCV) policies typically pay out the cost of a new roof at today's prices, while Actual Cash Value (ACV) policies factor in depreciation, meaning you'll get less. Knowing this can help you budget for a new roof. Don't hesitate to ask for clarification on anything you don't understand; this is your home, and you have every right to be fully informed.
Deciding on a Roofing Contractor
While your insurance company is processing your claim, it's wise to start looking for a reputable roofing contractor. This isn't about rushing into repairs; it's about having a trusted professional on your side. Think of your roofing contractor as an expert guide through the repair or replacement process, especially when dealing with the insurance company.
Look for a local company with a strong track record and excellent reviews. Avoid "storm chasers" who suddenly appear after a major weather event, often pressuring homeowners into signing contracts. Instead, seek out contractors who are licensed, insured, and perhaps even certified by major shingle manufacturers like GAF, Owens Corning, or CertainTeed. These certifications often mean they adhere to higher installation standards and can offer better warranties.
It's highly recommended to get at least three roofing estimates from different companies. This allows you to compare not just prices but also the scope of work, materials proposed, and warranty offerings. A good contractor will perform their own detailed inspection, often more thorough than what you can do from the ground, and will be able to pinpoint all hail damage. They can also provide an objective assessment of whether your roof needs a full replacement or if repairs are sufficient. Having a contractor's expert opinion before or shortly after the adjuster's visit can be invaluable for ensuring all damage is accounted for in your claim. This is also a good time to consider how to choose a roofing contractor who truly has your best interests at heart.
Navigating the Inspection Process
Once your claim is filed, your insurance company will send out an adjuster to assess the damage. This is a crucial phase, and how you prepare for and engage with this process can significantly impact the outcome of your claim.
The Adjuster's Visit
The insurance adjuster's job is to evaluate the damage to your property and determine the scope of repairs or replacement your policy will cover. This visit usually involves a physical inspection of your roof and other affected areas. Ideally, you should be present during this inspection.
Even better, try to schedule your chosen roofing contractor to be there at the same time. Why? Because your contractor is an expert in roofing and can point out subtle damage that an adjuster, who handles all sorts of property claims, might miss. They can speak the "language" of roofing and building codes, ensuring that all necessary components, from shingles to flashing and underlayment, are considered. For example, some hail damage might not be immediately visible as a hole but could have compromised the shingle's integrity or removed protective granules, leading to future leaks. A good contractor can explain these nuances to the adjuster. Don't be afraid to ask questions during the inspection, and listen carefully to what the adjuster is saying. You want to ensure they are looking at all areas you documented and considering the full extent of the damage. This collaborative approach often leads to a more accurate and comprehensive assessment.
Understanding the Adjuster's Report
After their visit, the adjuster will provide you with a detailed report, often called a "scope of loss." This document outlines their findings, the estimated cost of repairs or replacement, and how much the insurance company is prepared to pay, minus your deductible. This report is incredibly important, so read it thoroughly and carefully.
Look for consistency between what you observed and documented, what your contractor identified, and what the adjuster has listed. Does it cover all damaged components, not just the shingles? Does it specify the type and quality of materials for replacement? Pay close attention to the estimated costs. Sometimes, an adjuster's estimate might be lower than what local reputable contractors charge, or it might not account for all necessary work, like proper underlayment or drip edge replacement. If you spot any discrepancies, or if you feel the report doesn't fully reflect the damage, don't panic. This is often an opportunity for your roofing contractor to provide a "supplemental" report or negotiate with the insurance company on your behalf. They can present a detailed estimate based on current market rates and proper installation practices, often with photos, to justify additional costs or scope of work. This back-and-forth is a normal part of the claims process, especially for complex issues like a full roof replacement. Understanding what a roofing estimate should include can help you compare apples to apples.
Getting Your Roof Replaced and Claim Settled
Once the inspection reports are in and you have a general idea of your coverage, the real work begins: getting your roof replaced and ensuring your claim is settled fairly. This phase requires careful coordination between you, your contractor, and your insurance company.
Reviewing the Scope of Work and Costs
This is where the rubber meets the road. You'll have your contractor's detailed proposal and the insurance adjuster's scope of loss. Your primary goal is to ensure that your contractor's proposal aligns with what the insurance company is willing to cover, and that it addresses all the damage.
Sometimes, the adjuster's initial estimate might be lower than your contractor's. This could be due to differences in local labor rates, material costs, or items the adjuster might have overlooked (e.g., specific flashing replacements, upgrading to meet current building codes, or the cost of roof tear-off and disposal). This is where your contractor can truly shine. A reputable contractor will work directly with your insurance company, submitting a "supplemental" claim with additional documentation, photos, and justification for any discrepancies. They might highlight, for example, that the existing roof decking replacement cost was not fully accounted for, or that a specific type of underlayment is now required by code. This negotiation is common, so don't be alarmed if the initial numbers don't match up perfectly. It's about ensuring your home gets the quality repair it needs, without you having to pay excessively out-of-pocket beyond your deductible. Ensure your contractor provides a clear roofing contract that details all agreed-upon work, materials, and costs before any work begins.
| Feature | Actual Cash Value (ACV) | Replacement Cost Value (RCV) |
|---|---|---|
| Payout Type | Current value of the roof, less depreciation. | Cost to replace the roof with new materials, no depreciation. |
| Initial Payment | Lower; covers depreciated value. | Higher; covers full estimated replacement cost. |
| Second Payment | None (unless specified by policy and claim). | Often issued after work is completed and verified. |
| Homeowner Out-of-Pocket | Potentially significant, to cover depreciation. | Primarily the deductible, plus any unapproved upgrades. |
| Common Use | Older roofs or policies aiming for lower premiums. | Newer roofs or policies offering more comprehensive coverage. |
| Recommendation | Not ideal for major damage like hail; can leave gaps. | Preferred for full replacement; minimizes homeowner expense. |
Managing Payments and Deductibles
Understanding how payments work is crucial. Typically, your insurance company will issue an initial check, often made out to you and your mortgage company (if applicable). This check represents the actual cash value (ACV) of your damaged roof, or a portion of the replacement cost, minus your deductible.
Your deductible is the amount you're responsible for paying before your insurance coverage kicks in. For hail claims, this is usually a fixed dollar amount or a percentage of your home's insured value. You'll pay this directly to your roofing contractor. If your policy is RCV (Replacement Cost Value), once the work is completed and inspected, your contractor will send proof of completion (and often an invoice) to your insurance company. The insurance company then typically releases the depreciation holdback, which is the remaining portion of the replacement cost. This final payment covers the difference between the ACV and the full RCV, allowing you to pay your contractor in full. Never pay the full amount upfront to a contractor; a reasonable deposit followed by progress payments or payment upon completion is standard. Also, be wary of contractors who offer to waive your deductible – this is often illegal insurance fraud. This process might involve a few checks and sign-offs, especially if your mortgage company is involved, but your reputable contractor should guide you through it. It's also a good idea to consider your roof replacement payment plans and how to budget for a new roof, making sure you're financially prepared for your portion.
Disclaimer
Please note that this guide provides general information and should not be considered legal advice or a substitute for professional consultation. Insurance policies and local building codes vary significantly by state and municipality. Always consult with your insurance provider, a qualified roofing contractor, and if necessary, legal counsel, to understand your specific coverage and requirements.